On Williams, Indiana Jones: The Pinball Adventure, the Roto-Lock is a plastic ball diverter atop a metal shaft connected to a coil. It is used in the rotating idol mech to dispense and lock balls.
When it breaks and you try to find a replacement, you might see the same thing I did. Some guy trying to sell a used one for $75 on eBay.
I thought: $75? No way! I want to spend $3500 for that part and get threatened with a lawsuit, so maybe I can pay my attorney a couple thousand too and bring the TCO to around $6500.
Yea, Let’s do that, instead. Companies apparently don’t like you 3d printing their parts even though they aren’t making them available for purchase.
(sarcastic guy, is sarcastic)

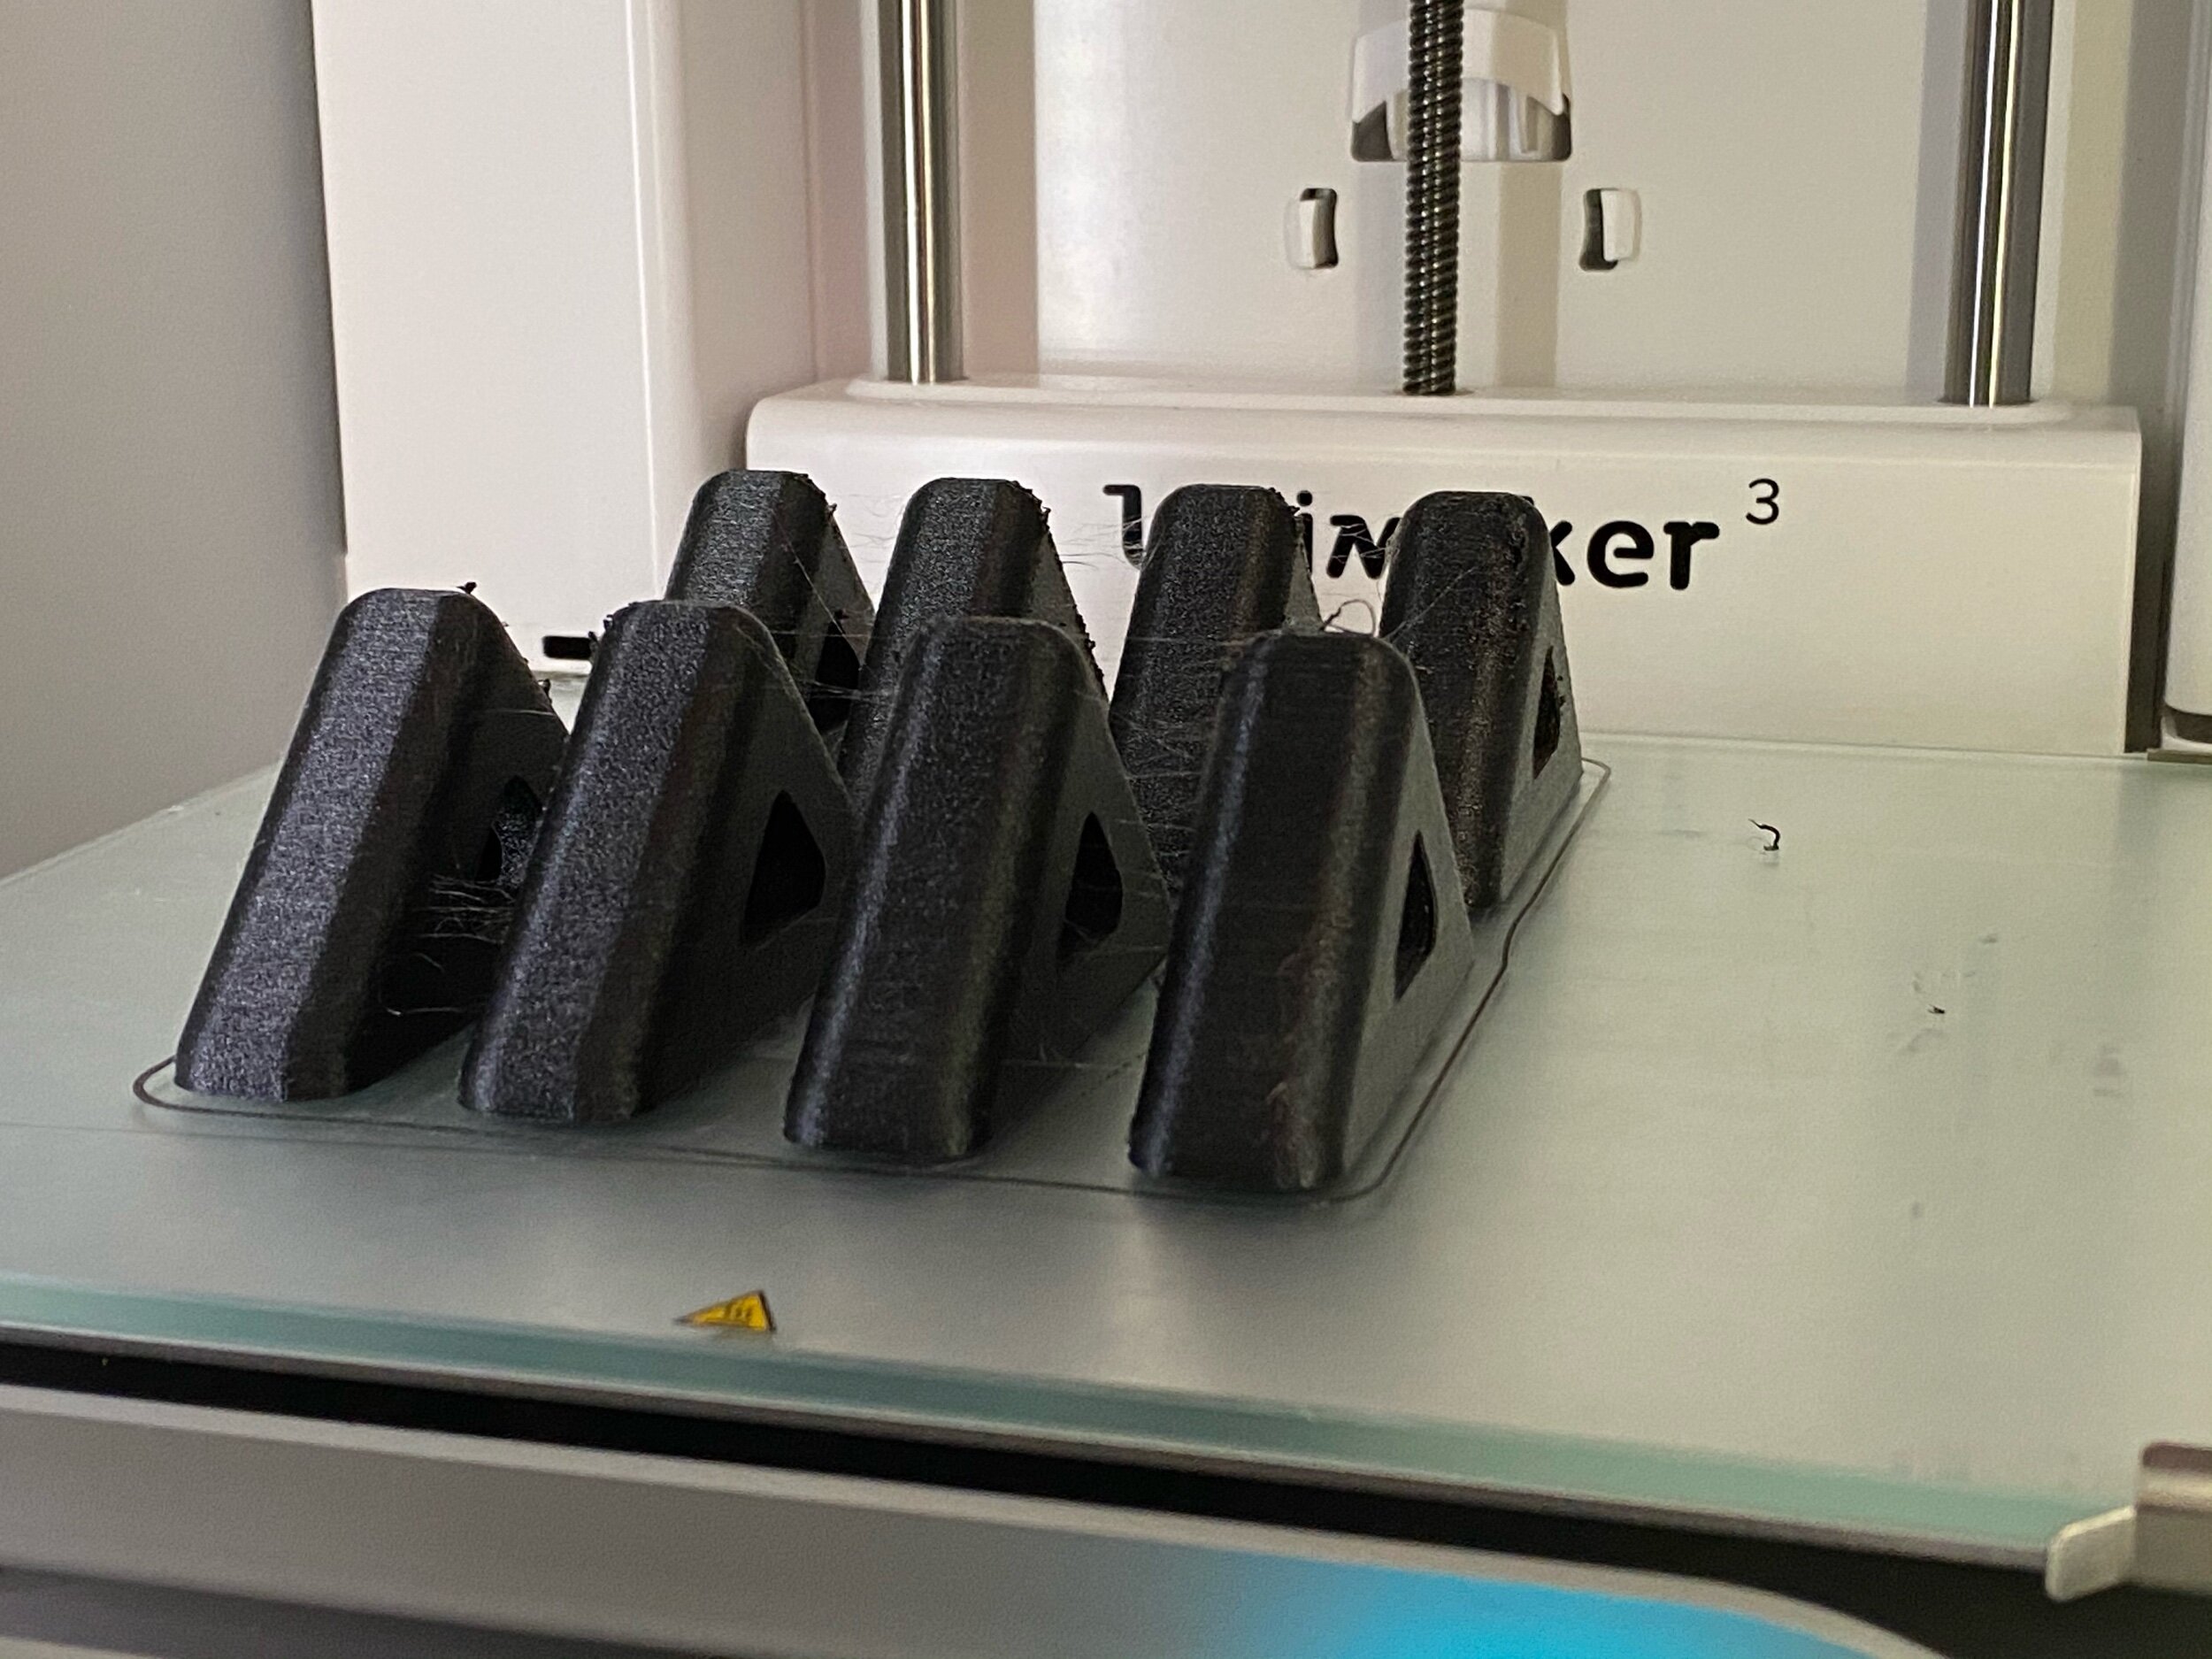
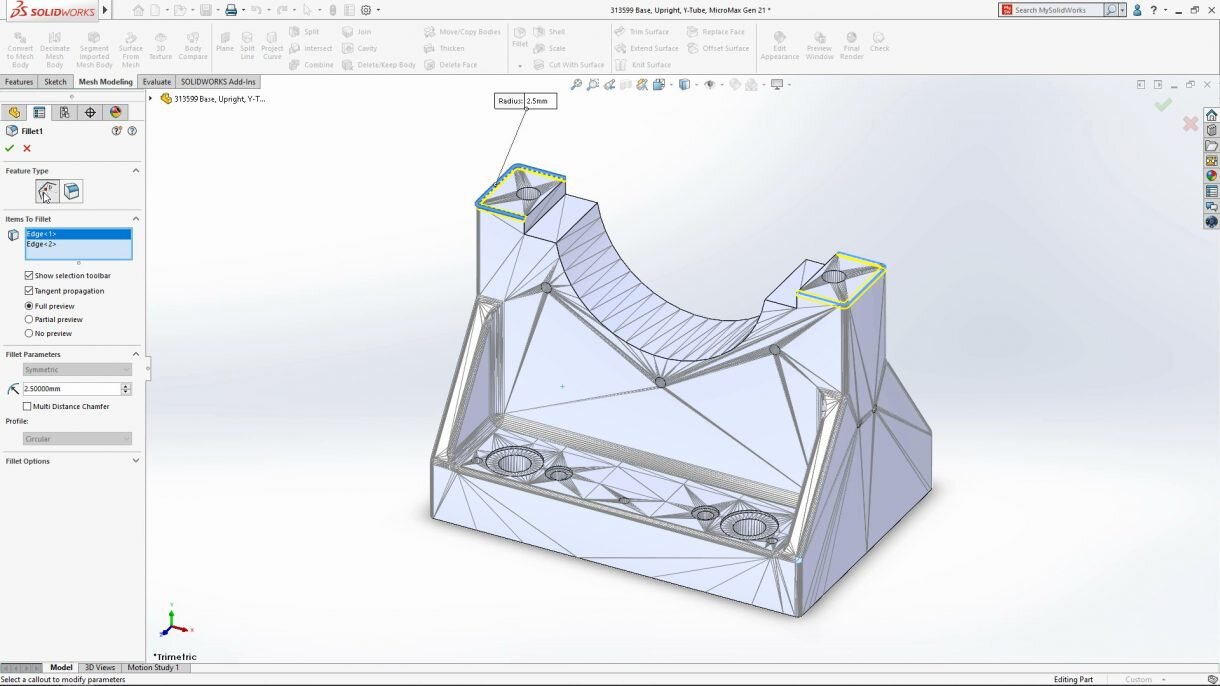
So, I reproduced the part for my personal pinball machine and created a model so I can print a spare whenever I want.
Because my caliper-based measurements are always off by a few fractions of a mm, I glued, taped and painted a broken original and scanned it in.

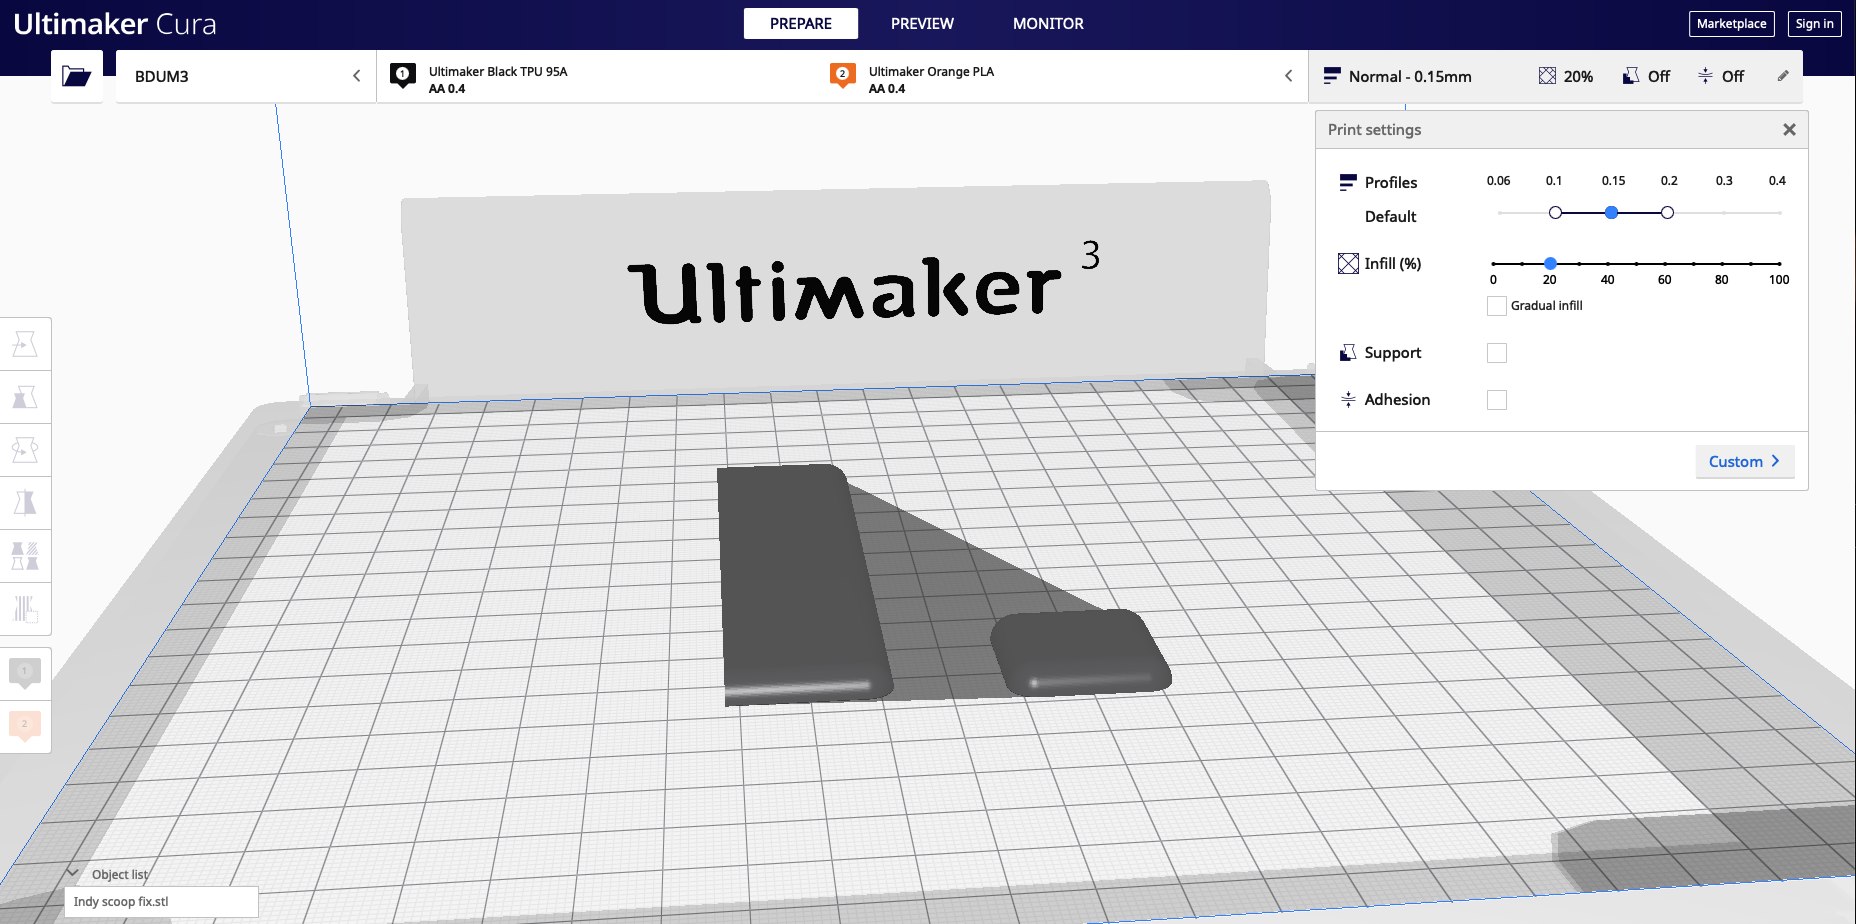
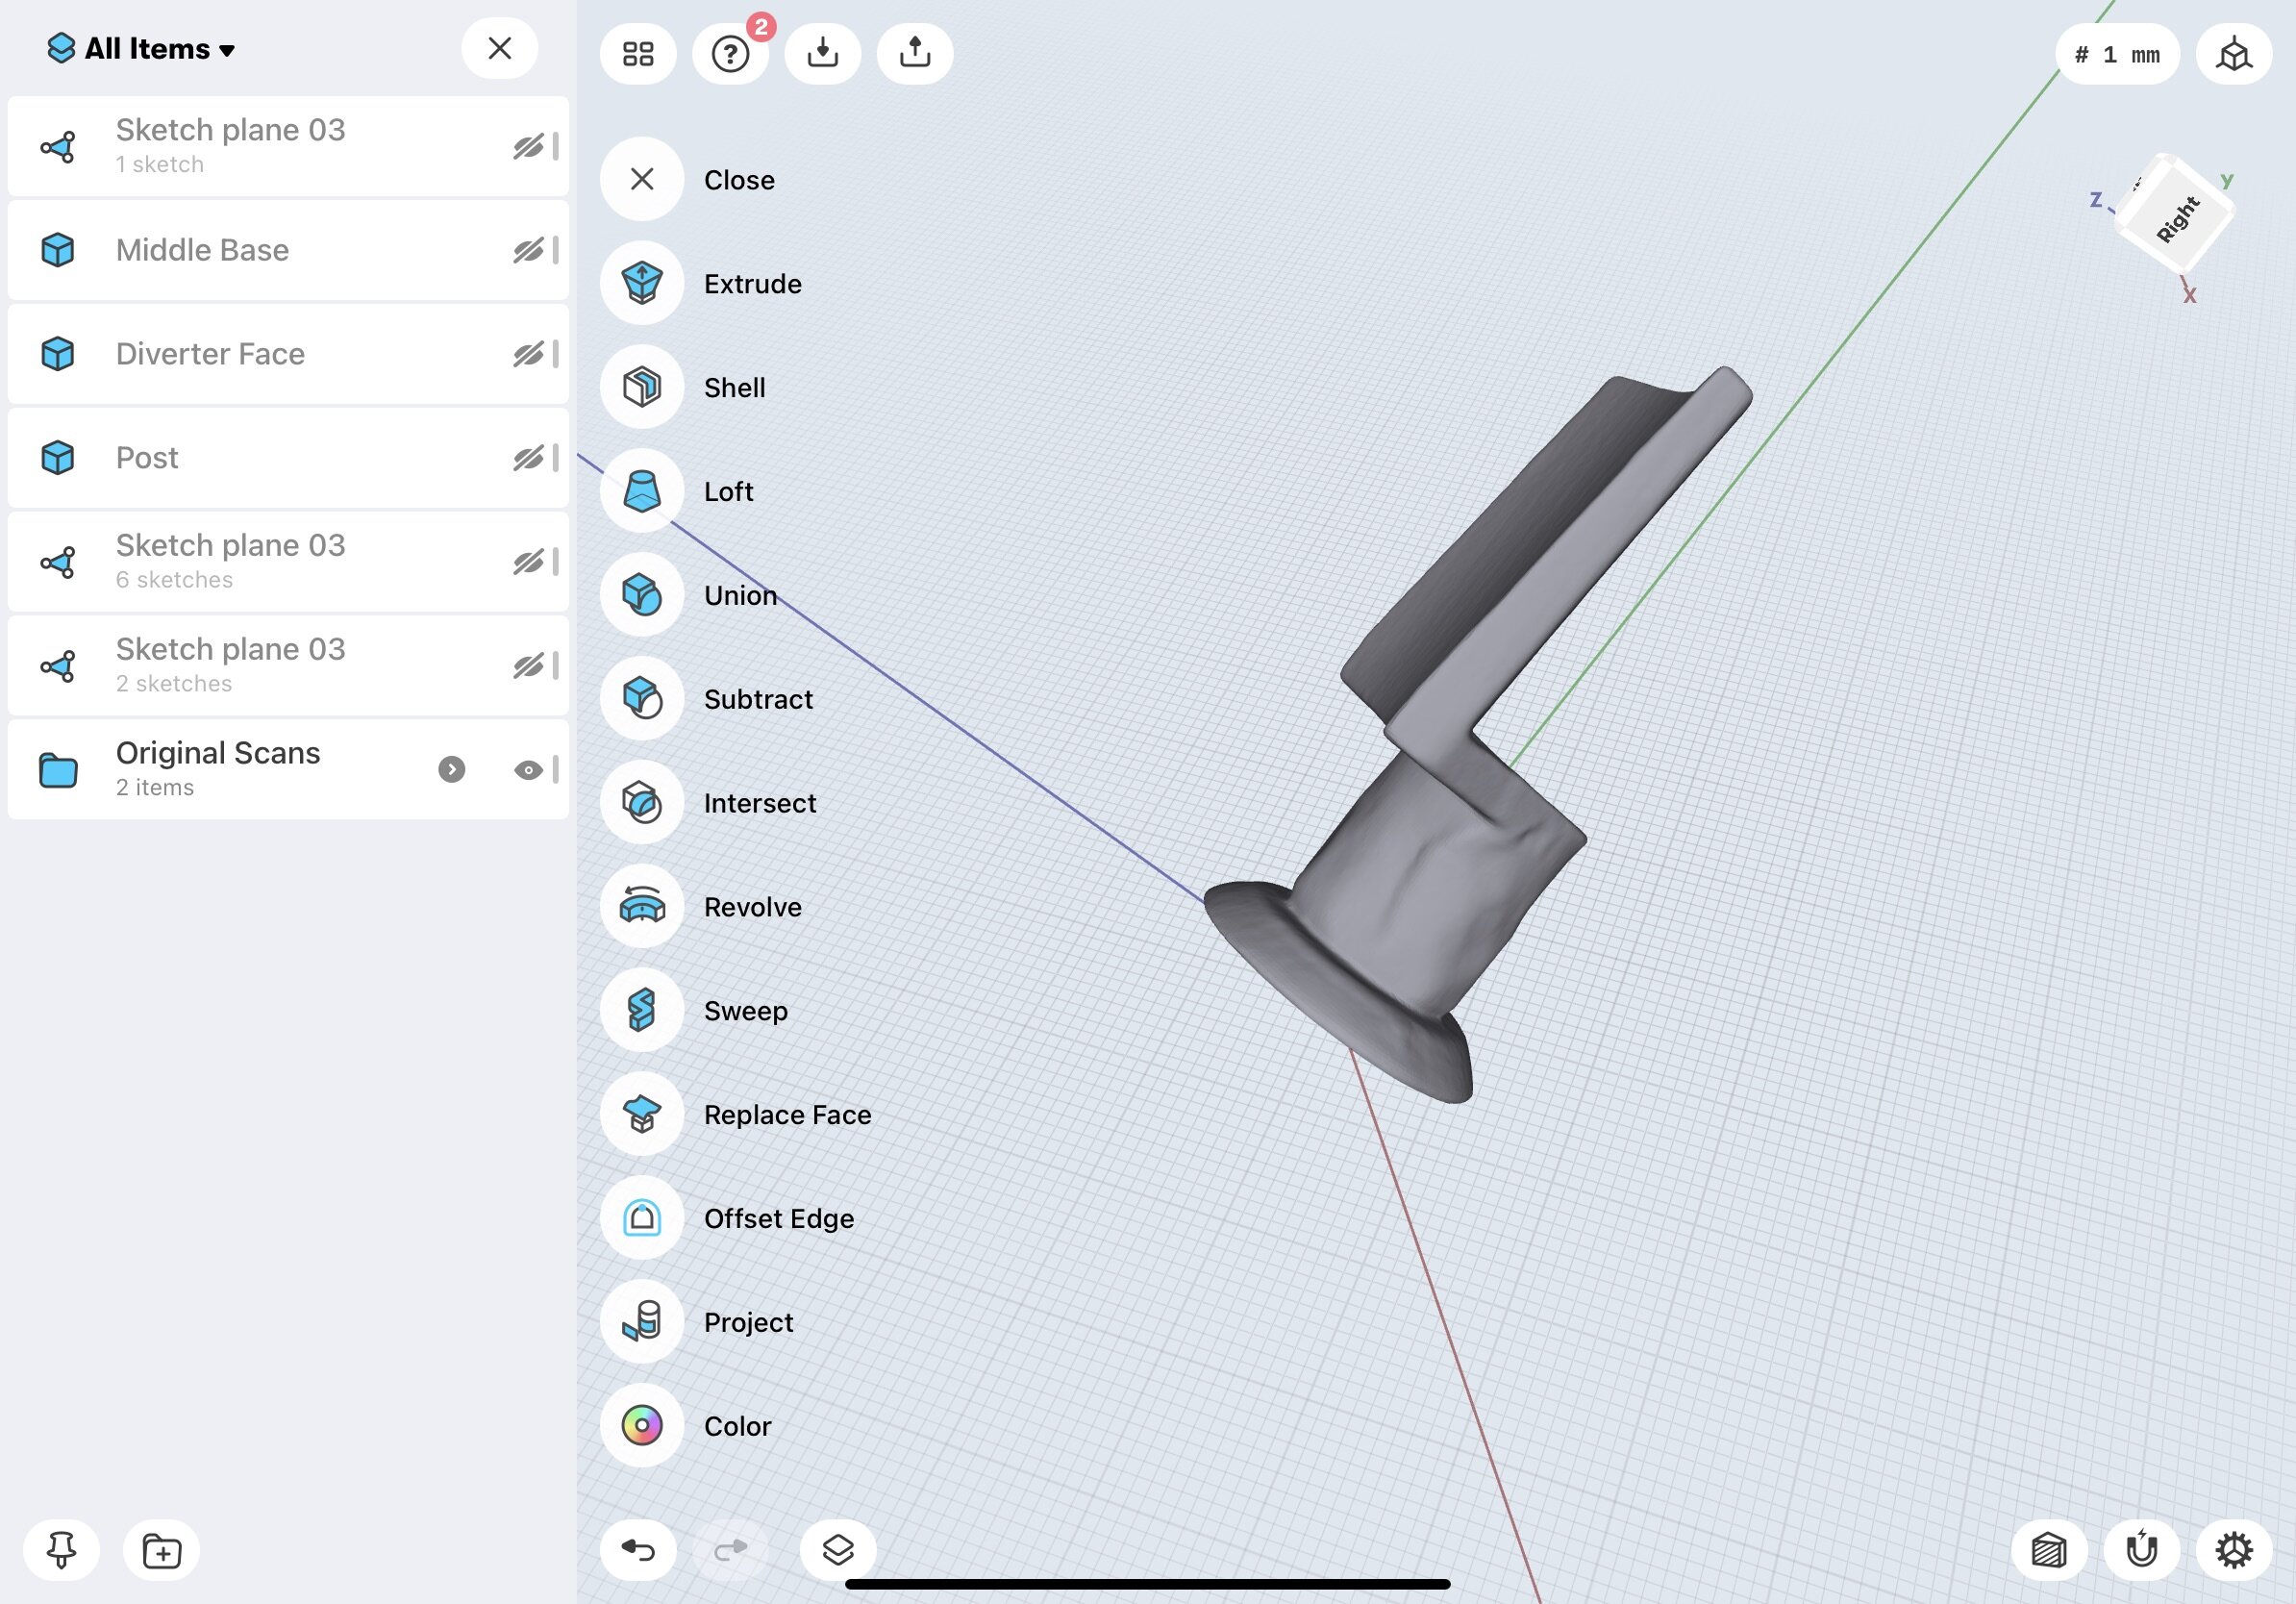
Using the scan to get measurements and angles exactly right, I recreated the part out of primitive shapes

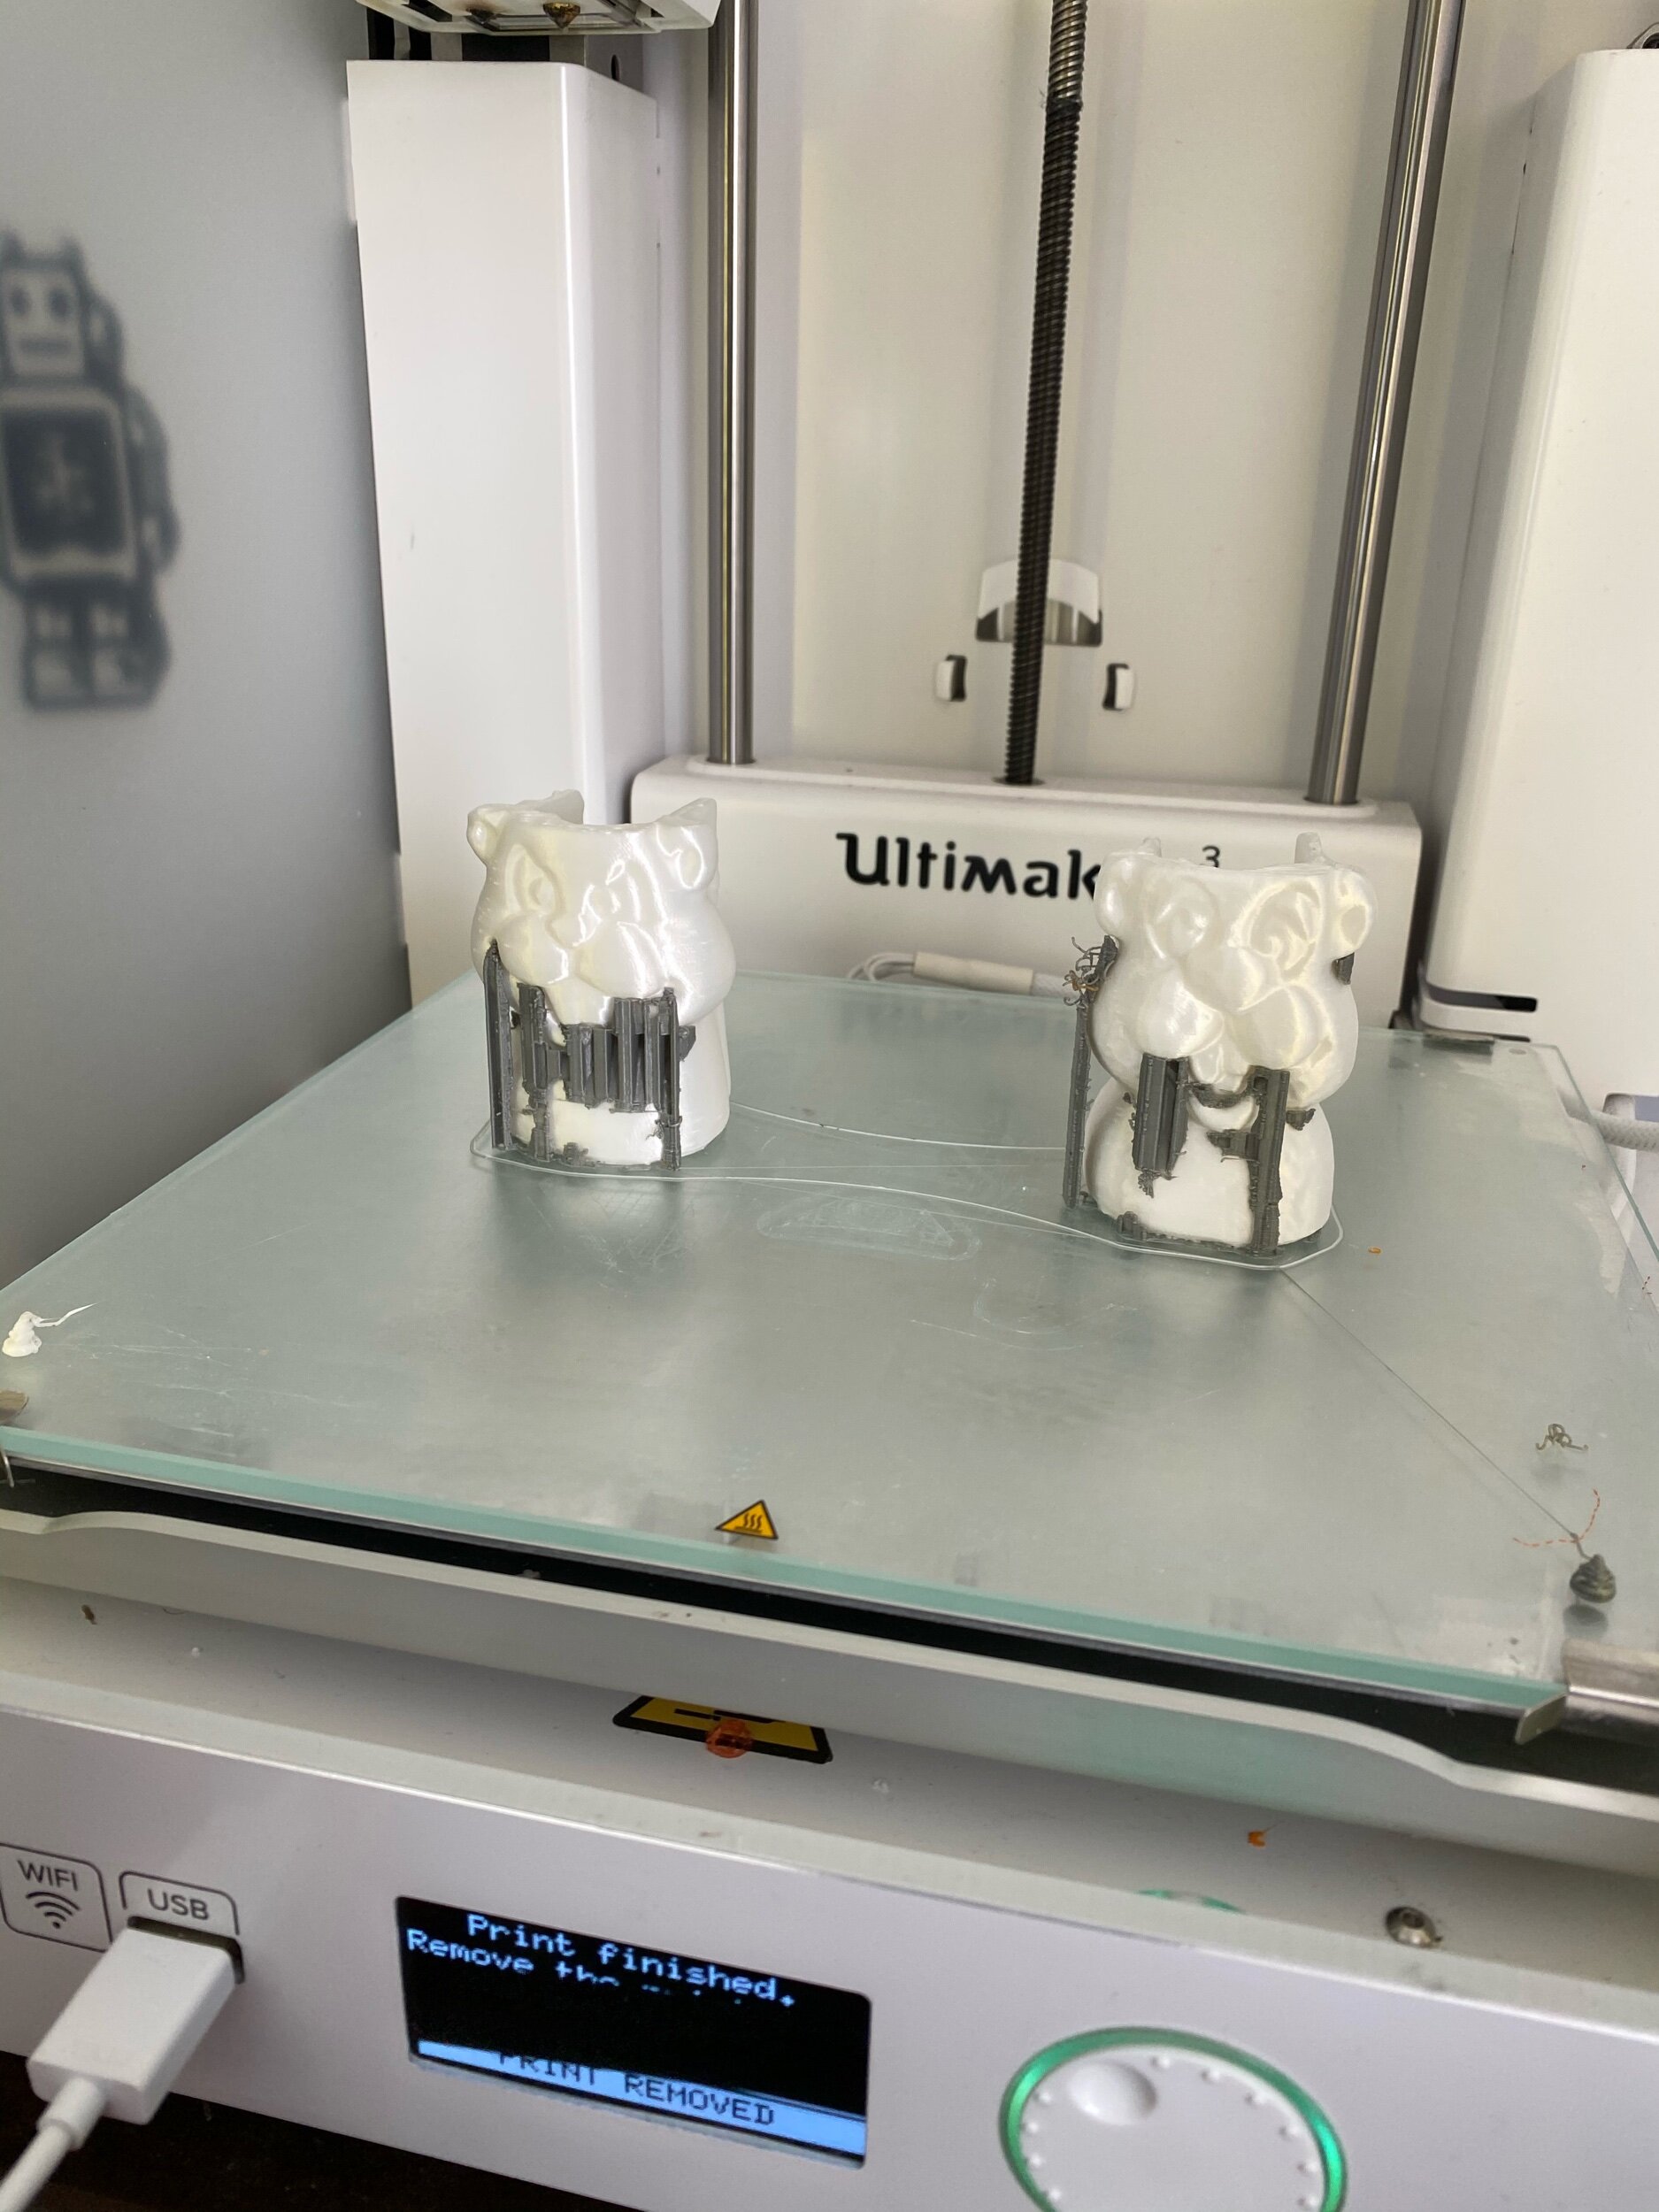
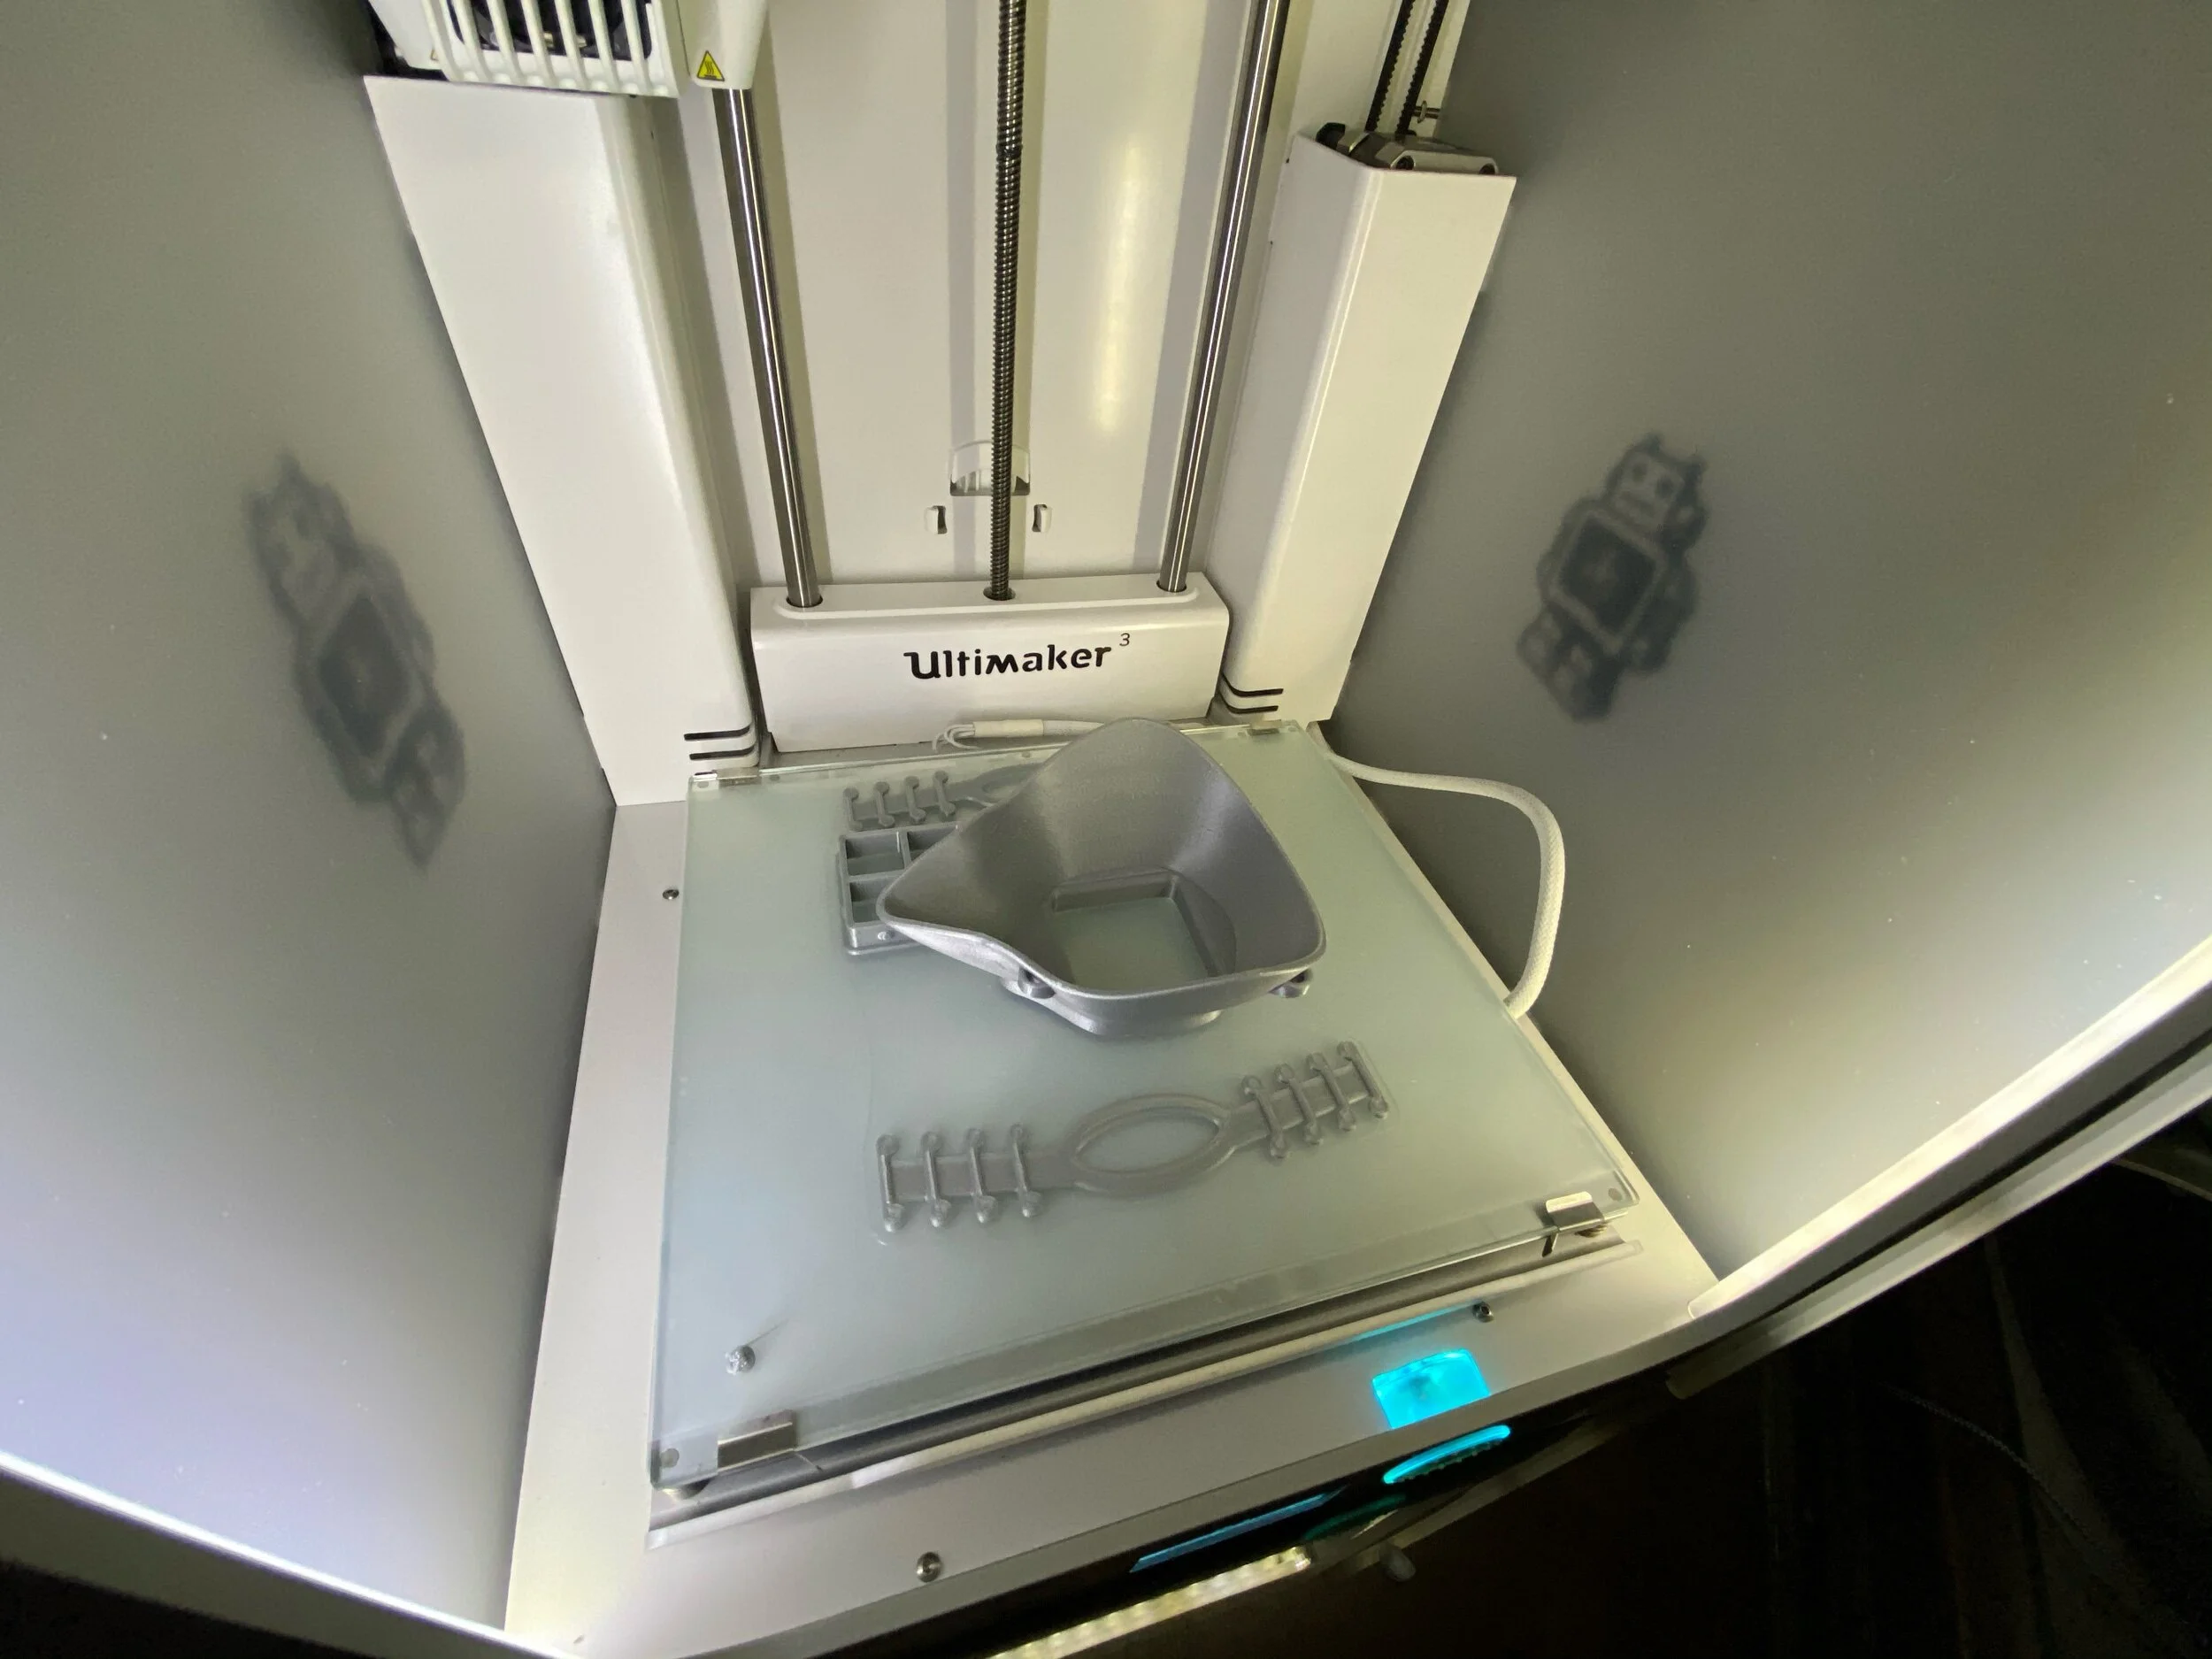
It took several test prints, I had some sort of vertical dotted line that would appear in the prints but not the model. I eventually solved for this by fusing the primitive shapes in the model into a single body.
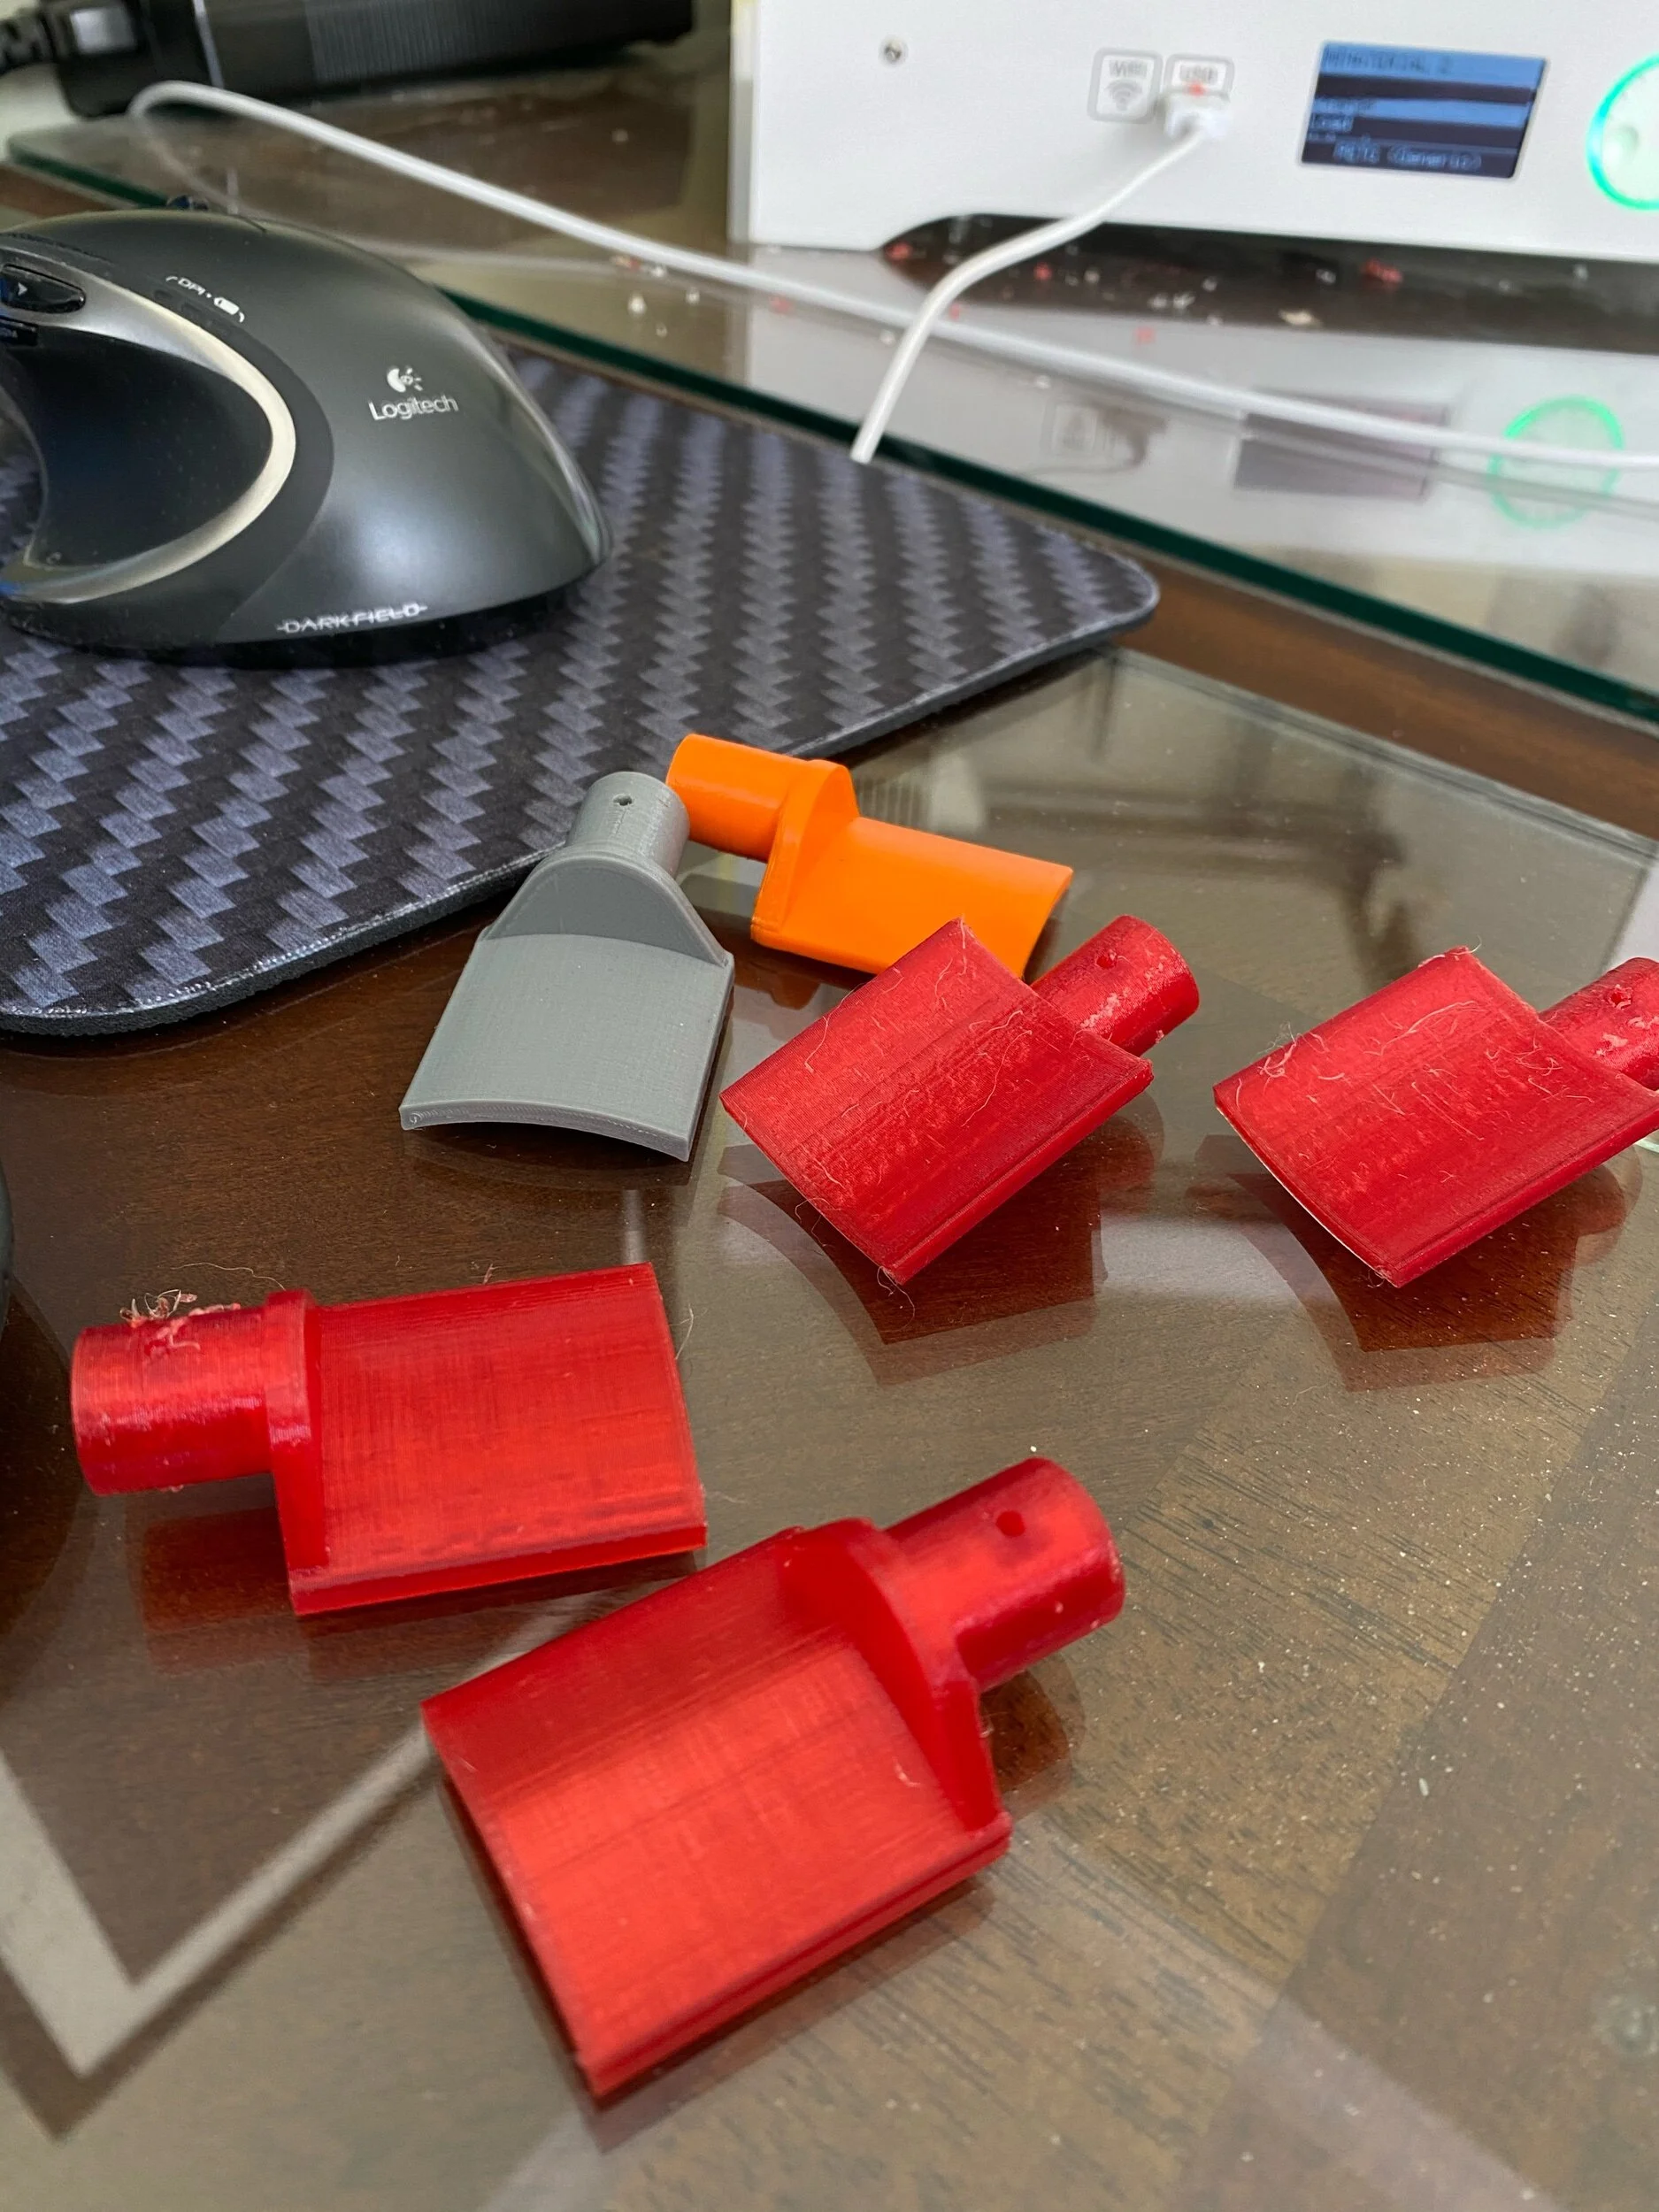
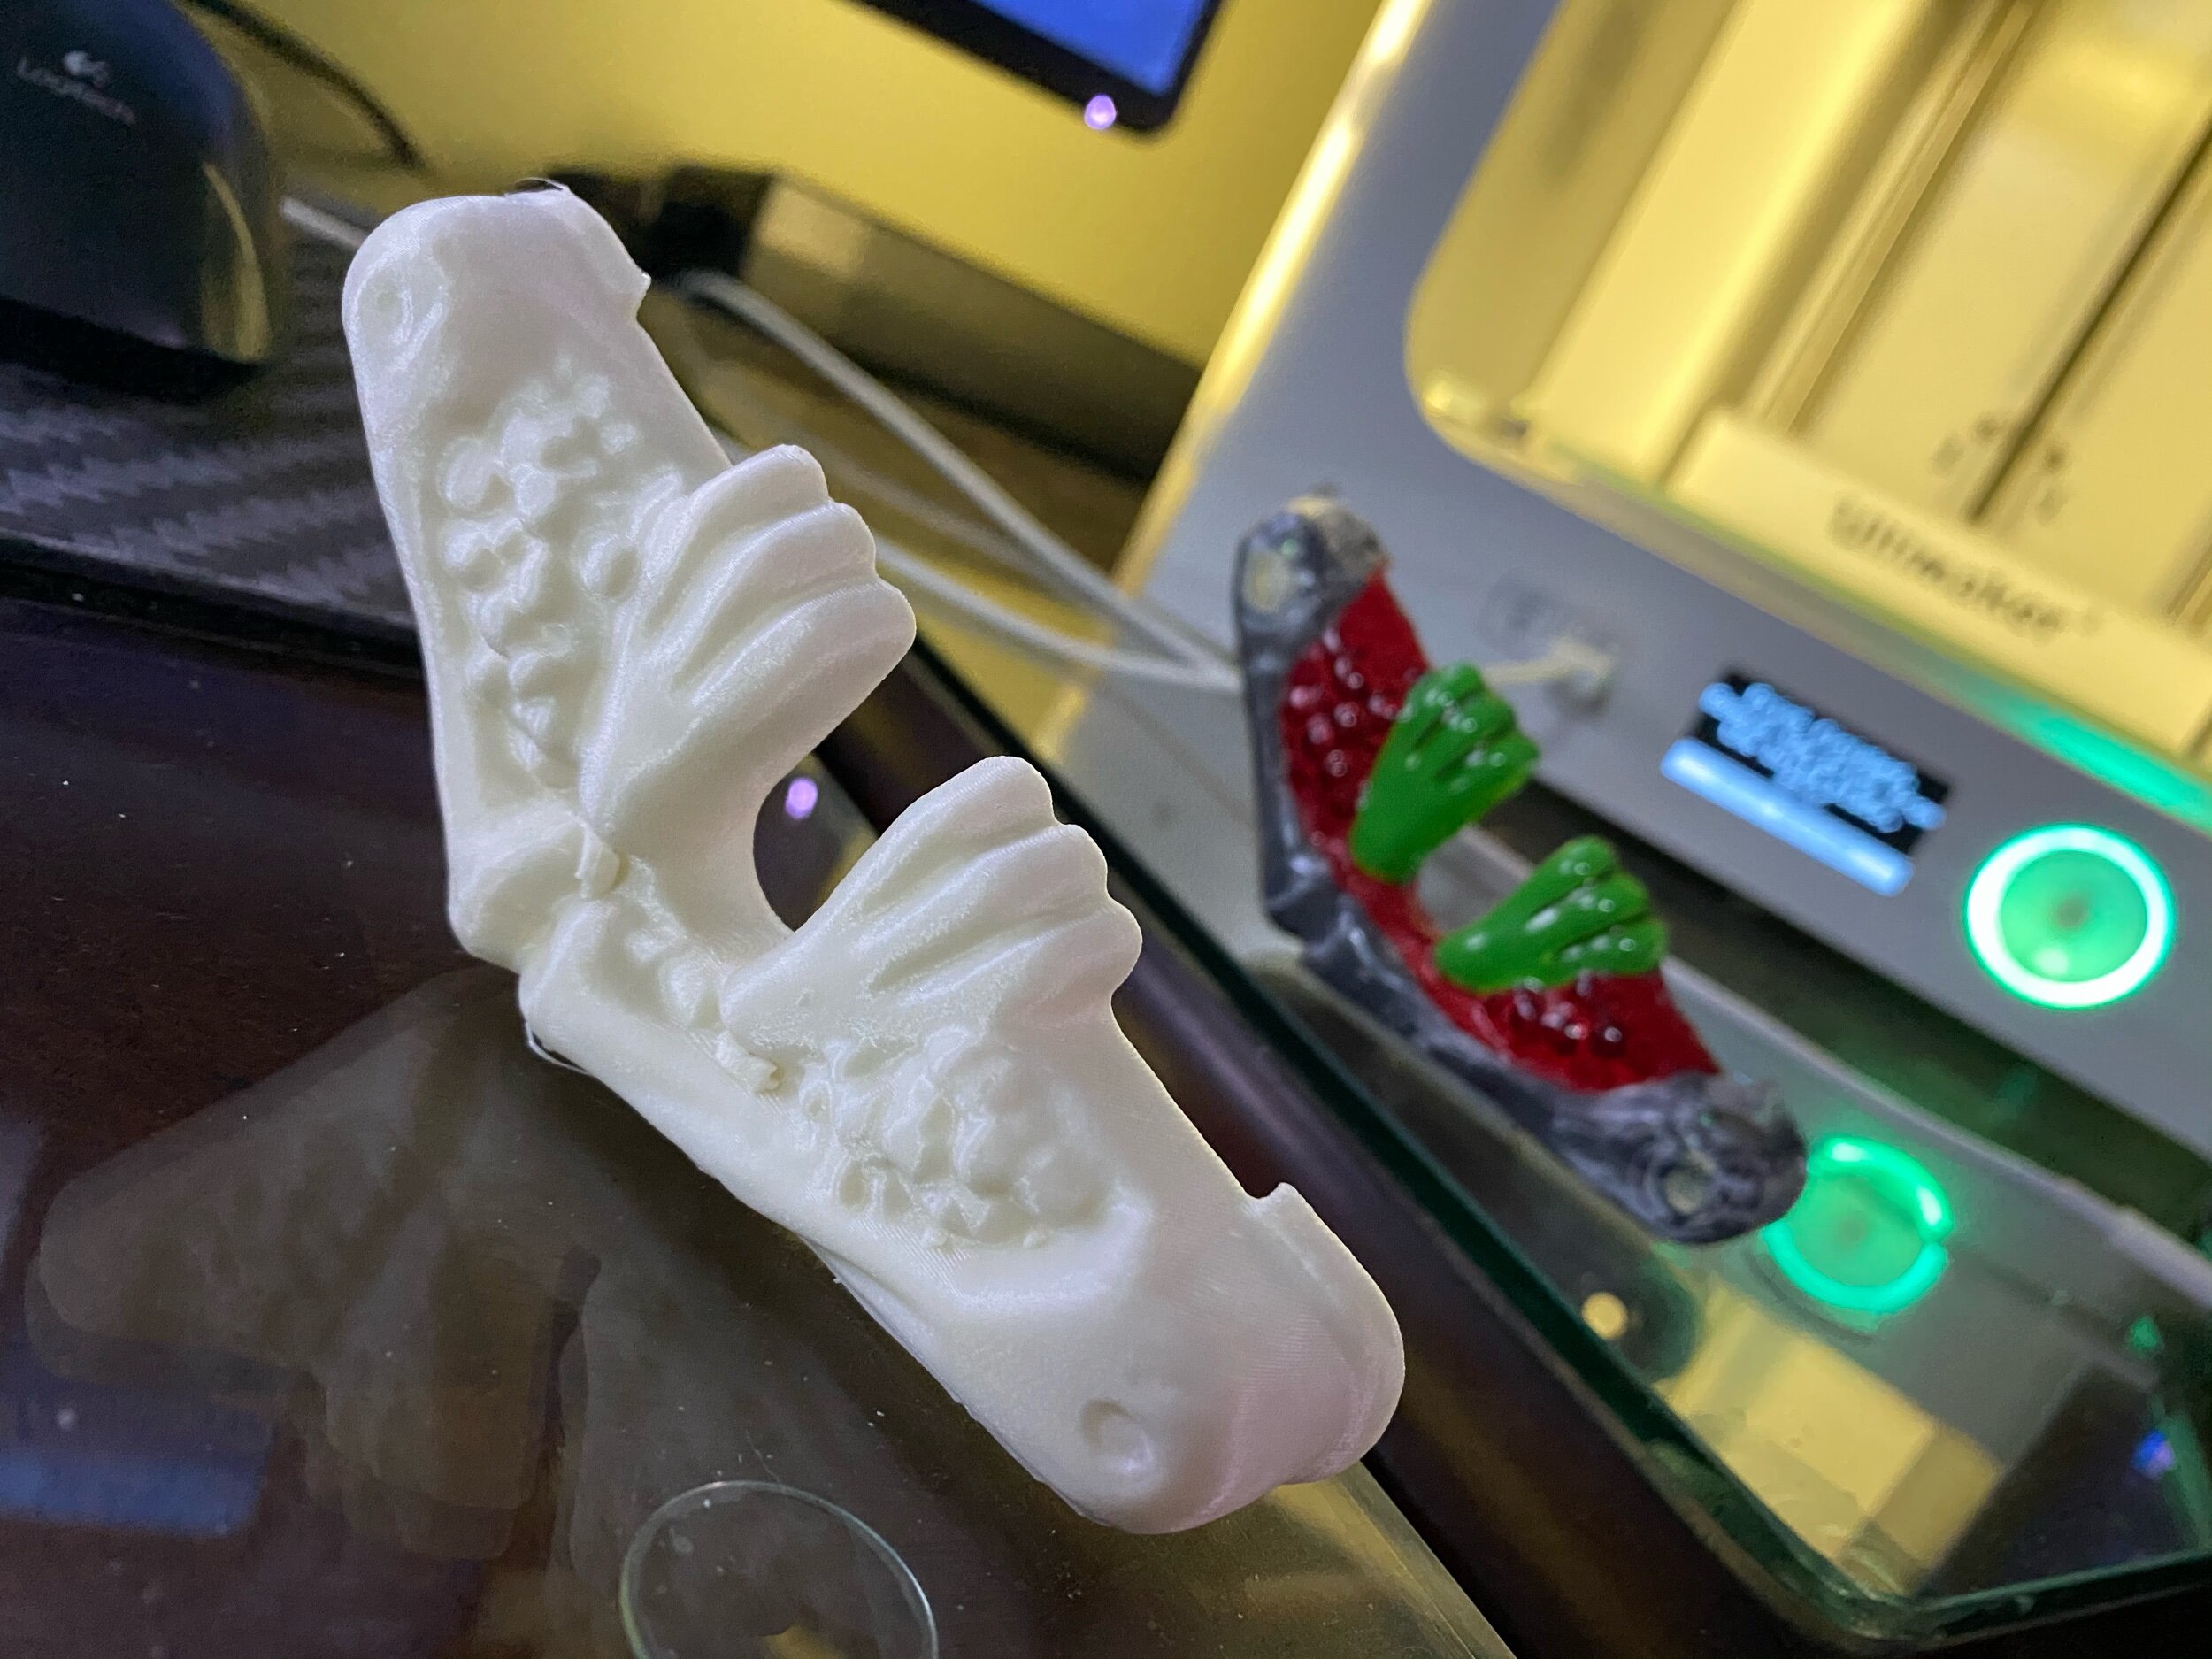
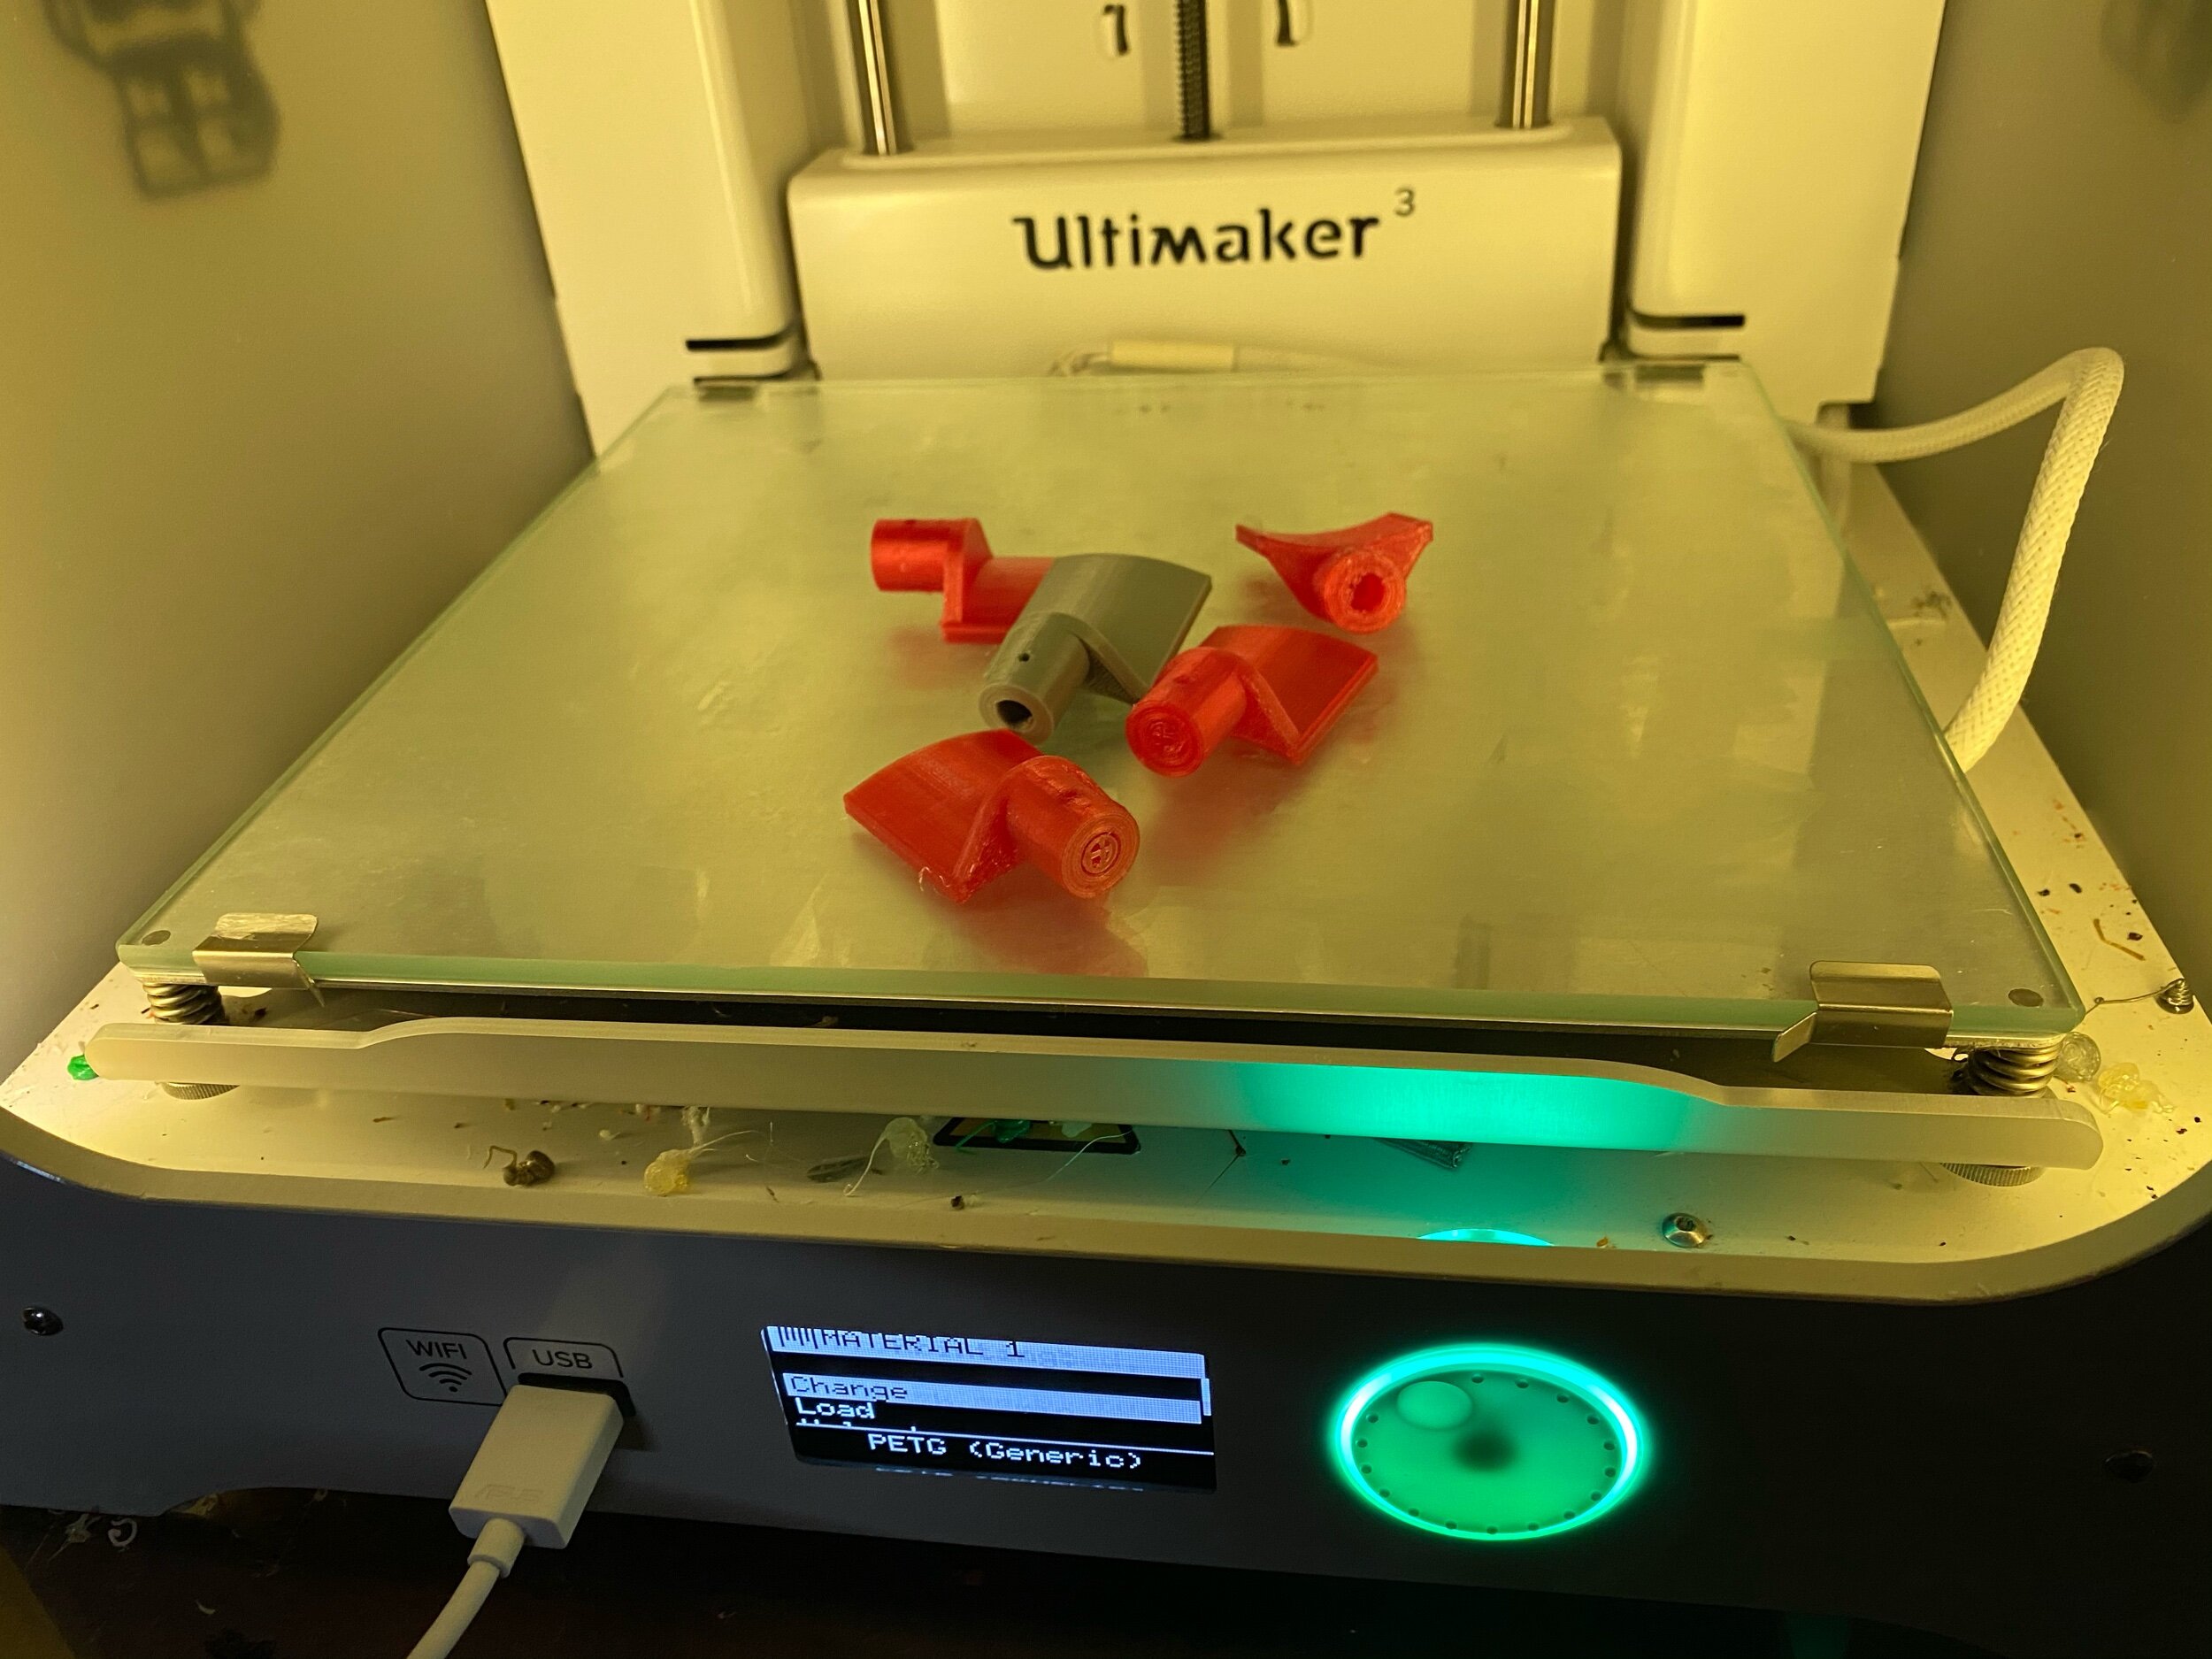
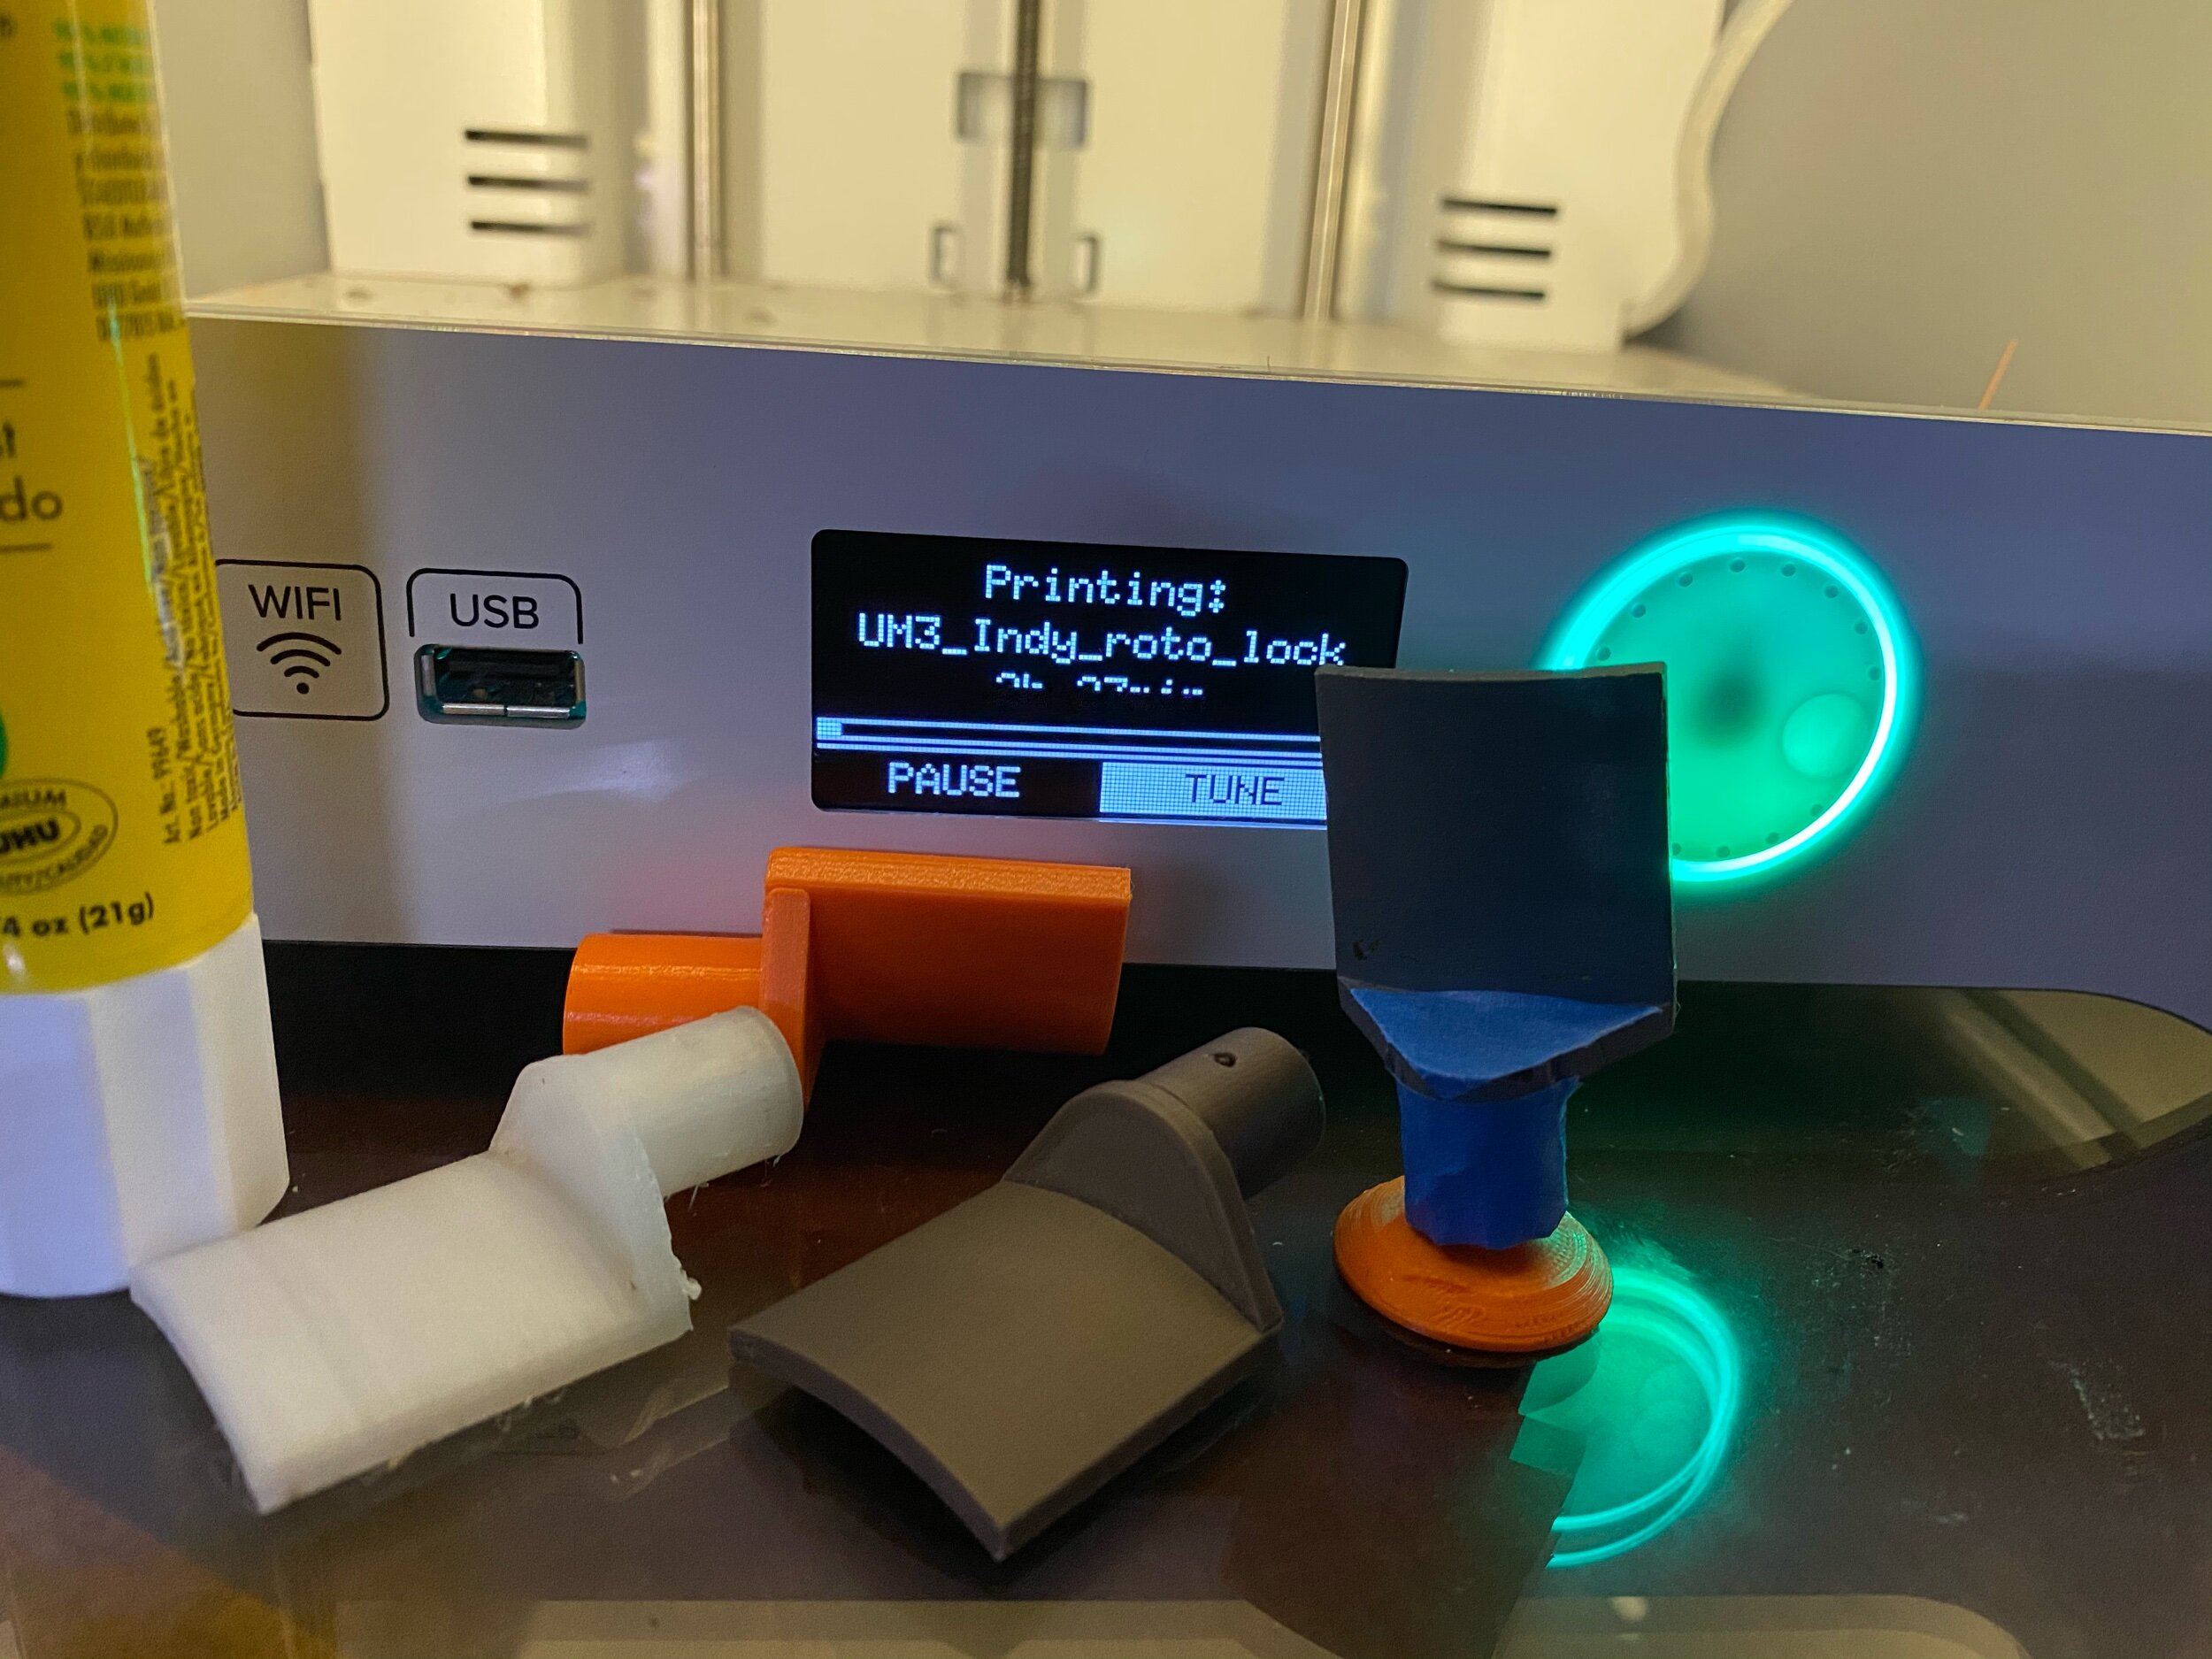
After a bunch of test prints, I finally got a usable result and fit-tested it.

The original part is translucent yellow. I’ll probably grab a roll next time I’m ordering filament and make a closer version from that translucent PETG.
Want this 3D model for your own personal use to get your Indy Operational again?
Enjoy! - https://www.dropbox.com/sh/lhoboi7ekkyvibf/AABO0BAPum7rI5t55TDHgQsxa