Foundation on AppleTV is an outstanding and wildly ambitious adaptation of Asimov’s books and stories. If you haven’t checked it out yet - go ahead and watch it. I’ll wait here.
Welcome back! Season 2 was a real banger and it is going to feel like a lifetime before Season 3 is available to be blasted into our eyeballs. So, maybe a cool prop can help the time go by more quickly?
While the pinball and arcade hobby already had me dabbling with 3D Printing, the Dial of Destiny Prop project really got me interested in building myself more film and television props.
I’ve started a few: An Iron Man Arc Reactor, a Johnny-Five SAINT robot, a few Halloween related things.
In this post we’re going to talk about The Prime Radiant from Apple TV’s Foundation.
The Prime Radiant

src: https://foundation.fandom.com/wiki/Prime_Radiant
In the Foundation Series, the Prime Radiant is an object built by Hari Seldon as part of his research in and development of Psychohistory. It gives people the ability to view the trajectory of cosmic-scale events in the past, present and future. A tool used to determine specific points in the timeline that can be influenced to drive humanity into a brighter future and shorten the dark ages that follow the fall of an Empire.
The book(s) make the object seem rather ordinary but the on-screen imagining of the Prime Radiant is something else entirely. Is it an atomic ash tray? Is it a quantum computer? Is it a tesseract? Maybe it is all of these things, I’m still not sure. I am sure, though - it is extremely cool looking.
Feeling a little bolstered from my Dial of Destiny experience, I set out in Shapr3d to start designing the Radiant.
About halfway to something close during a search session, I found a 3D model for sale that looks really good and is cheap. So $10 shortcut, engage!

I’ve had a few false starts at trying to design the model.
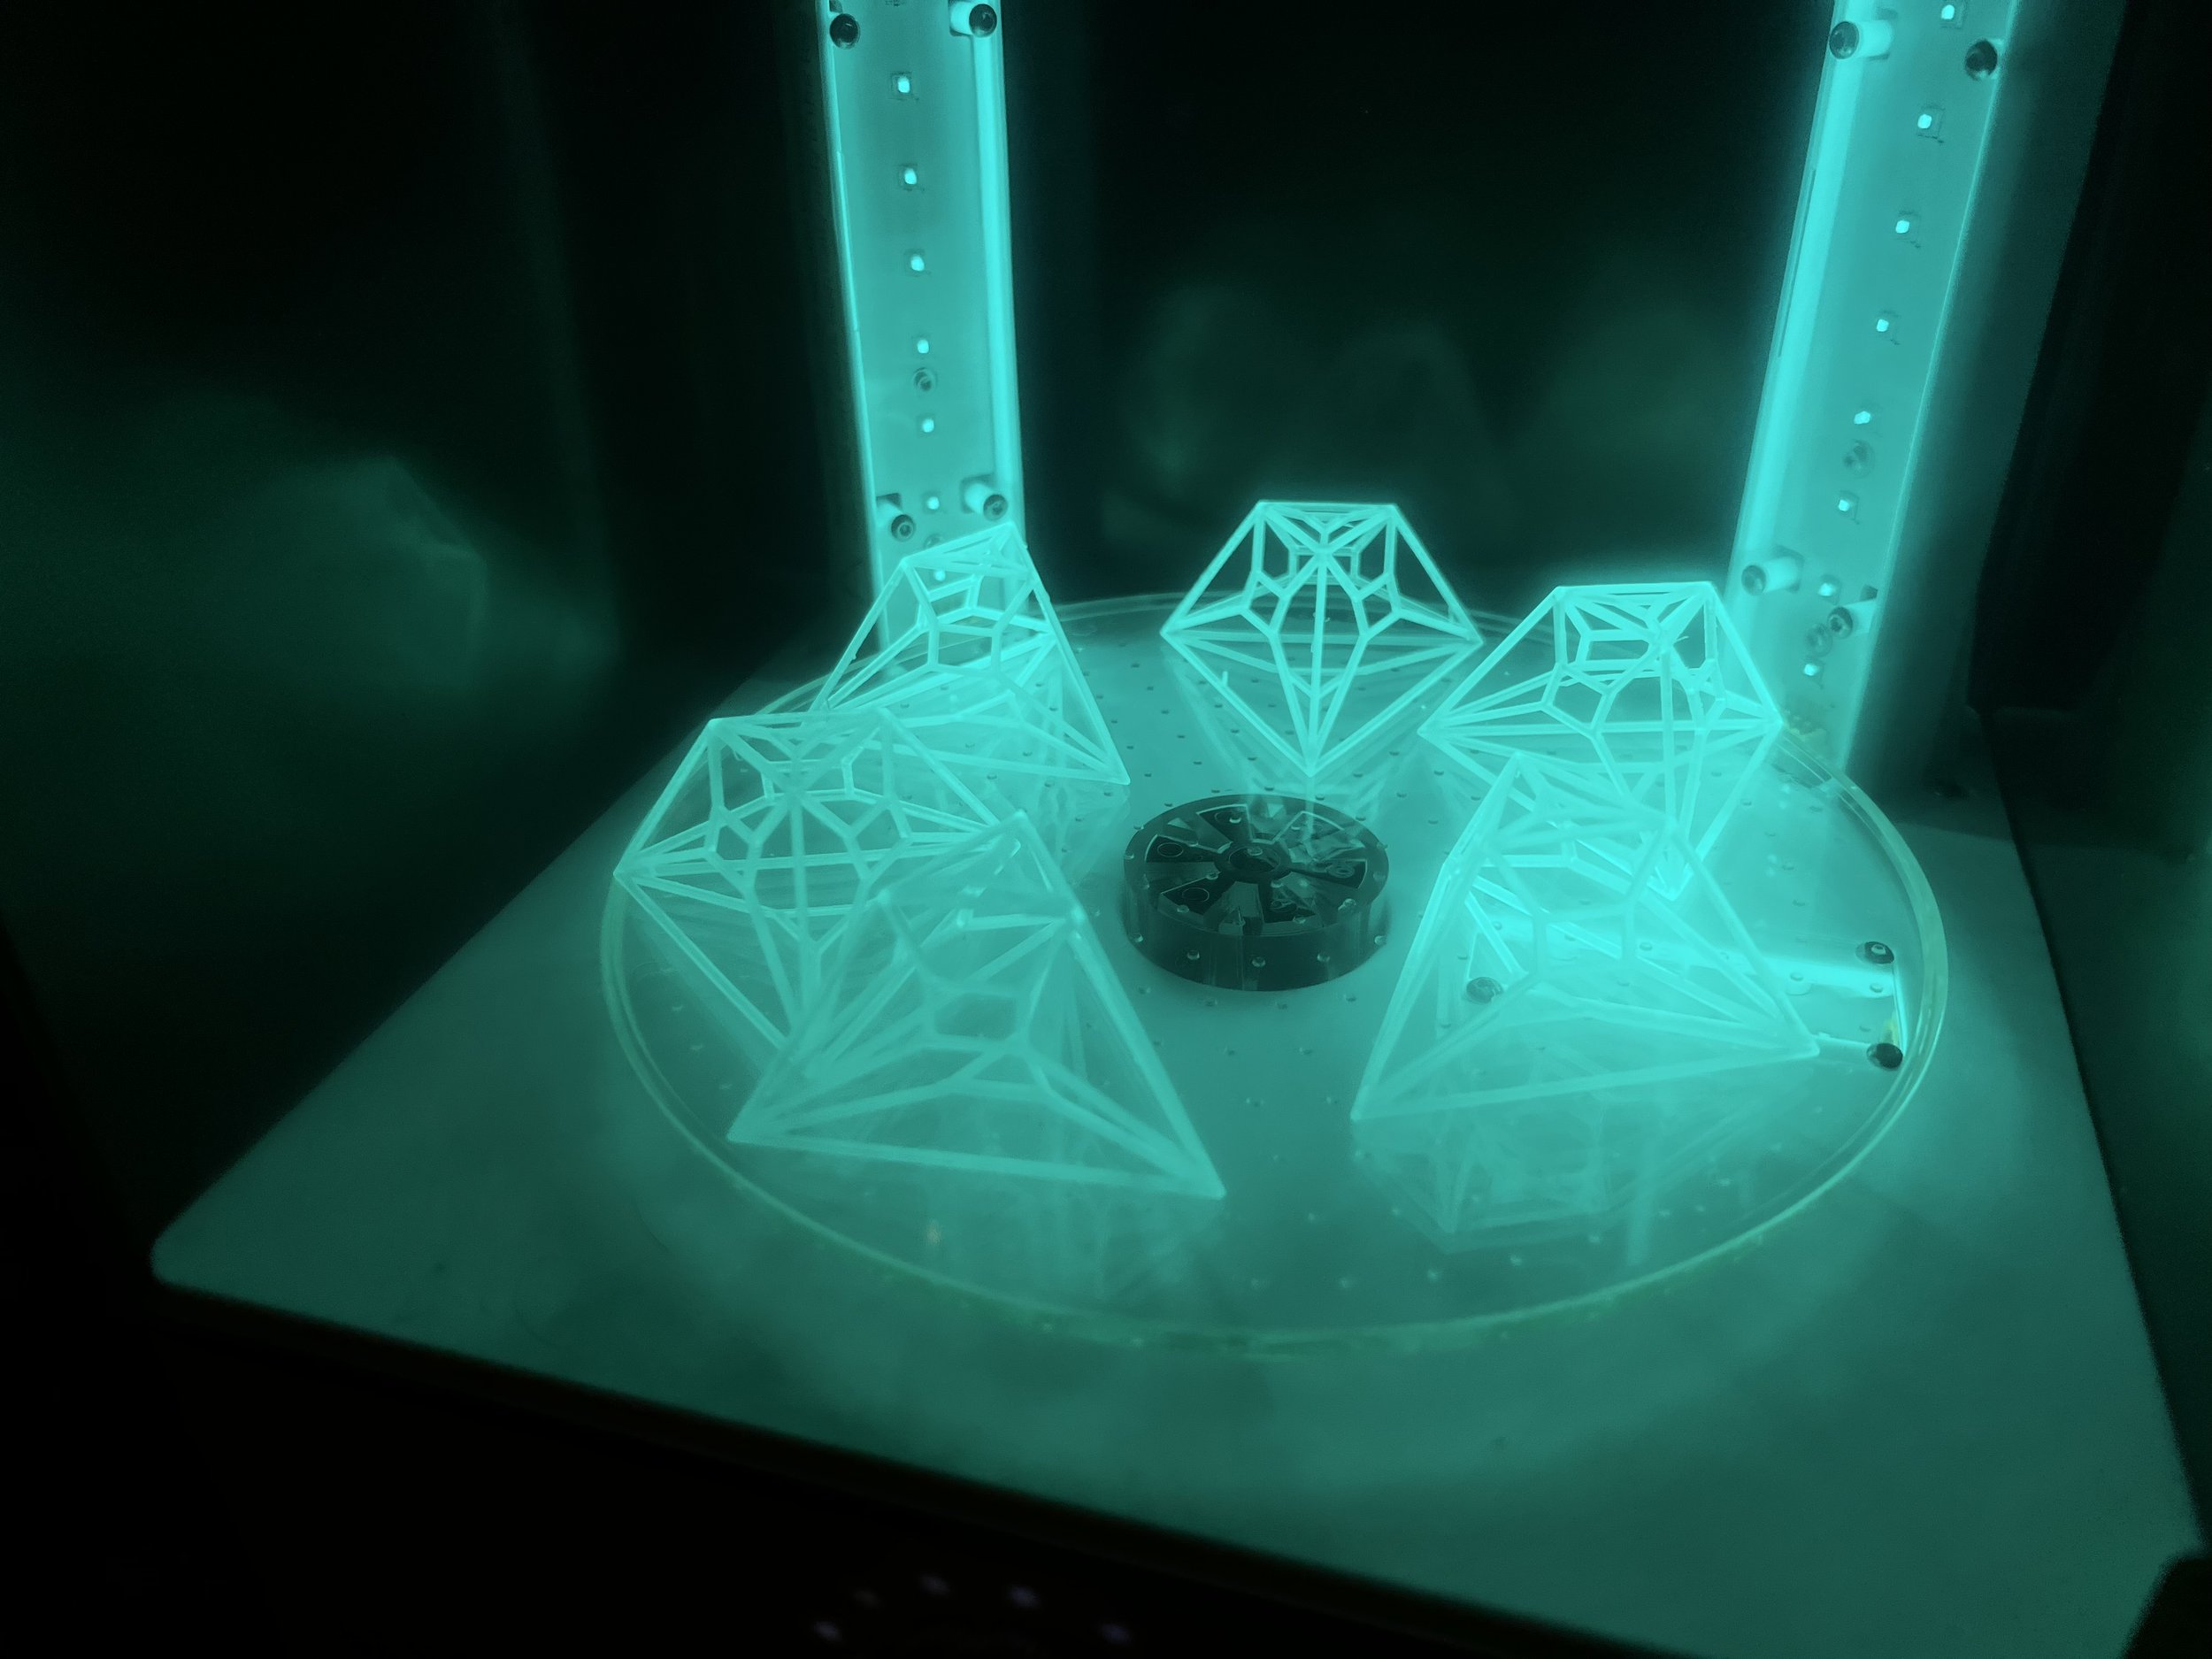
Resin Time
I attempted several FDM prints of the internal latticework using Bambu’s CF-PLA materials but the bridging work is extreme for that setup and the need for supports is going to introduce a challenge. Besides, the tetradecahedron outer shell needs to be clear, so I’m going to have to get into Resin for this project or get really good at cutting acrylics or outsource that part to a glassblower. For this project, I’m using an Elegoo Saturn 3 Ultra. For the clear acrylic, I’ve been seeing buzz regarding AnyCubic’s High Clear Resin, so I ordered a case of it work with.
Attempt Number One
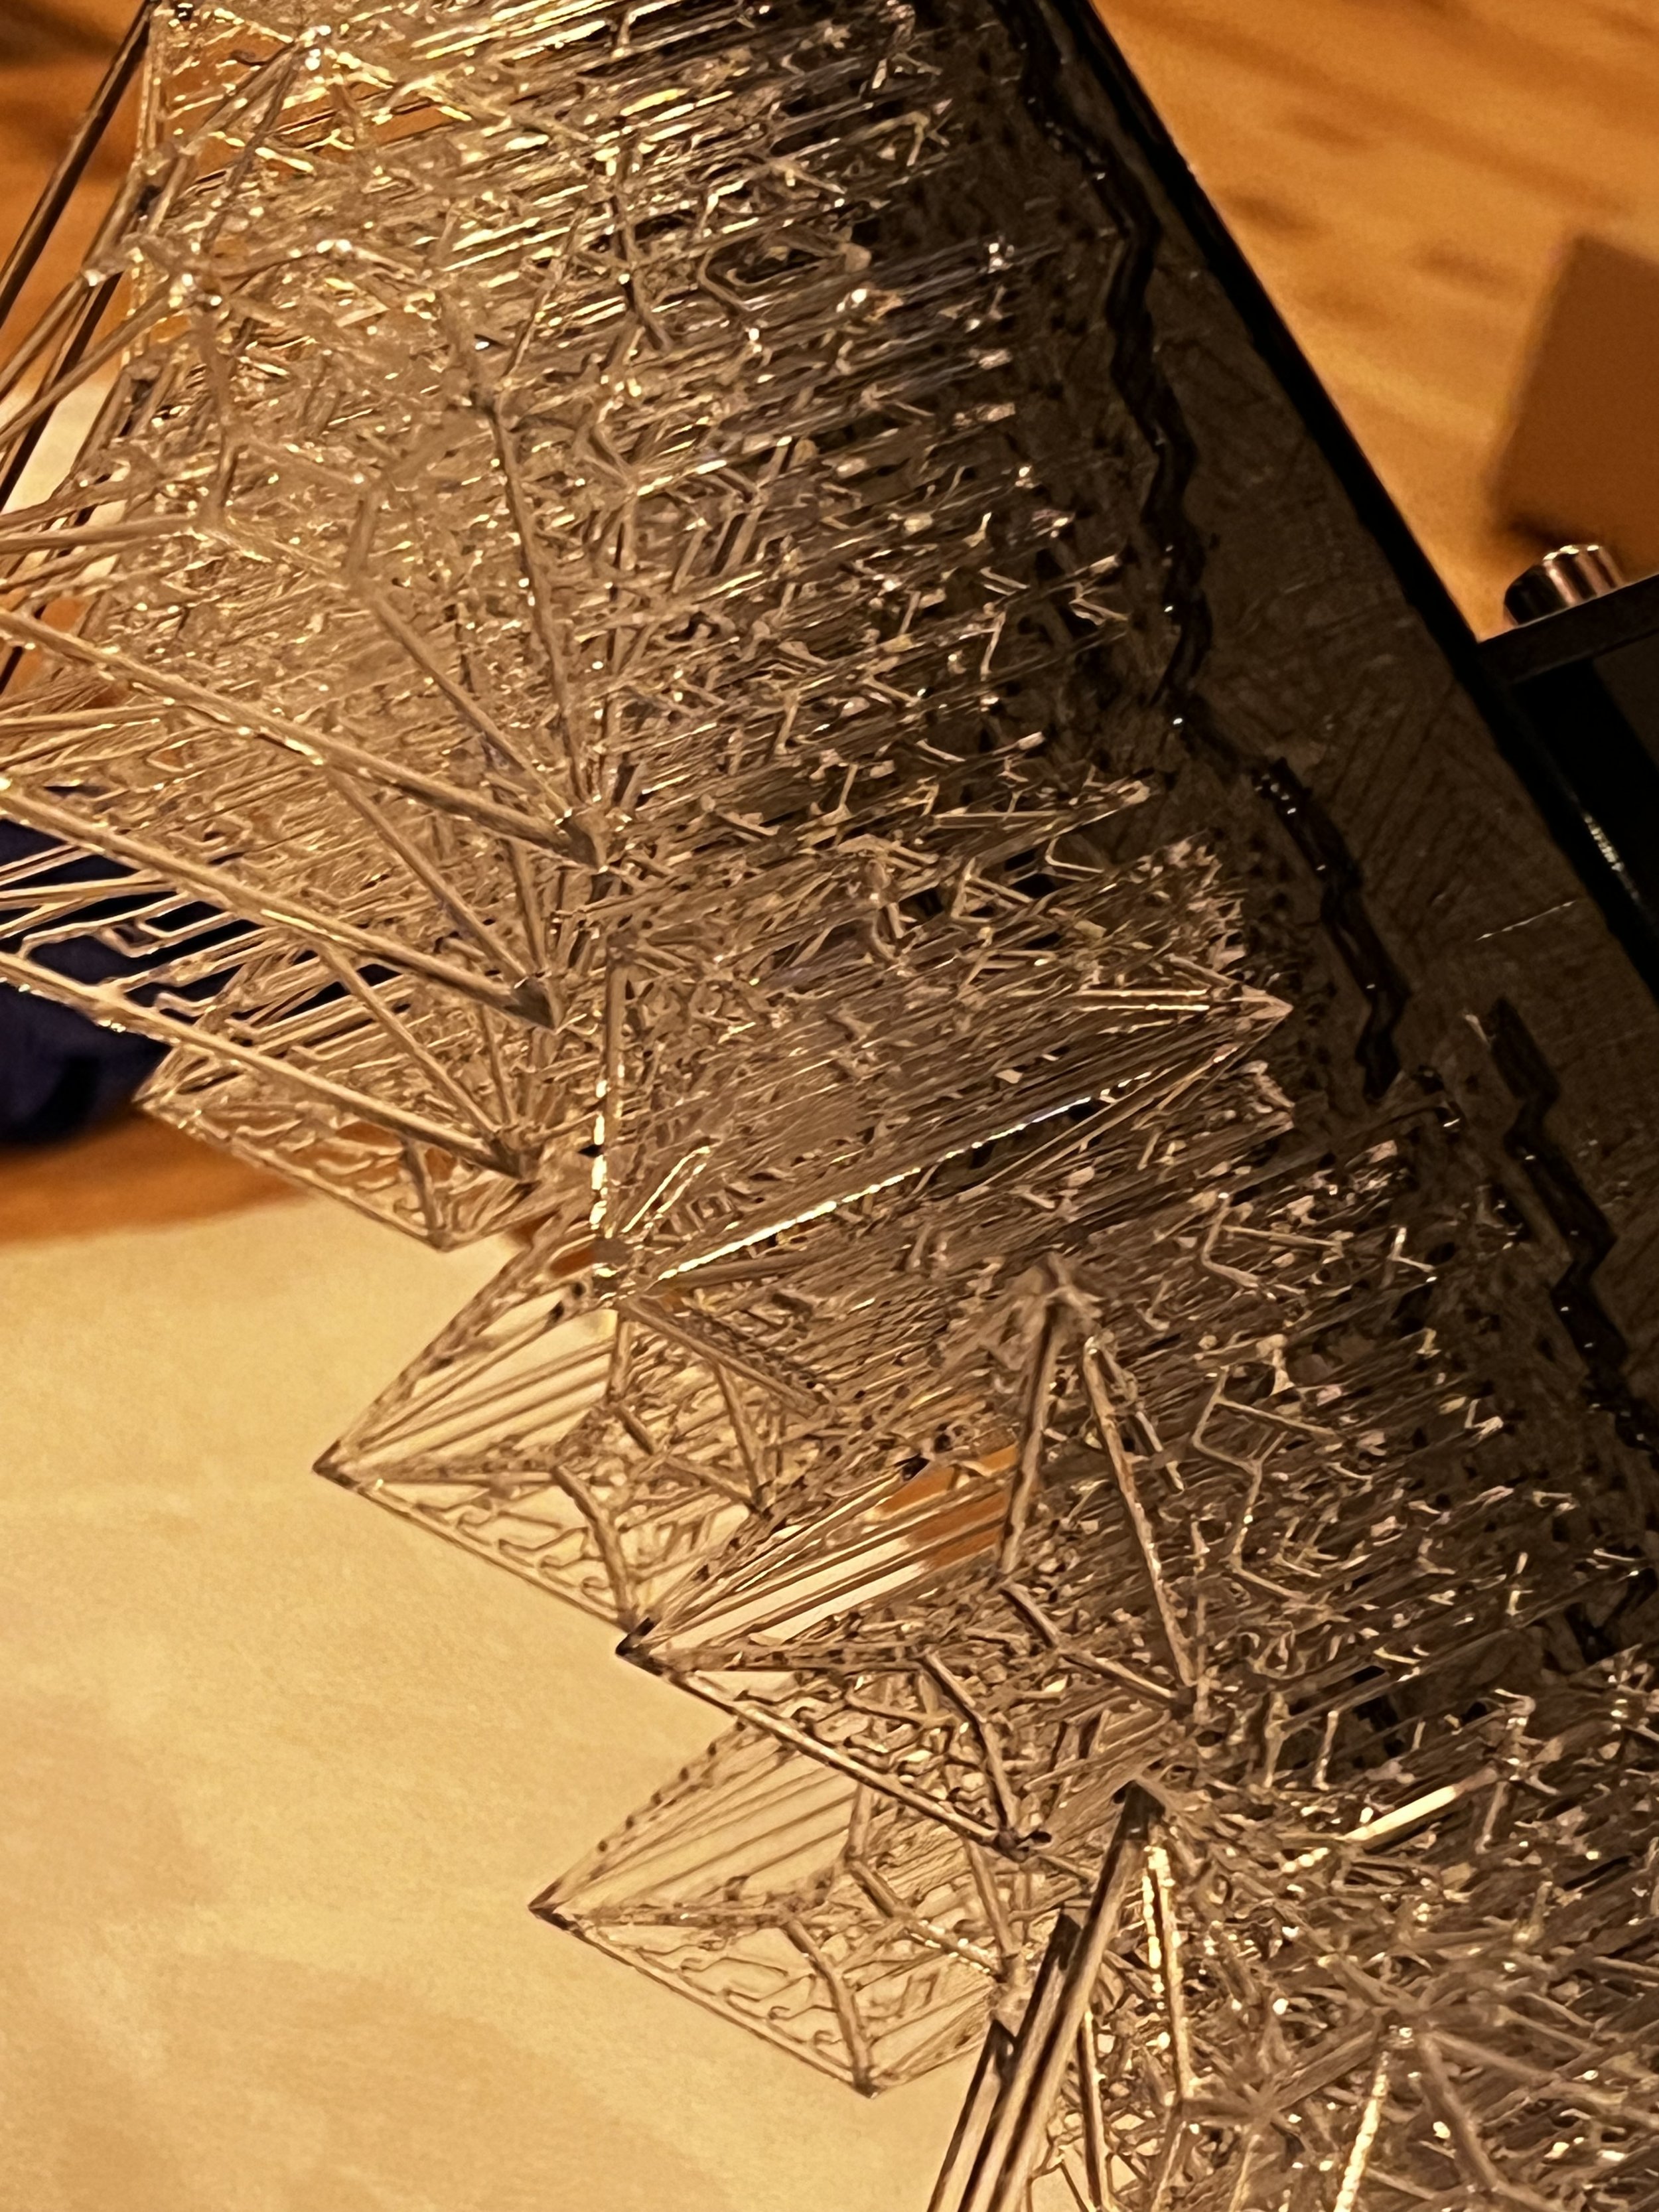
This model is divided into the tri-lattice, the quad-lattice, a central core and two shell parts. The lattice is extremely delicate at 100% scale and support removal was a real P.I.T.A.


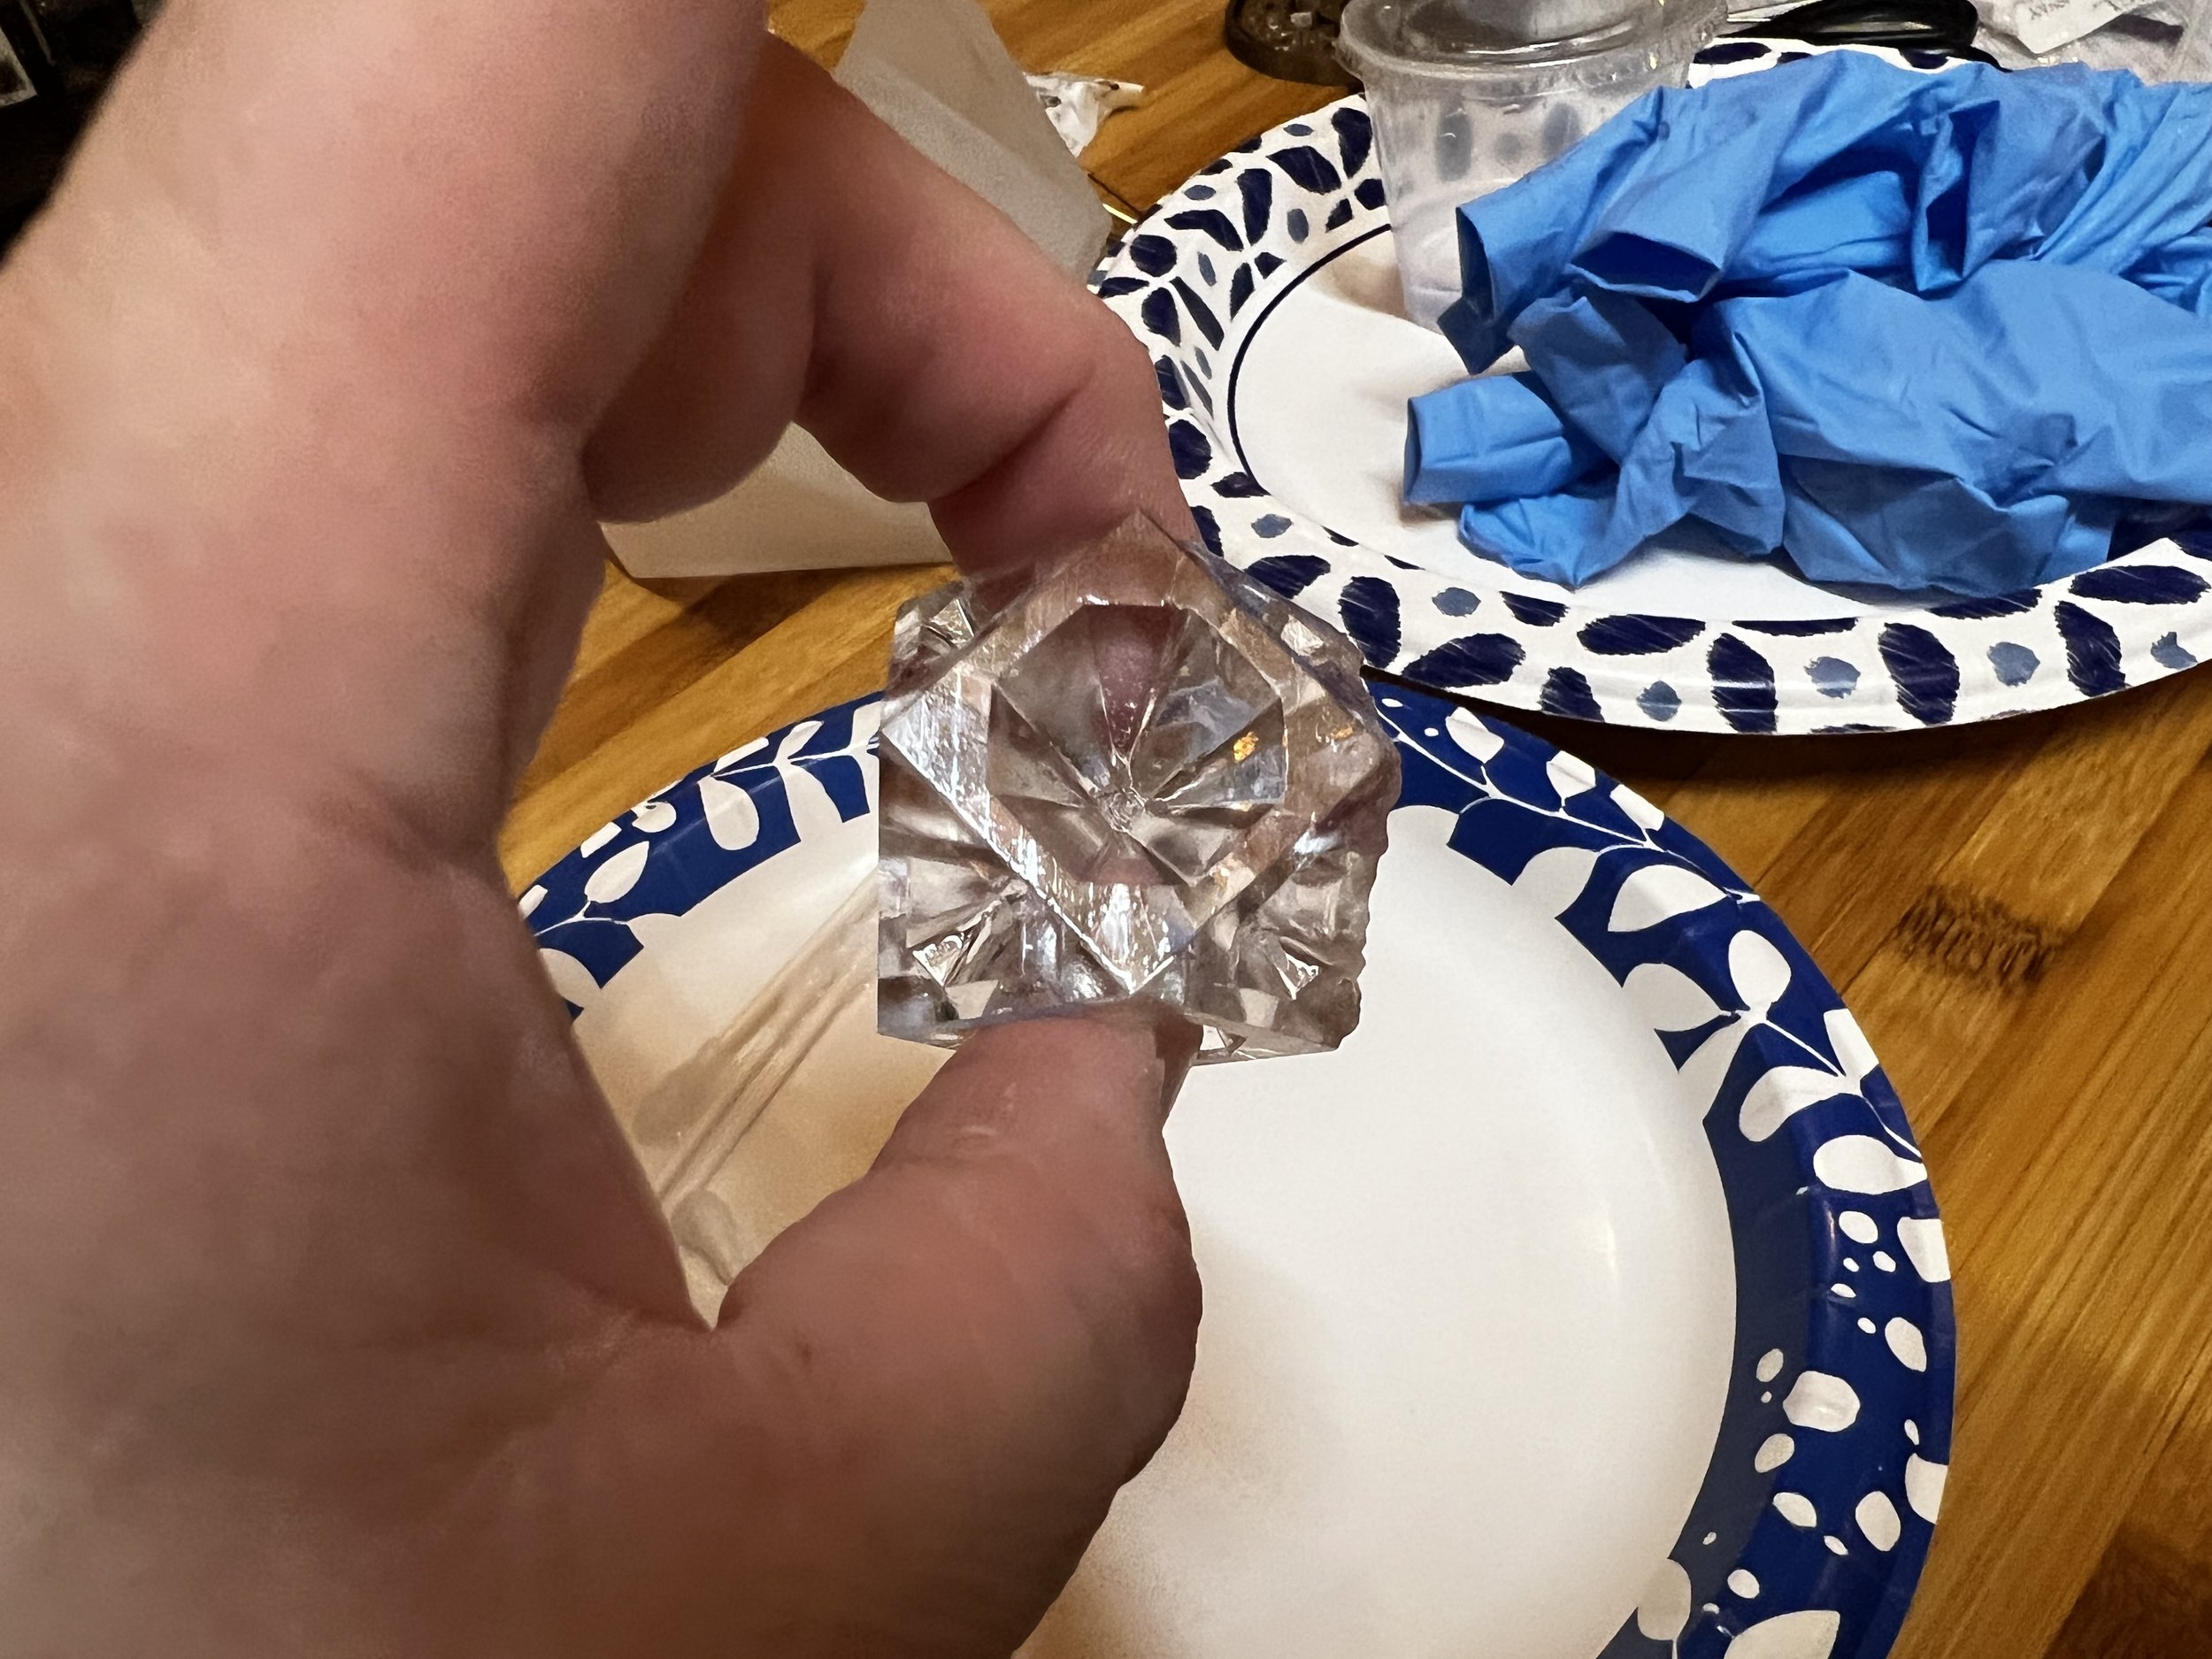

Attempt 1 Conclusion
Attempt 1 was a 100% scale attempt using AnyCubic’s High Clear resin. It did indeed come out pretty clear following the manufacturer’s instructions but with one giant trade-off. You can never touch it. AnyCubic’s resin is indeed clear and the material properties are pretty good for this application. However, they instruct you to varnish the cleaned and cured model with their resin and a quick cure to bring back the clarity that is lost during cleaning. This varnish step makes the object EXTREMELY tacky and you basically can’t handle the model.
If you ask me that’s a pretty giant omission by all of the shill youtube and 3d print blogs out there gushing about this resin.
As for the $10 model files, it was nice though I’m still inclined to build my own to potentially give myself the chance of breaking the shell components up differently. Maybe in a future attempt as these files are good enough for now.
Attempt Two
In this attempt, I increased the scale of the model to simplify support removals from the lattice. I’m still using the AnyCubic High Clear Resin, I have ten bottles left after all. Instead of the resin-as-varnish process provided by the manufacturer I decided to post-process the shell components in a way that is similar to headlight restoration.

Stepped wet sanding from 200 up to 1500 grit, then automotive clear coat.
Attempt Three
On the third attempt, I scaled the model back down to 110% of the original model. The size gives the internal latticework more substance for easier support removal and feels good as a size. Still fighting clarity issues I thought it might be interesting to pour the model solid with clear resin. That was sort of a trainwreck, actually.

I drilled a small hole in the completed assembly, brushed on some resin and uv cleared it to fuse the shell halves together. I used a ketchup squeeze bottle and a process of fill-flash-fill-flash to try to pour the shell full of resin.
This resulted in a comedy of errors. First was that my resin-sealed shell seems leaked, creating a mess to clean up and borrowing future Dremel processing problems. The other issue was the heat exchange of the resin curing process blasted some of the latticework paint off the lattice.
Attempt Four
On attempt 4, I kept with the scale of above but opted for a different varnish solution. I think Automotive Clear Coat “should” be the best choice but the high humidity of the Alabama summer and doing this in my garage is making for poor results.
This time I used Liquitex Gloss Varnish, available from Amazon, Michaels and Hobby Lobby. It seemed to be a bit more forgiving when applying in multiple coats.
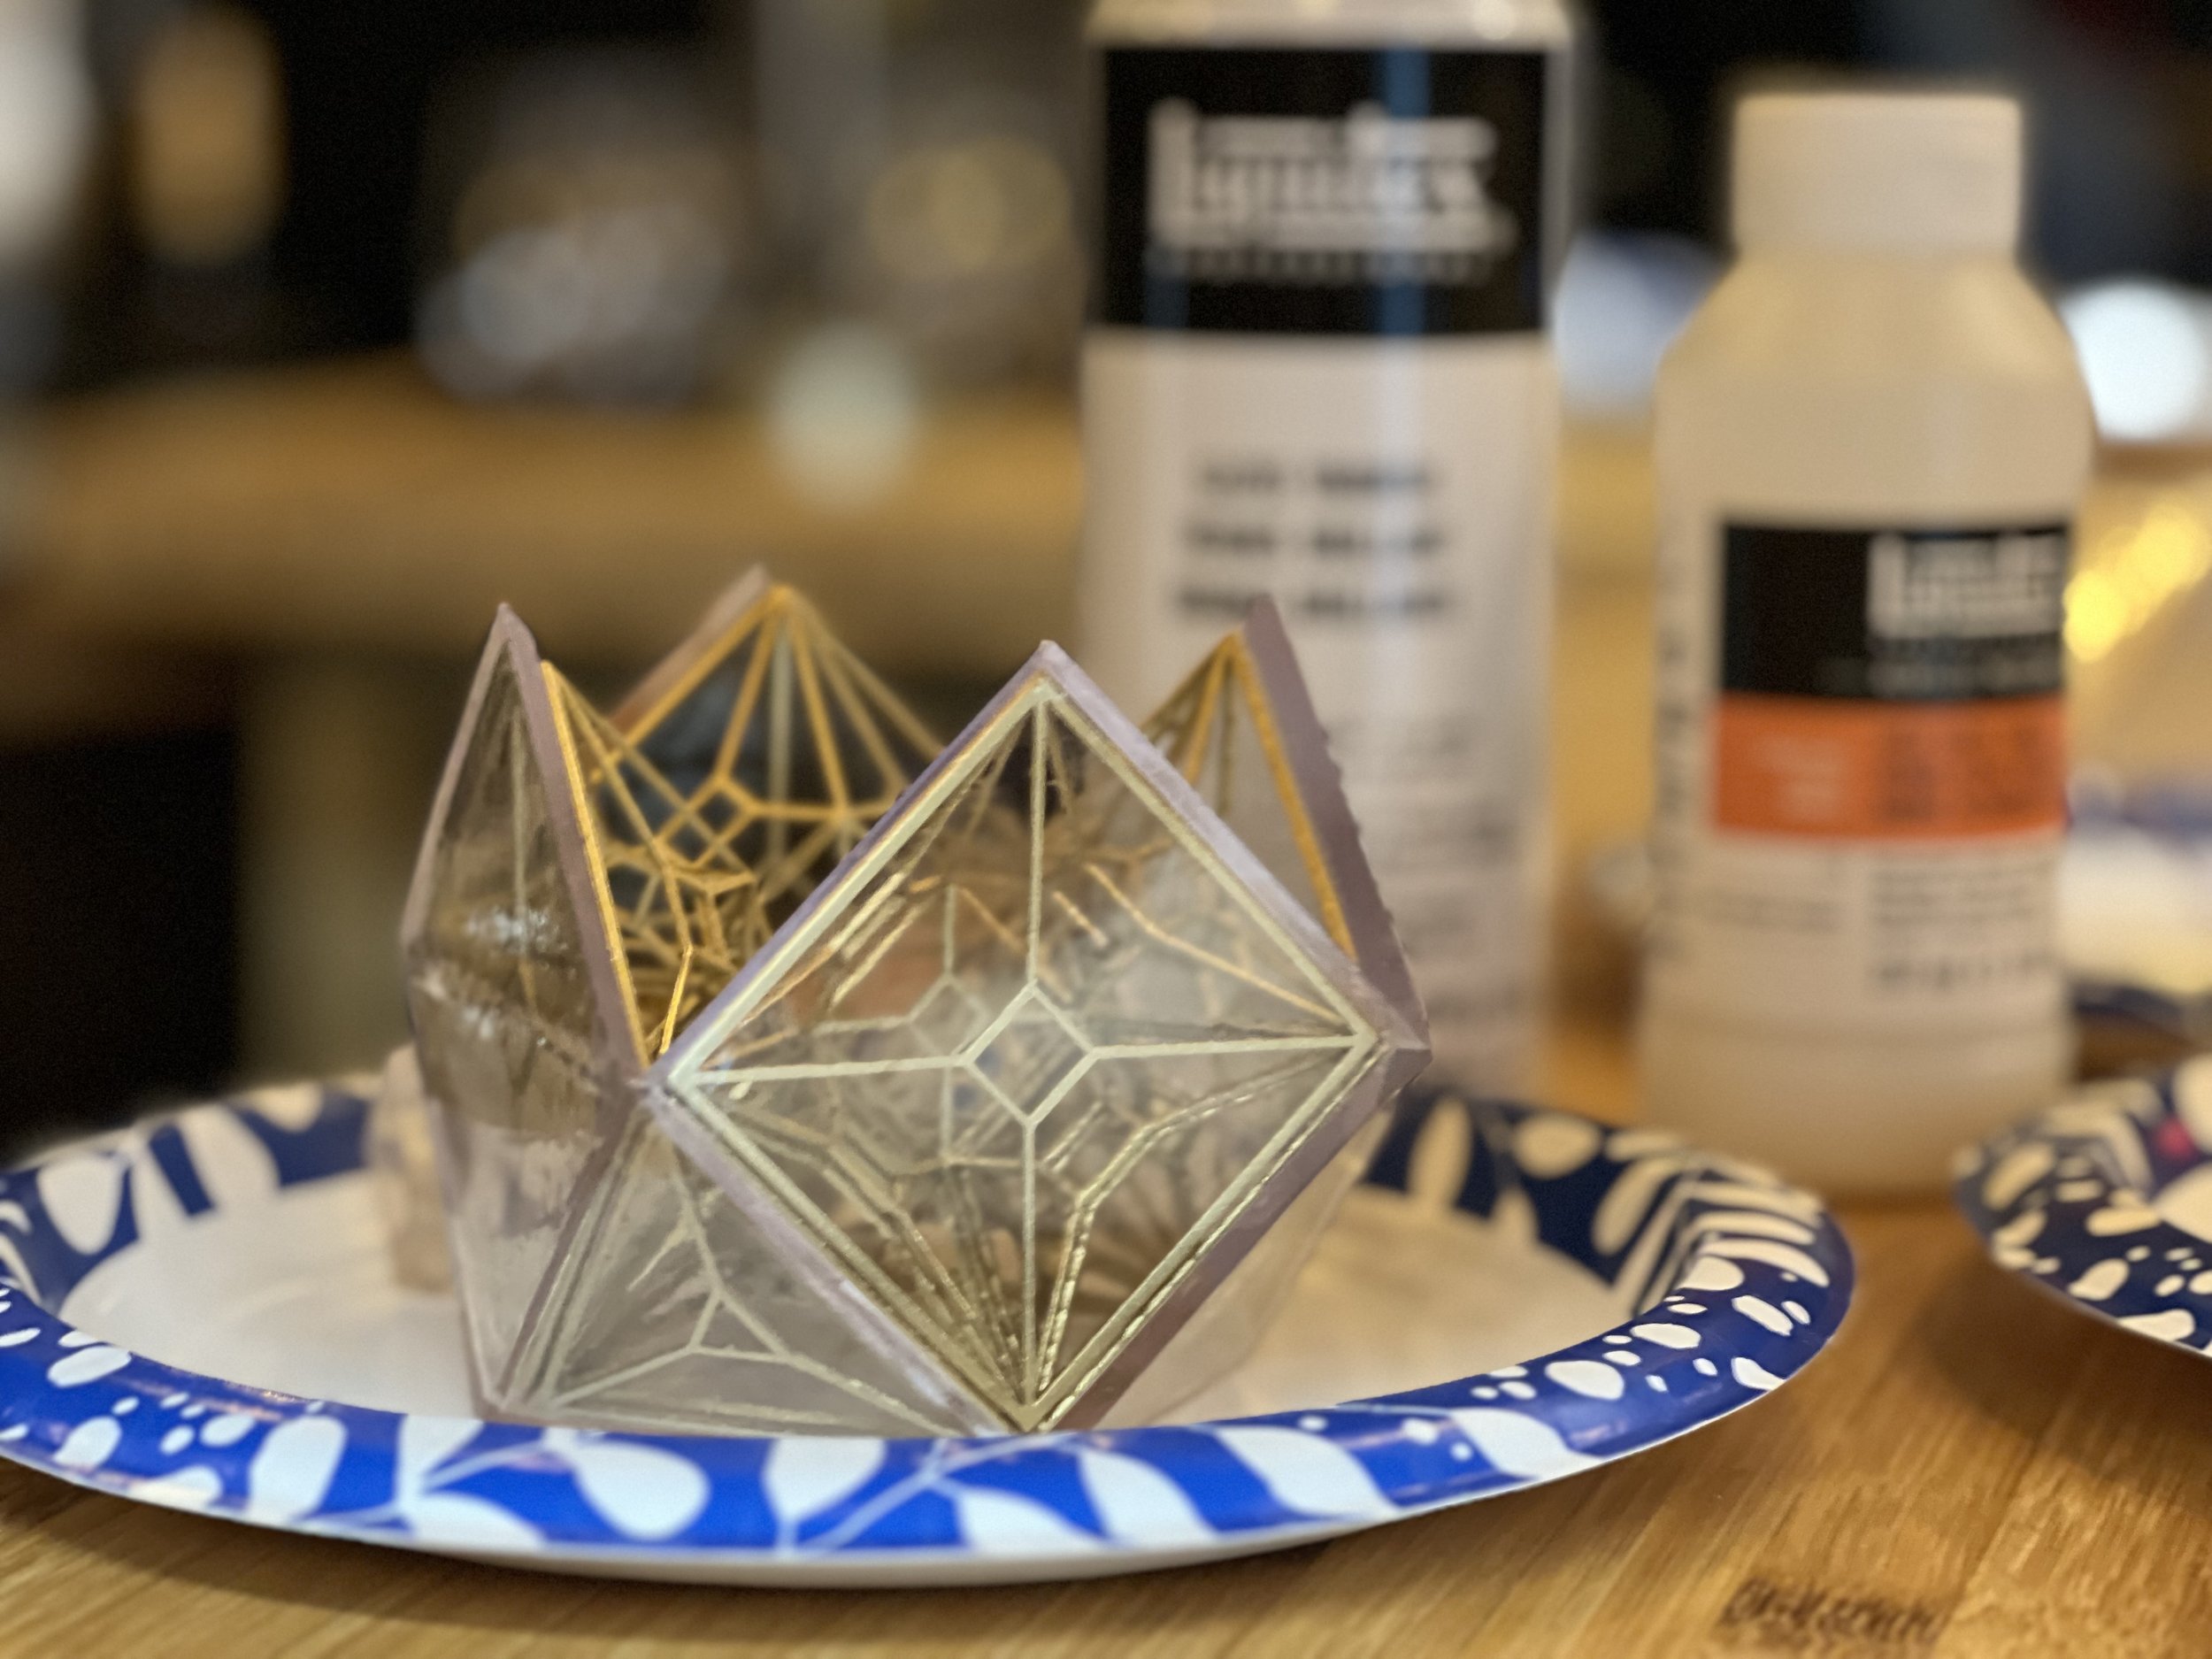
The results were not perfectly clear but by far the best balance of clear but not-sticky and evidently UV resistant to yellowing.
Resin and your Lungs

I did a fair amount of sanding and stripping on the shell halves. At first, to get support marks out and bring out clarity but later using Citris Strip to try to removed failed coats of clear that had surface flaws.
When sanding, I wore a mask and used gloves with the majority that being wet-sanding inside a bucket of water. Some sanding underwater and some sanding above water to observe the high spots and know where to apply pressure.
Note the white residue on the bucket.
This bucket was only ever used when sanding resin (not clear) and this is after it was rinsed with a degreaser and fresh water.
It persists through an industrial degreaser and high pressure water so imagine what it could do in your lungs. Acetone or Naphtha can certainly clean it off the bucket but I wanted to highlight the persistence and long term health considerations of fine resin dust. Be careful sanding! Work in a well-ventilated area, wear a mask or painting respirator and use water to keep the dust down.
DO NOT sand (or any process, really) resin in your kitchen sink or anywhere you may later use for food prep.

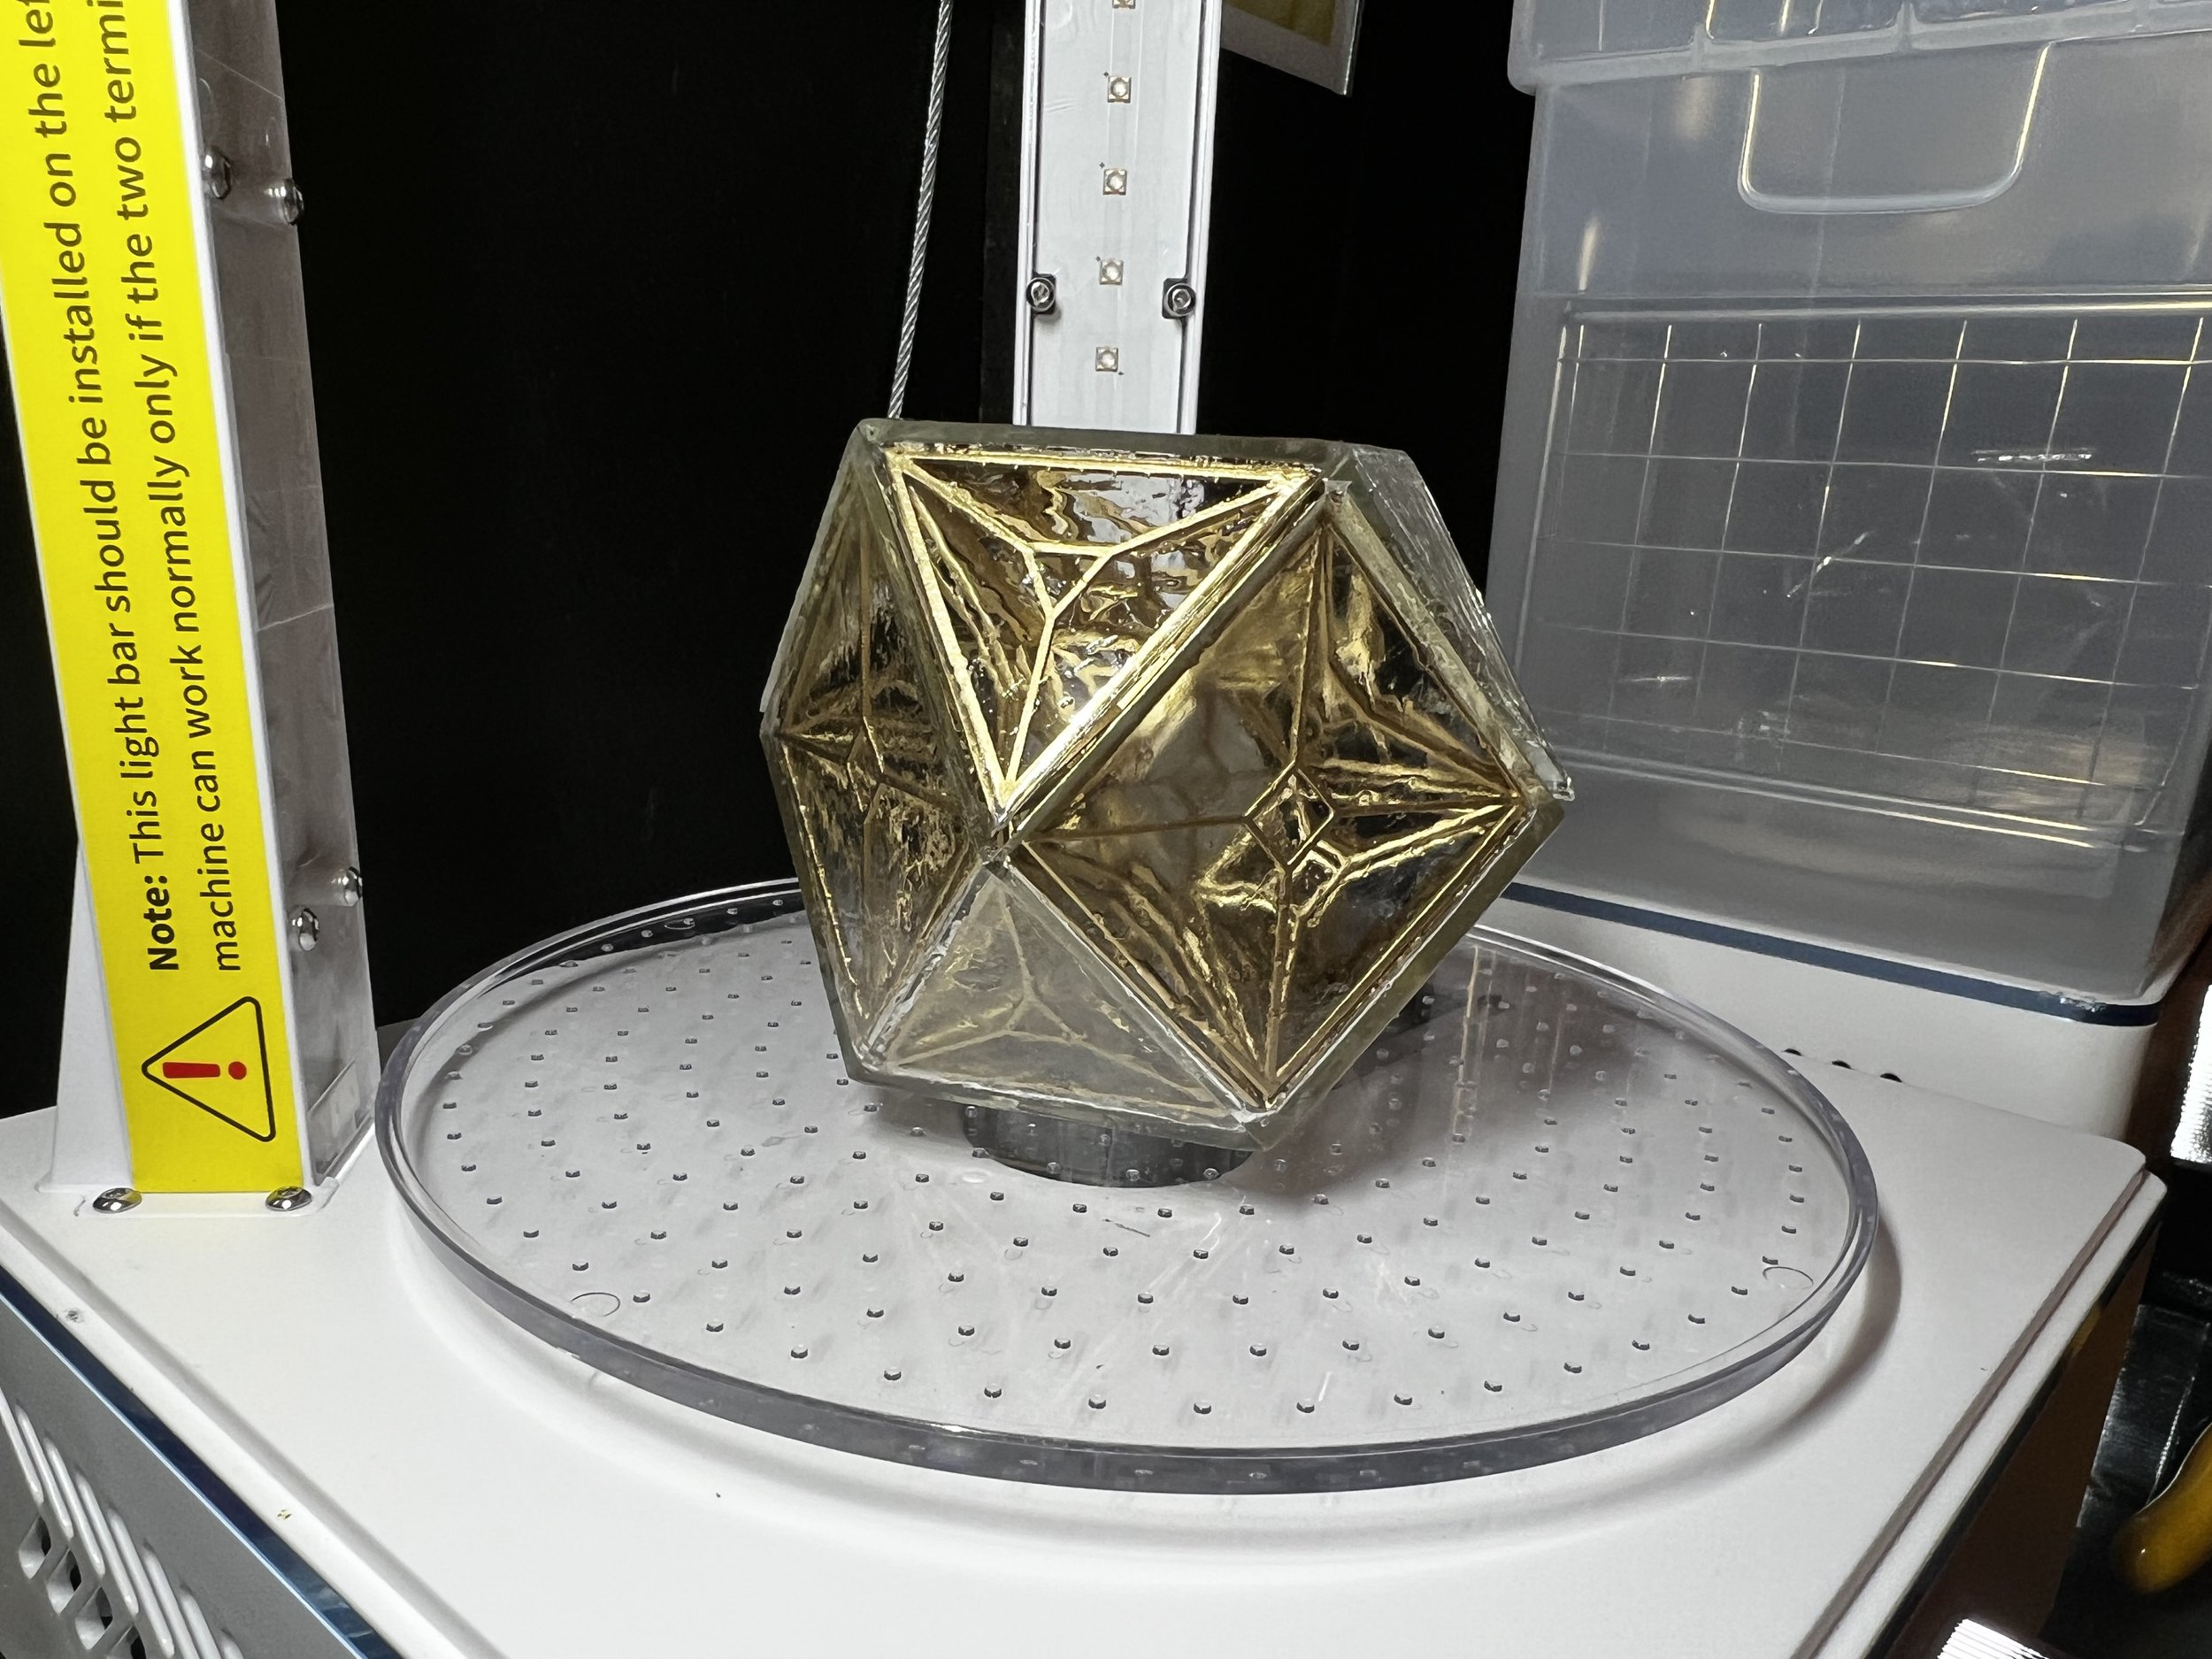
Buying a Prime Radiant
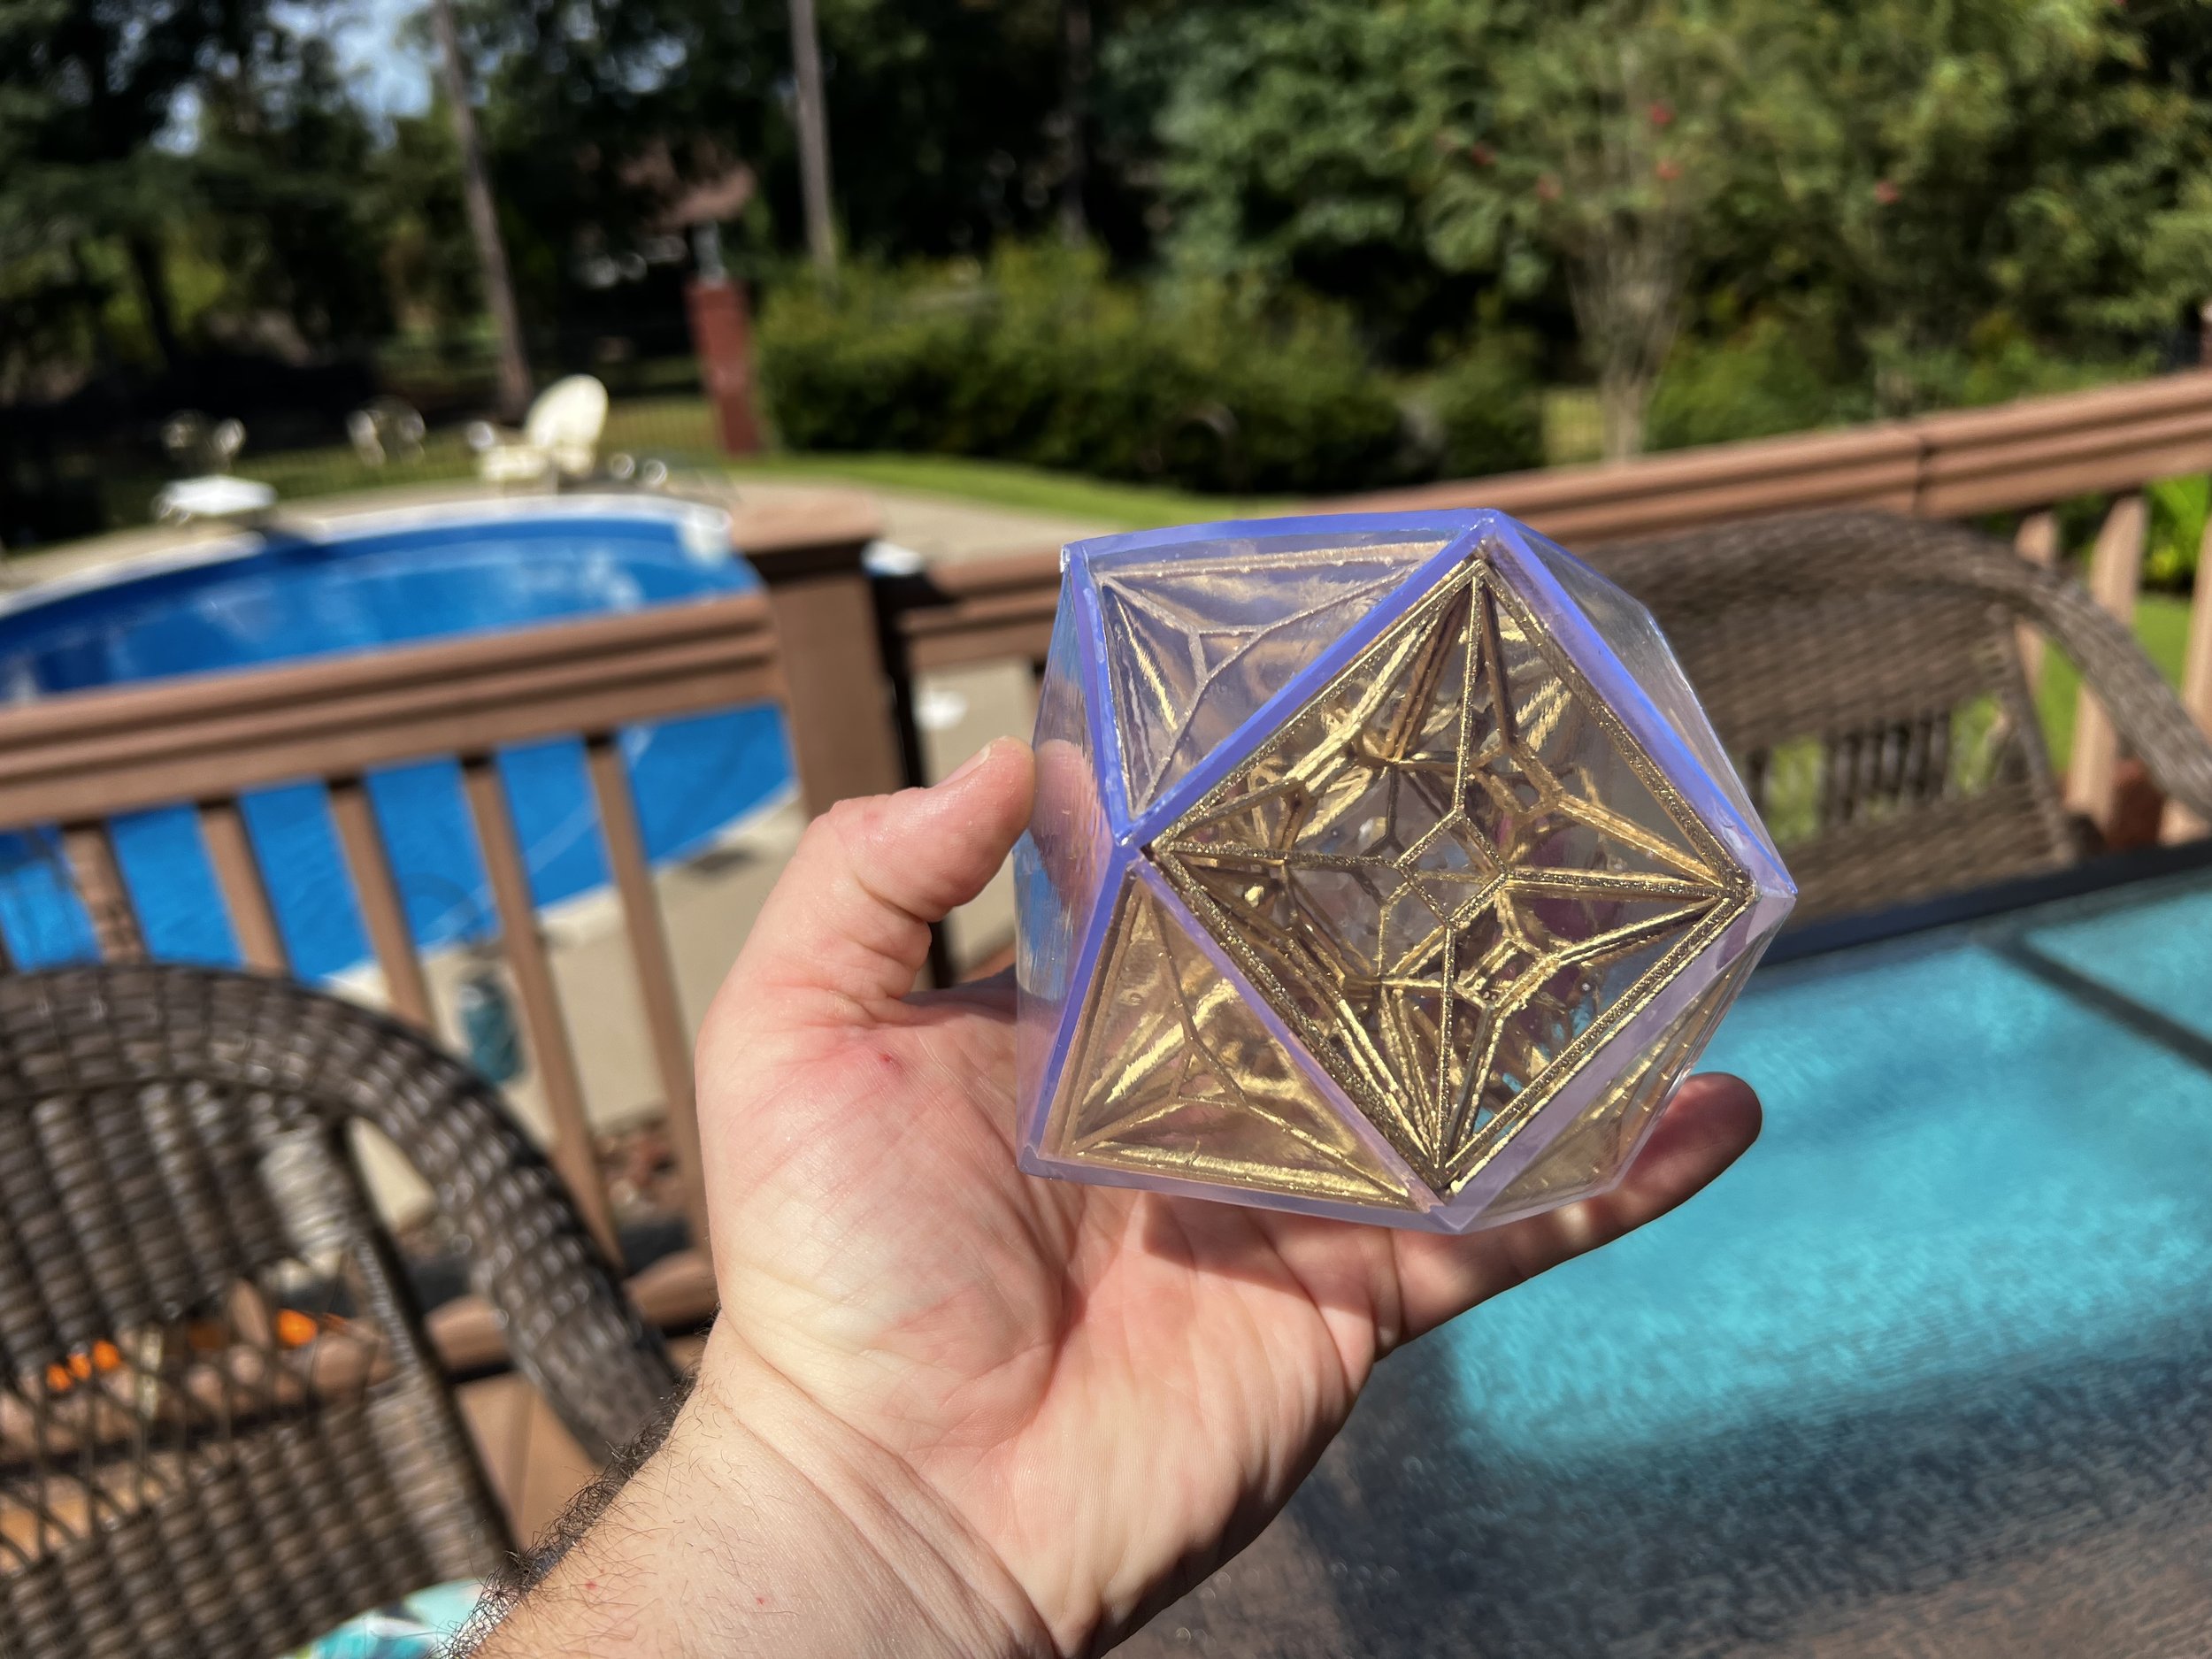
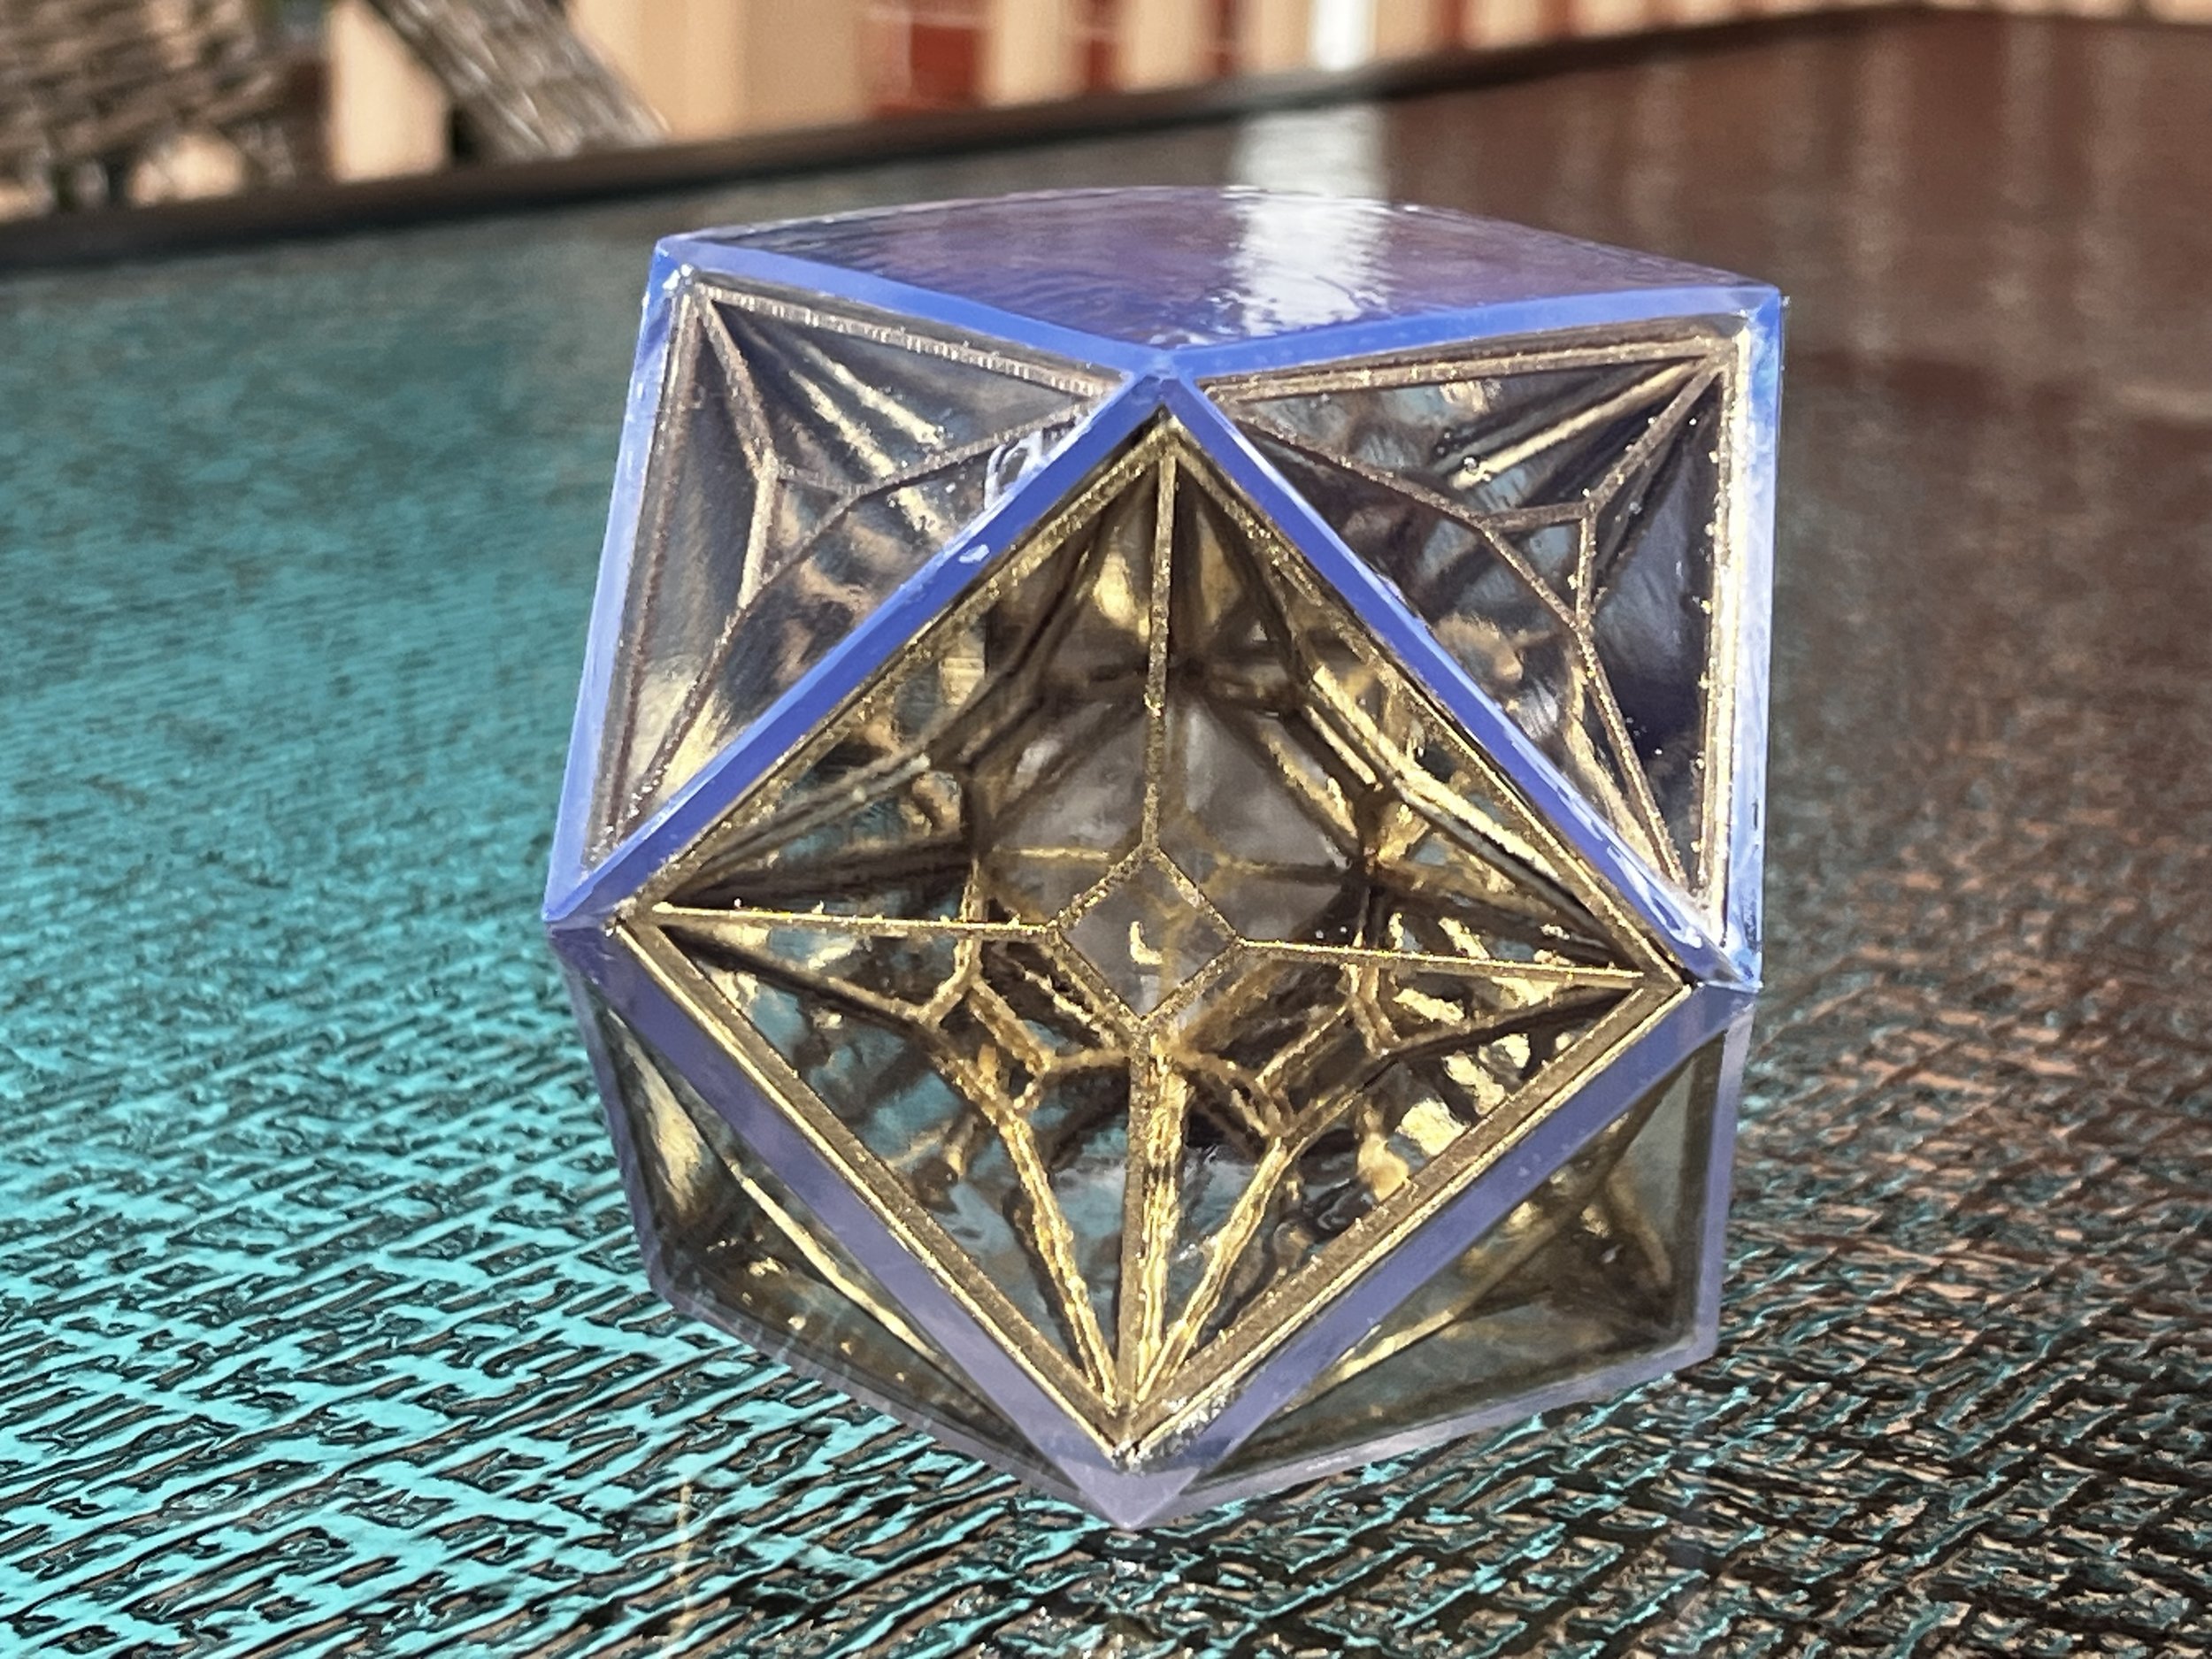
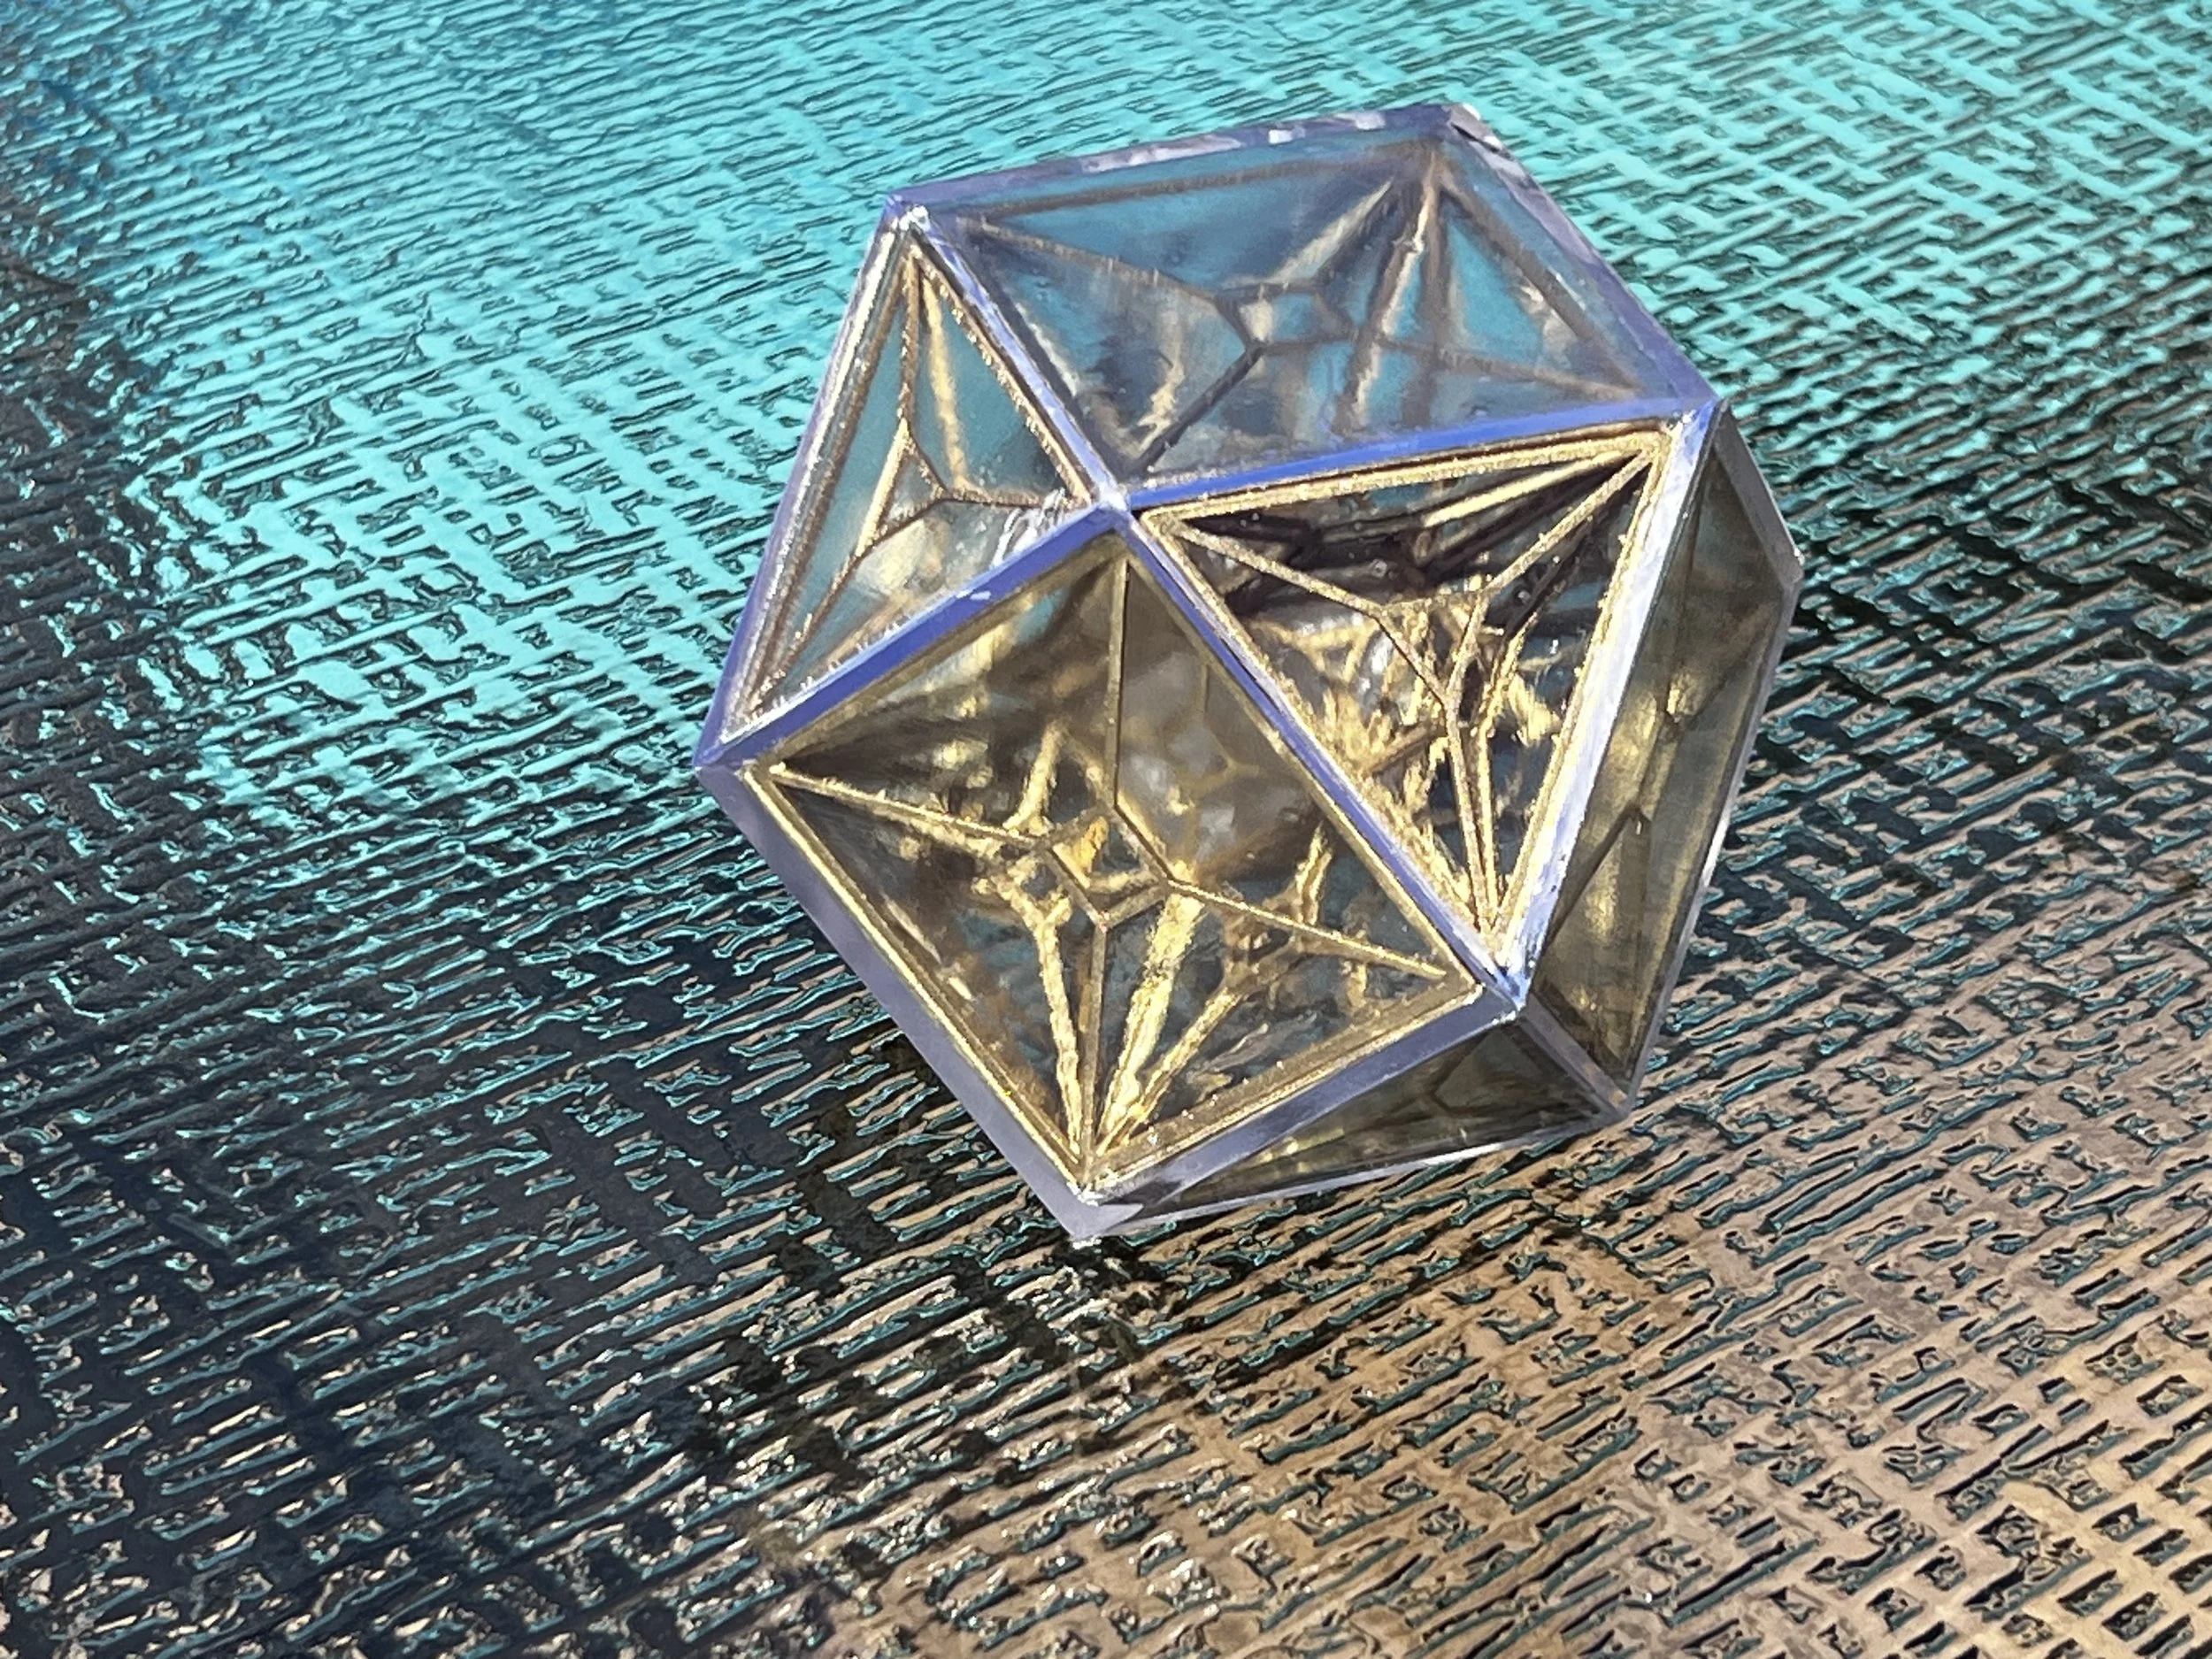
Sometimes my own Griswold-esque OCD out strips my own skill and this is one of those times. To get the Prime Radiant I was most happy with, I reached out to a skilled creator on TheRPF forums.

The maker who made this one was extremely fair with his price and did a phenomenal job. He added additional detail to the inside latticework, managed to get a clear poured-solid resin to get the weight right and even had designs laser-etched on the outside. On top of all this he was just a really good guy to talk with.