Arcade Booty Call

Being around some awesomely free-spirited pinball friends, I observed this pattern of weekend calls in the middle of the night, “Hey, you up for some Pinball?”
I started to play around with the this concept of a “Silver Ball Booty Call”. I used the name for some tournaments, I even have a domain or two…some shirts… a twitter handle..
Arcades have Booty Calls too, though. Arcade Booty Calls come in two flavors.
[Wanna Play?]
-and-
[Wanna Buy?]
..and because of quality decision making while 1/2 into a celebratory bottle of holiday whiskey, late at night…
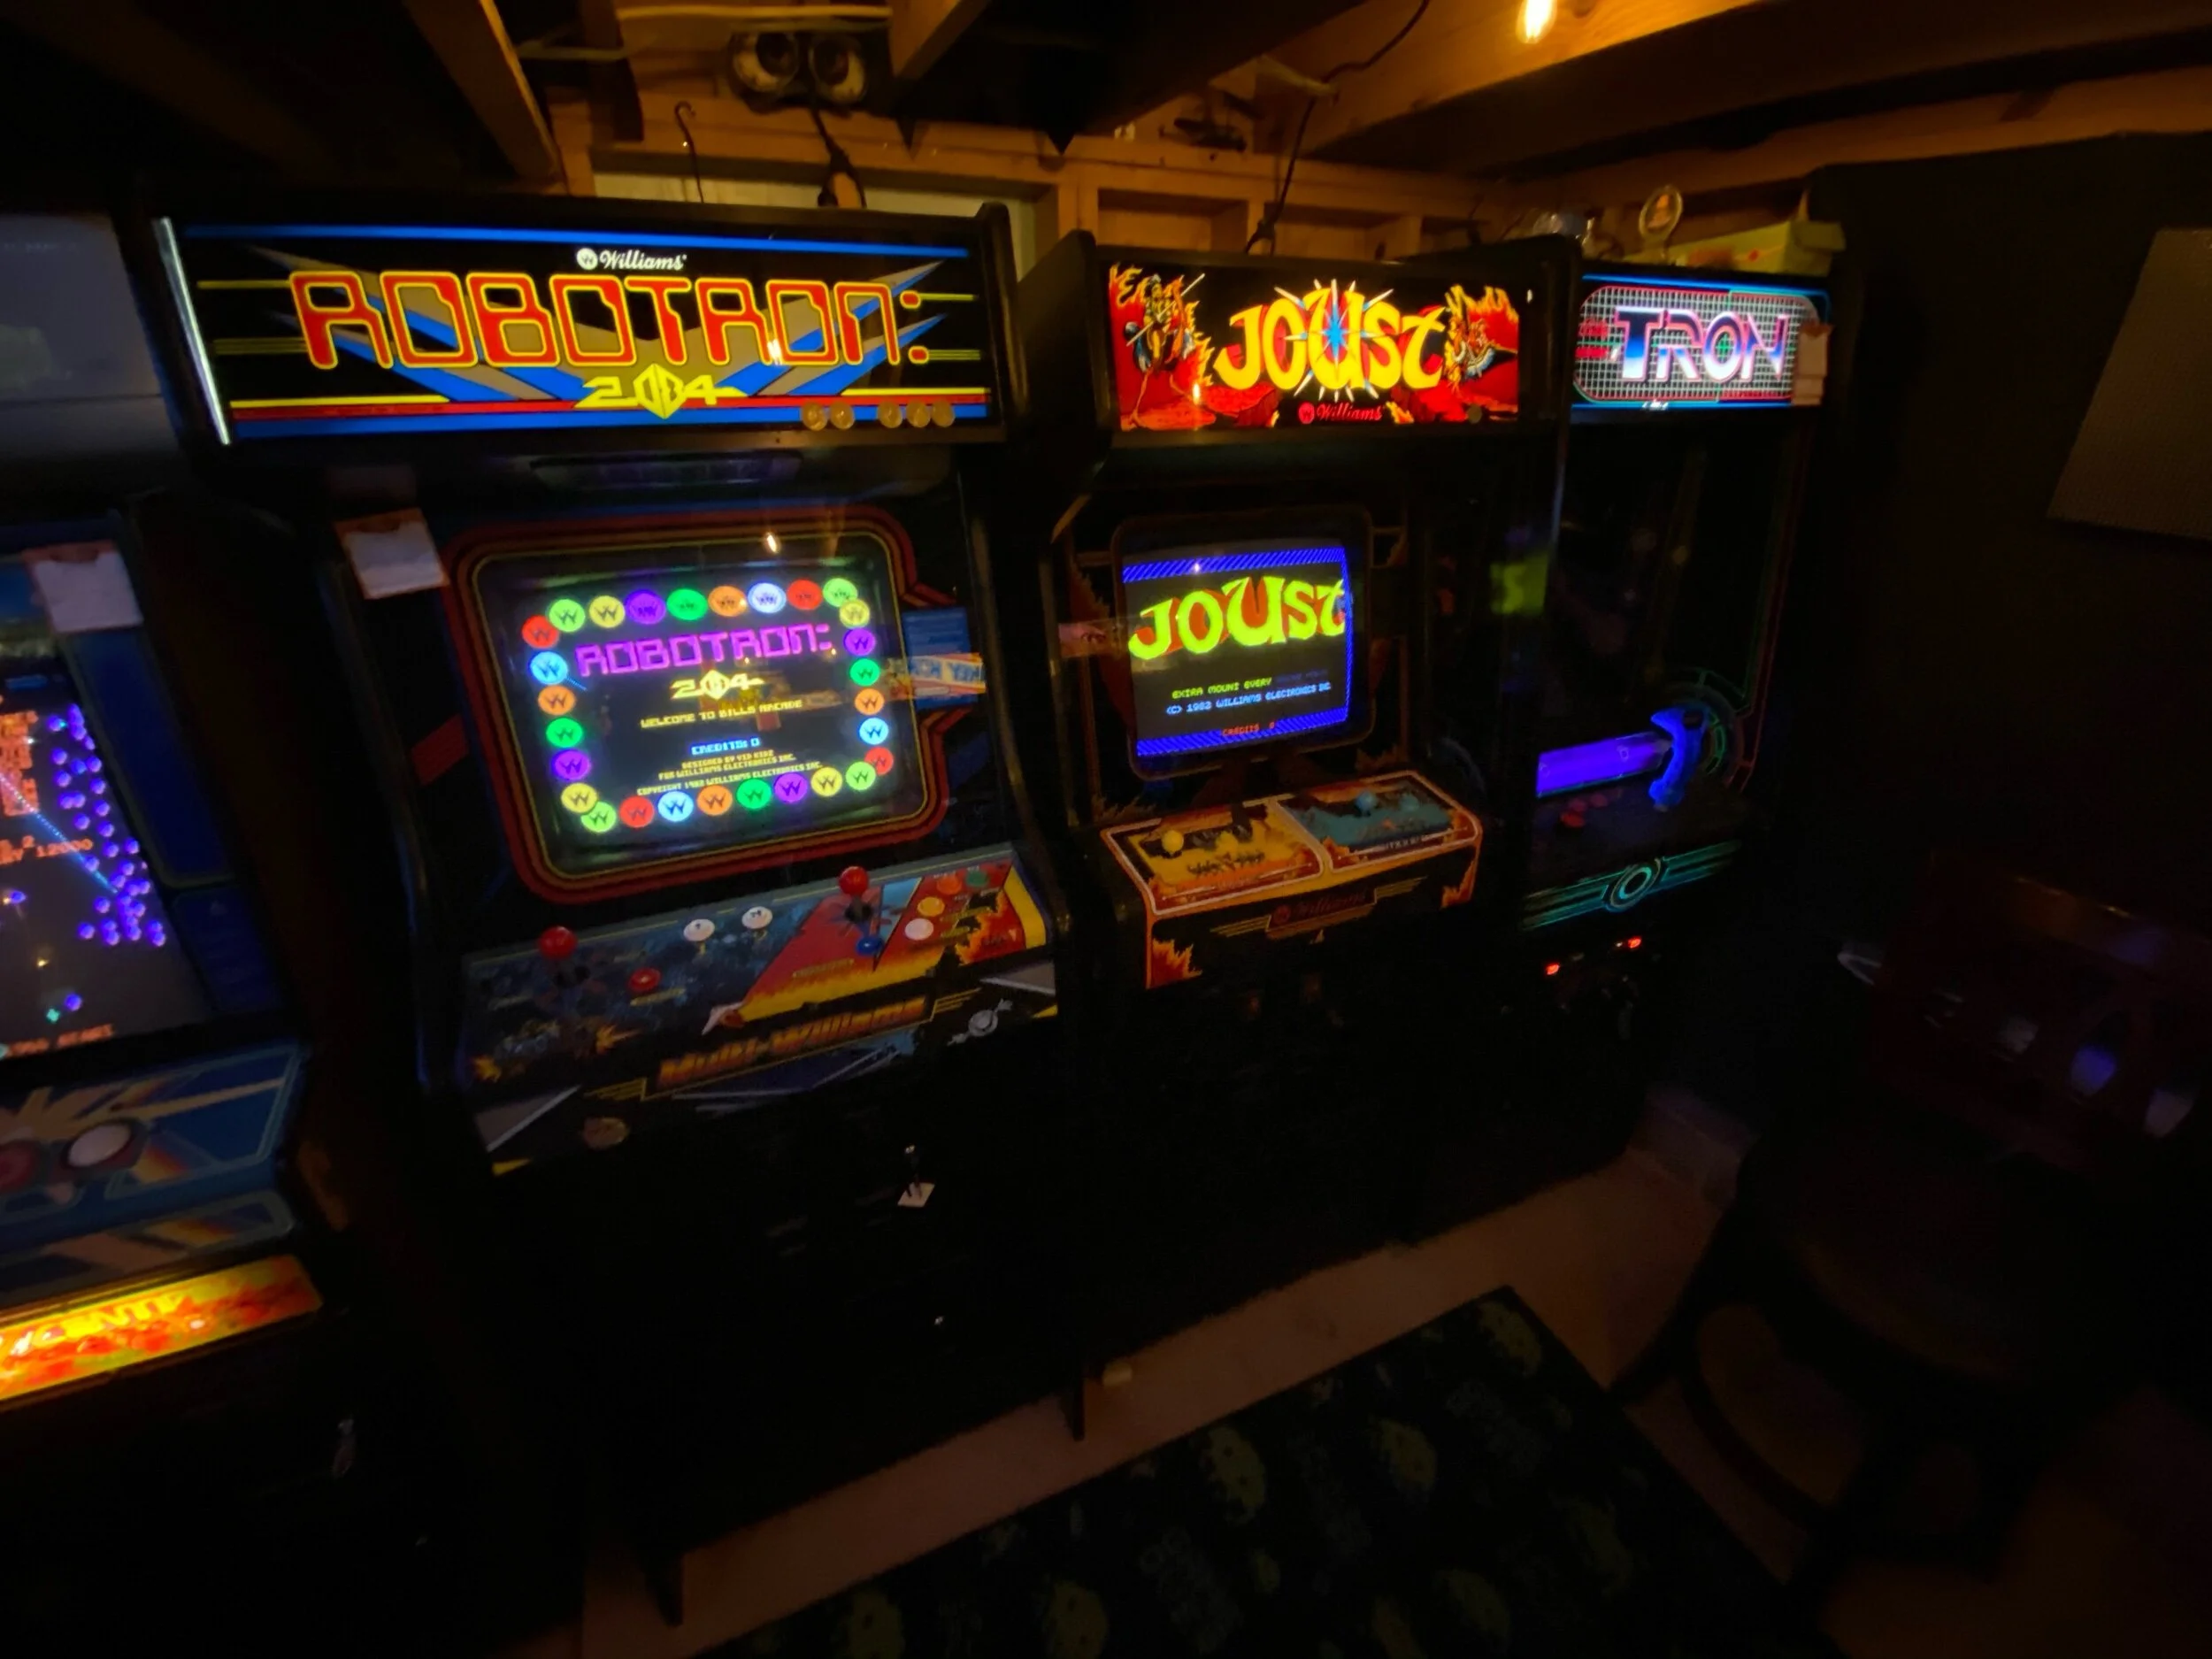
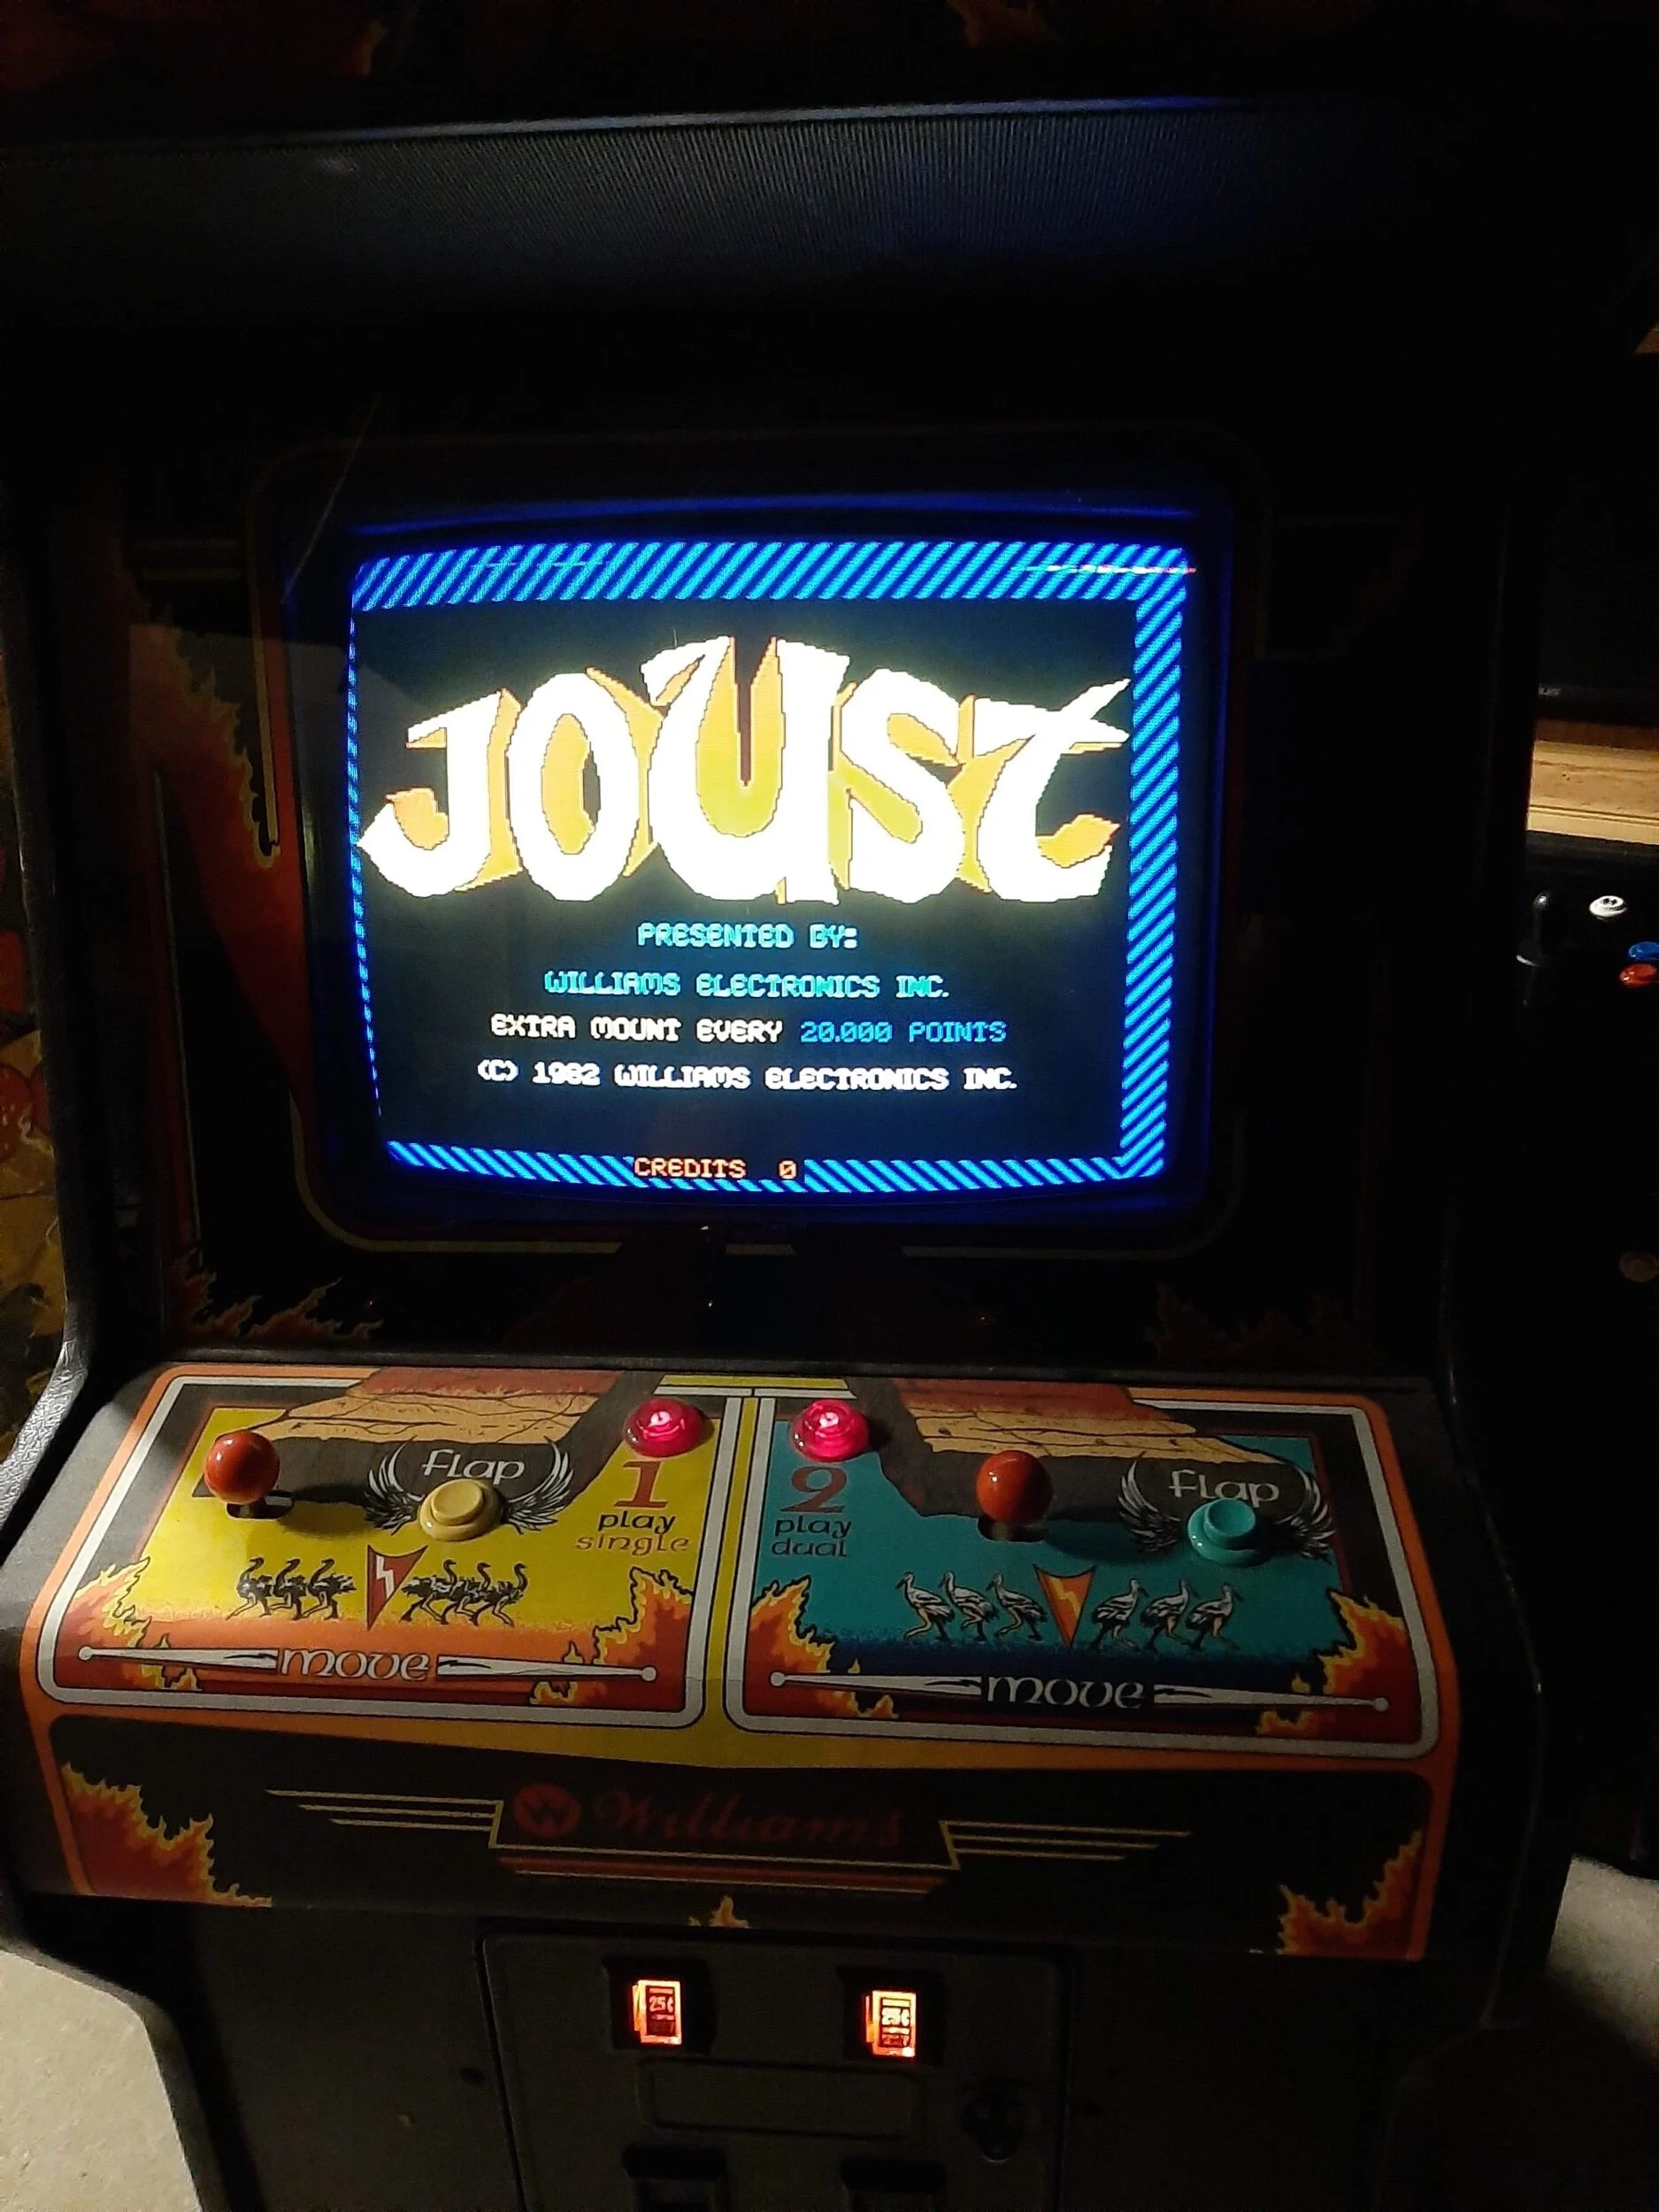
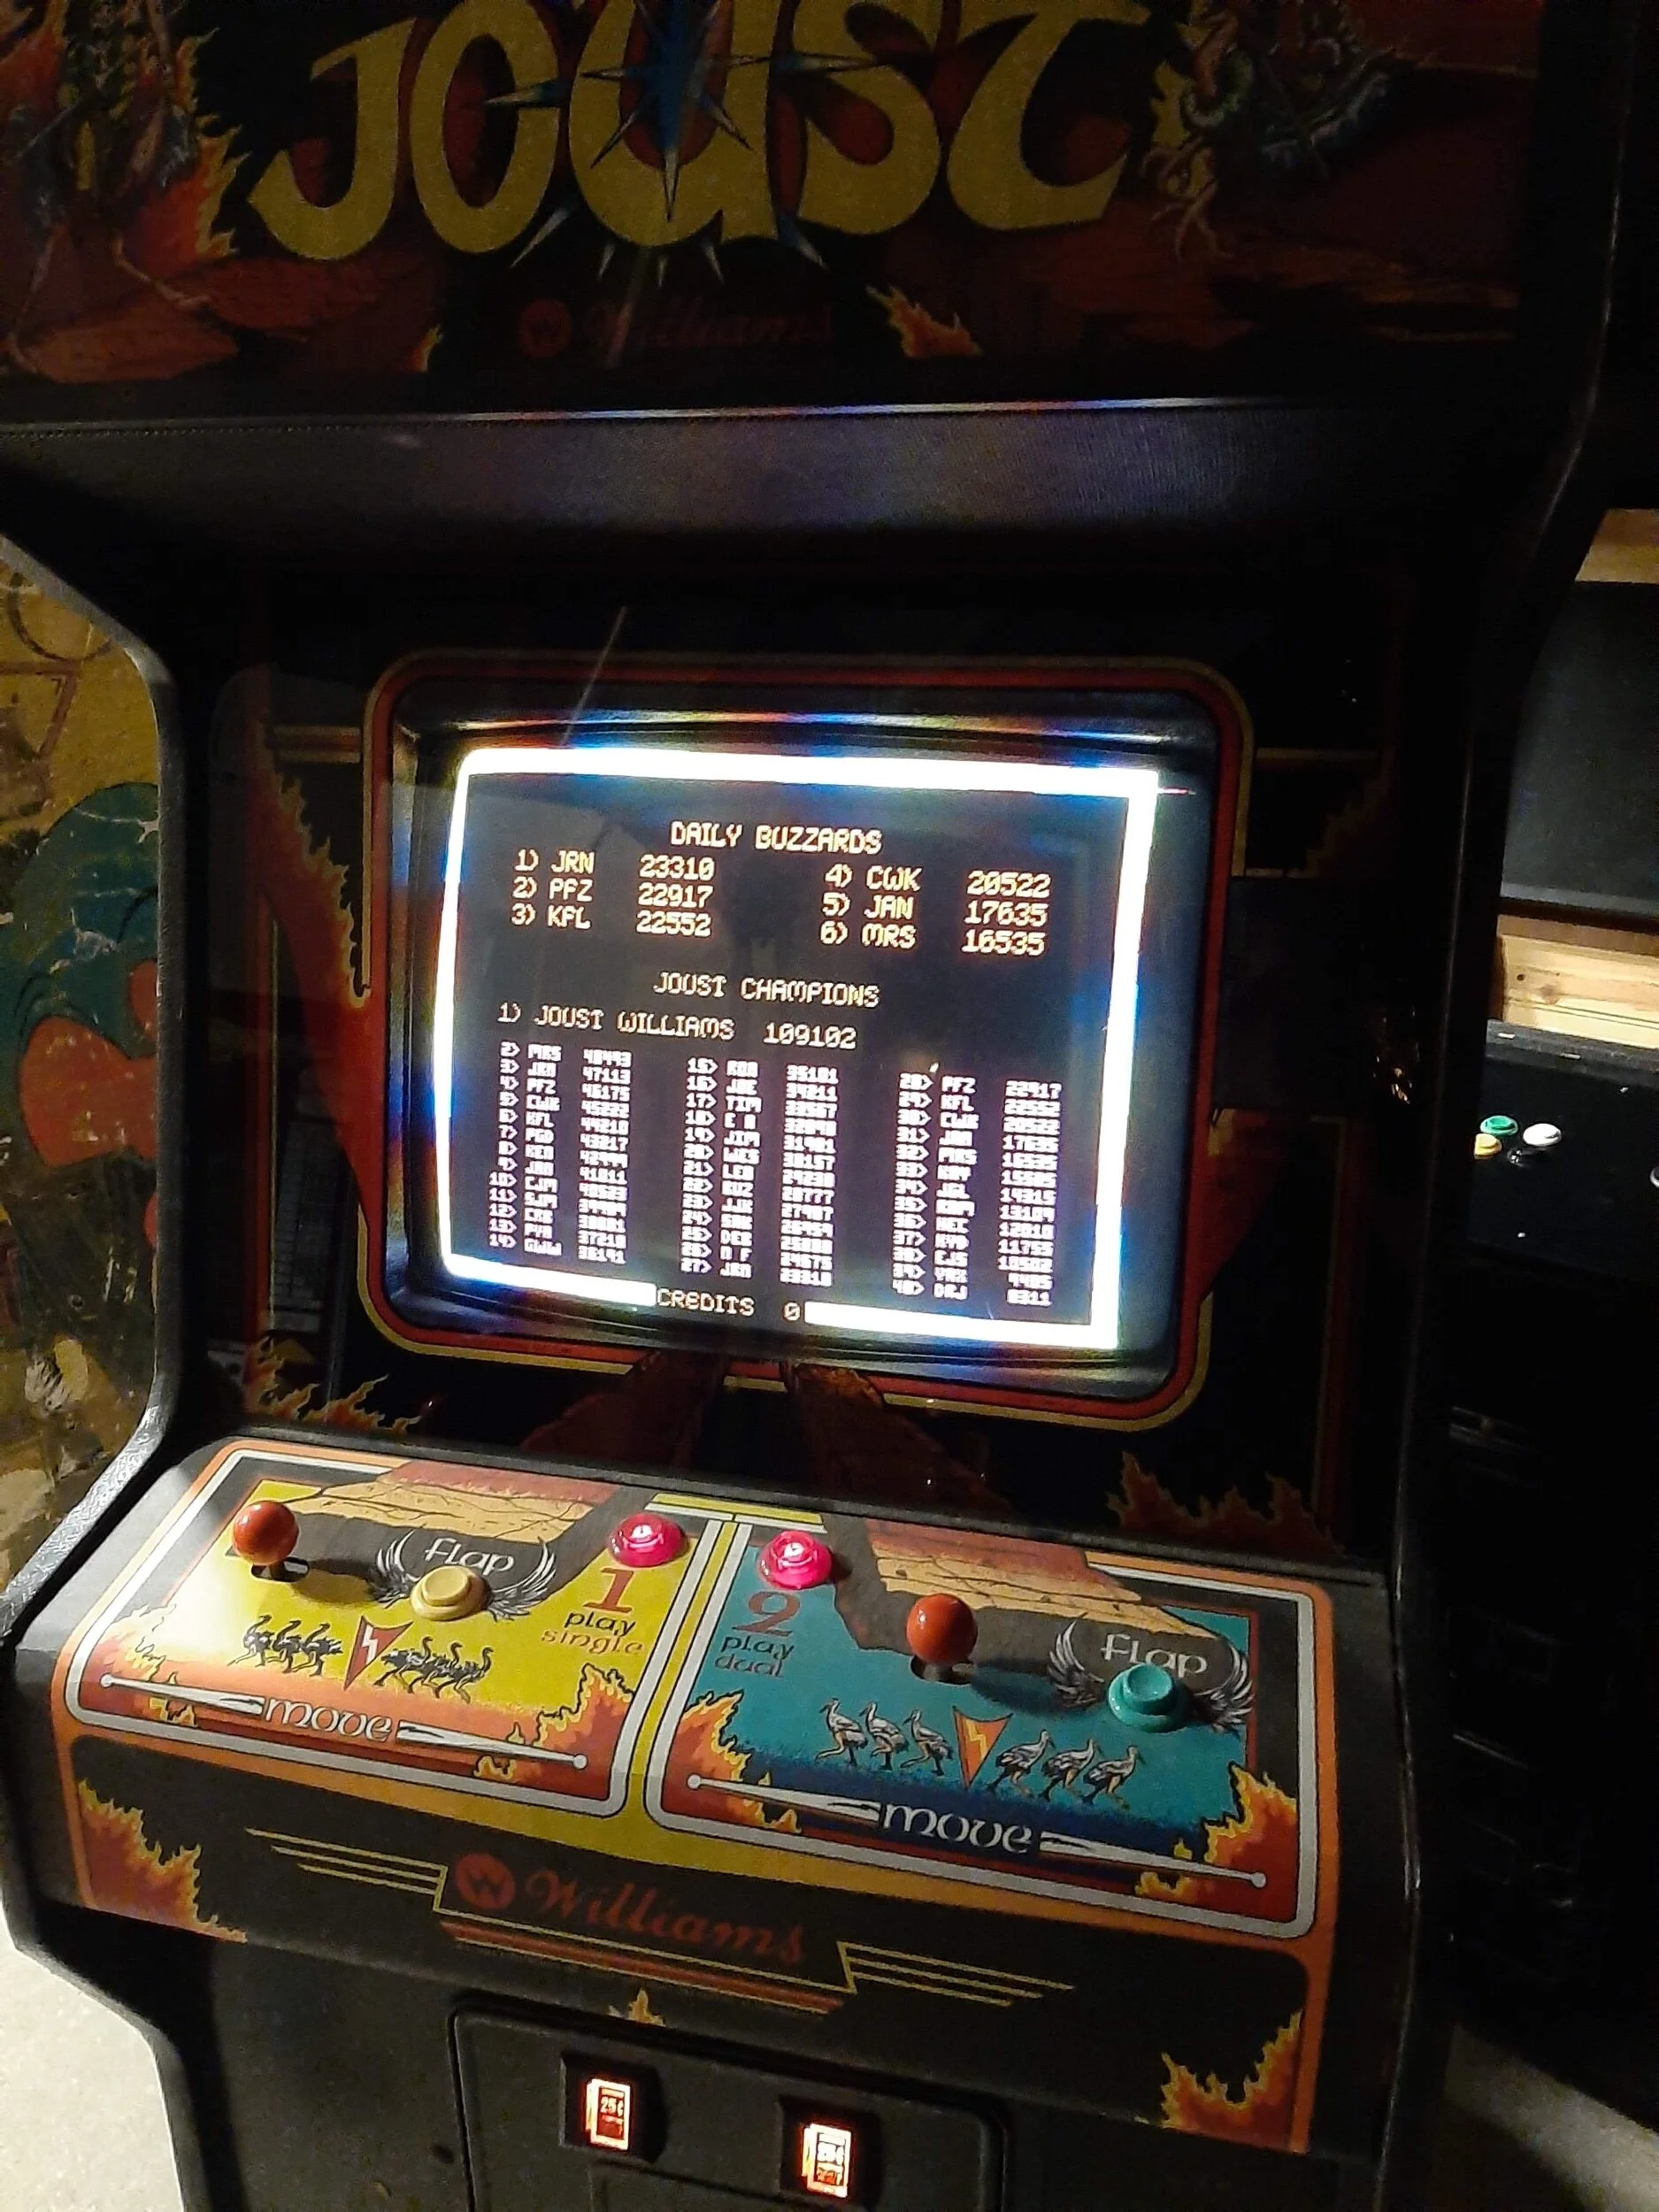
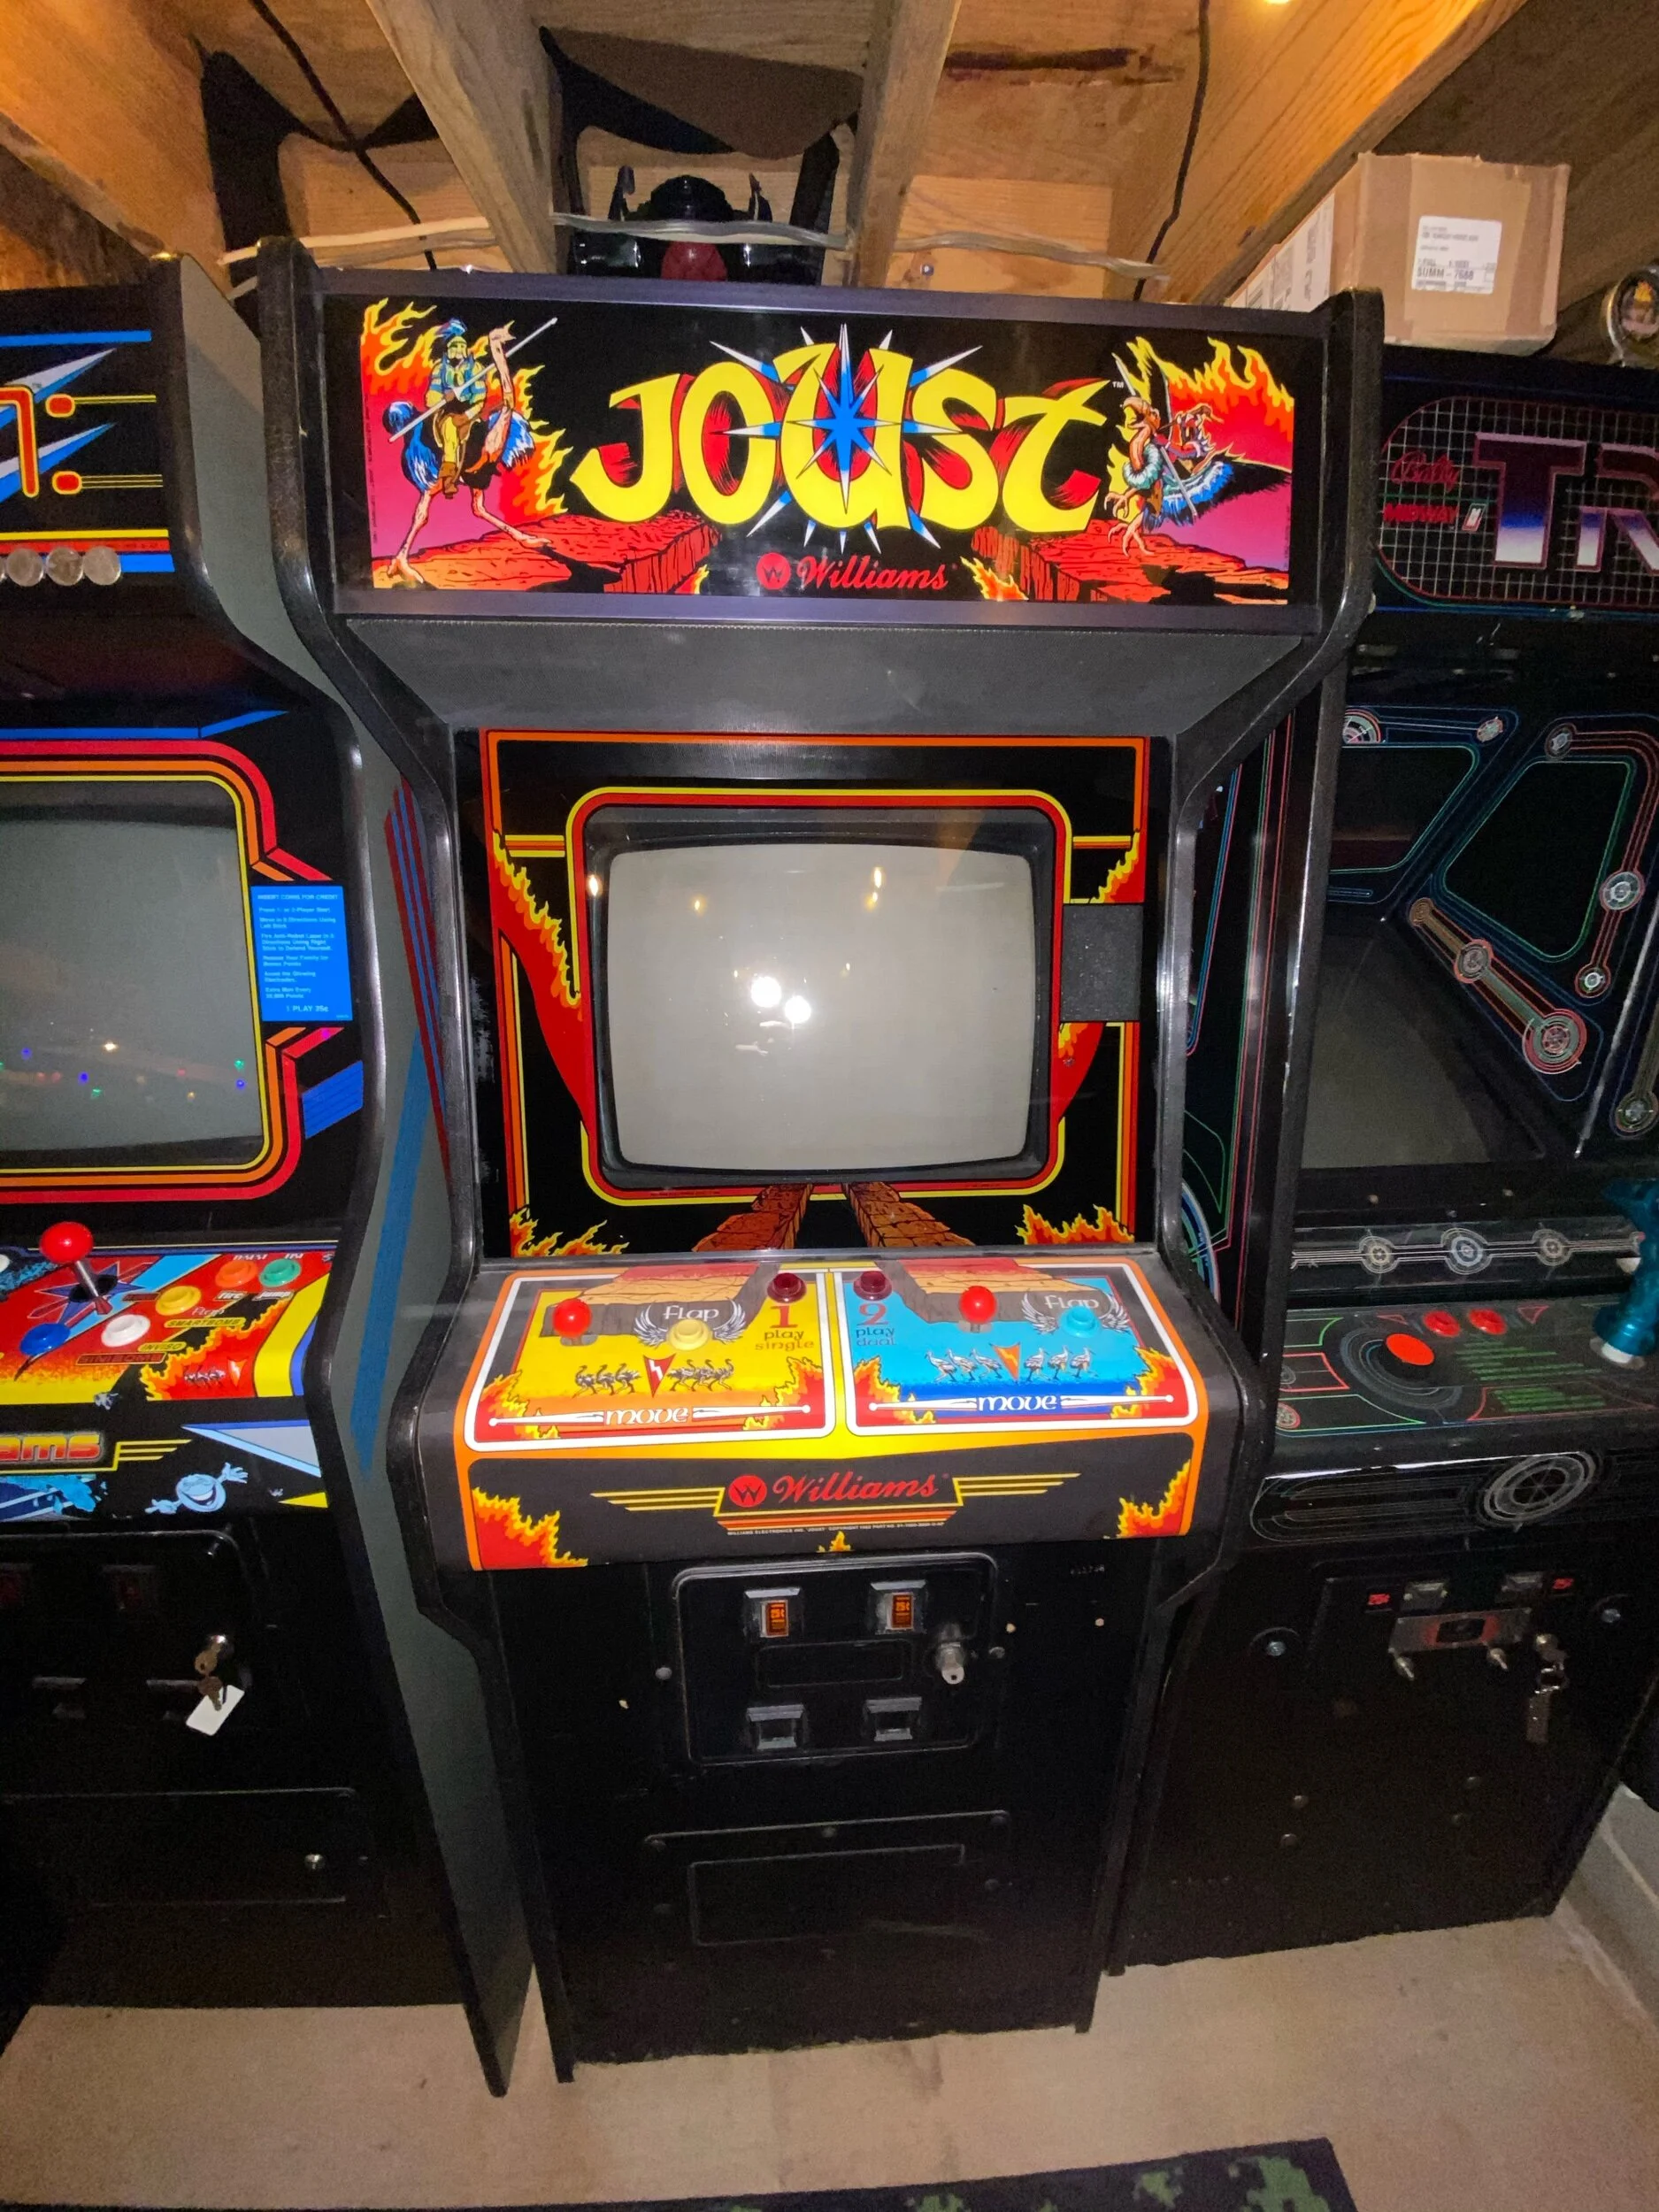
I got a Joust!
Buying a Joust makes absolutely no sense at all. I have an original Robotron cabinet with a Multi-Williams PCB and spare Multi-Williams control panel in it. It plays Joust - just fine.
I have been doing… hurricane cleanup involving many-many trees, tile work, fence repair and replacement, carpentry work, electrical rewiring in the kitchen. I didn’t want another project, right now.
On top of all that, I’ve been noodling around the idea of shedding a few games to make more room for a bar-space, hangout area & VR stuff. I’m currently at 14x Arcades, 4x Pinballs and 1x [whatever Ice Cold Beer is to be considered]. I was thinking that by parting with a couple Arcades and at least one pinball, I could gain more space to hang out in, anticipating some Post-Covid parties.
But, here I am a few days after New Years rolling a Joust into the basement. The model of self control! [/not]

Not.. 100%, After all.

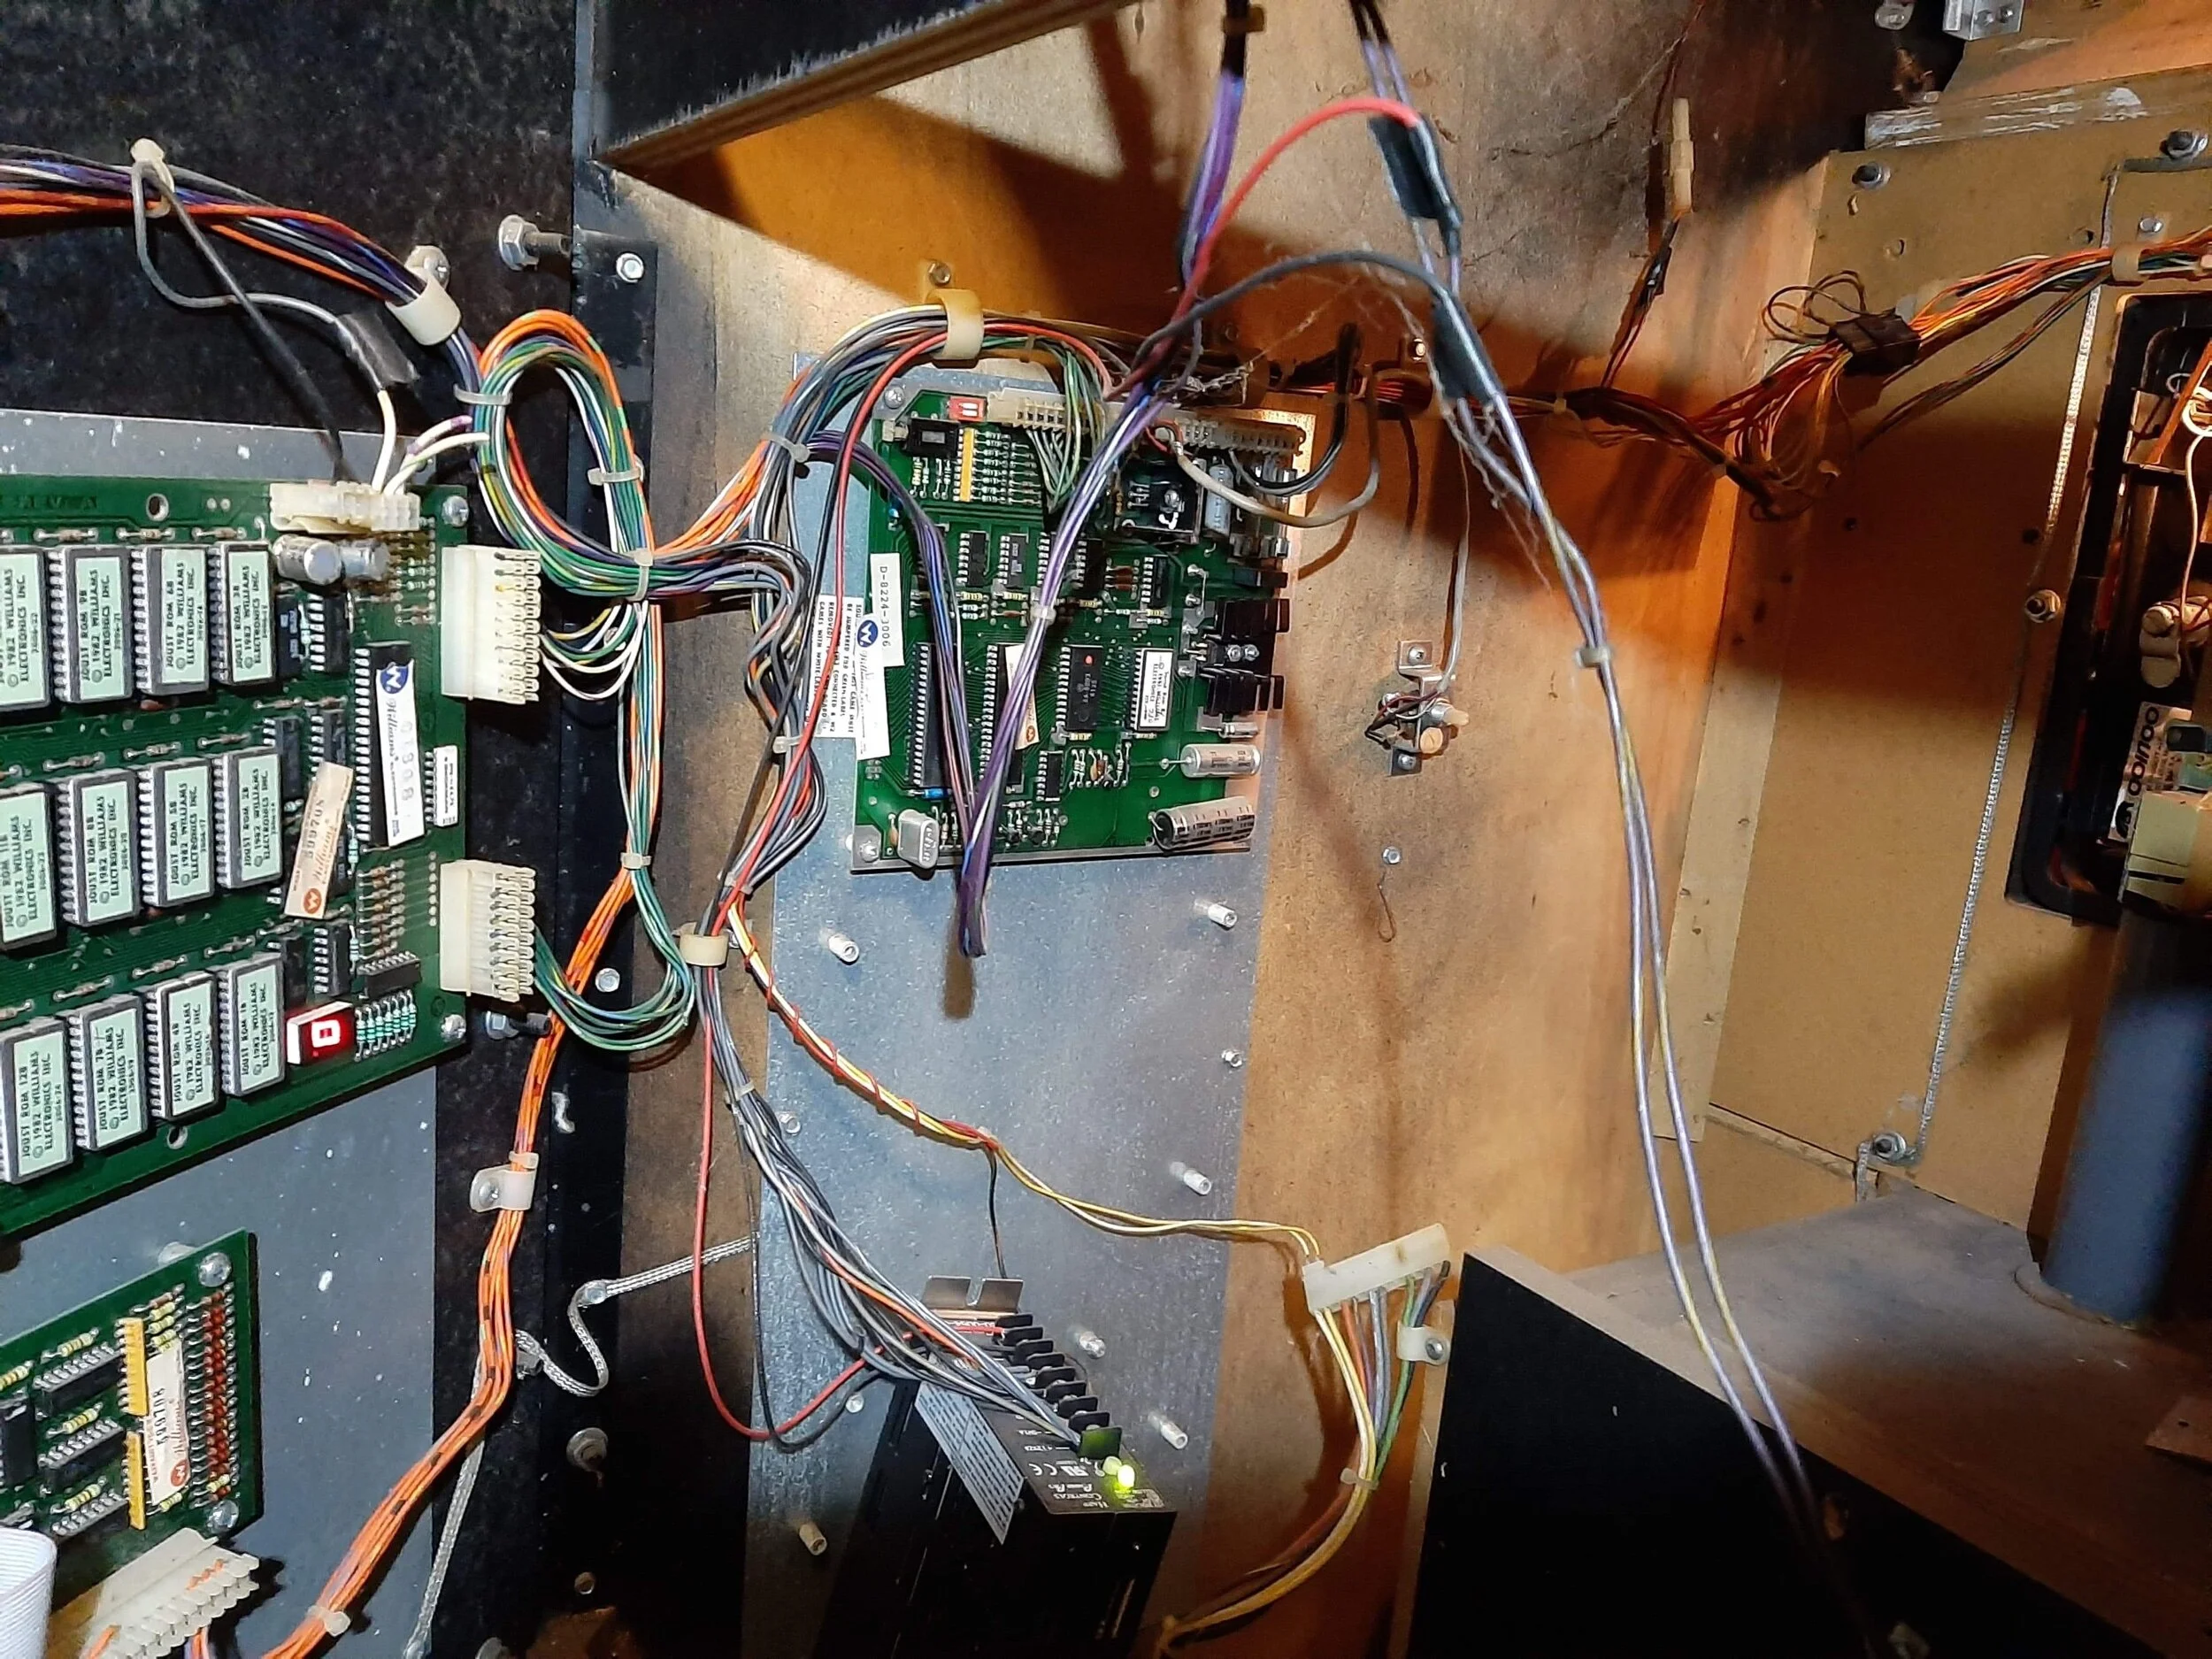
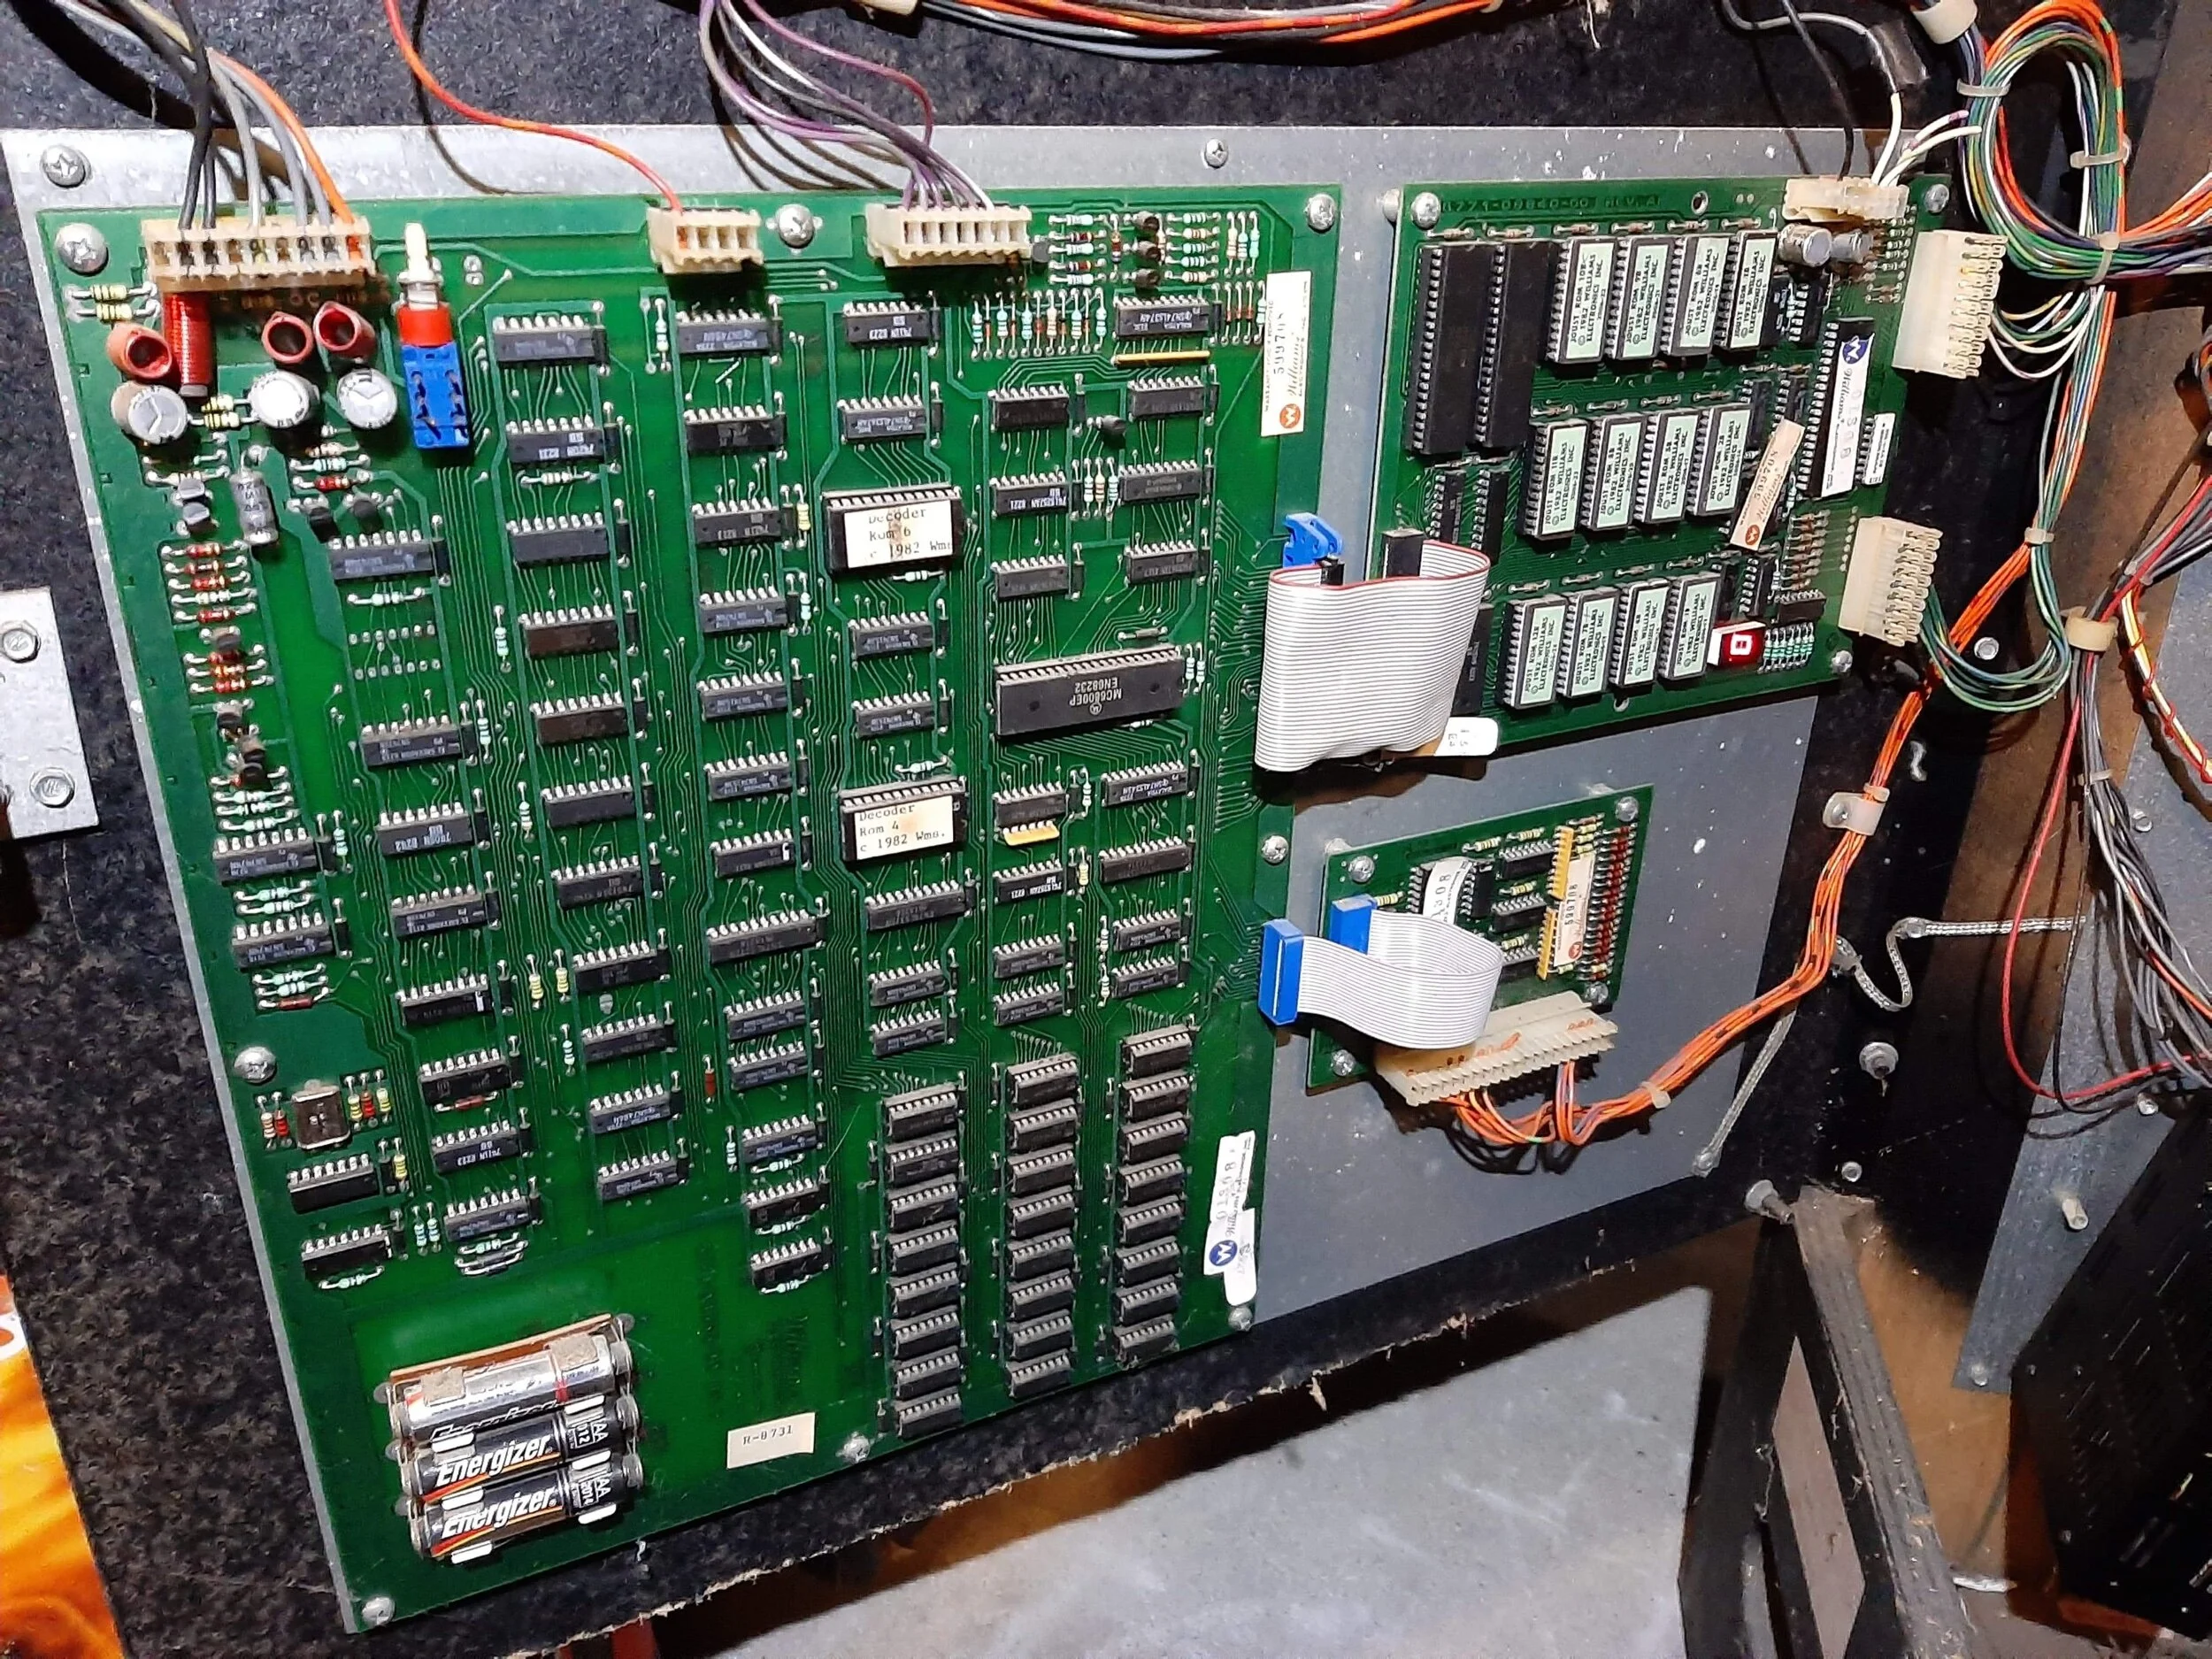
Similar to my Robotron, the game was missing the Williams D-8784 5773-09679-00 linear power supply; replaced instead with an oddly mounted 8-liner switching power supply.
The switching power supplies and the 6809 CPU creates an issue where the CMOS gets flooded with crap on power down.
ArcadeShop designed and sells a nifty adapter that aims to add support for switching power supplies to games that were designed for the characteristics of a linear power supply. They typically support the original connections to prevent the need from hacking up a factory harness though they do sometimes require you to tap into the switched power interlock loop.
They often have some idiosyncrasies to overcome but work well if you spend time in the conversion.
Unfortunately, at the time of this project [not-a-project], these $40 little beauties were out of stock.
Weighing My Options
In Summary…
Covered up side art
Missing the correct power supply, includes the wrong one
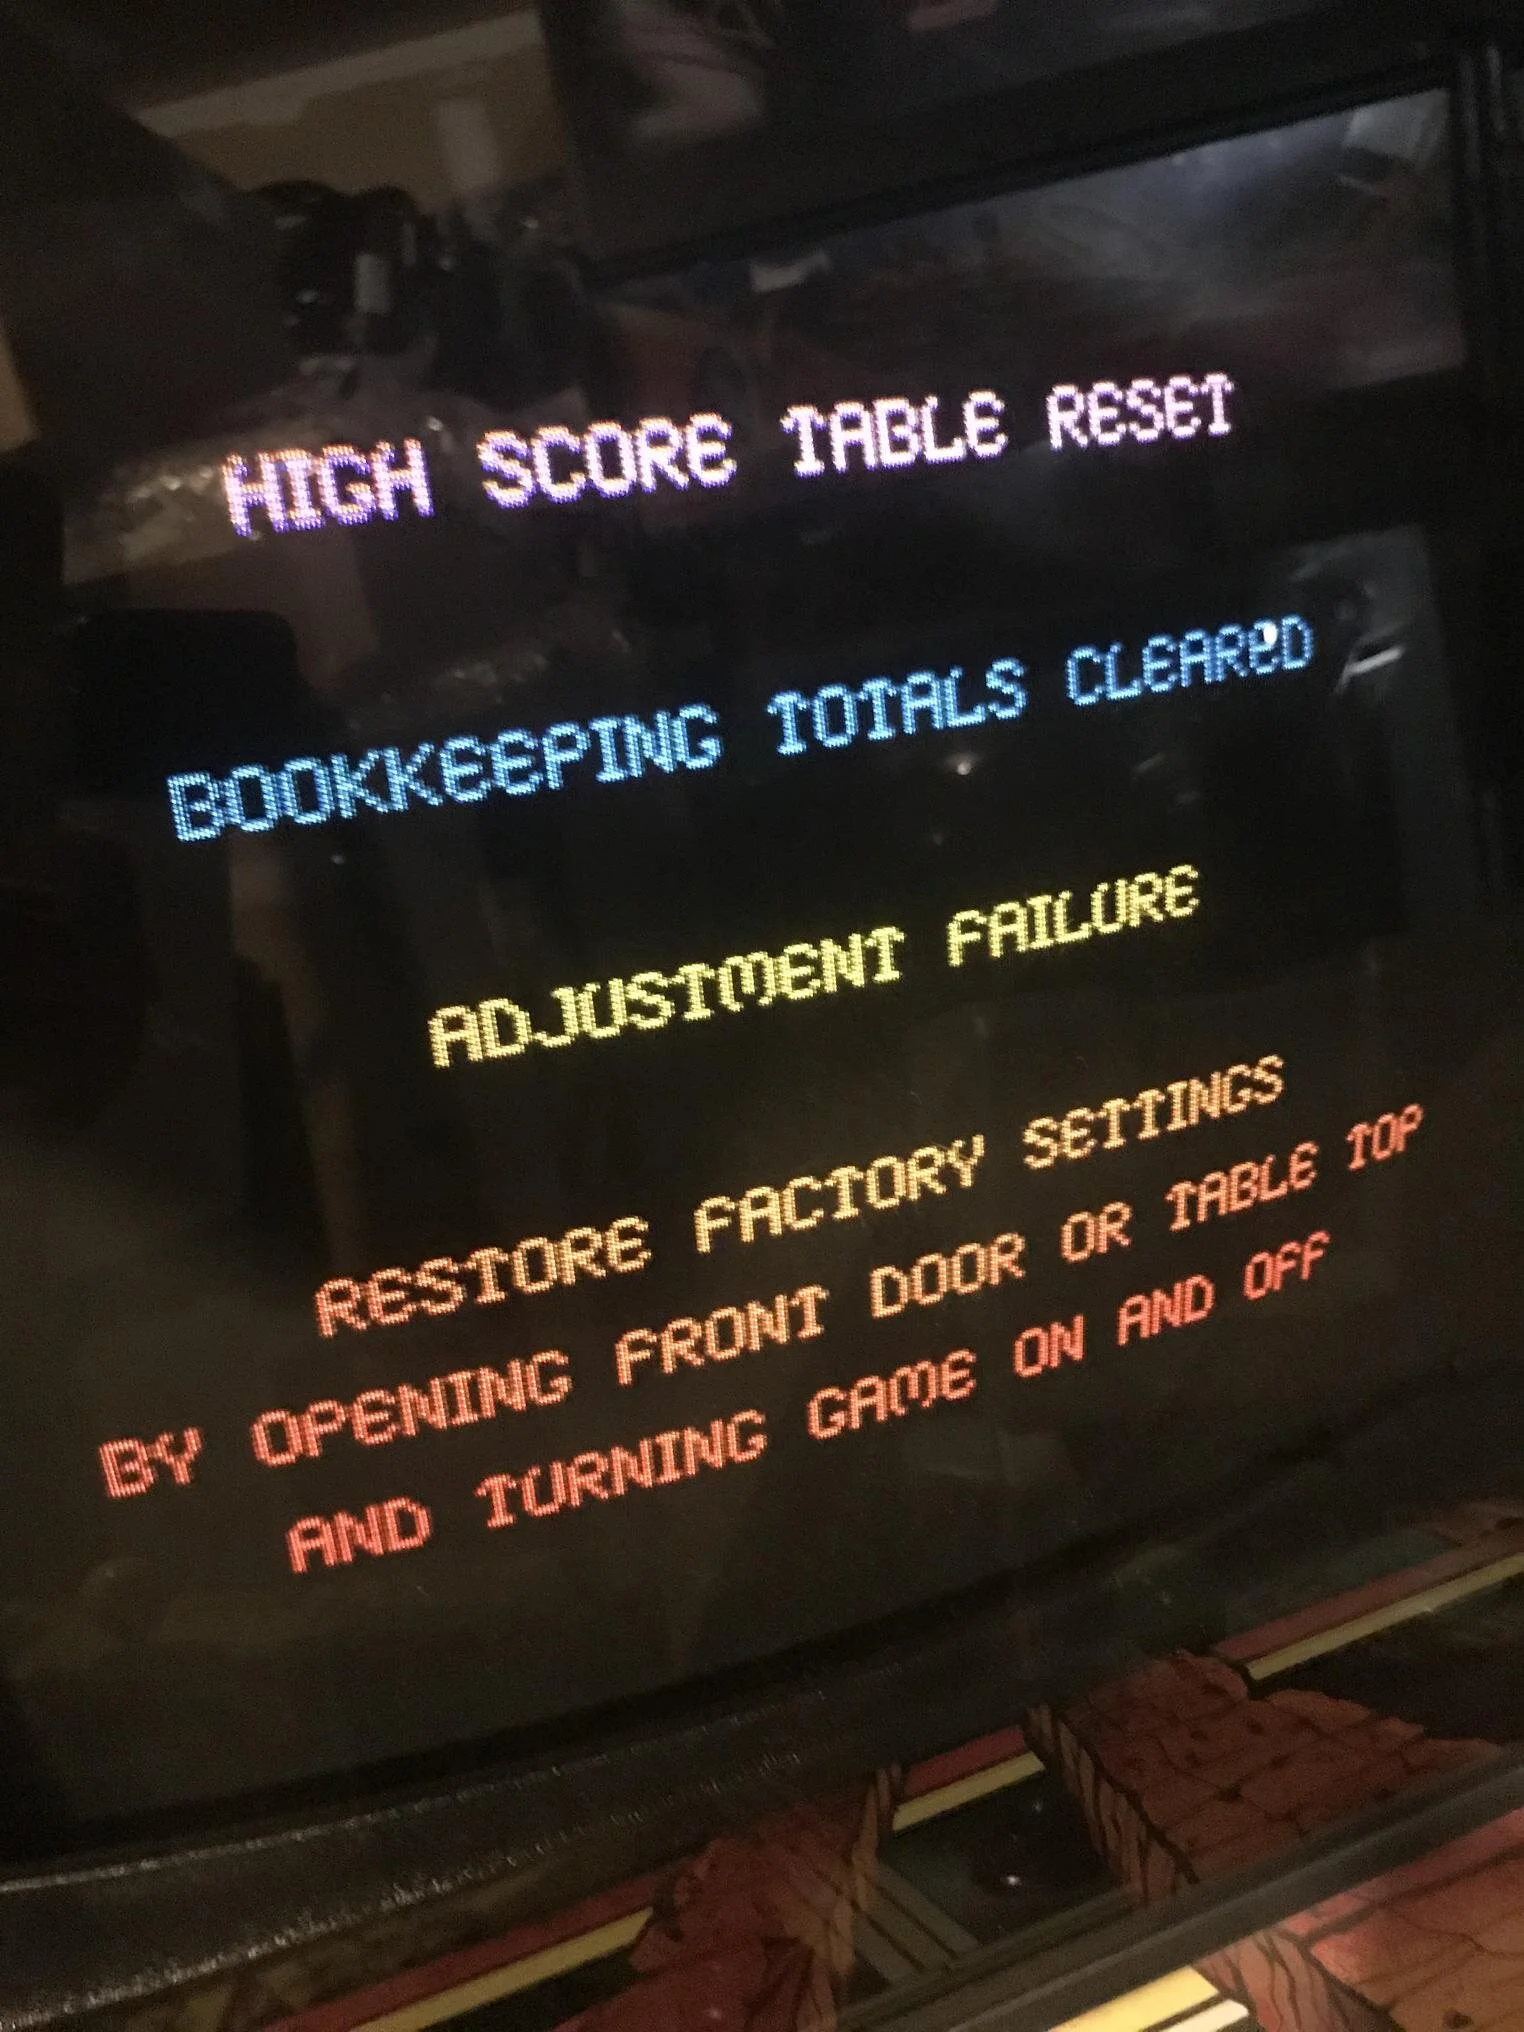
Possibly Related Main Board Issues
Malfunctioning Marquee Light (Ballast, seemingly)
No Player 1 Right Movement (IO Board and/or Ribbon Cables)
Wrong Joysticks
Swollen Front Bottom
(Mop Cleanup at end of shift from the Pizza Joint or Bowling Alley)It is not playable.
Originality vs Pragmatism
At this point, I’m thinking that I’m going to be at least a couple hundred more dollars into the game before I can even play the first match on it. The rabbit hole of PCB stuff, power supply stuff and whatever else isn’t something I have spare brain cycles for at this very moment. I just want it working but I also don’t want to do anything overtly hackish or irreversible.
FPGA Time
I’m a huge fan of FPGA boards for these games. The Williams Multi FPGA board in my Robotron has been running solid for years and is mostly indistinguishable from the “real thing.” Luckily, at the time of this project, the JROK Designed Williams Multi wSysFPGA Board was in stock.
The downside of this approach is that it requires a switch over to JAMMA. I also picked up a fresh JAMMA Harness and a HAPP 20 Amp Power supply.
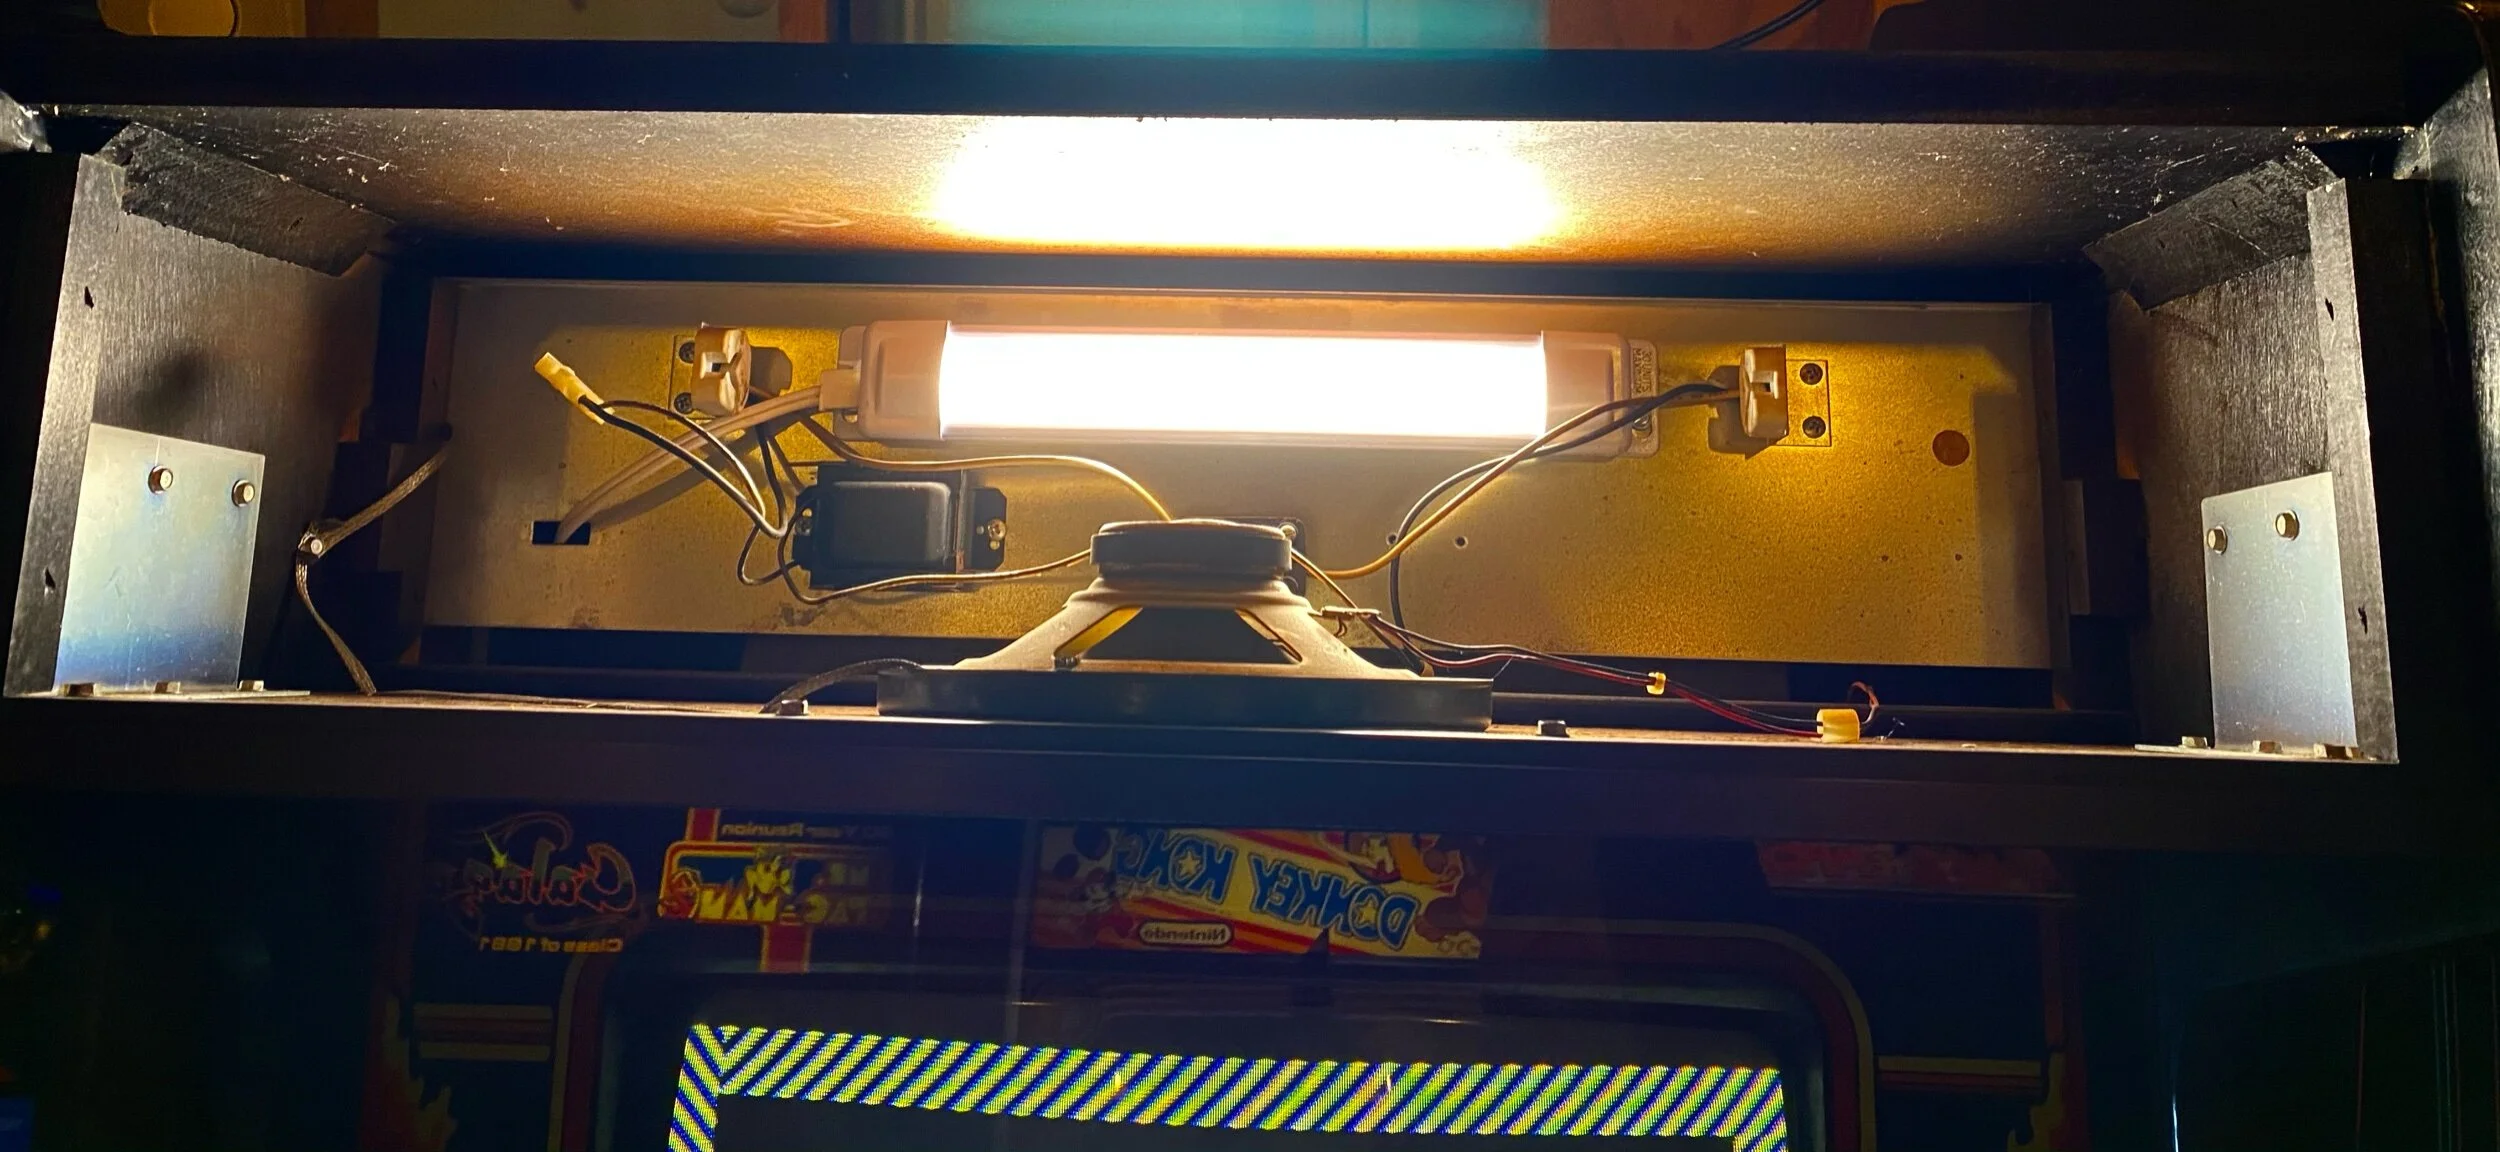
Instead of fooling with the old ballast that has an odd range of tube size / support wattages and instead of using a ballast bypass LED tube, I went with this 12” GE Fixture mostly because of availability locally and selectable brightness. 12” fits exactly between the original fluorescent tube mounting posts - so no modifications to the original were performed. If I feel super-OCD later, I can go back to the original fluorescent tube.


I tucked away the old power origination block and ISO Trans. Using a spare 1/2” wood block, I mounted a fresh isolation transformer and terminal block and wired in a new cabinet power switch, neatly zip tying all of the old wiring but leaving it in the cabinet.
This also bypasses the interlocks, which I neither want nor need with this setup. This wiring method bypasses the switches on the power supply itself but there is a way to wire in a 4 conductor switch to the power supply itself through a 4 position molex. I never have been able to find the proper wiring for that thing, so I usually just do this.