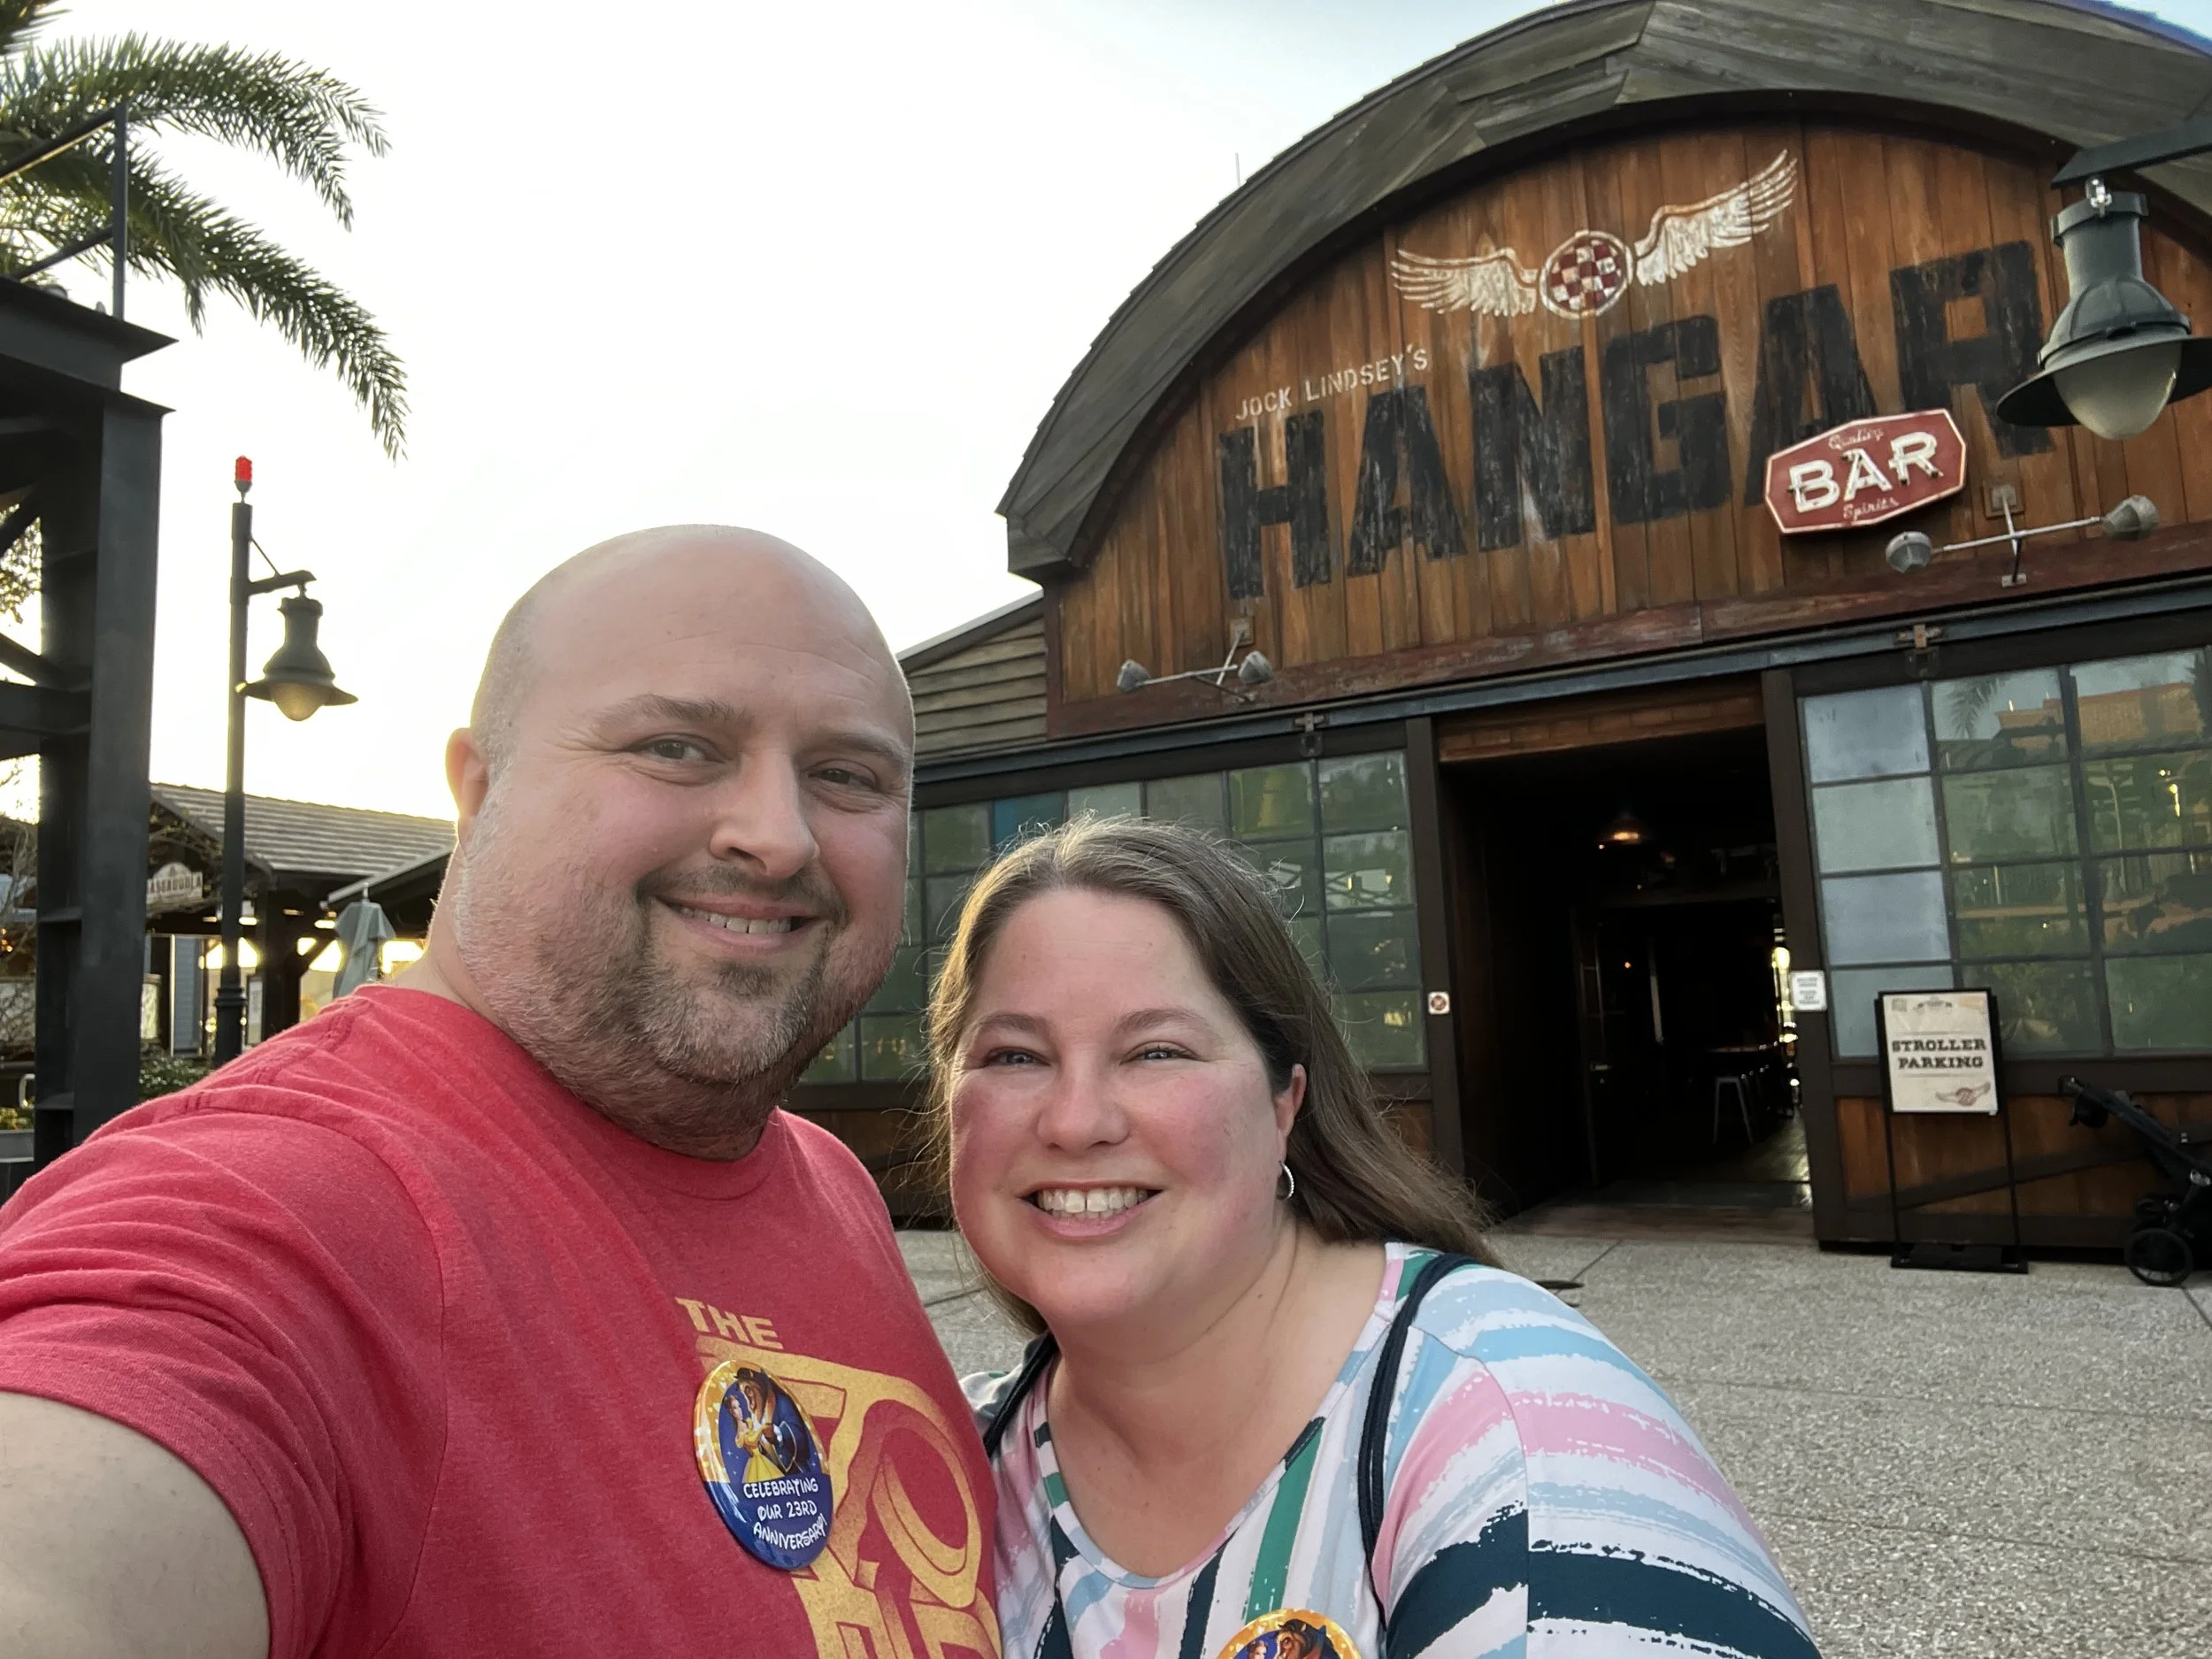
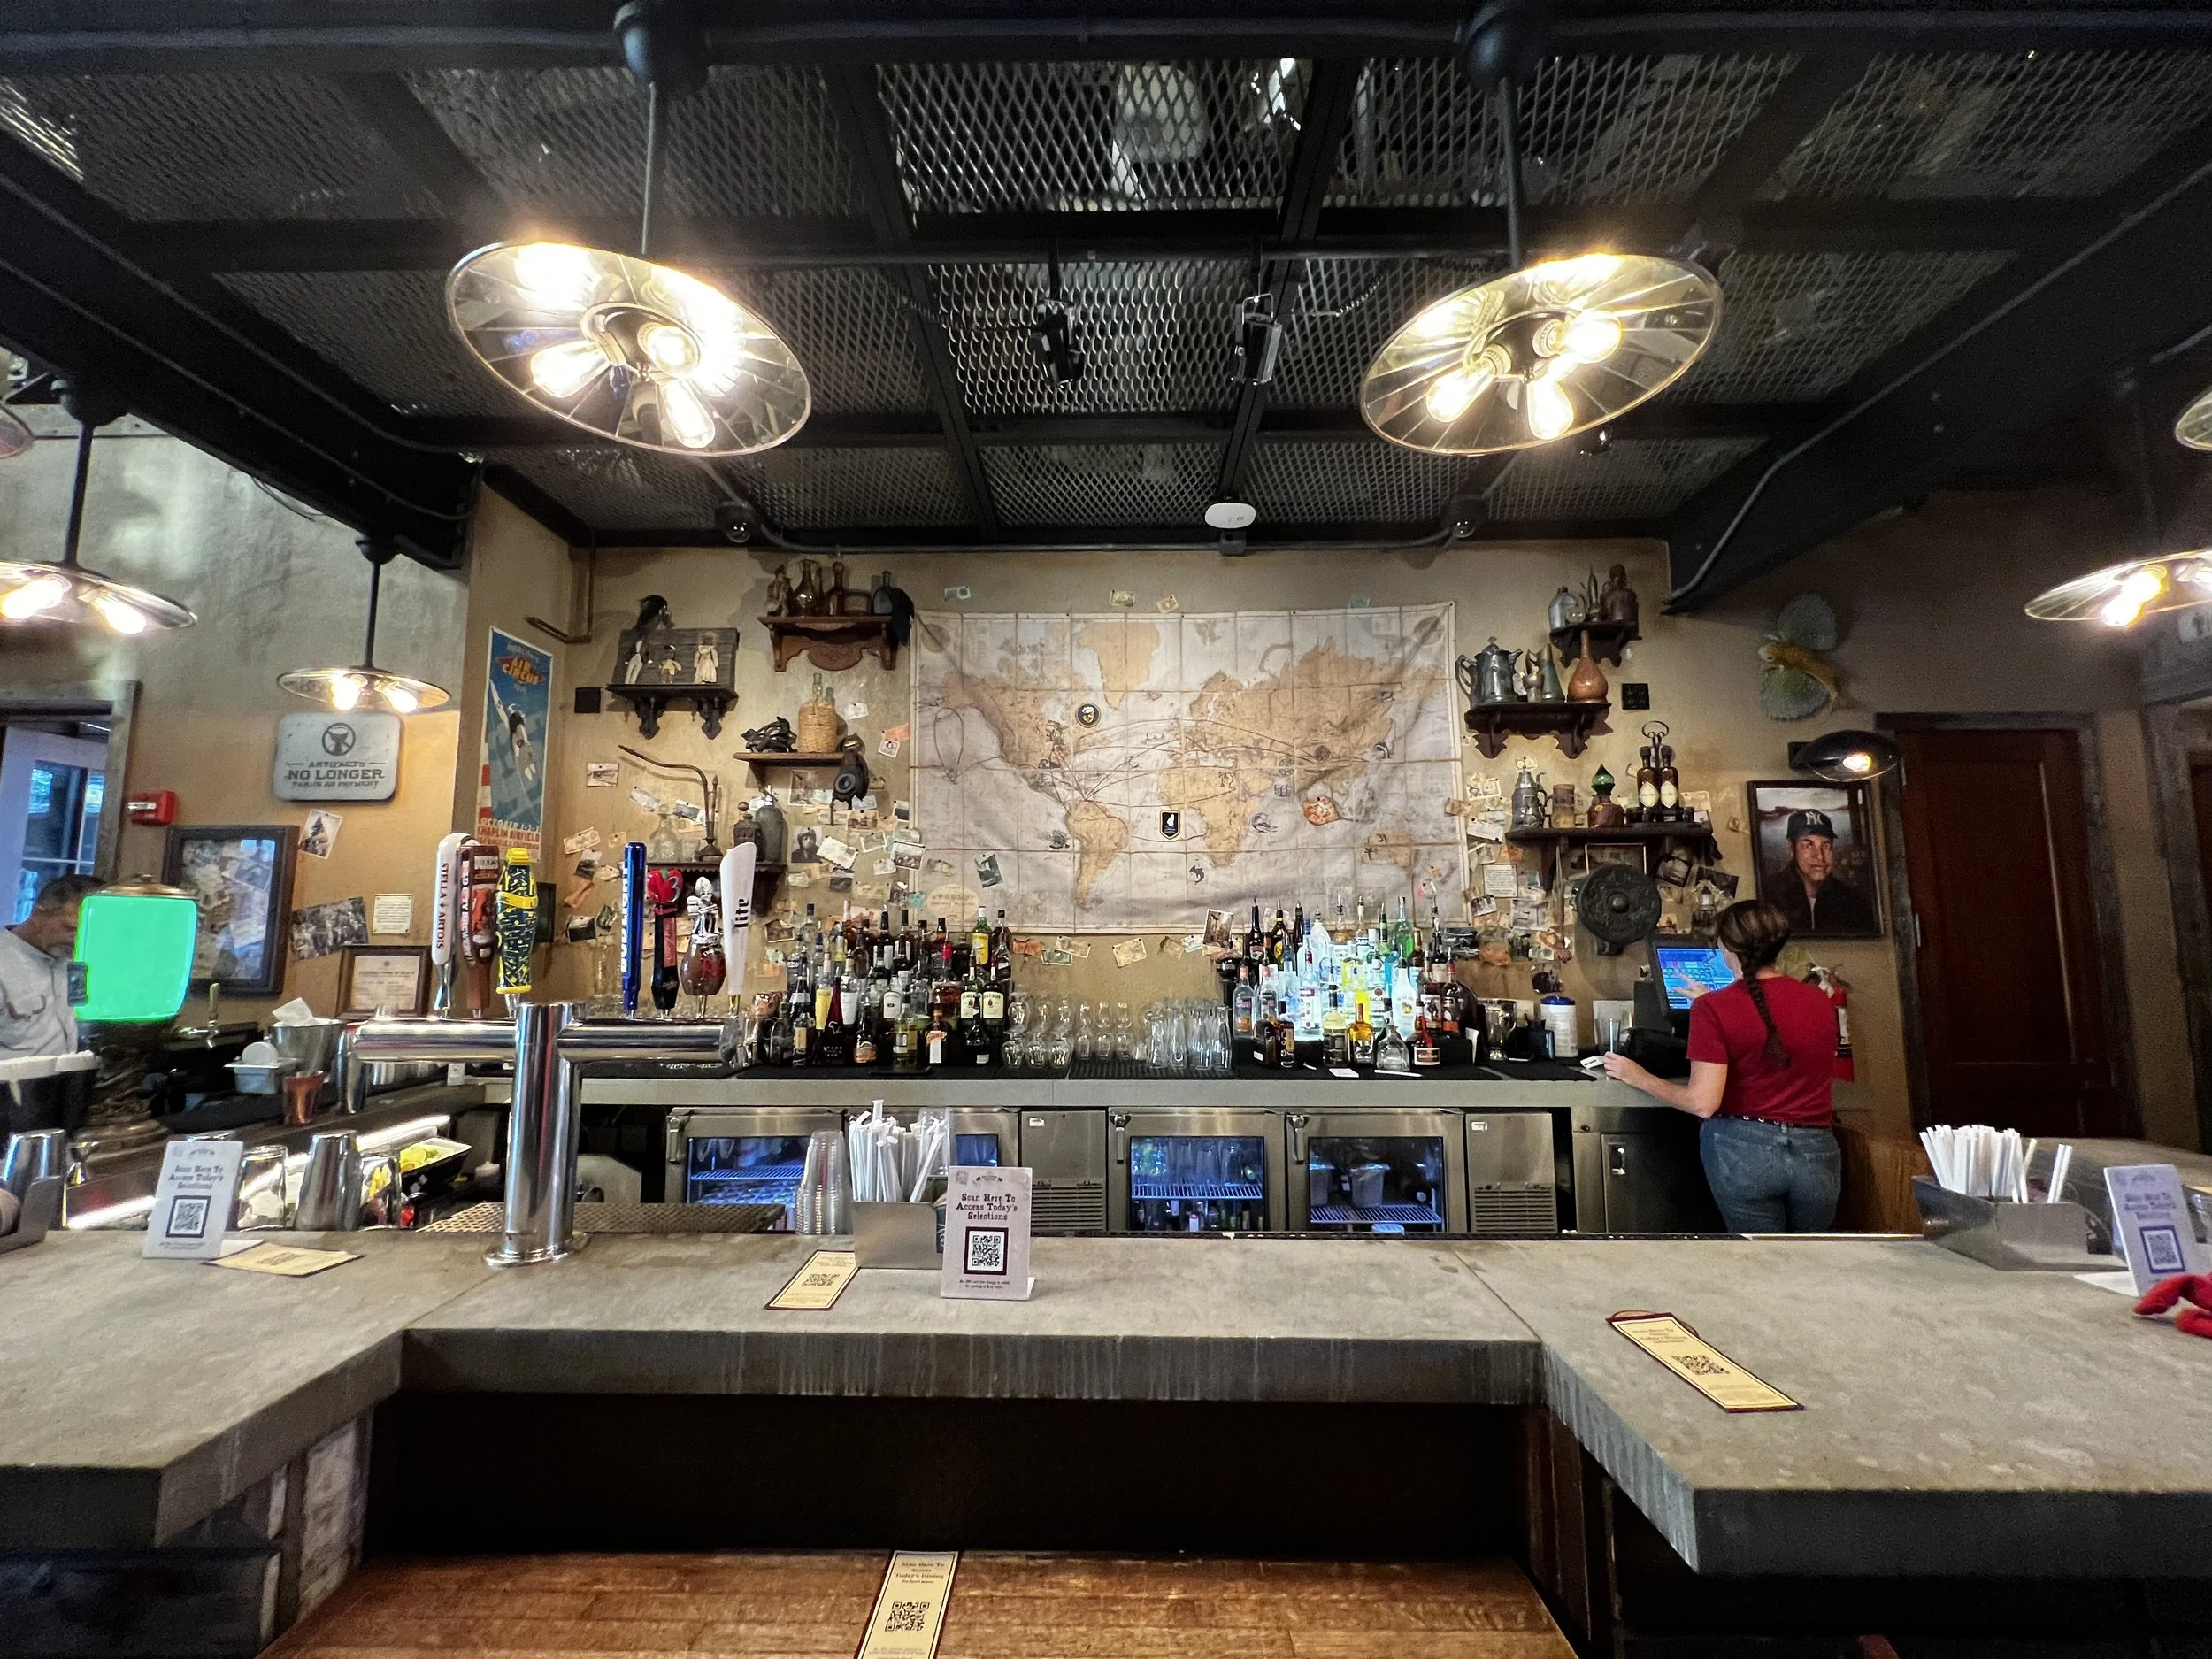
Tucked away in Disney Springs is Jock Lindsey’s Hangar Bar. A clever little Indiana Jones themed bar themed around Indy’s pilot from the beginning of Raiders. An Indy bar that tries really hard to never mention Indiana Jones… Such a not-brand-aware thing to do for Disney. I sort of love it.

So, what does this have to do with Arcades and Pinball stuff? With the Mario Karts gone and a reduction in games that I’m working on, for quite some time I’ve been wanting to build a Indiana Jones-Esque Tiki Bar in the game room.
There are a few motivations here. One large motivation is that I wanted to change the game room from being a place for collectables to being more of a place to hang out with friends. In a gut-punch, I lost a dear friend to cancer last year and it really highlights for me the need to be better about just “hanging out” instead of being project and career focused all of the time. So, with the bar plan I have in mind I gain additional comfortable seating for 3 plus behind-the-bar space.
Another motivation is.. well.. its cool. Also, I have a decent sampling of bourbons for tasting and I’m pretty sure my wife would love for it to find a different place to live than our dining room.
..so this will be a living blog post, get updated with my progress. If you’ll excuse me I have to go get some man-glitter on me now.
Day Zero - Planning and Staging
Draft plans, Ideas, aesthetics, etc.
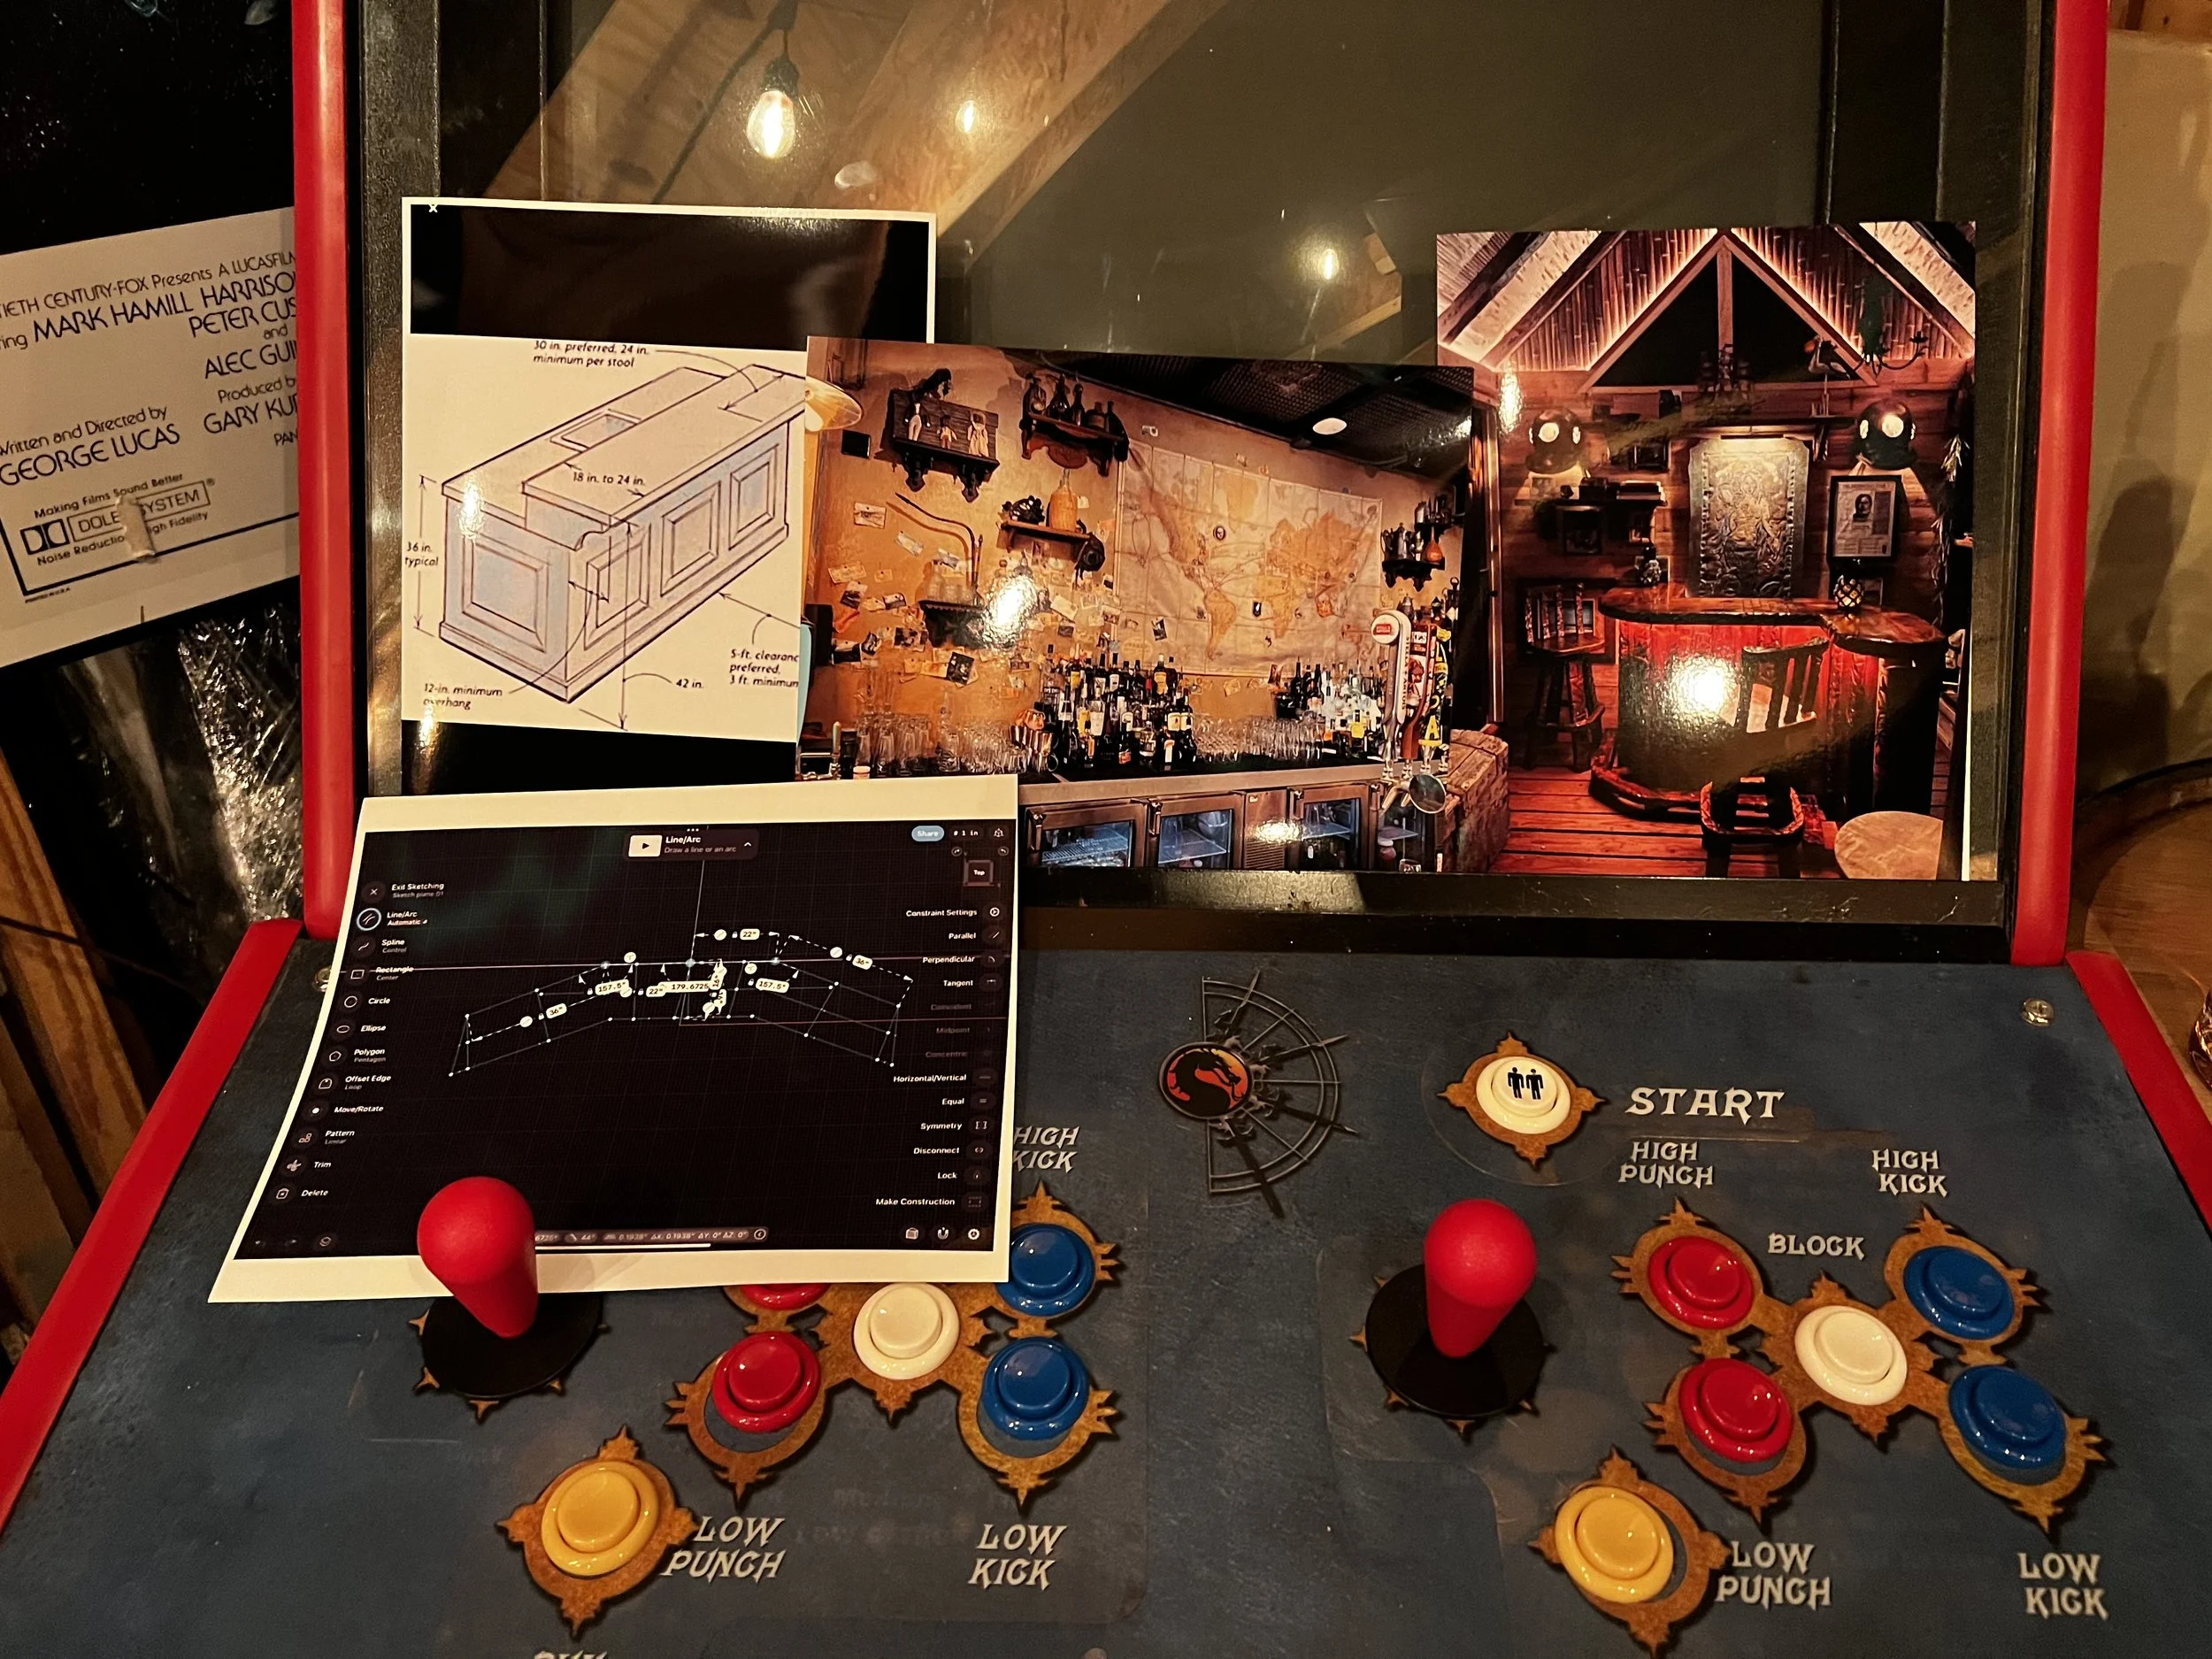
I designed a two-wing bar design in CAD with a 42” main bar and two 36” wings at a slight angle. This was pretty great for getting material costs nailed down per section.
For design, I’m sticking with a tiki-theme. Tiki bars are well suited for limited material and finish, the kinds of shipwreck materials one might find at the not-to-plan conclusion of a three-hour tour. :) They will be high-hiding and novice building errors can be mistaken for intentional authentic charm.
For materials, I had in mind two different approaches:
1) Lightweight version - similar to the cheaply made but overpriced tiki bars you see in Home Goods stores
- with construction based more or less on 2”x2” balusters or structural bamboo, this could be cheap to build and easy to move
- it may also be flimsy without engineered cross supports, a maximum load of about 500lbs
2) Medium-Heavy version - constructed from brace-arranged 2x4’s and finished in bamboo accents.
Overall cost was a large consideration. My unfinished basement is a dive and building something too nice doesn’t really make sense for this space.
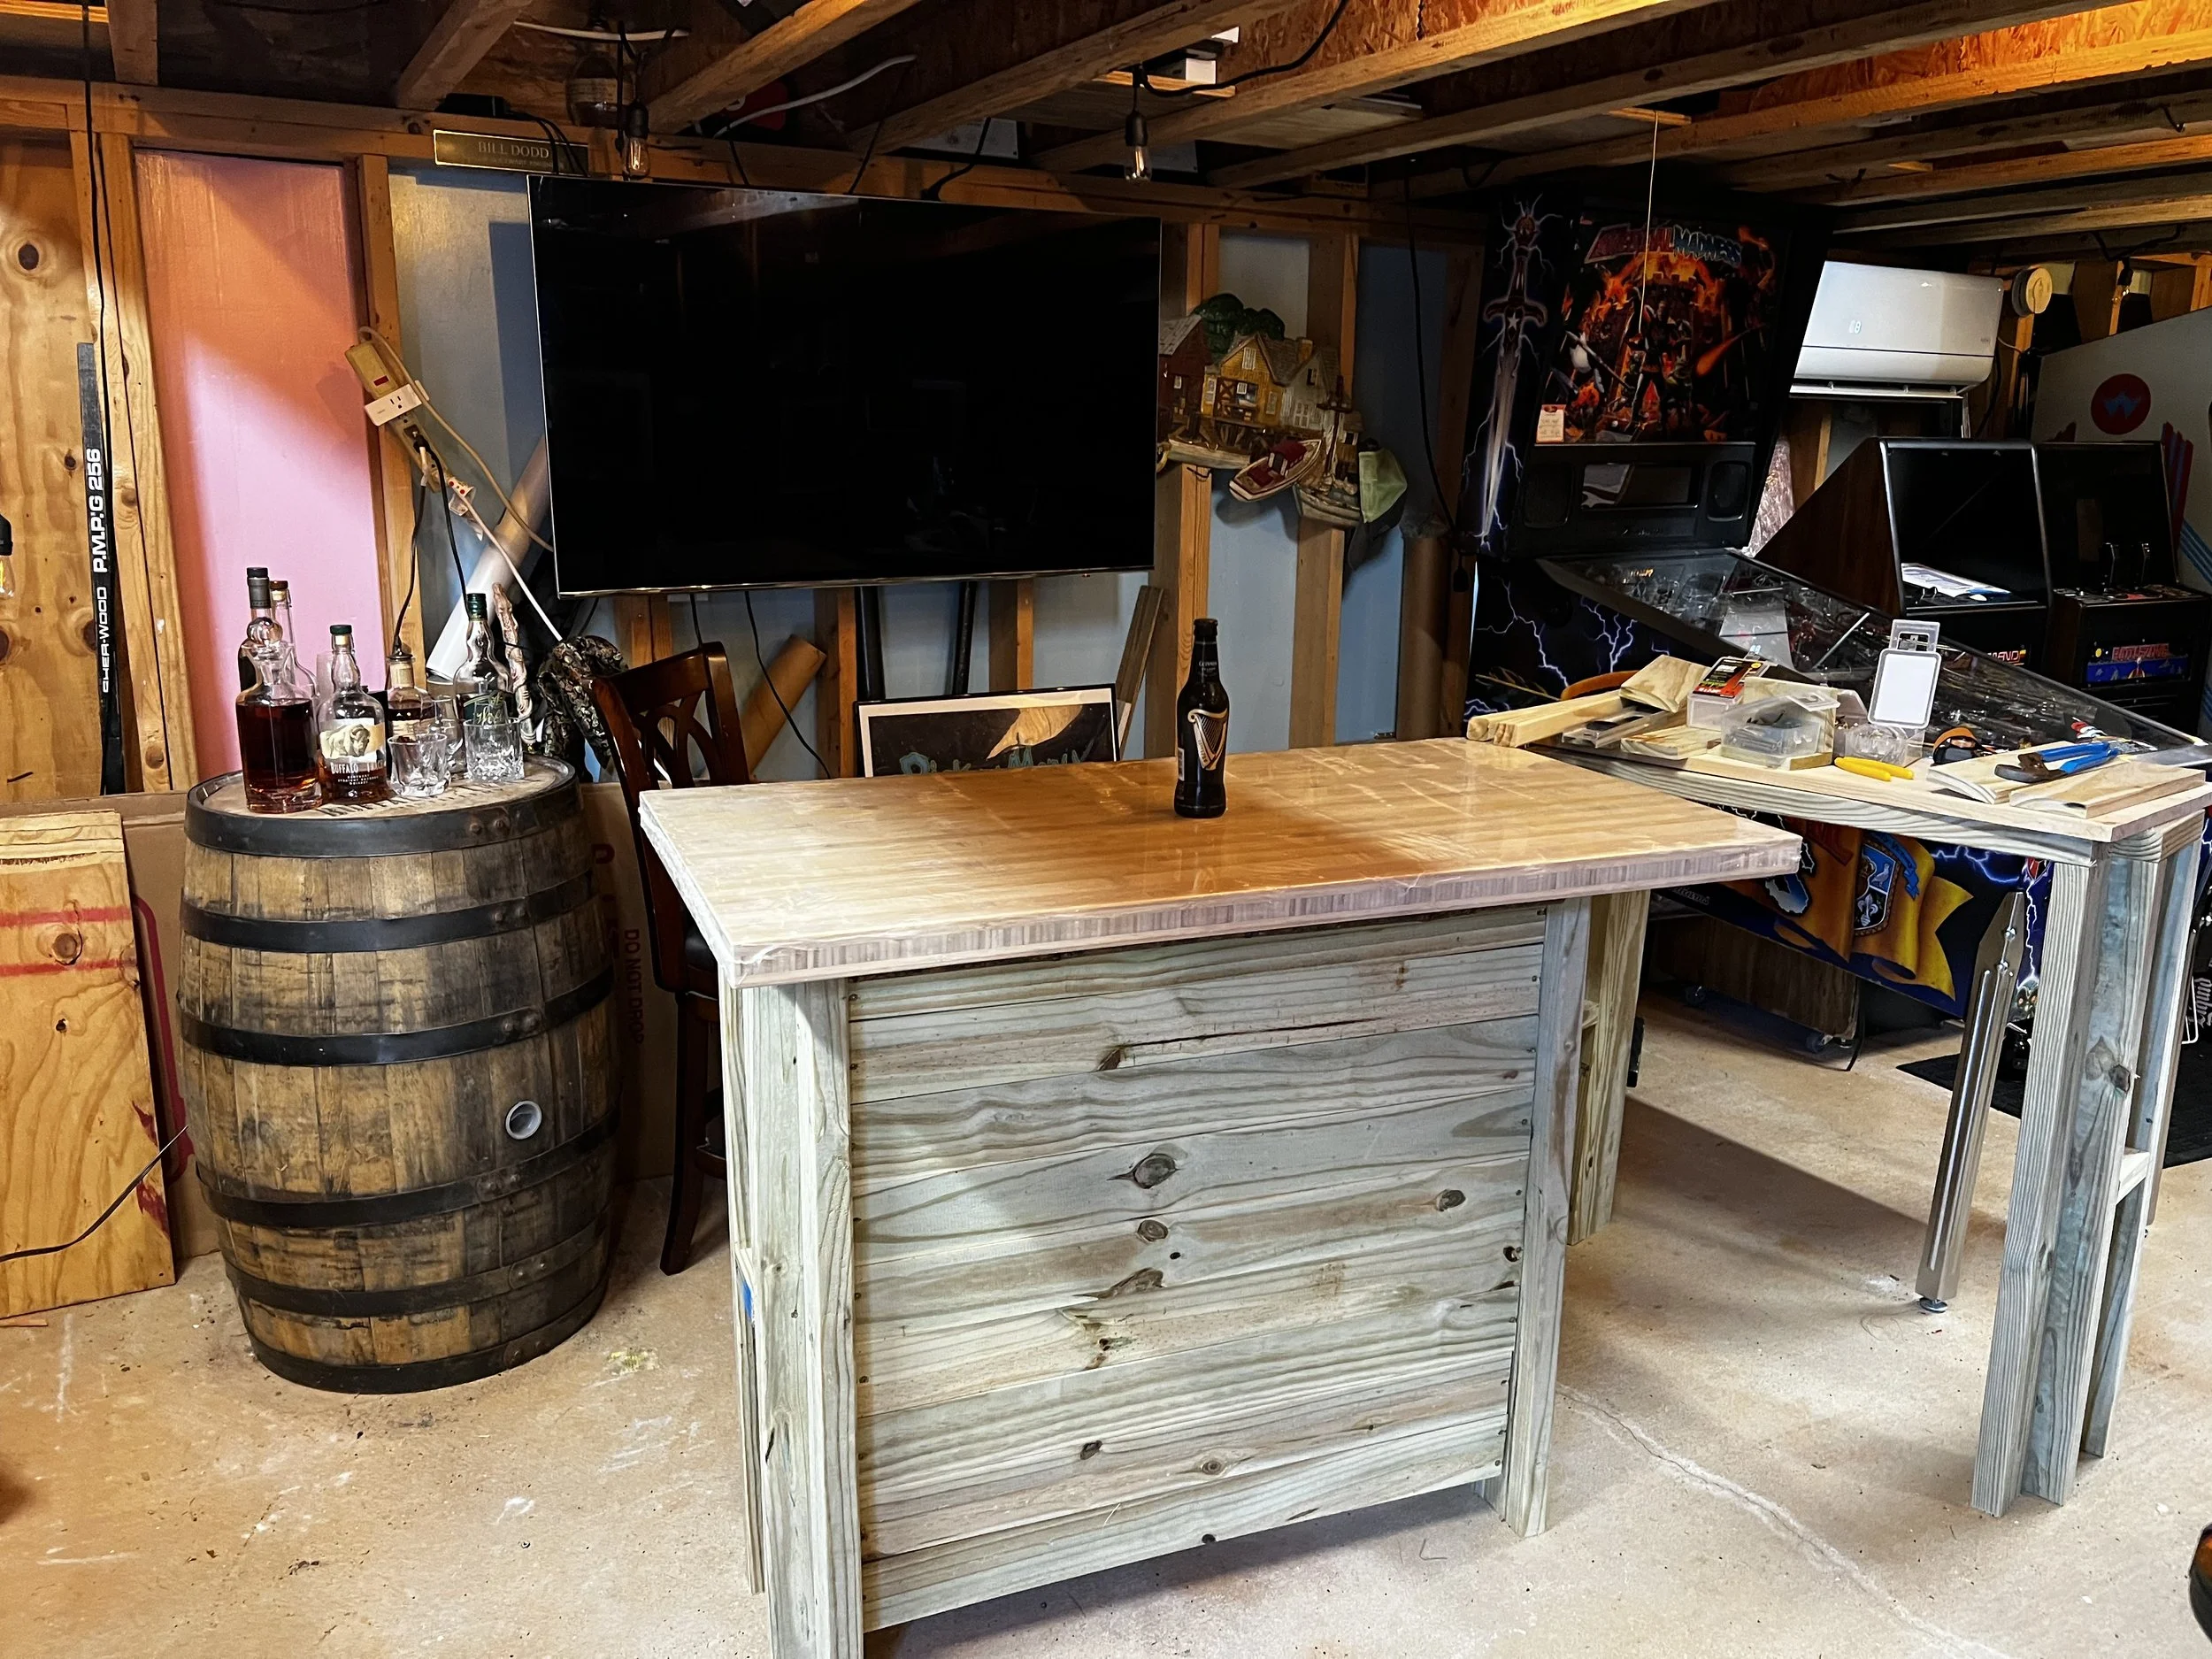
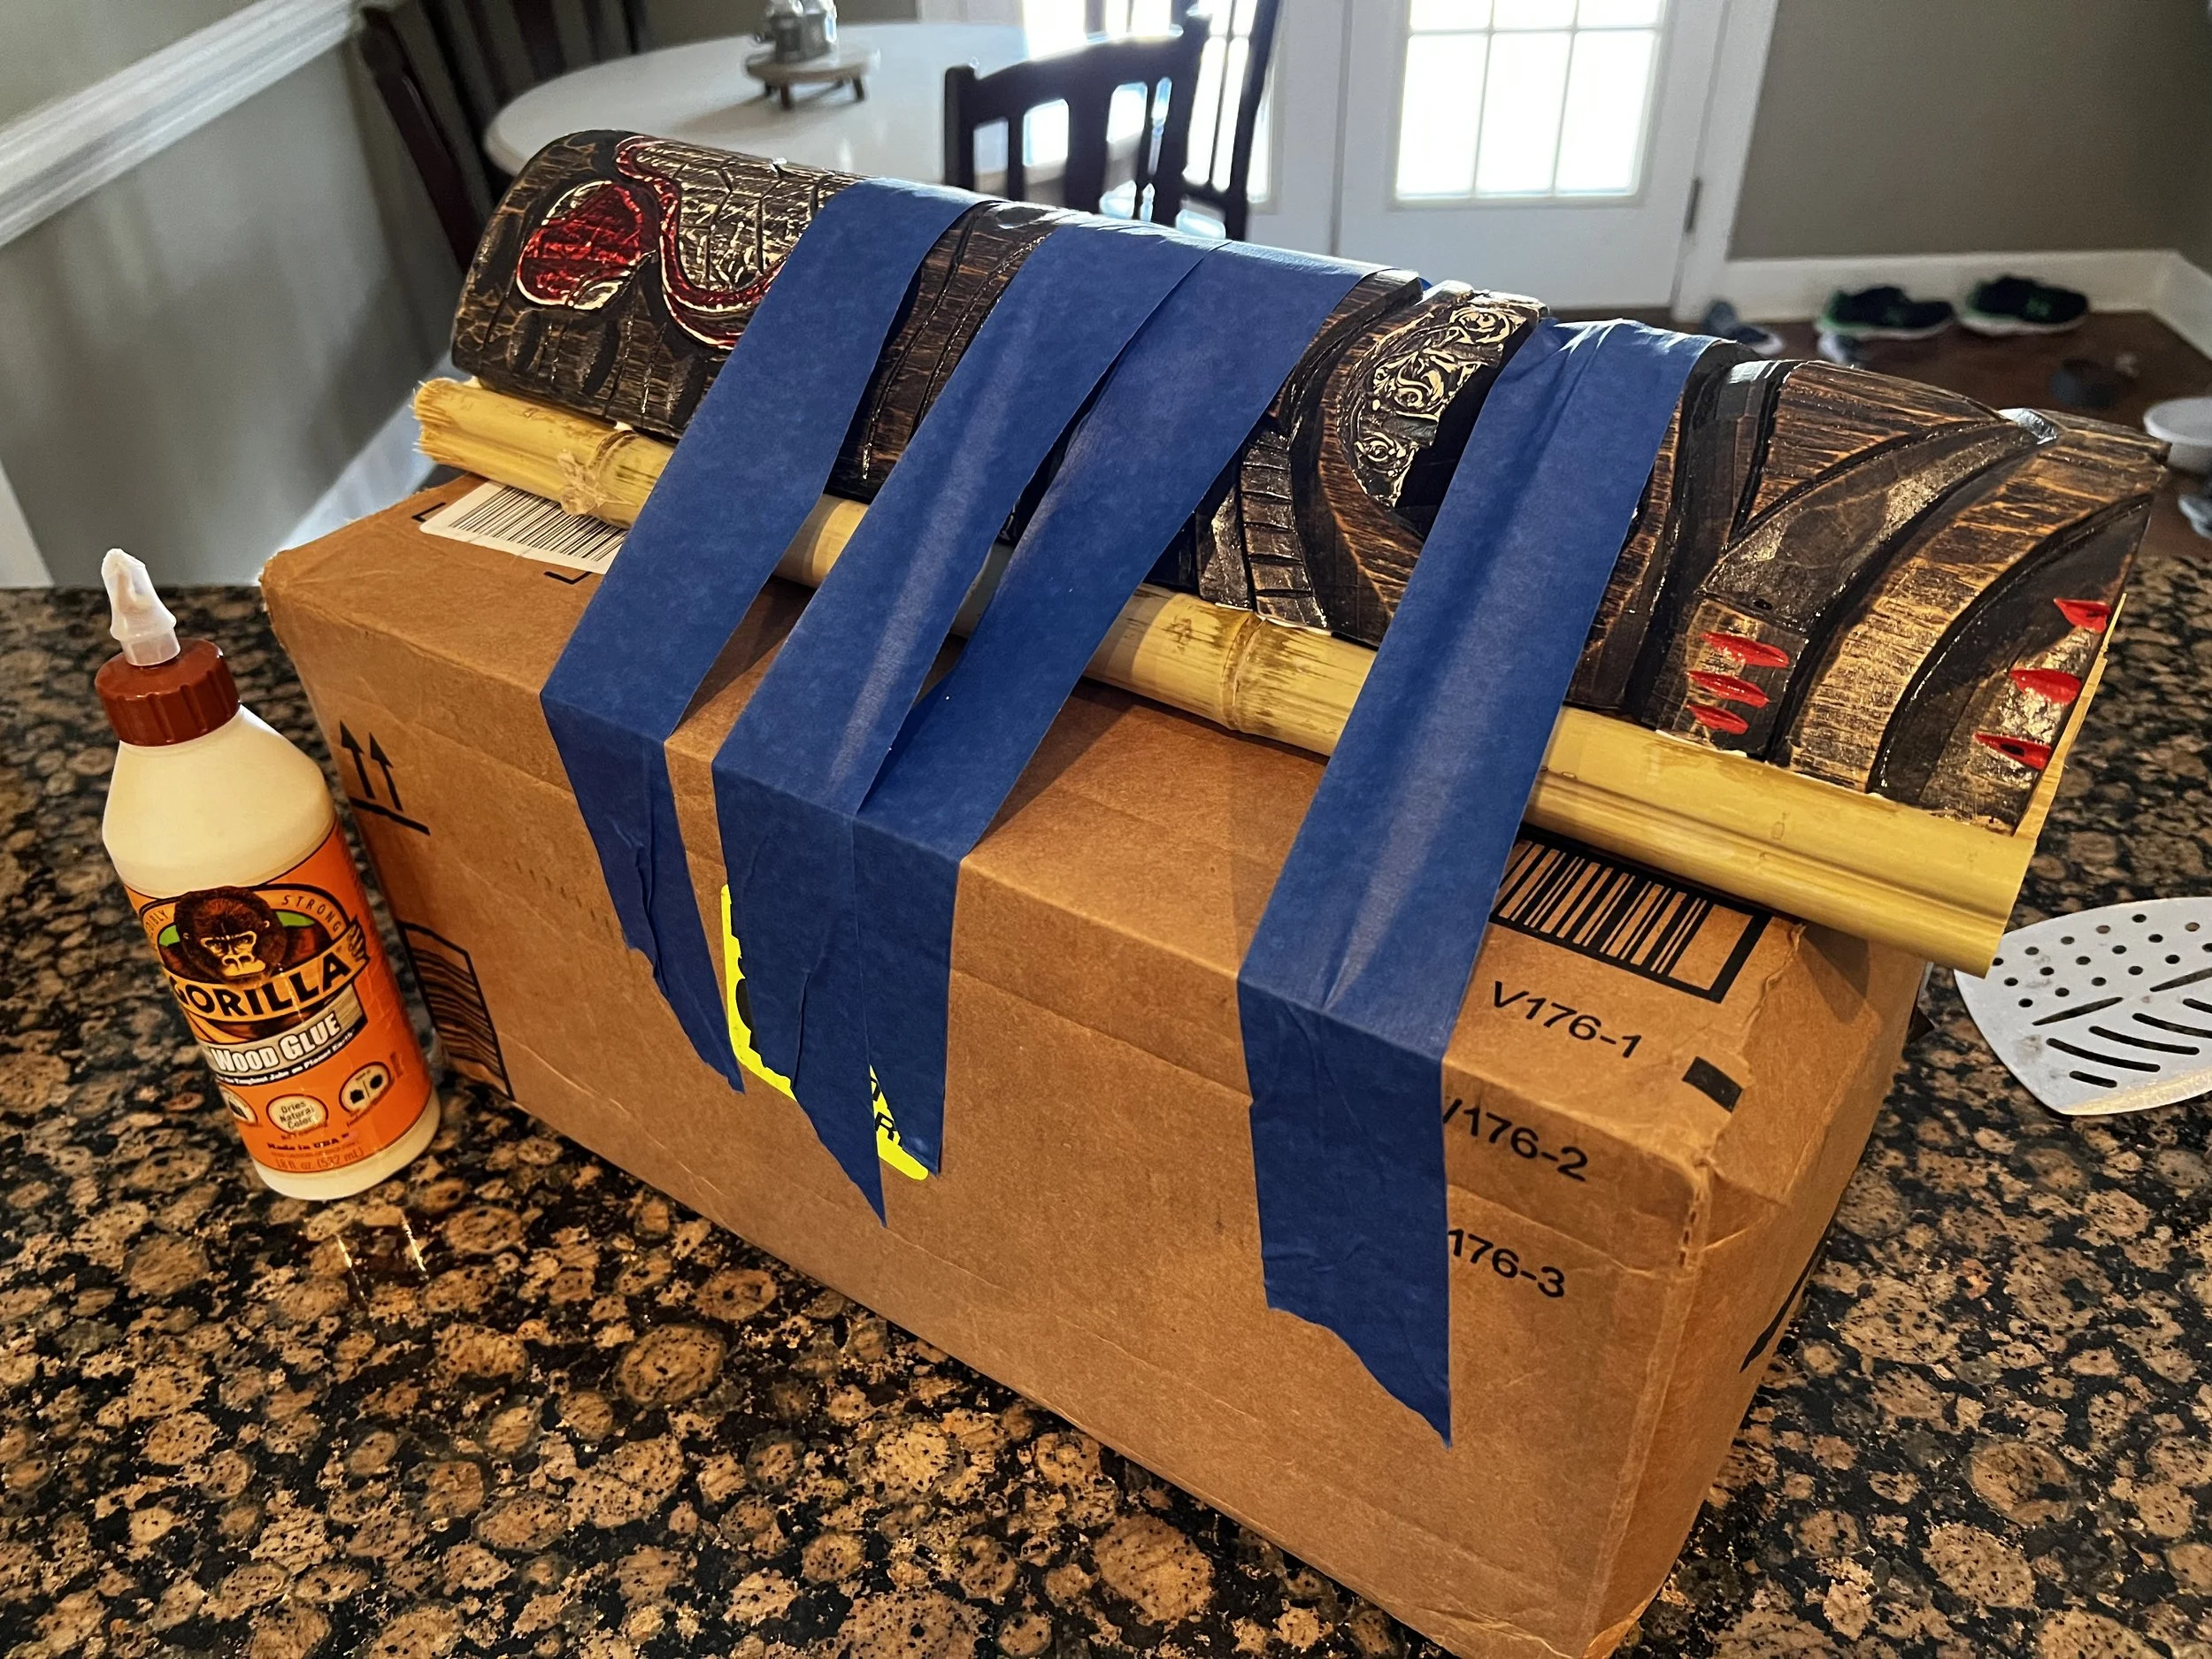
Placement Test
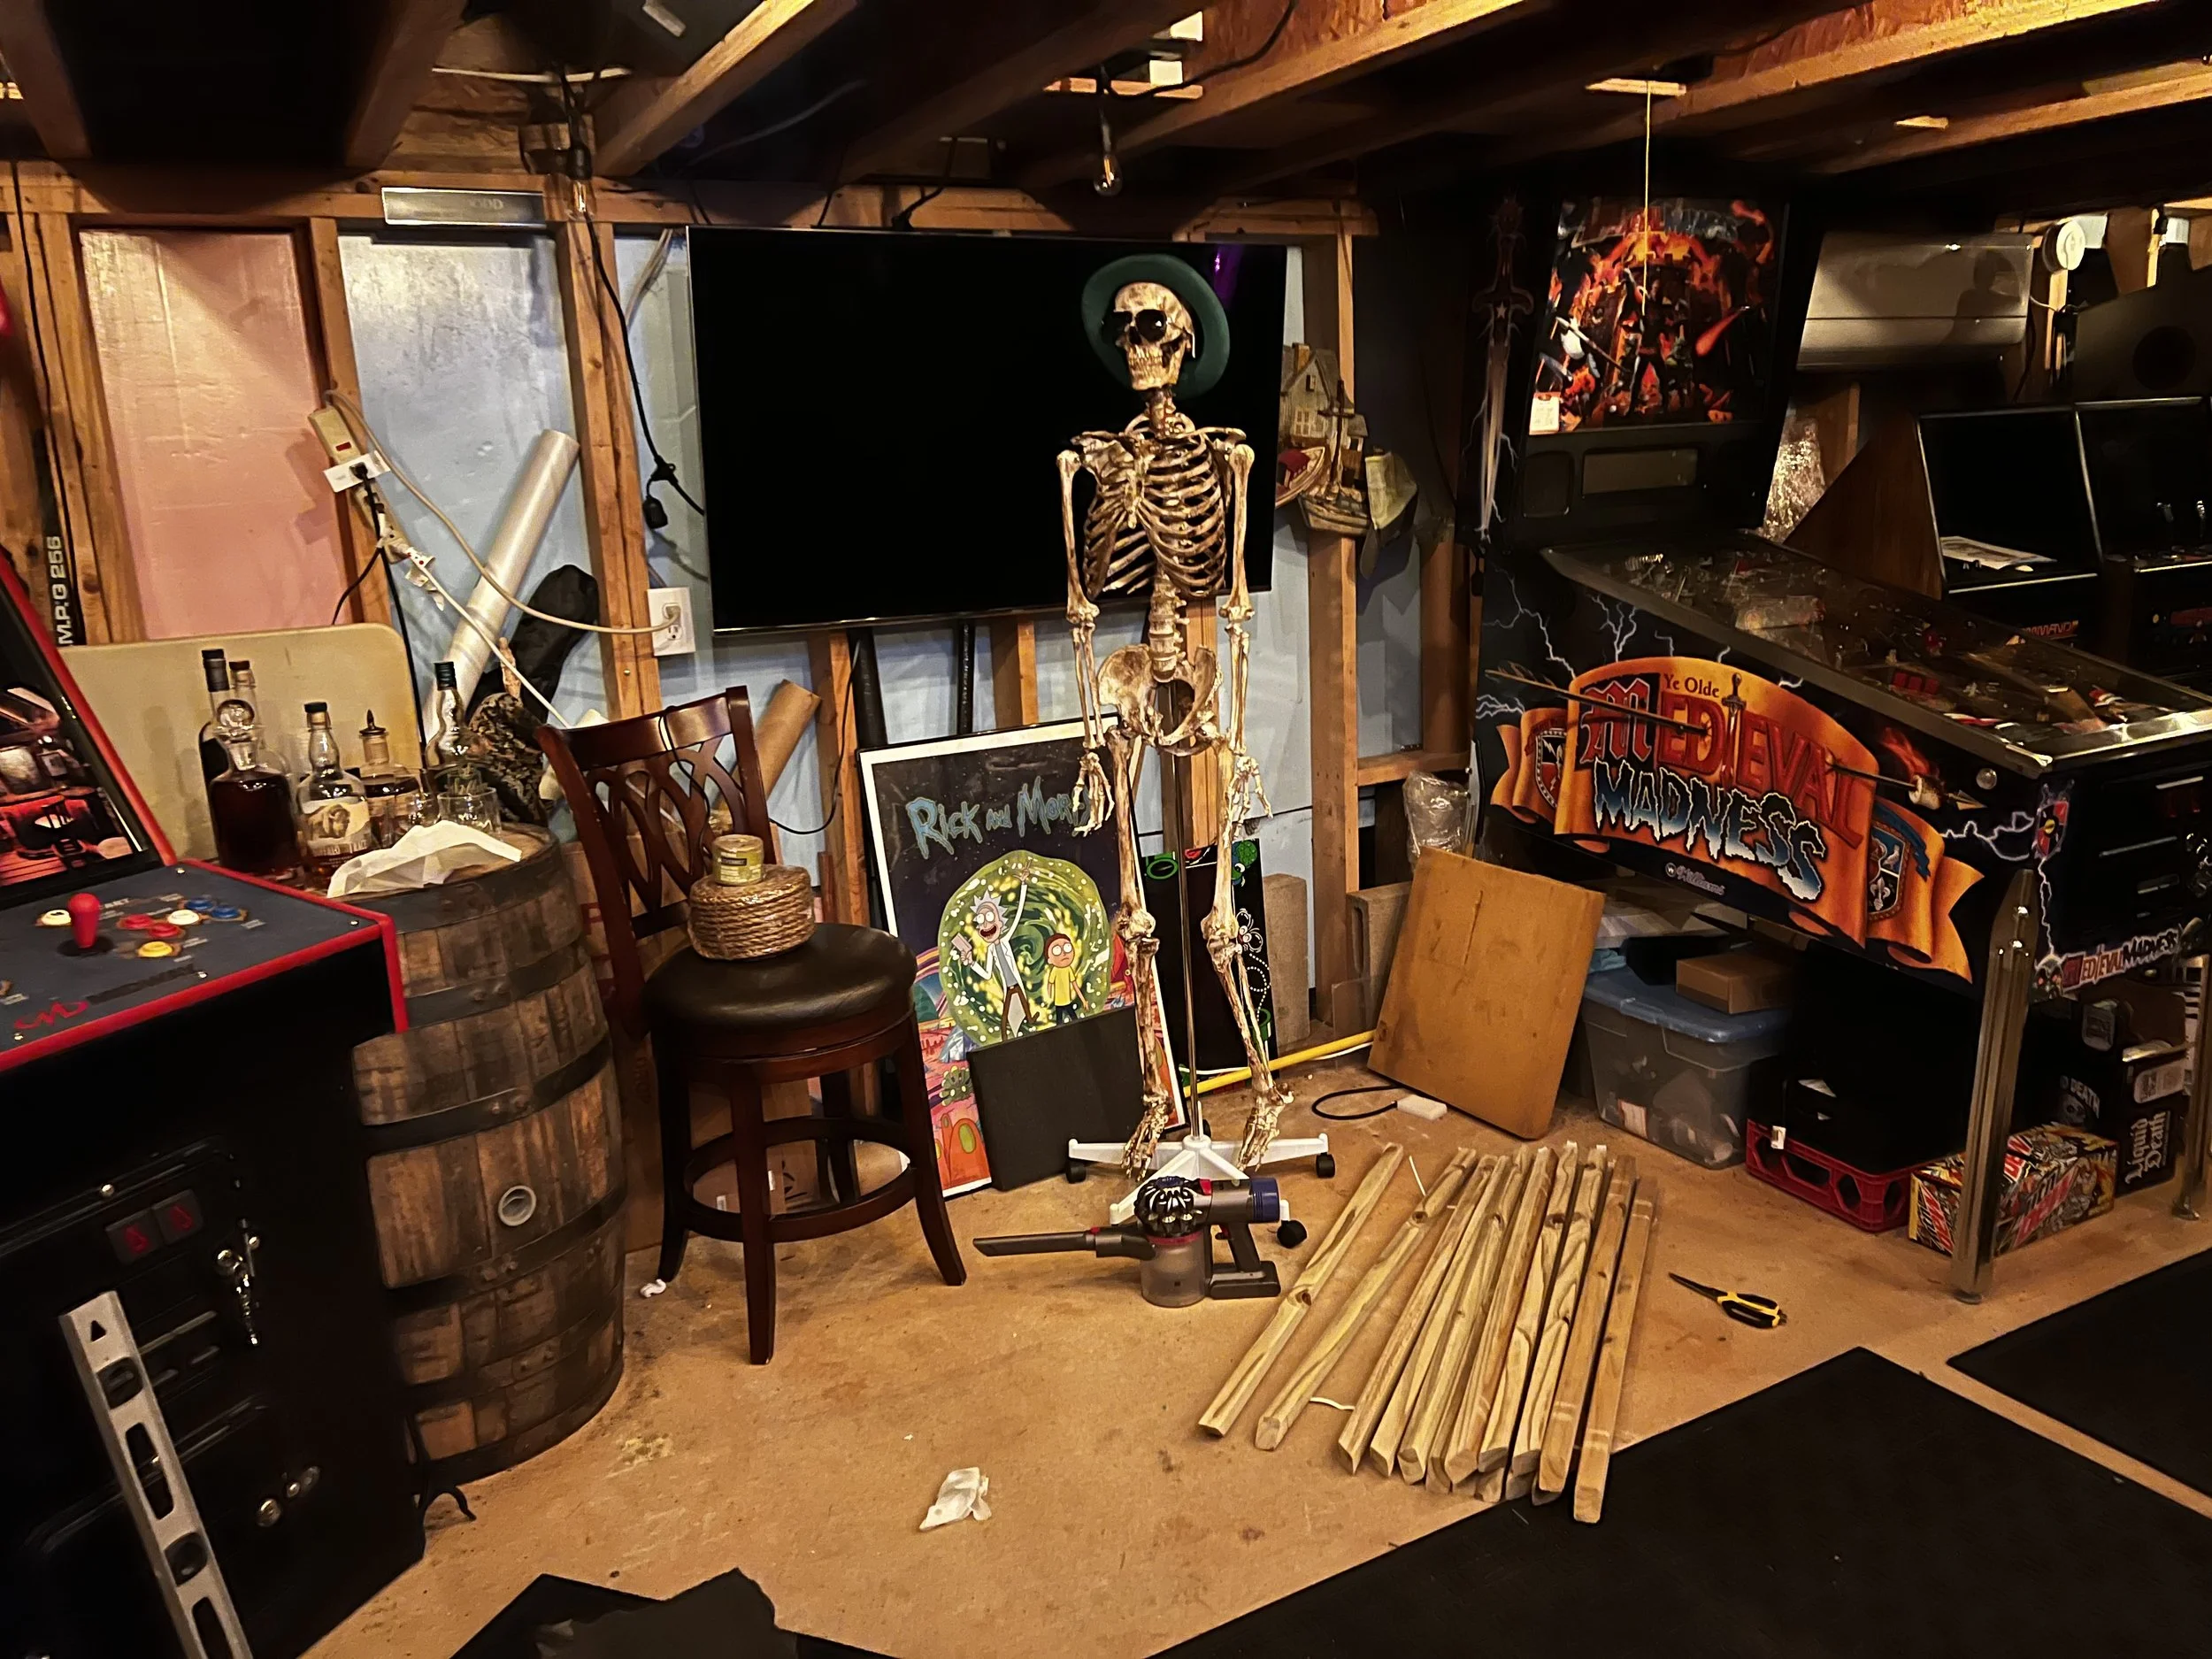
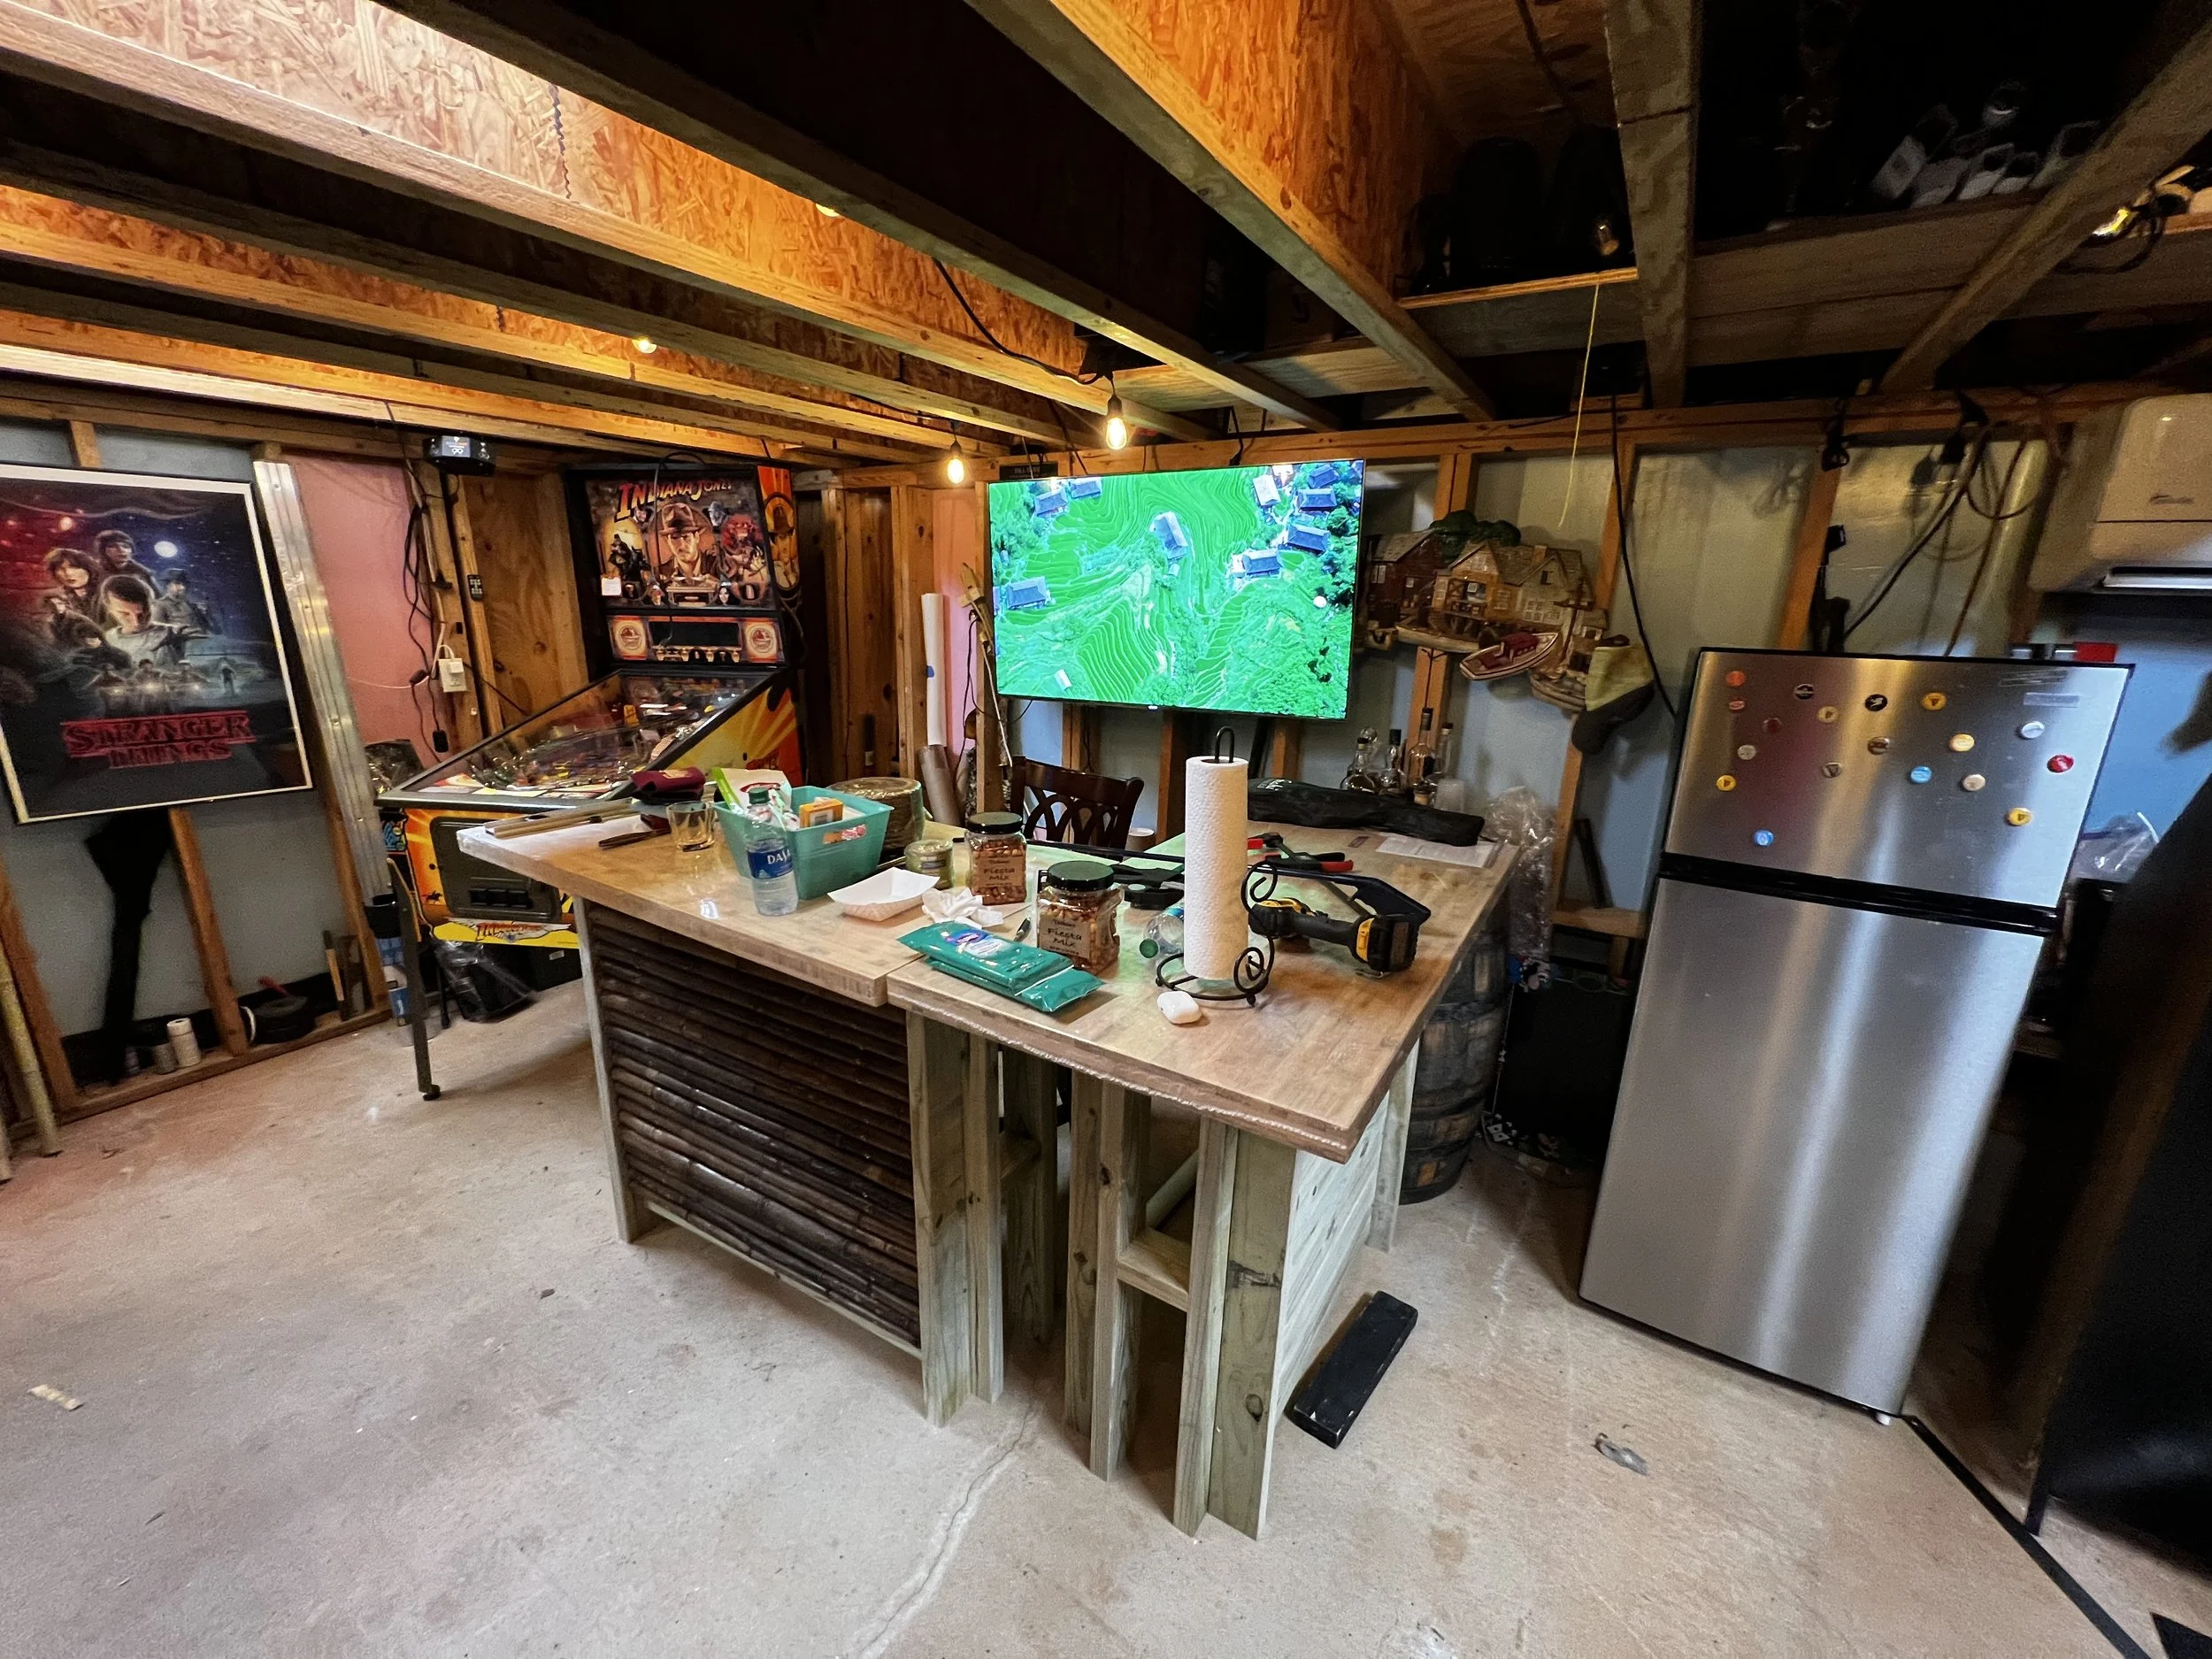
It will go here.
Bill’s Indy Bar v0.01. A sizing, height and placement test.
A quick zip-tie and clamp placement test taught me a few things:
Structural bamboo will be more expensive than 2x4 and add difficulty
The baluster construction will be too flimsy, even with an engineered cross-hatch and the rounded edge balusters will be hell to arrange in square braces, even with 3D printed angle guides.
The original two-wing design will need to be adjusted for space constraints. It would fit but nothing else would.
Day (Well, Night actually) Zero Point Five - Move Games Around
I really need a lighter hobby. Stamps, maybe?
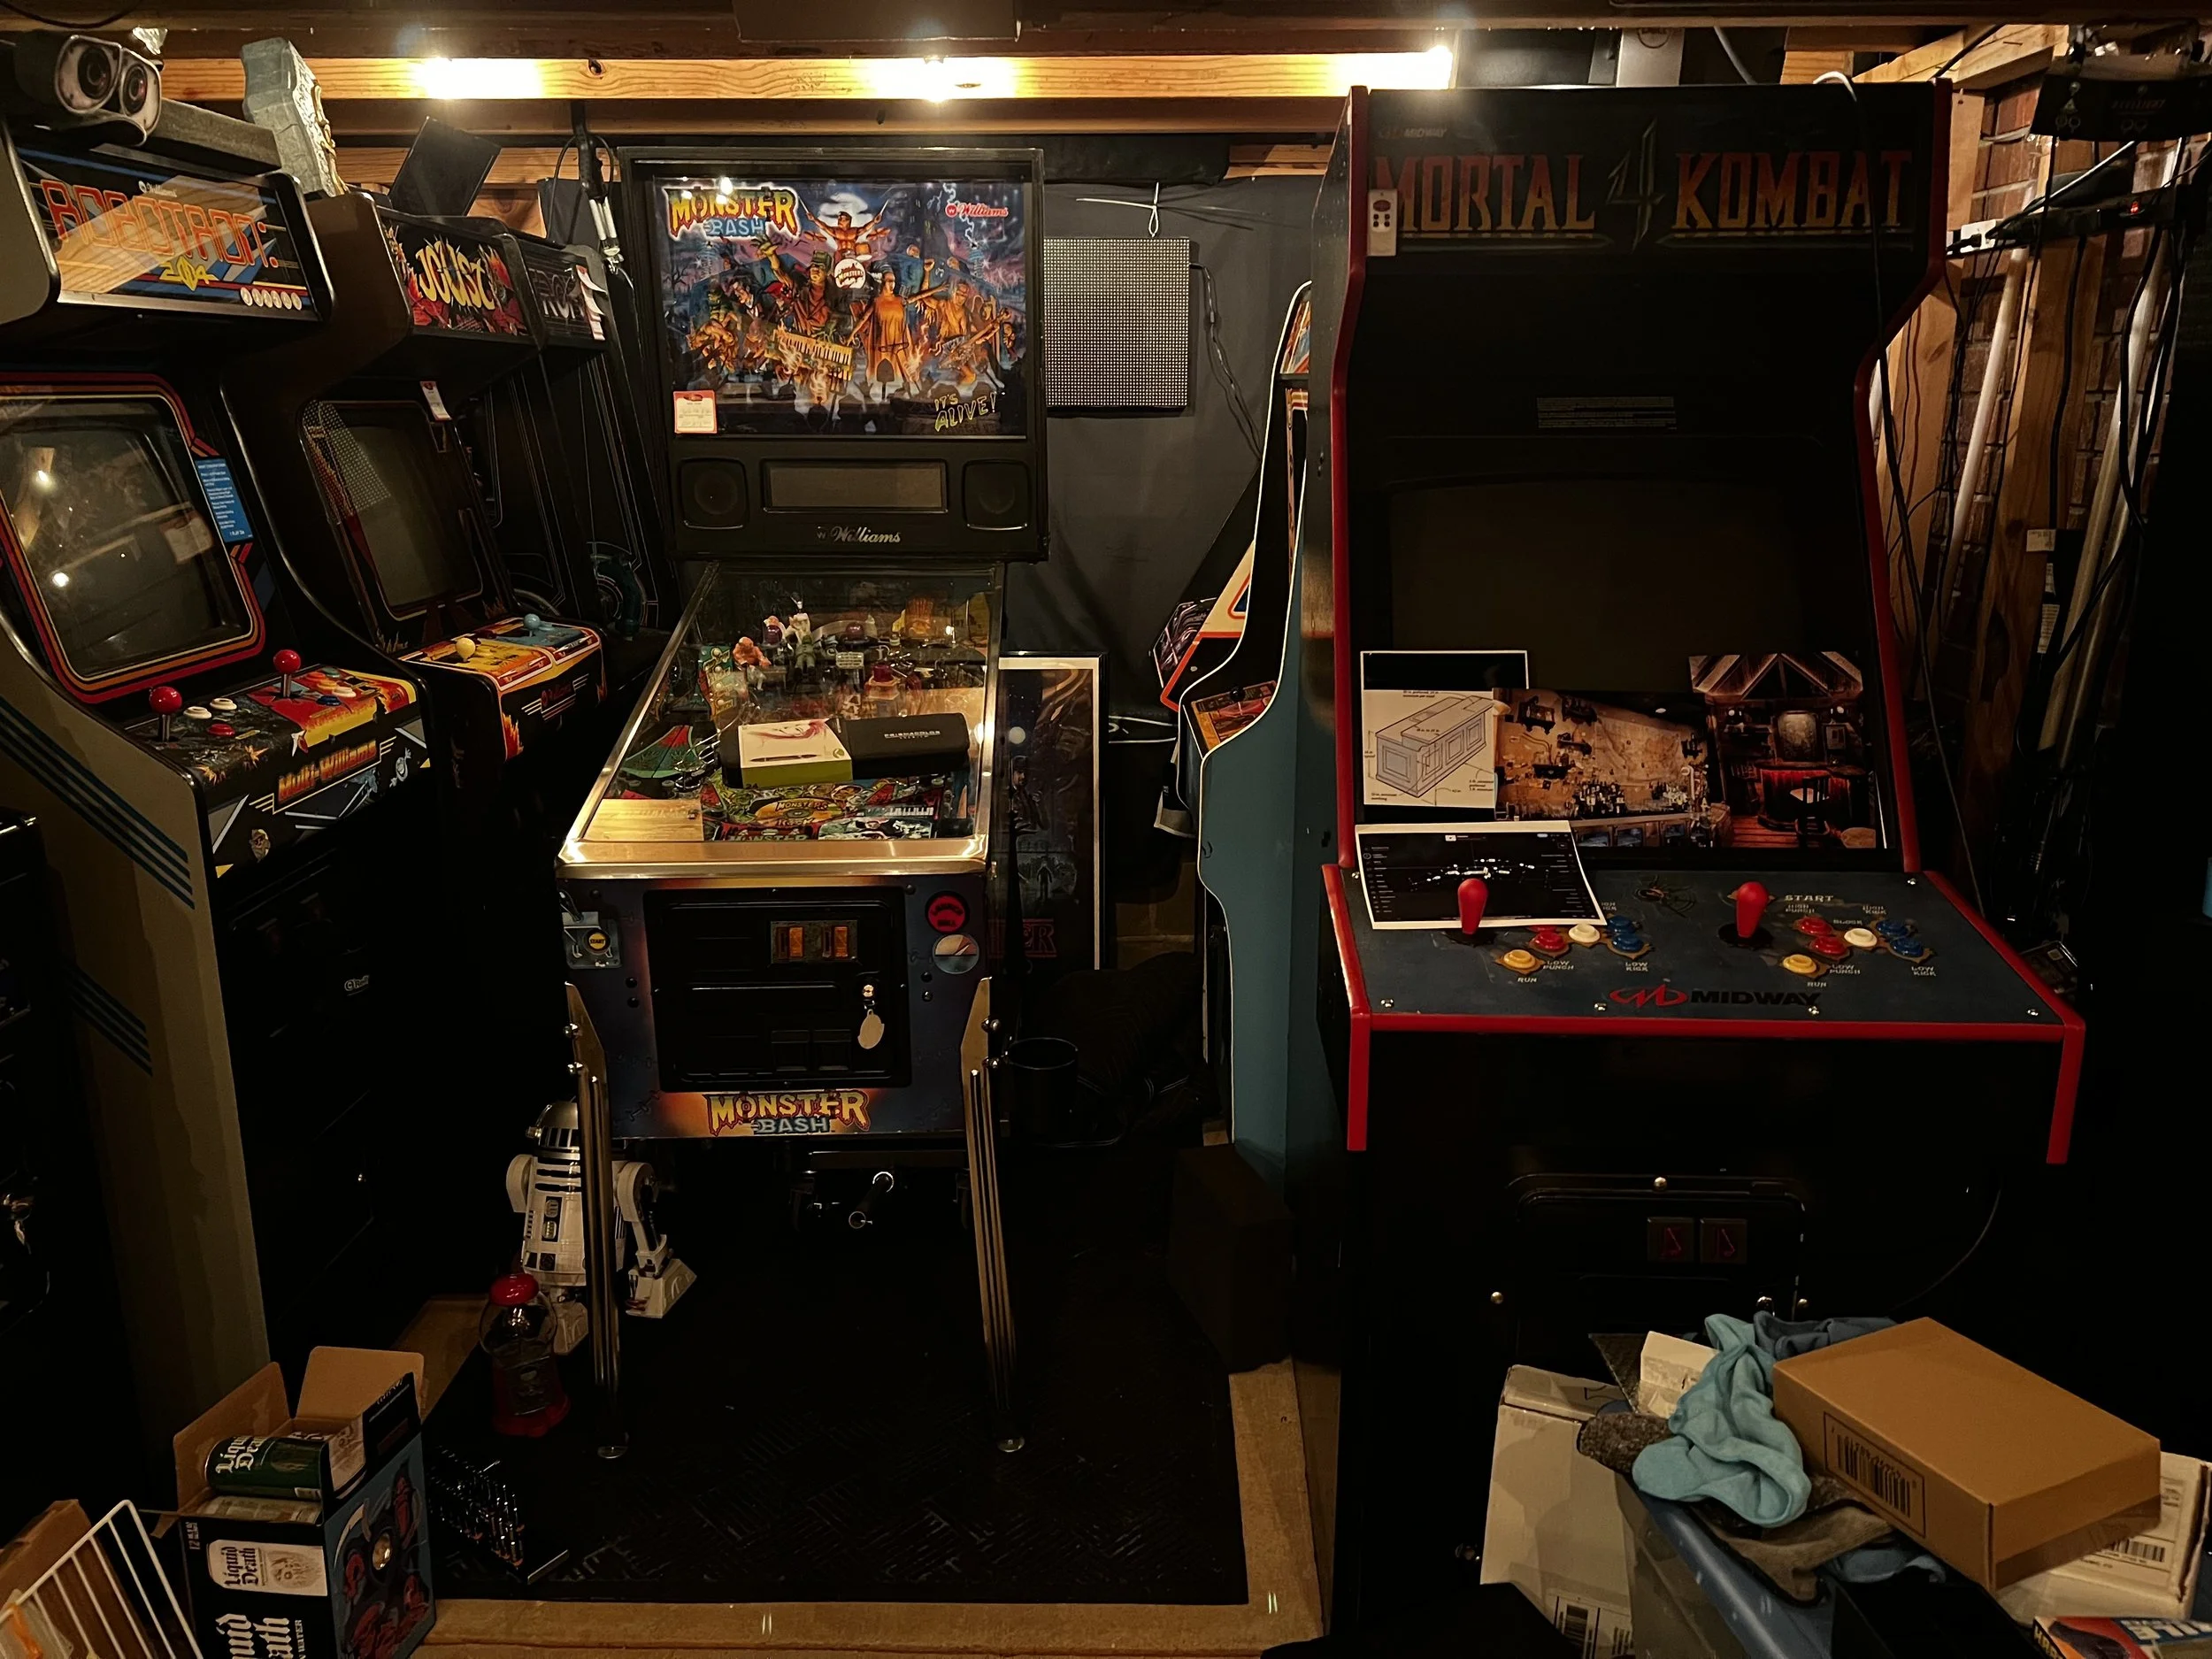
Mortal Kombat -> Classic Arcade Row
Monster Bash -> Temporary Spot
Mortal Kombat is extremely heavy - especially with the 4 board PCB rack for MK1-4. I sacrificed a couple of those plastic furniture sliders and just brute forced it across the room. Pinball moves within my reduced-height basement are complicated by the fact that the ceiling is too low to provide a natural arc for the head of a pinball to come down. So, I have to get behind the game, remove the back legs, lower the game partially onto the lift or a prop in order to lower the head, then move the game and reverse the process to setback up.
Day One - Saturday Construction Day


Thankfully lumber prices have come down and this non-finish grade treated lumber is all pretty inexpensive.
I used pressure-treated 2x4’ for structure with 1x4’s as slats.
For finish, I picked up two packs of 96” bamboo poles from HomeDepot and an Amazon Warehouse Deal for Bamboo Fencing.
All of this evidently was sourced from the same company: Forever Bamboo / Backyard X-Scapes and some Manila Jute for bundling.
The natural bamboo was nominally thicker than the black bamboo. In retrospect I could have saved some cost by ordering directly from the manufacturer and ordering longer sticks.
I wanted to do an epoxy pour river of 3d-printed artifacts between two pieces of routed finish-grade cabinet wood. After pricing epoxy, I settled on Bamboo countertops from Lowes, that at the time were on-sale for $144.00. At this price and given the nature of bamboo, I fully expect I will need to revisit the epoxy top in the future.
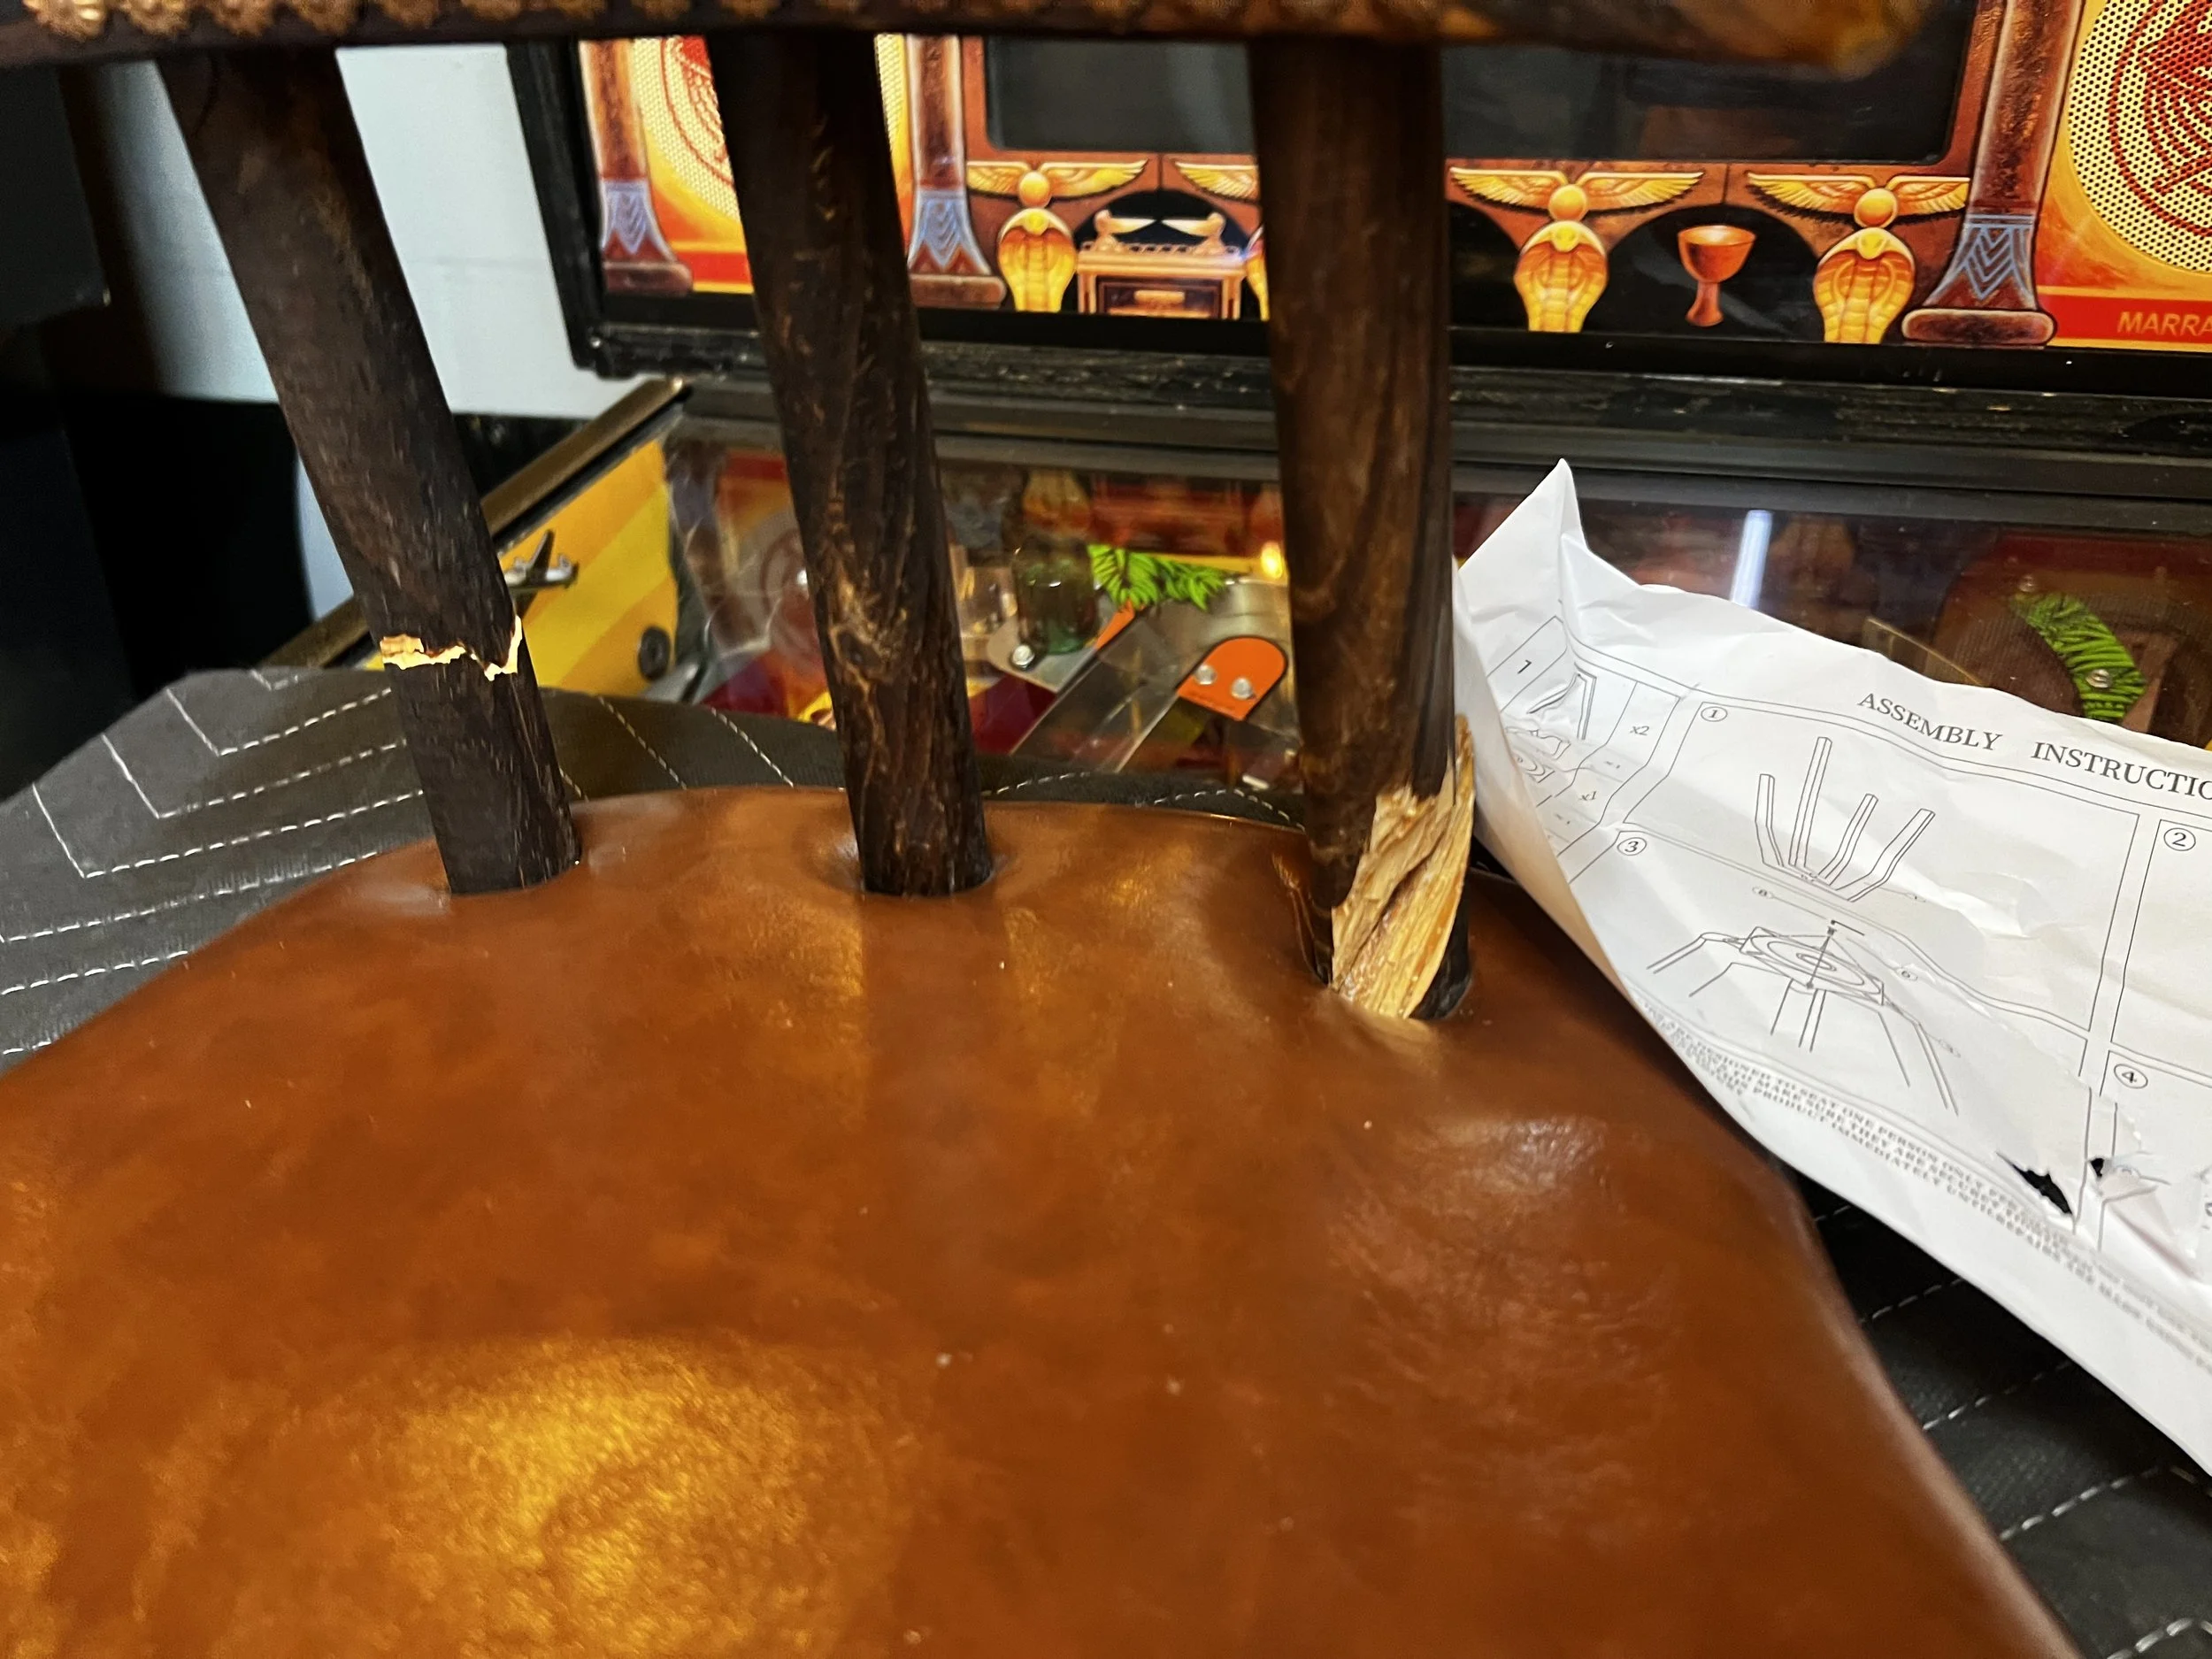
In the interest of conservation of space, I settled on an L-Return design. The barstools that I ordered from Amazon certainly looked the part but both sets arrived damaged AND they were pretty uncomfortable.
Day 1.5 More Game Moves
Heavy hobby is heavy. Okay stamps would be boring. Collect coins maybe?
Indy -> Bar Area
Medieval Madness -> Old Indy Spot
Centipede & Reunion - > Old Monster Bash Spot
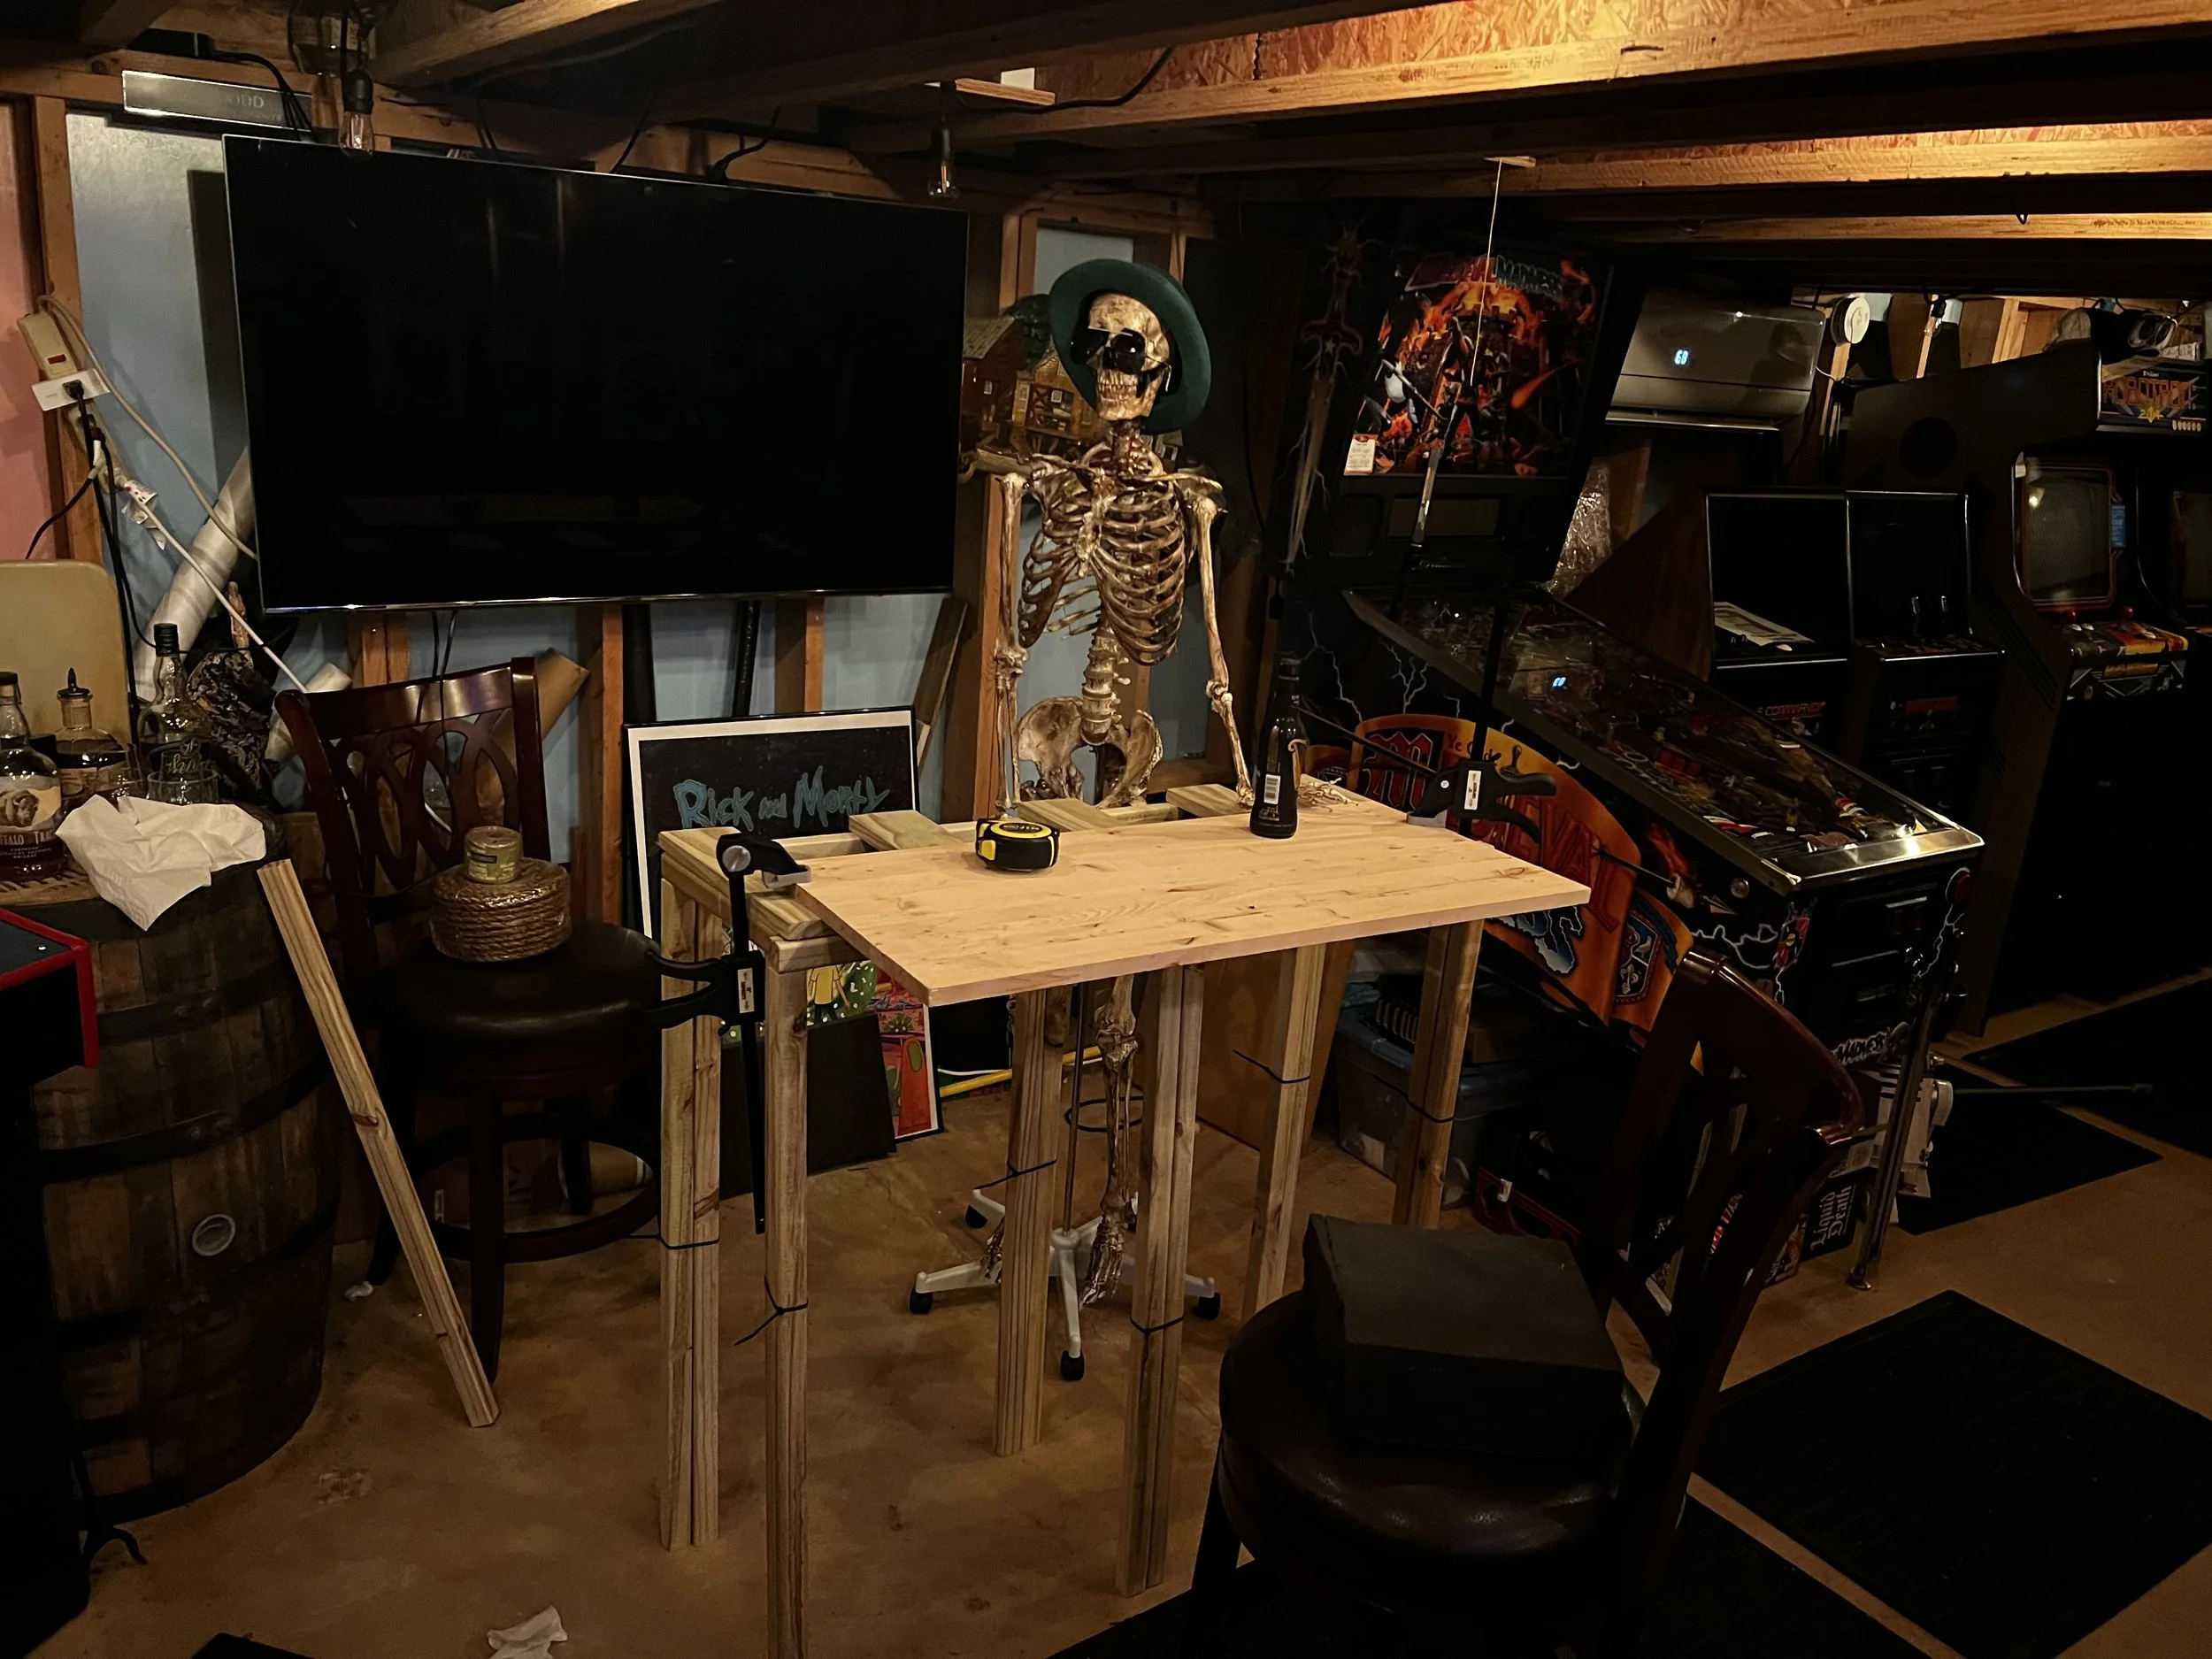
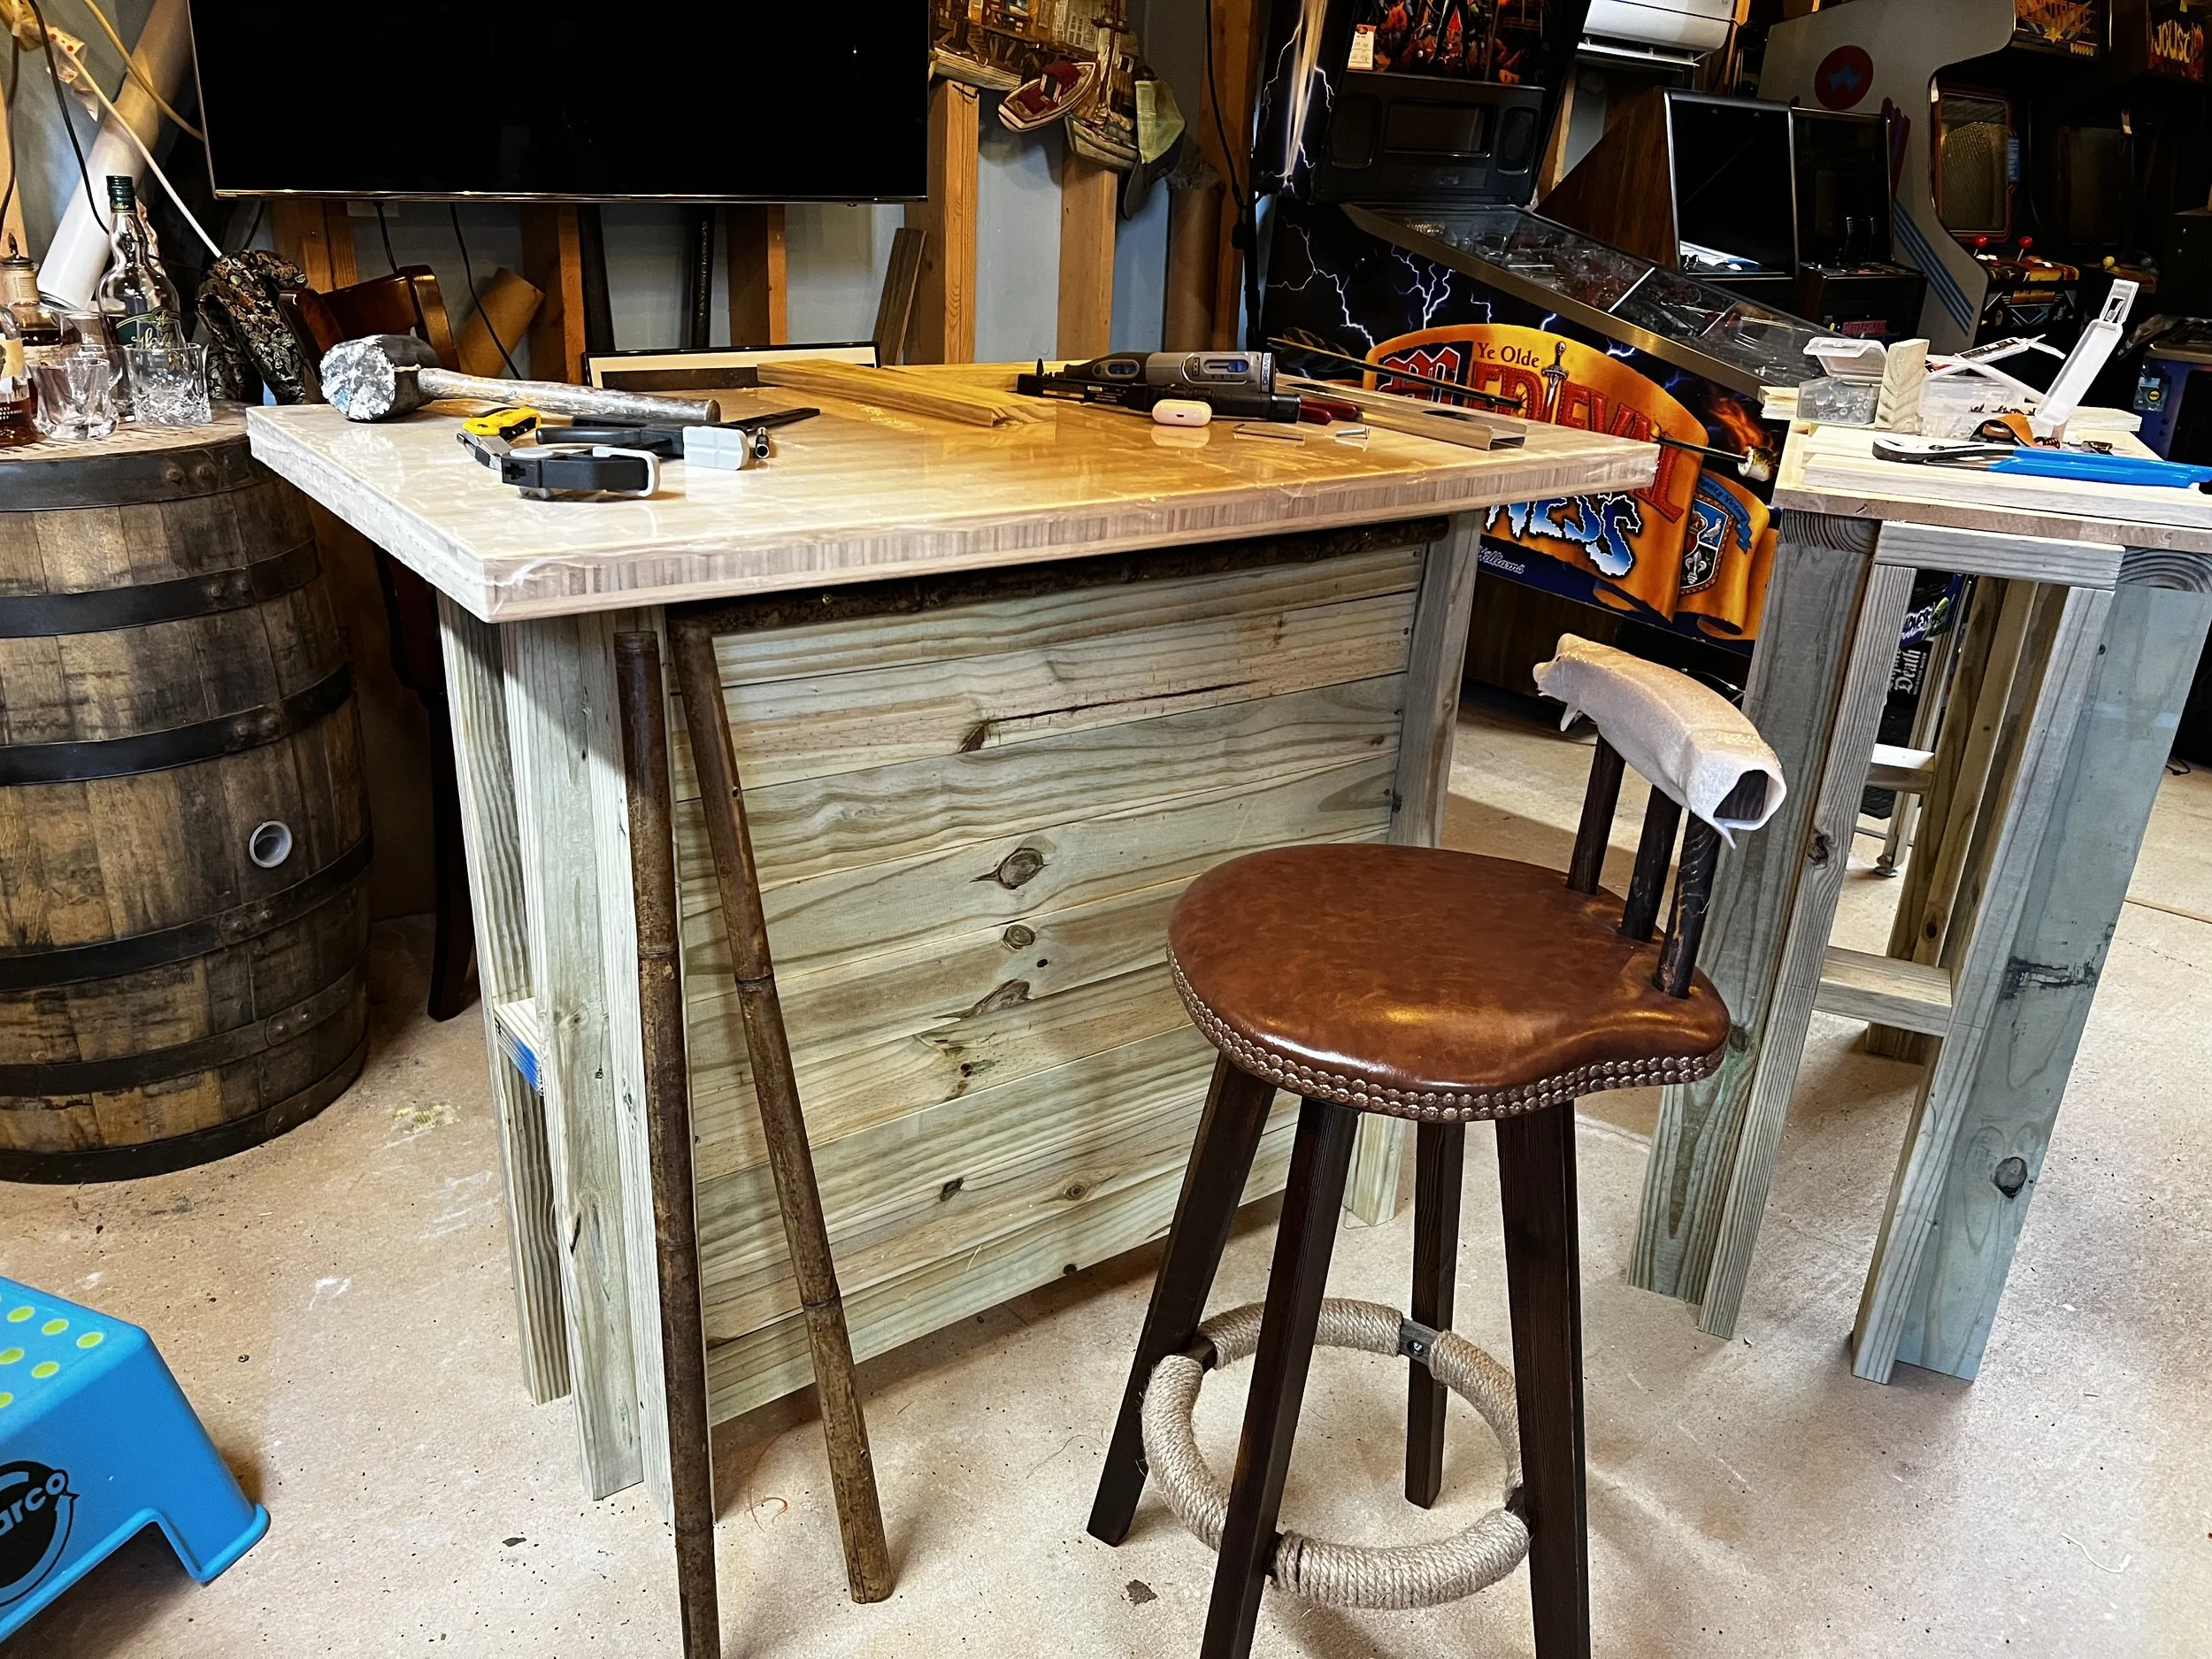
Day Two - Sunday Construction
Staging and Bar Overhang Tests
My kitchen counter has an 11” overhang. I decided on a roughly 9” overhang and left opportunities to add a footrail, depending on final stools. More than that would crowd out the walkway in front and weight distribution is a consideration because the bamboo butcher block countertops are about 60lbs each. I wanted to favor stability where a well-served adult might be inclined to push off the bar when standing up. REALLY good thing I went with the heavier brace-arranged 2x4 construction.
Here, I made progress cutting the bamboo fencing down and started trim installation.
Just a side note, during the course of this project I’m remembering how much I love just building things and working with my hands. This is my happy place, I don’t do it enough.
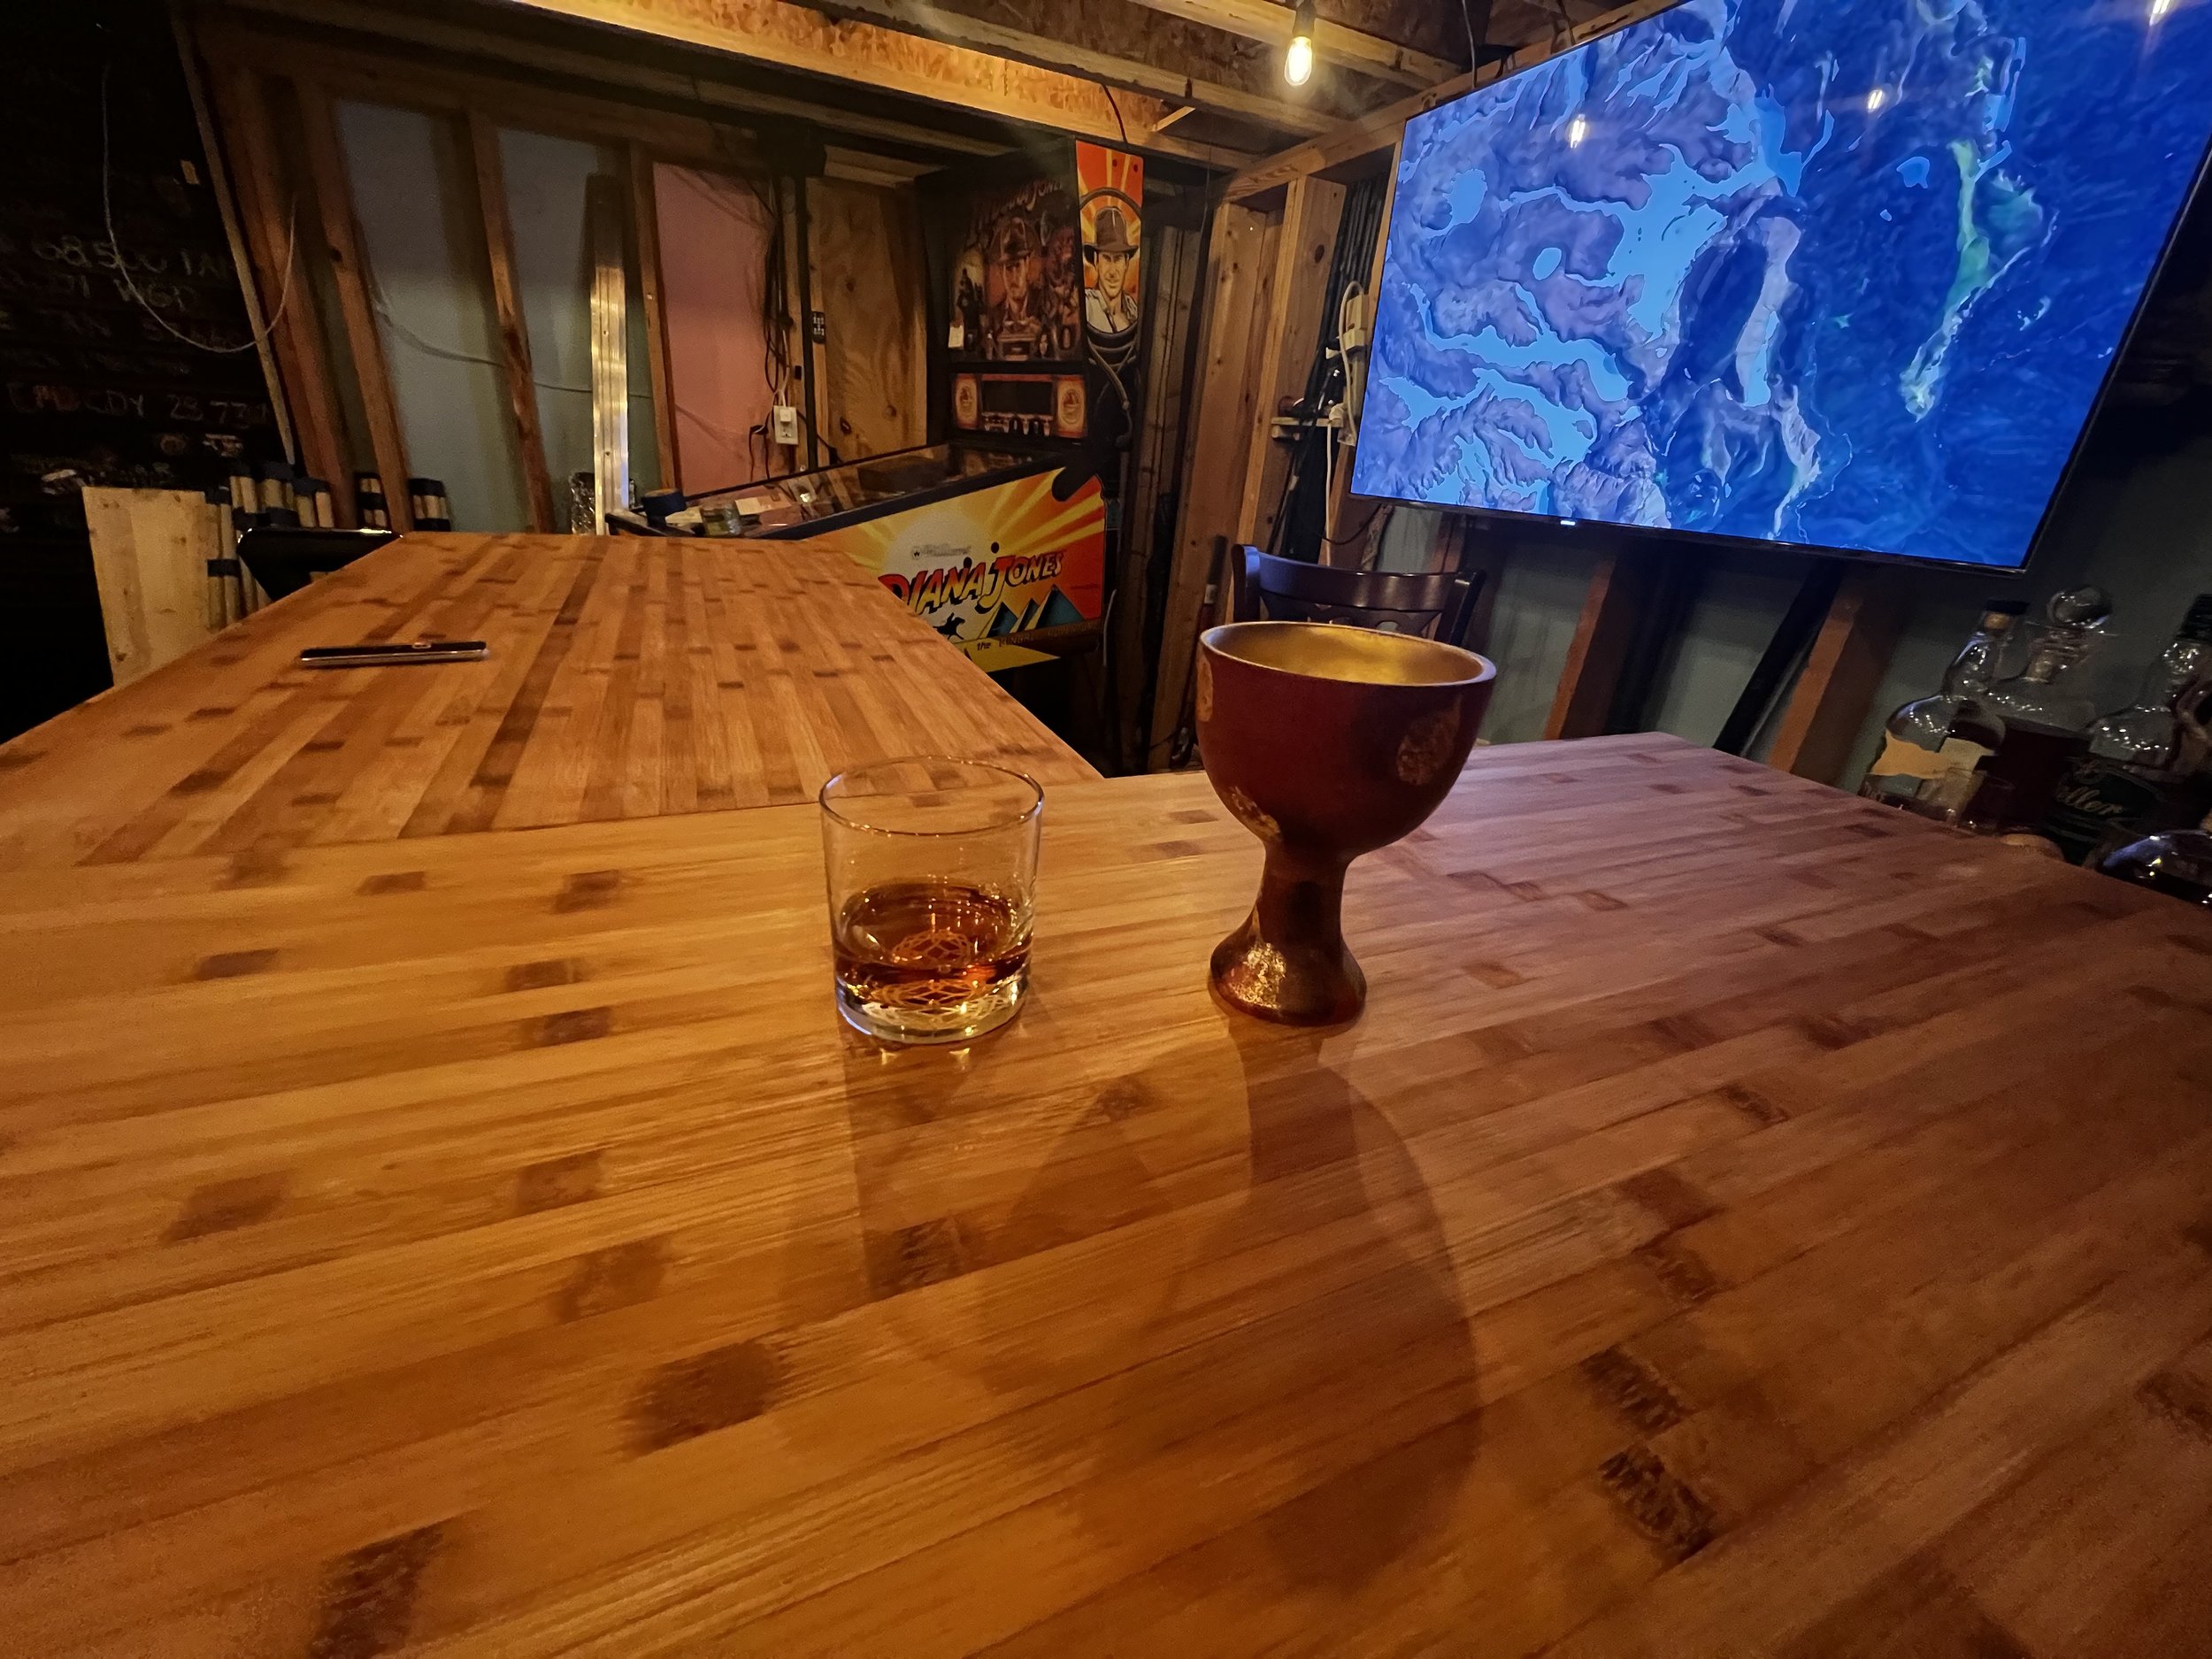
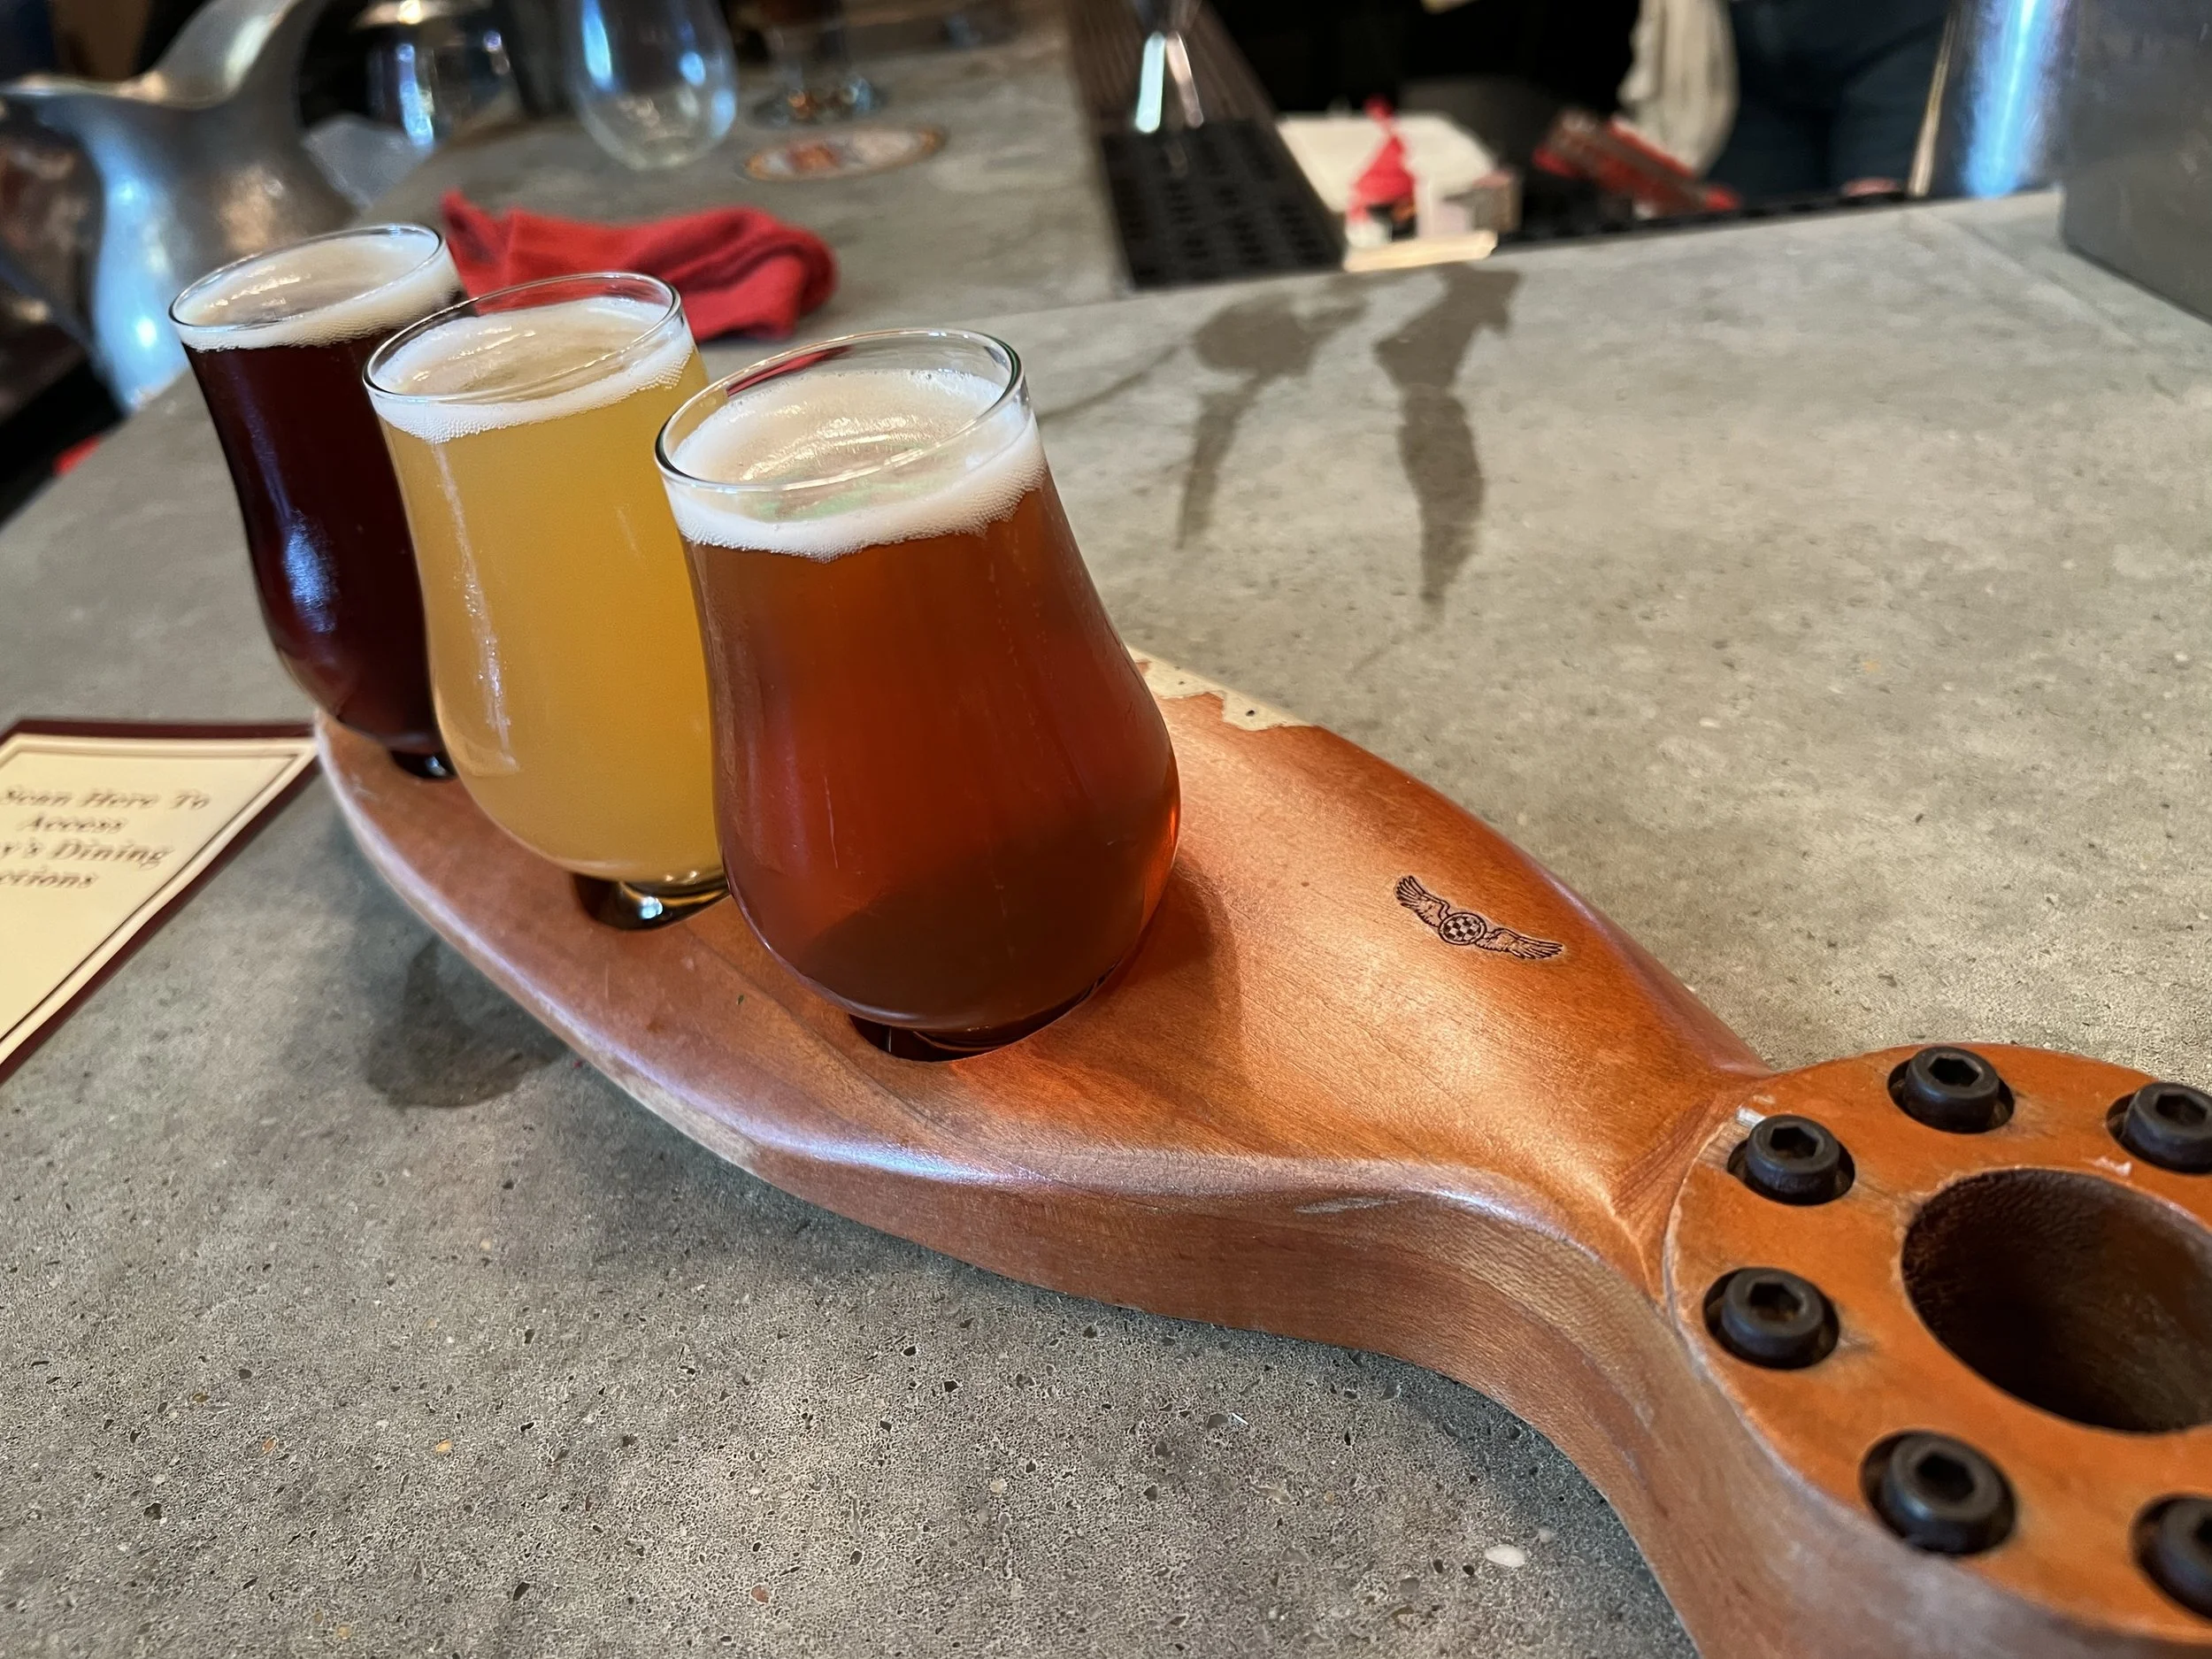
Celebratory drink after a fun weekend of sawdust and sweat. Choose, but choose wisely.
workdays: can’t build things But.. 3D Printer can
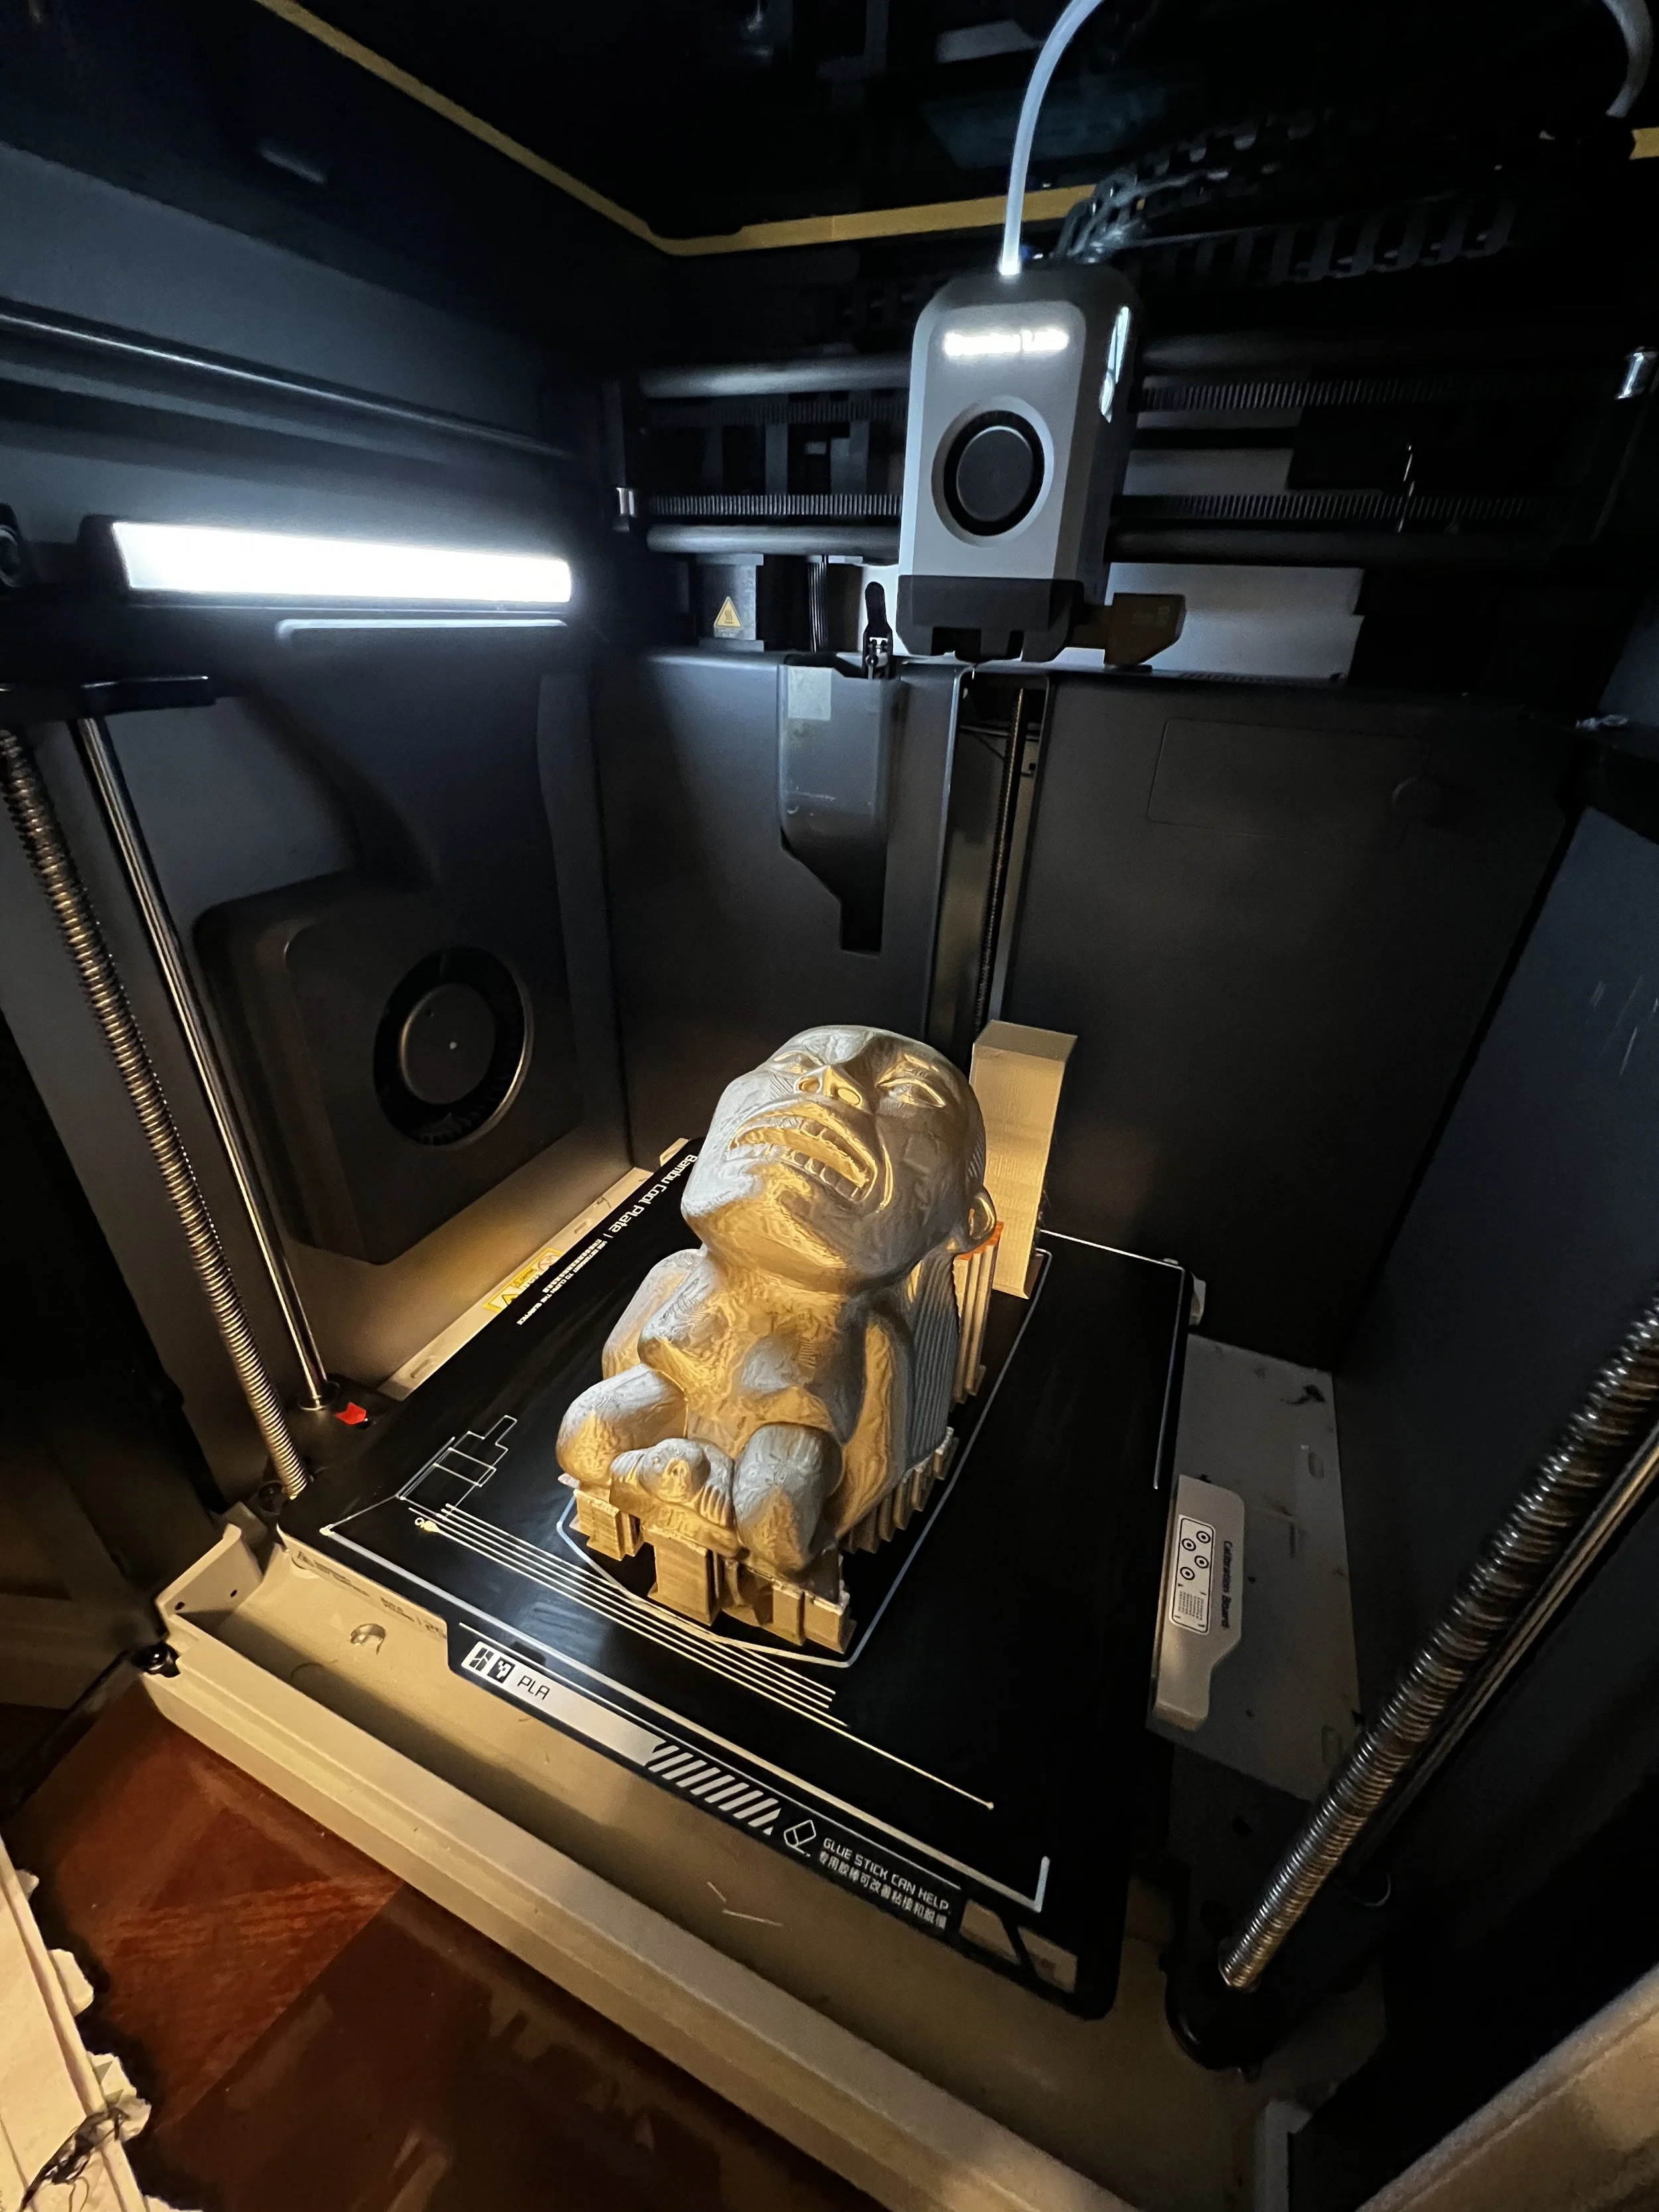
Fertility Idol is Fertile.
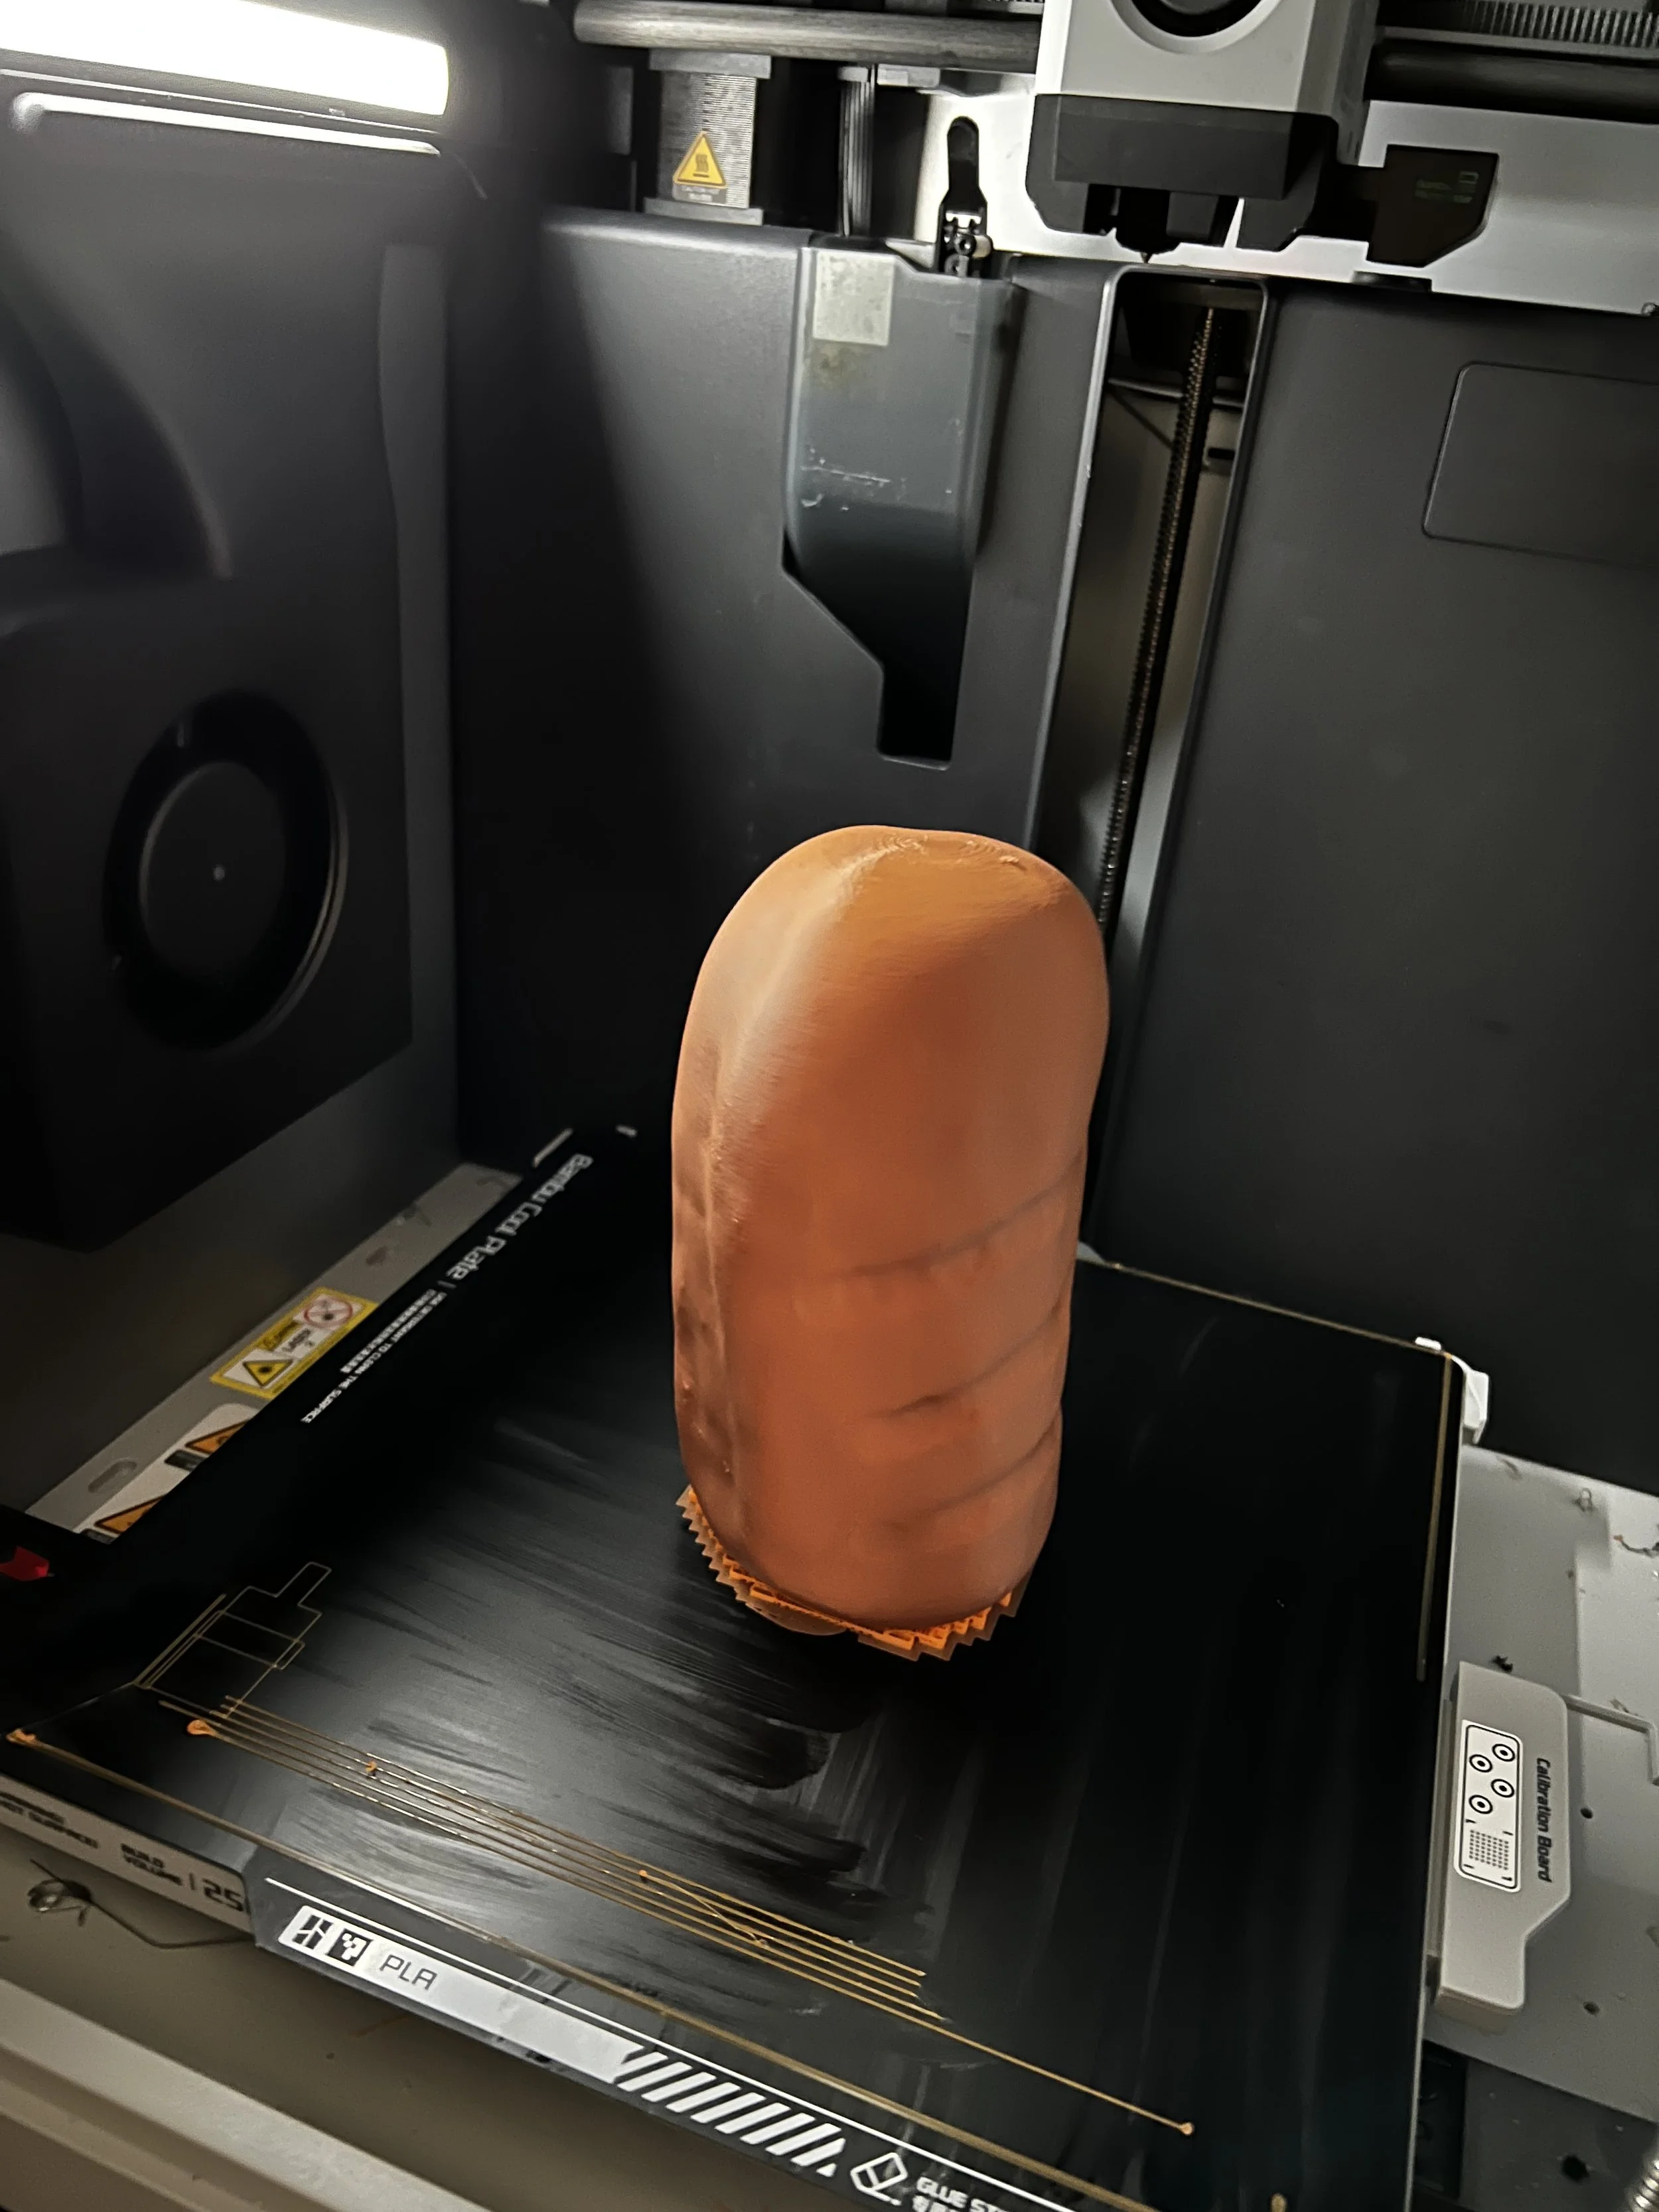
Shankara Stone. (or Potato?)
Accent Prep

Coasters - Reference design
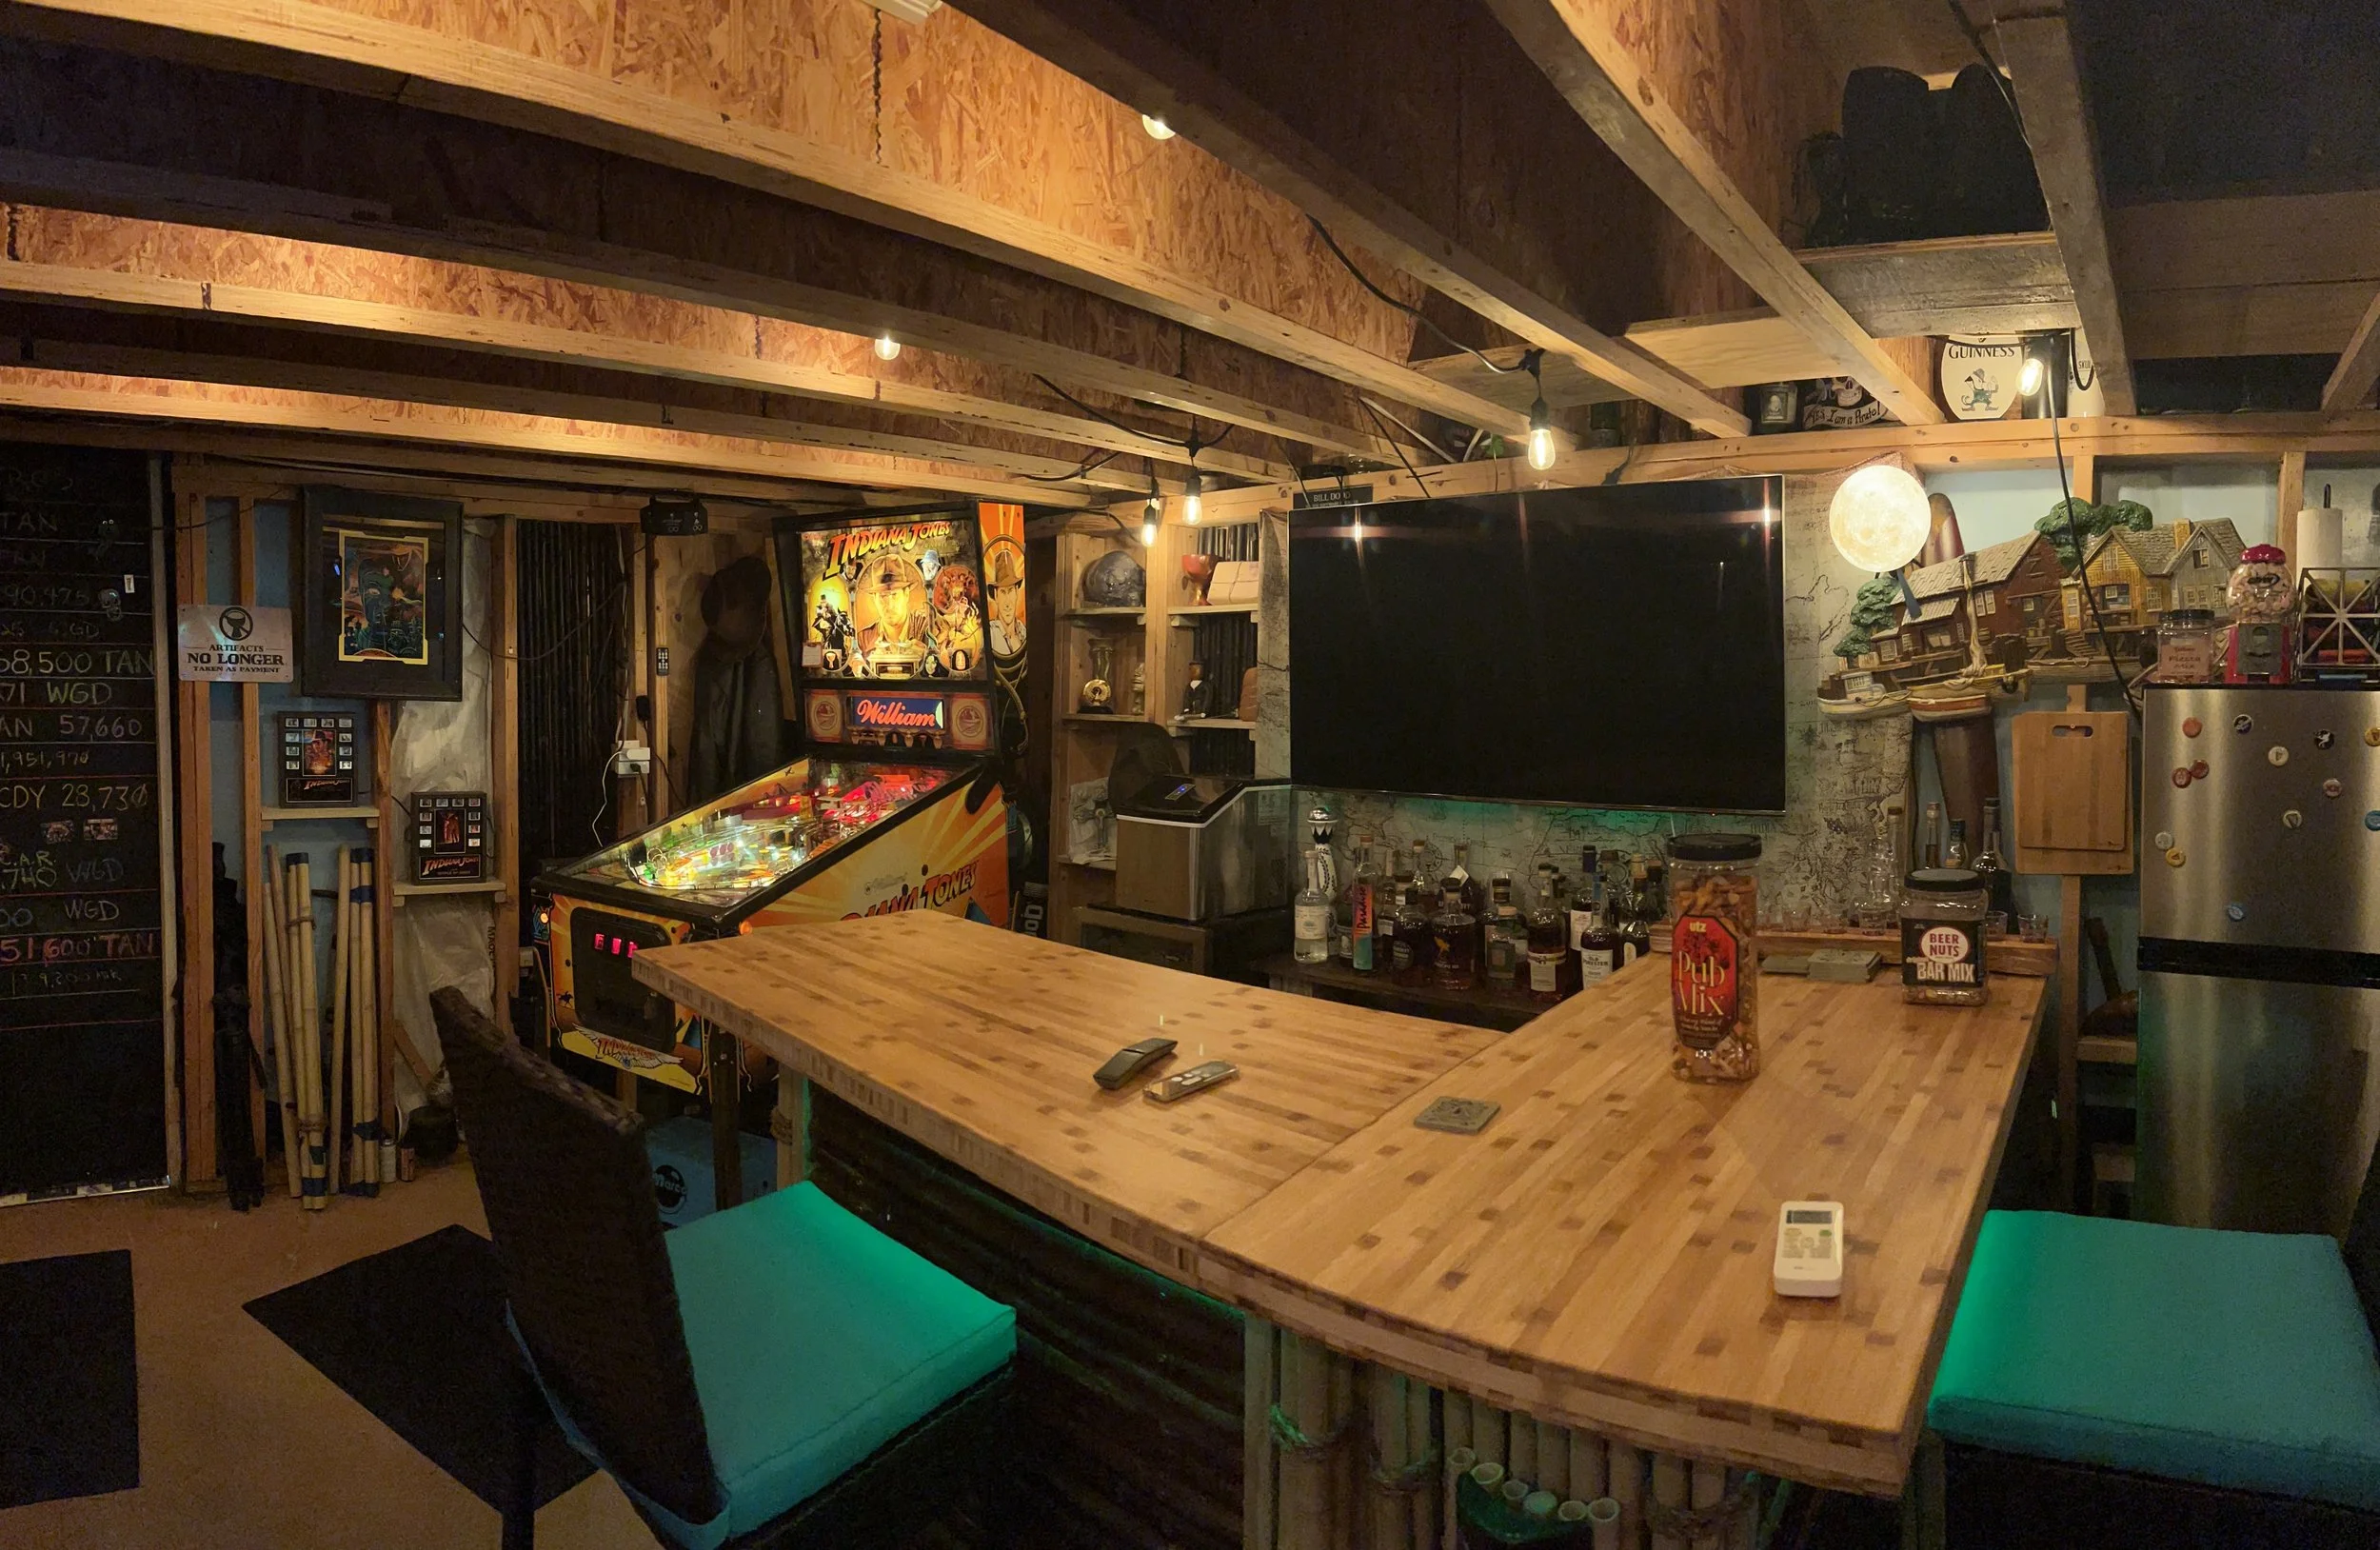
Indy Bar v1.0
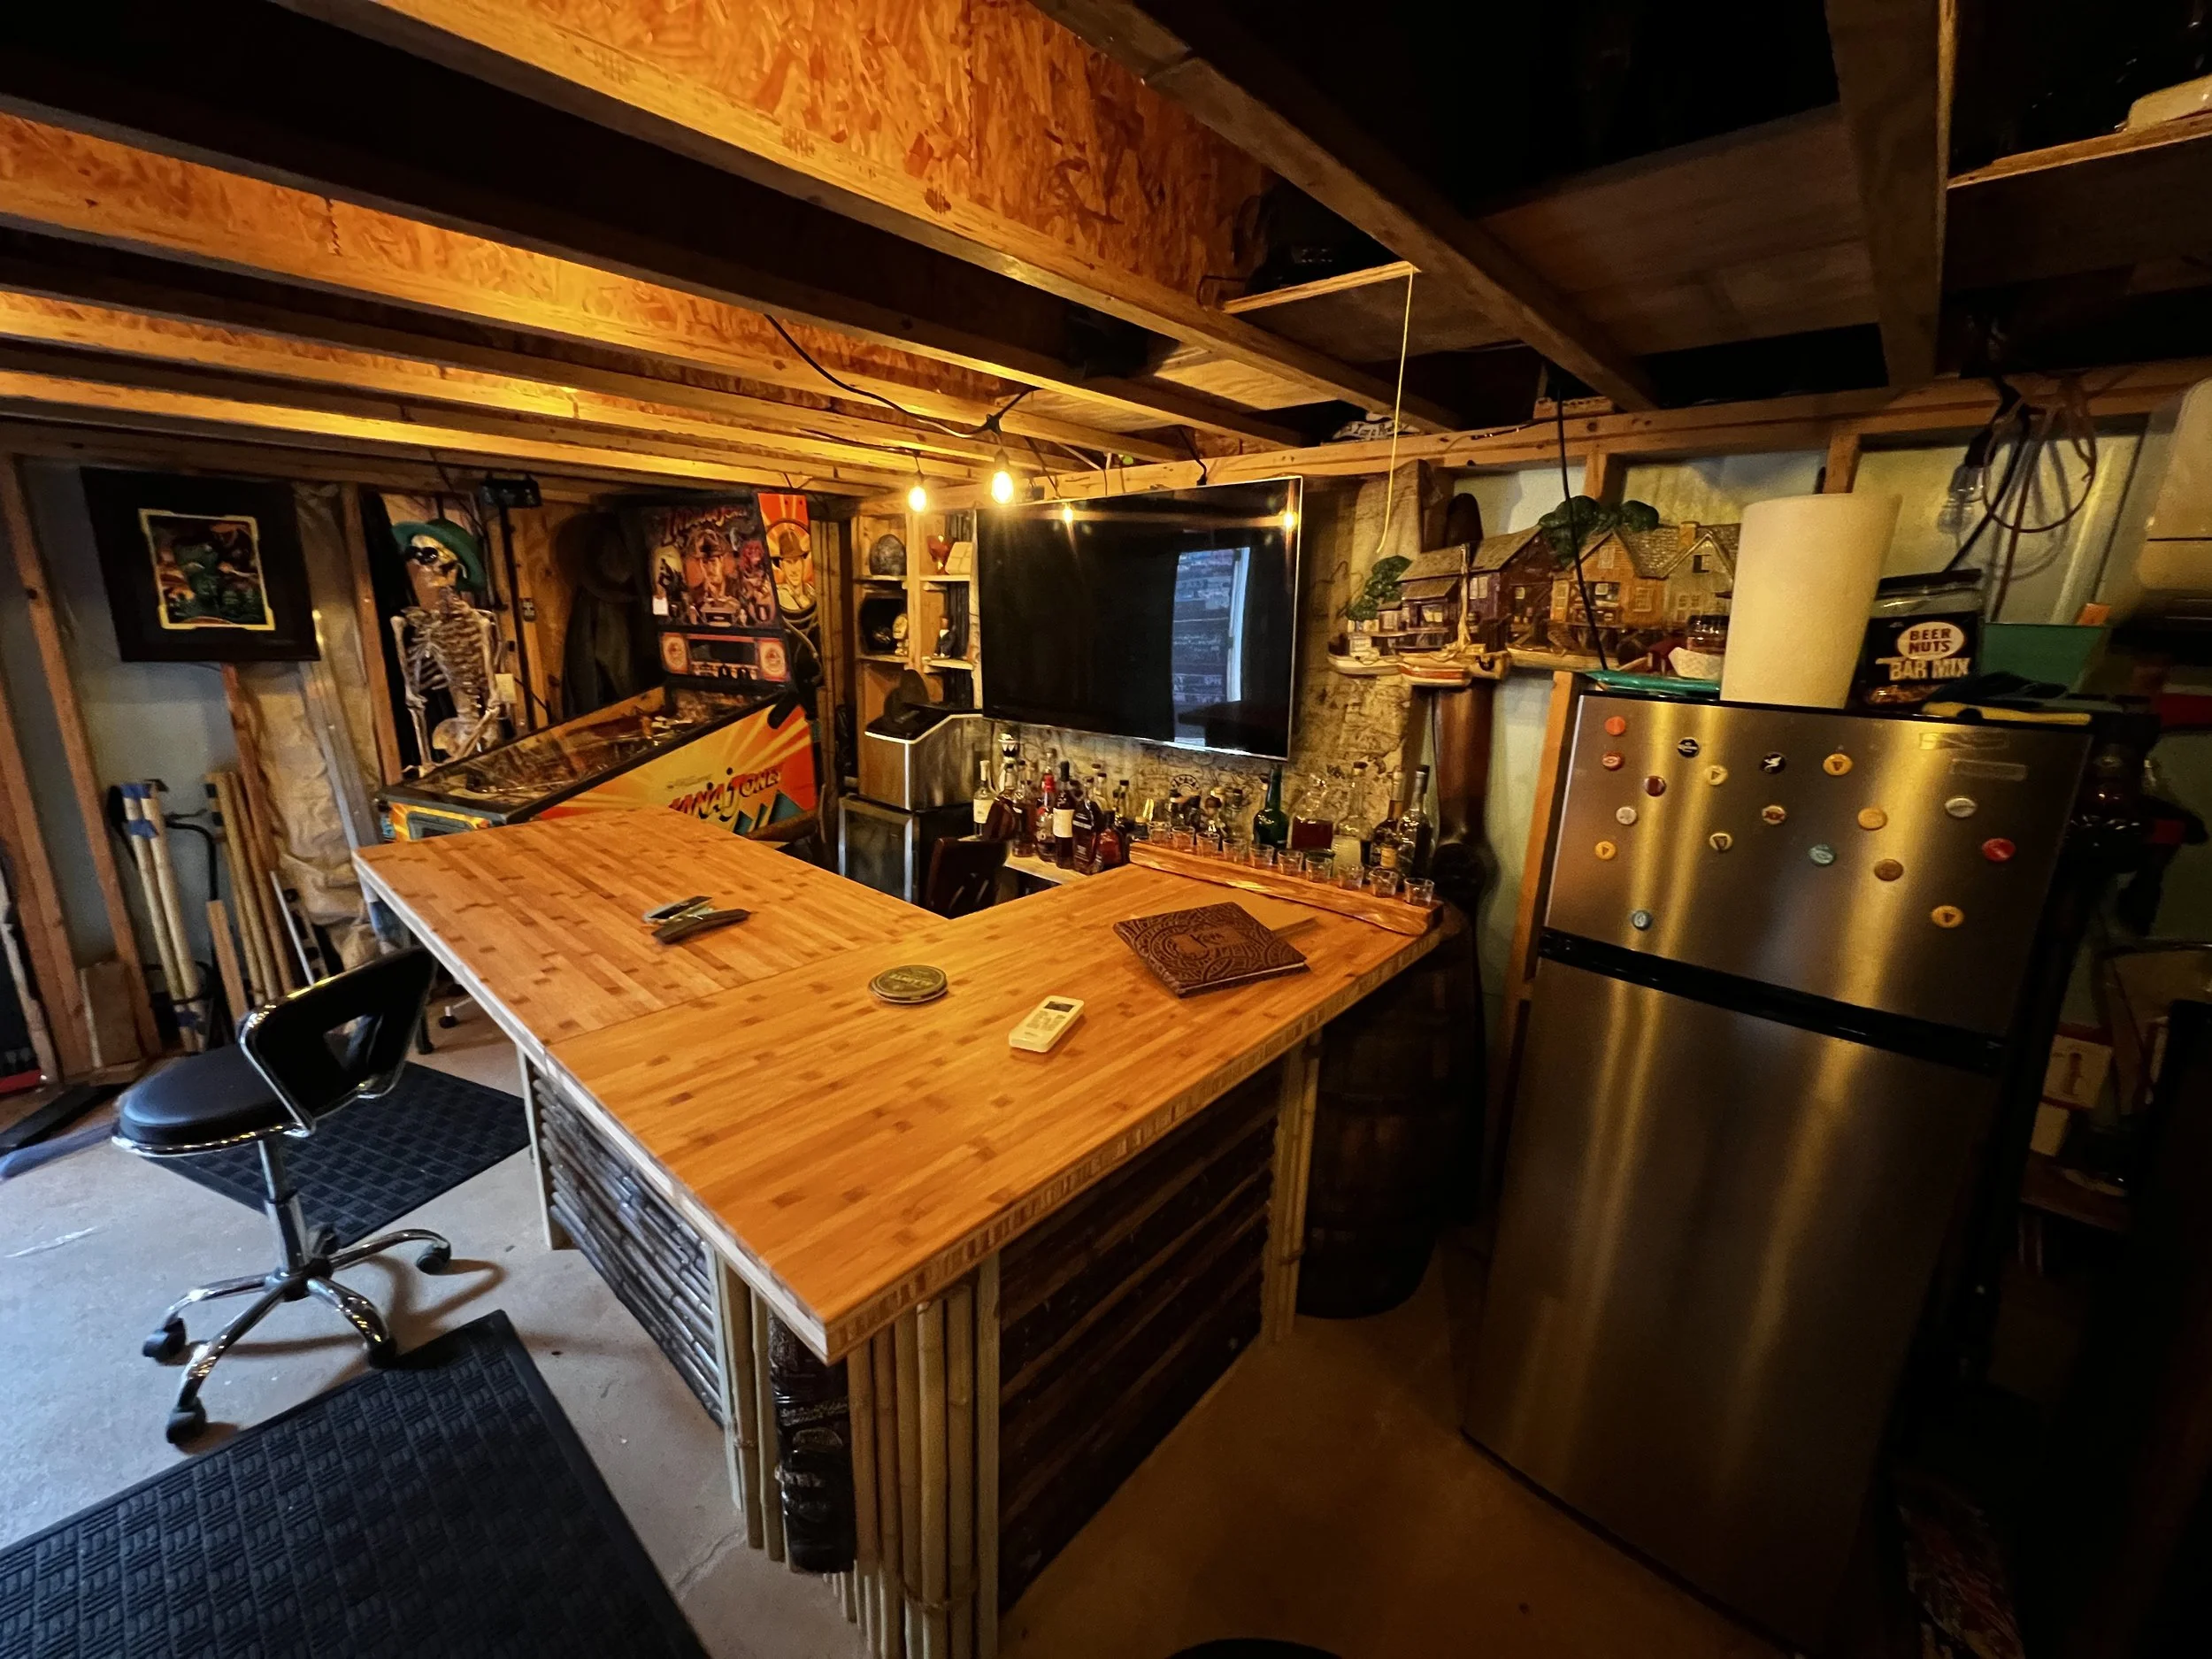
Despite the pivot in design, I’m pretty happy with the result and the idea that I finally get to incorporate some of the design touches that I’ve been holding onto for awhile. For instance: the Dockside plaster to the left of the dorm fridge is something that was hanging in my Grandparents’ basement when I was a kid. The propeller came from Naval Air Station Pensacola.
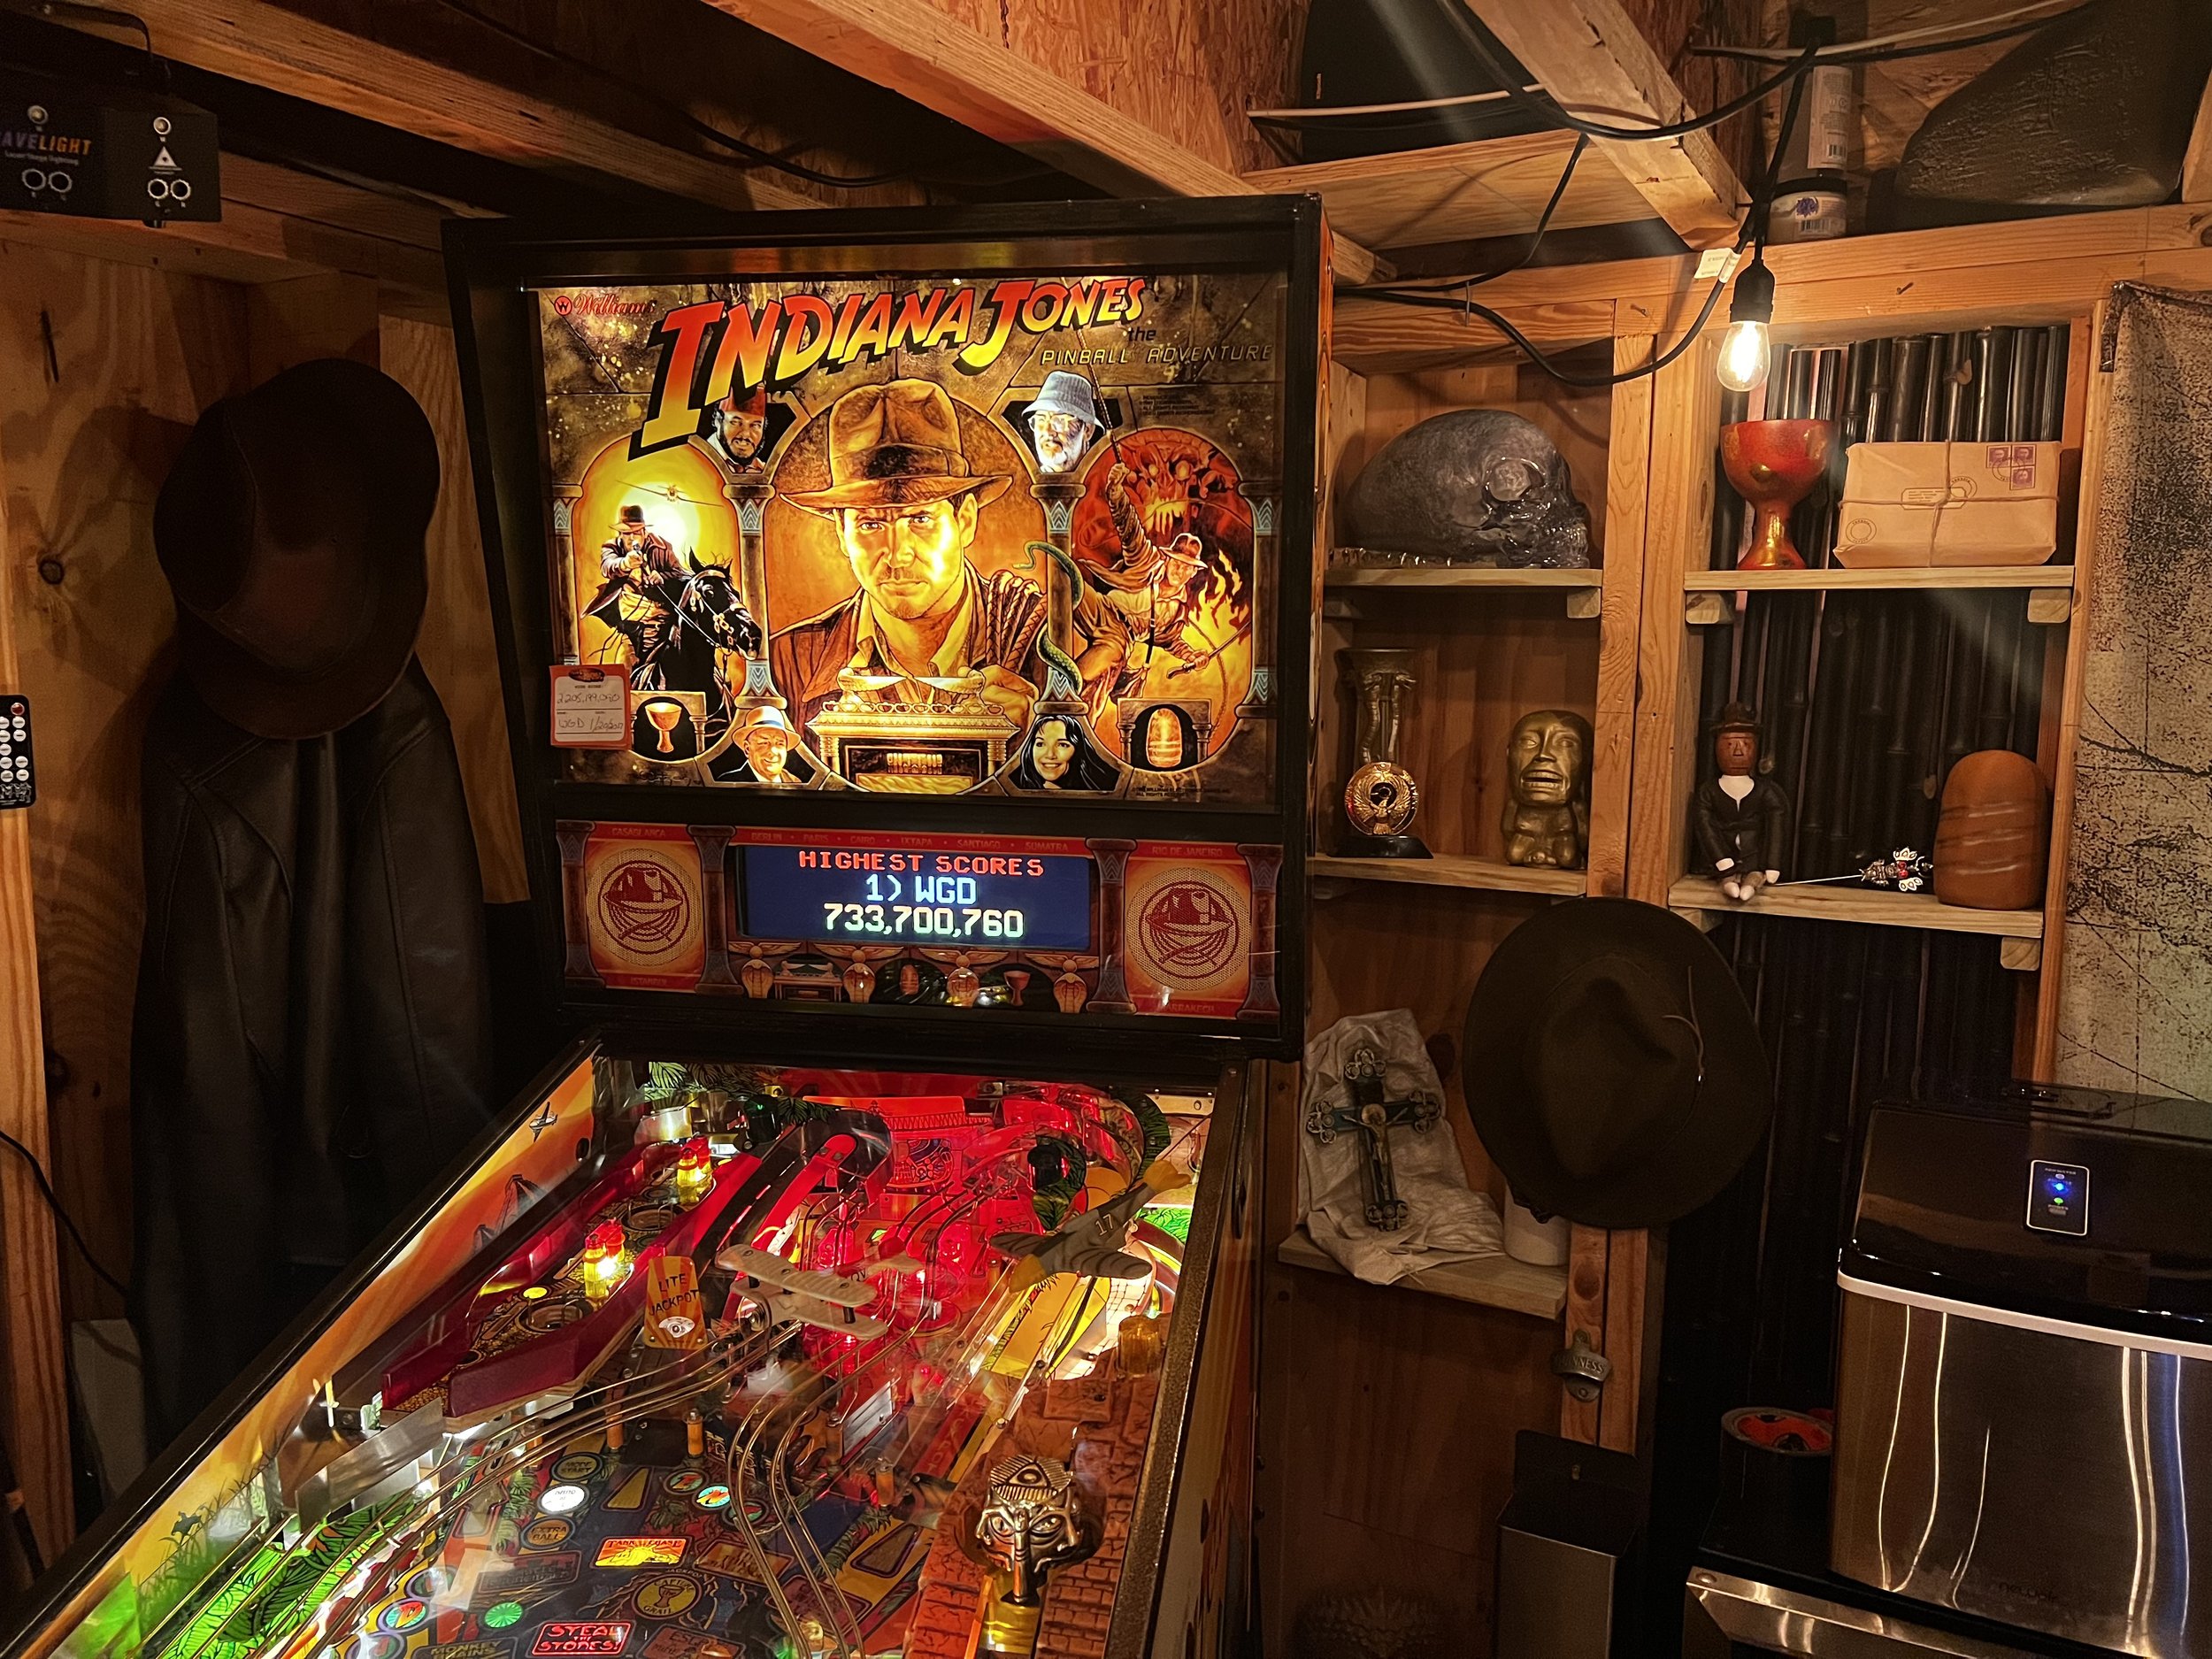
At the center of this of course was Indiana Jones: The Pinball Adventure - still my top two favorite pinball machines of all time. The bar gives me the opportunity to use some props that I’ve had for quite some time. From the Indy hats acquired during a high school band trip, the Wested Leather Raiders jacket that was a gift and these recent additions.

And.. of course.. bonus to have a place that isn’t our dining room to keep a selection of tasting favorites.
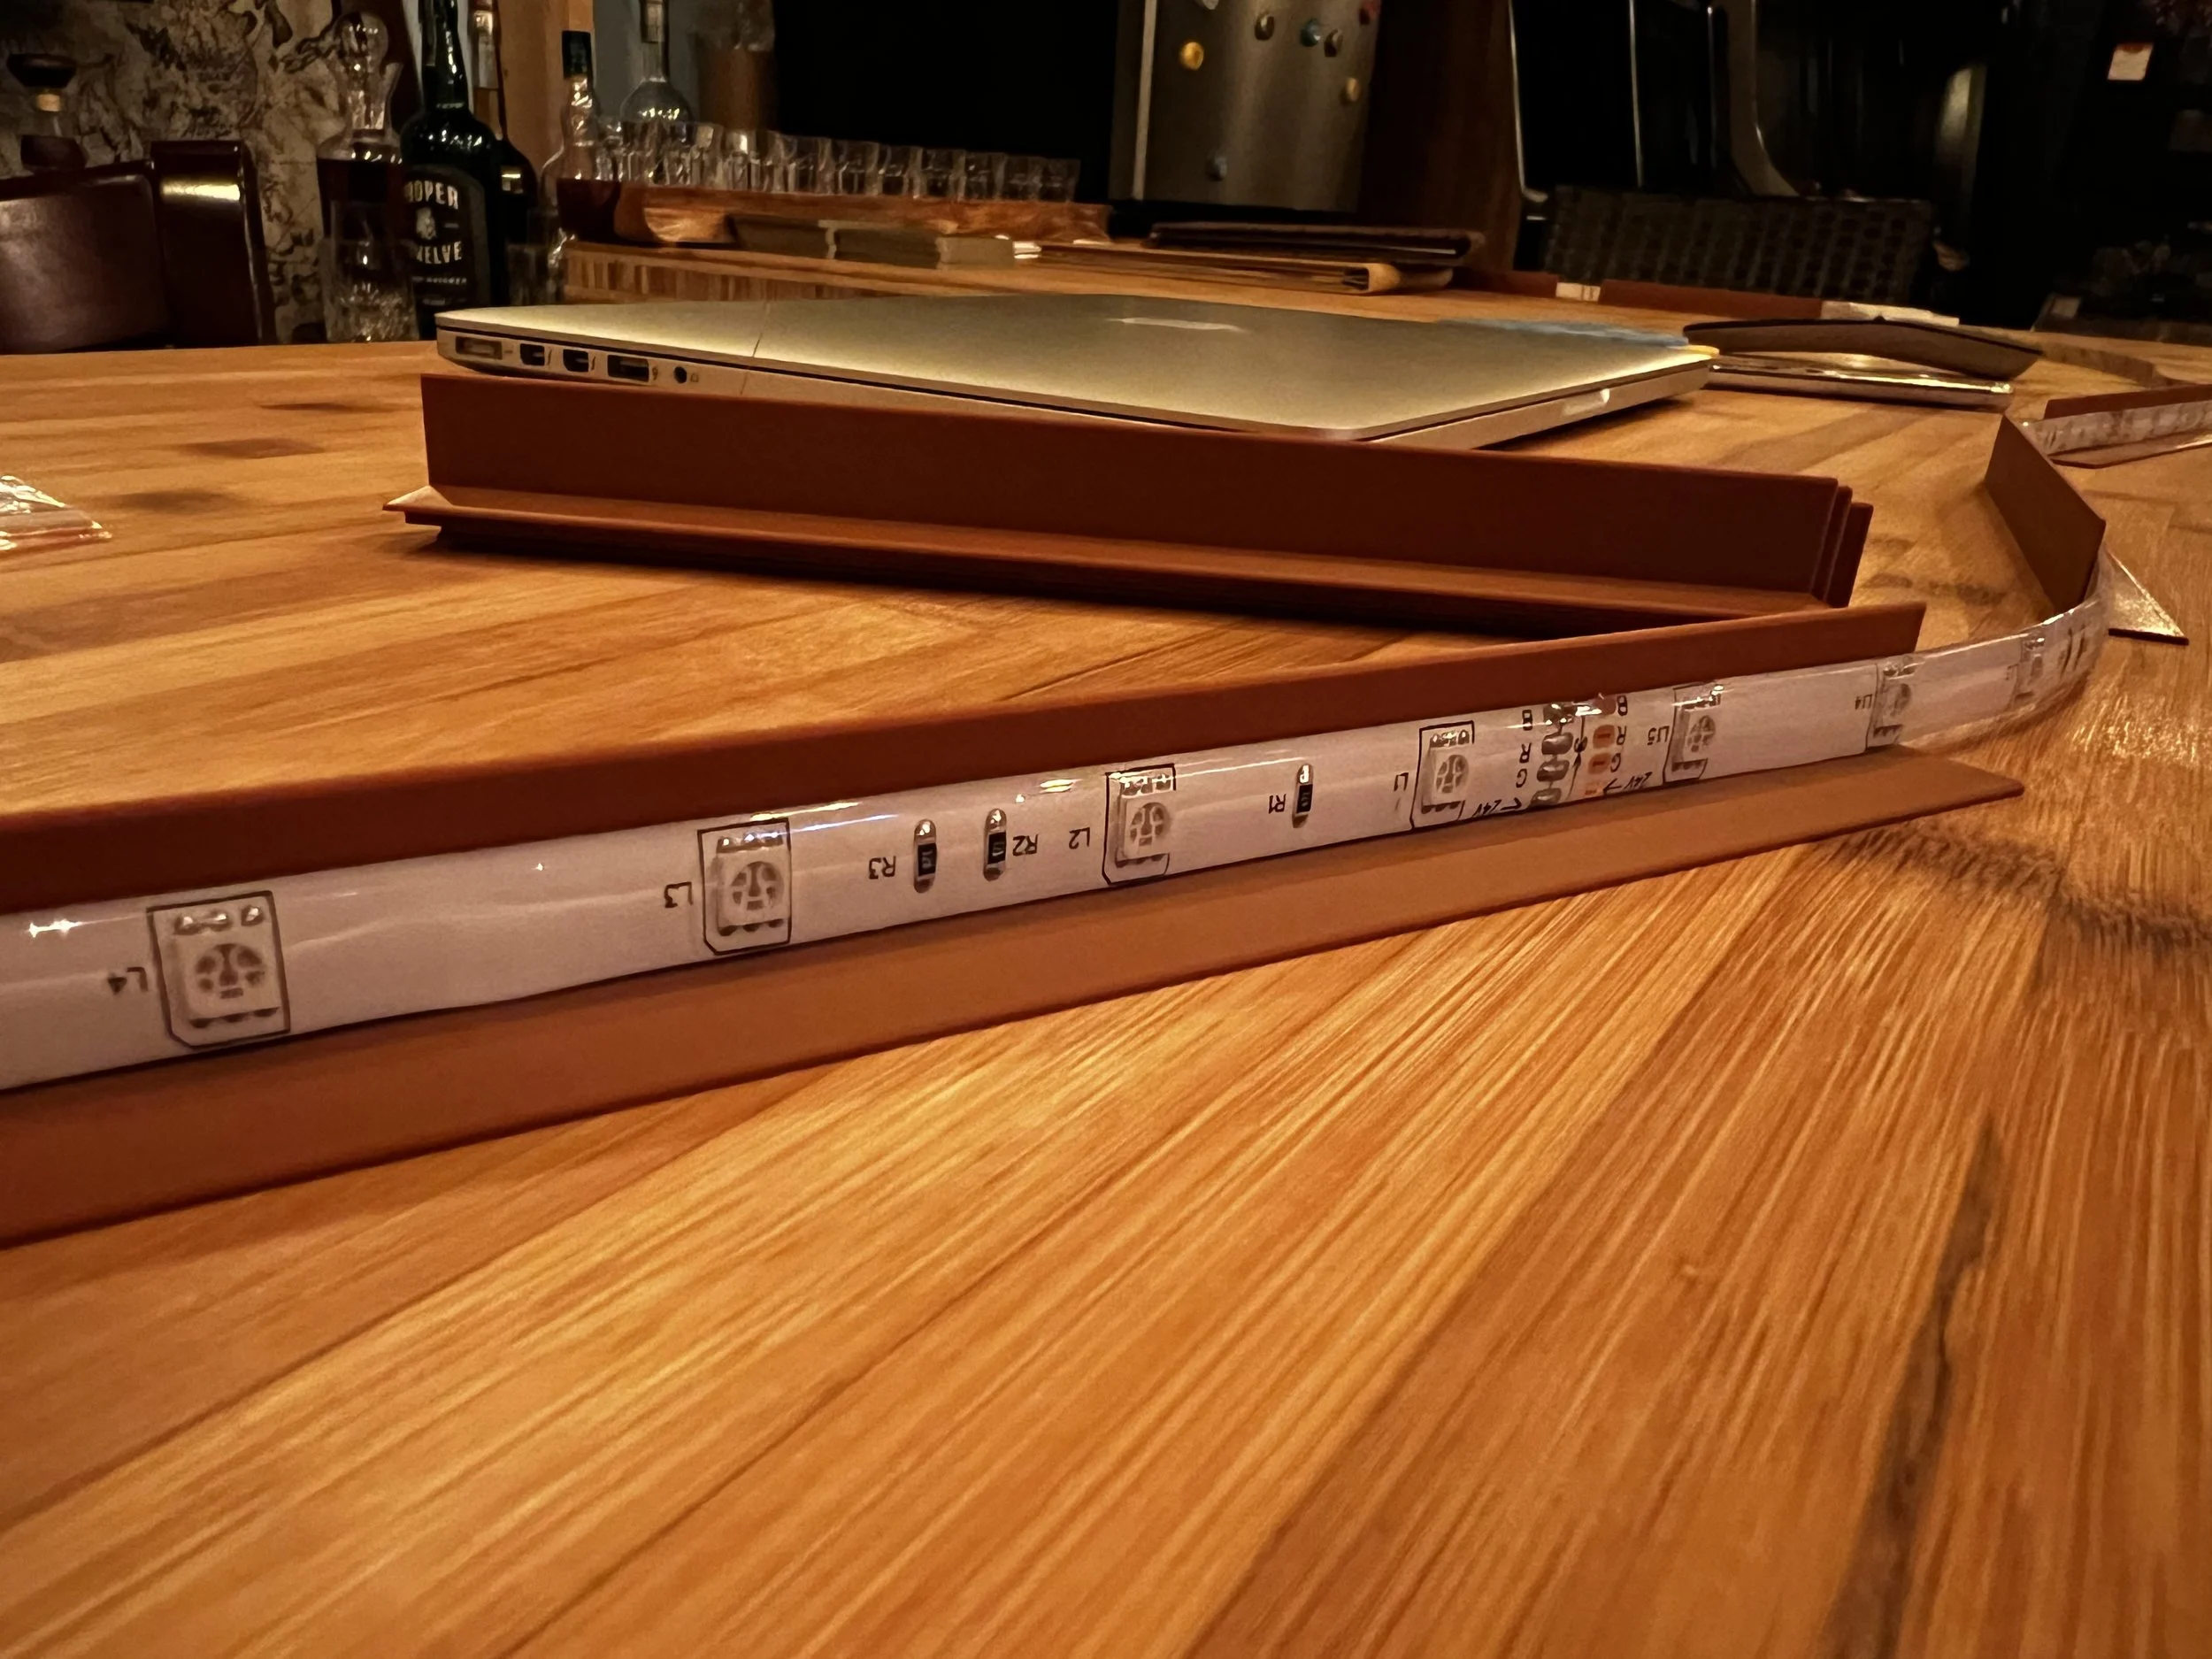
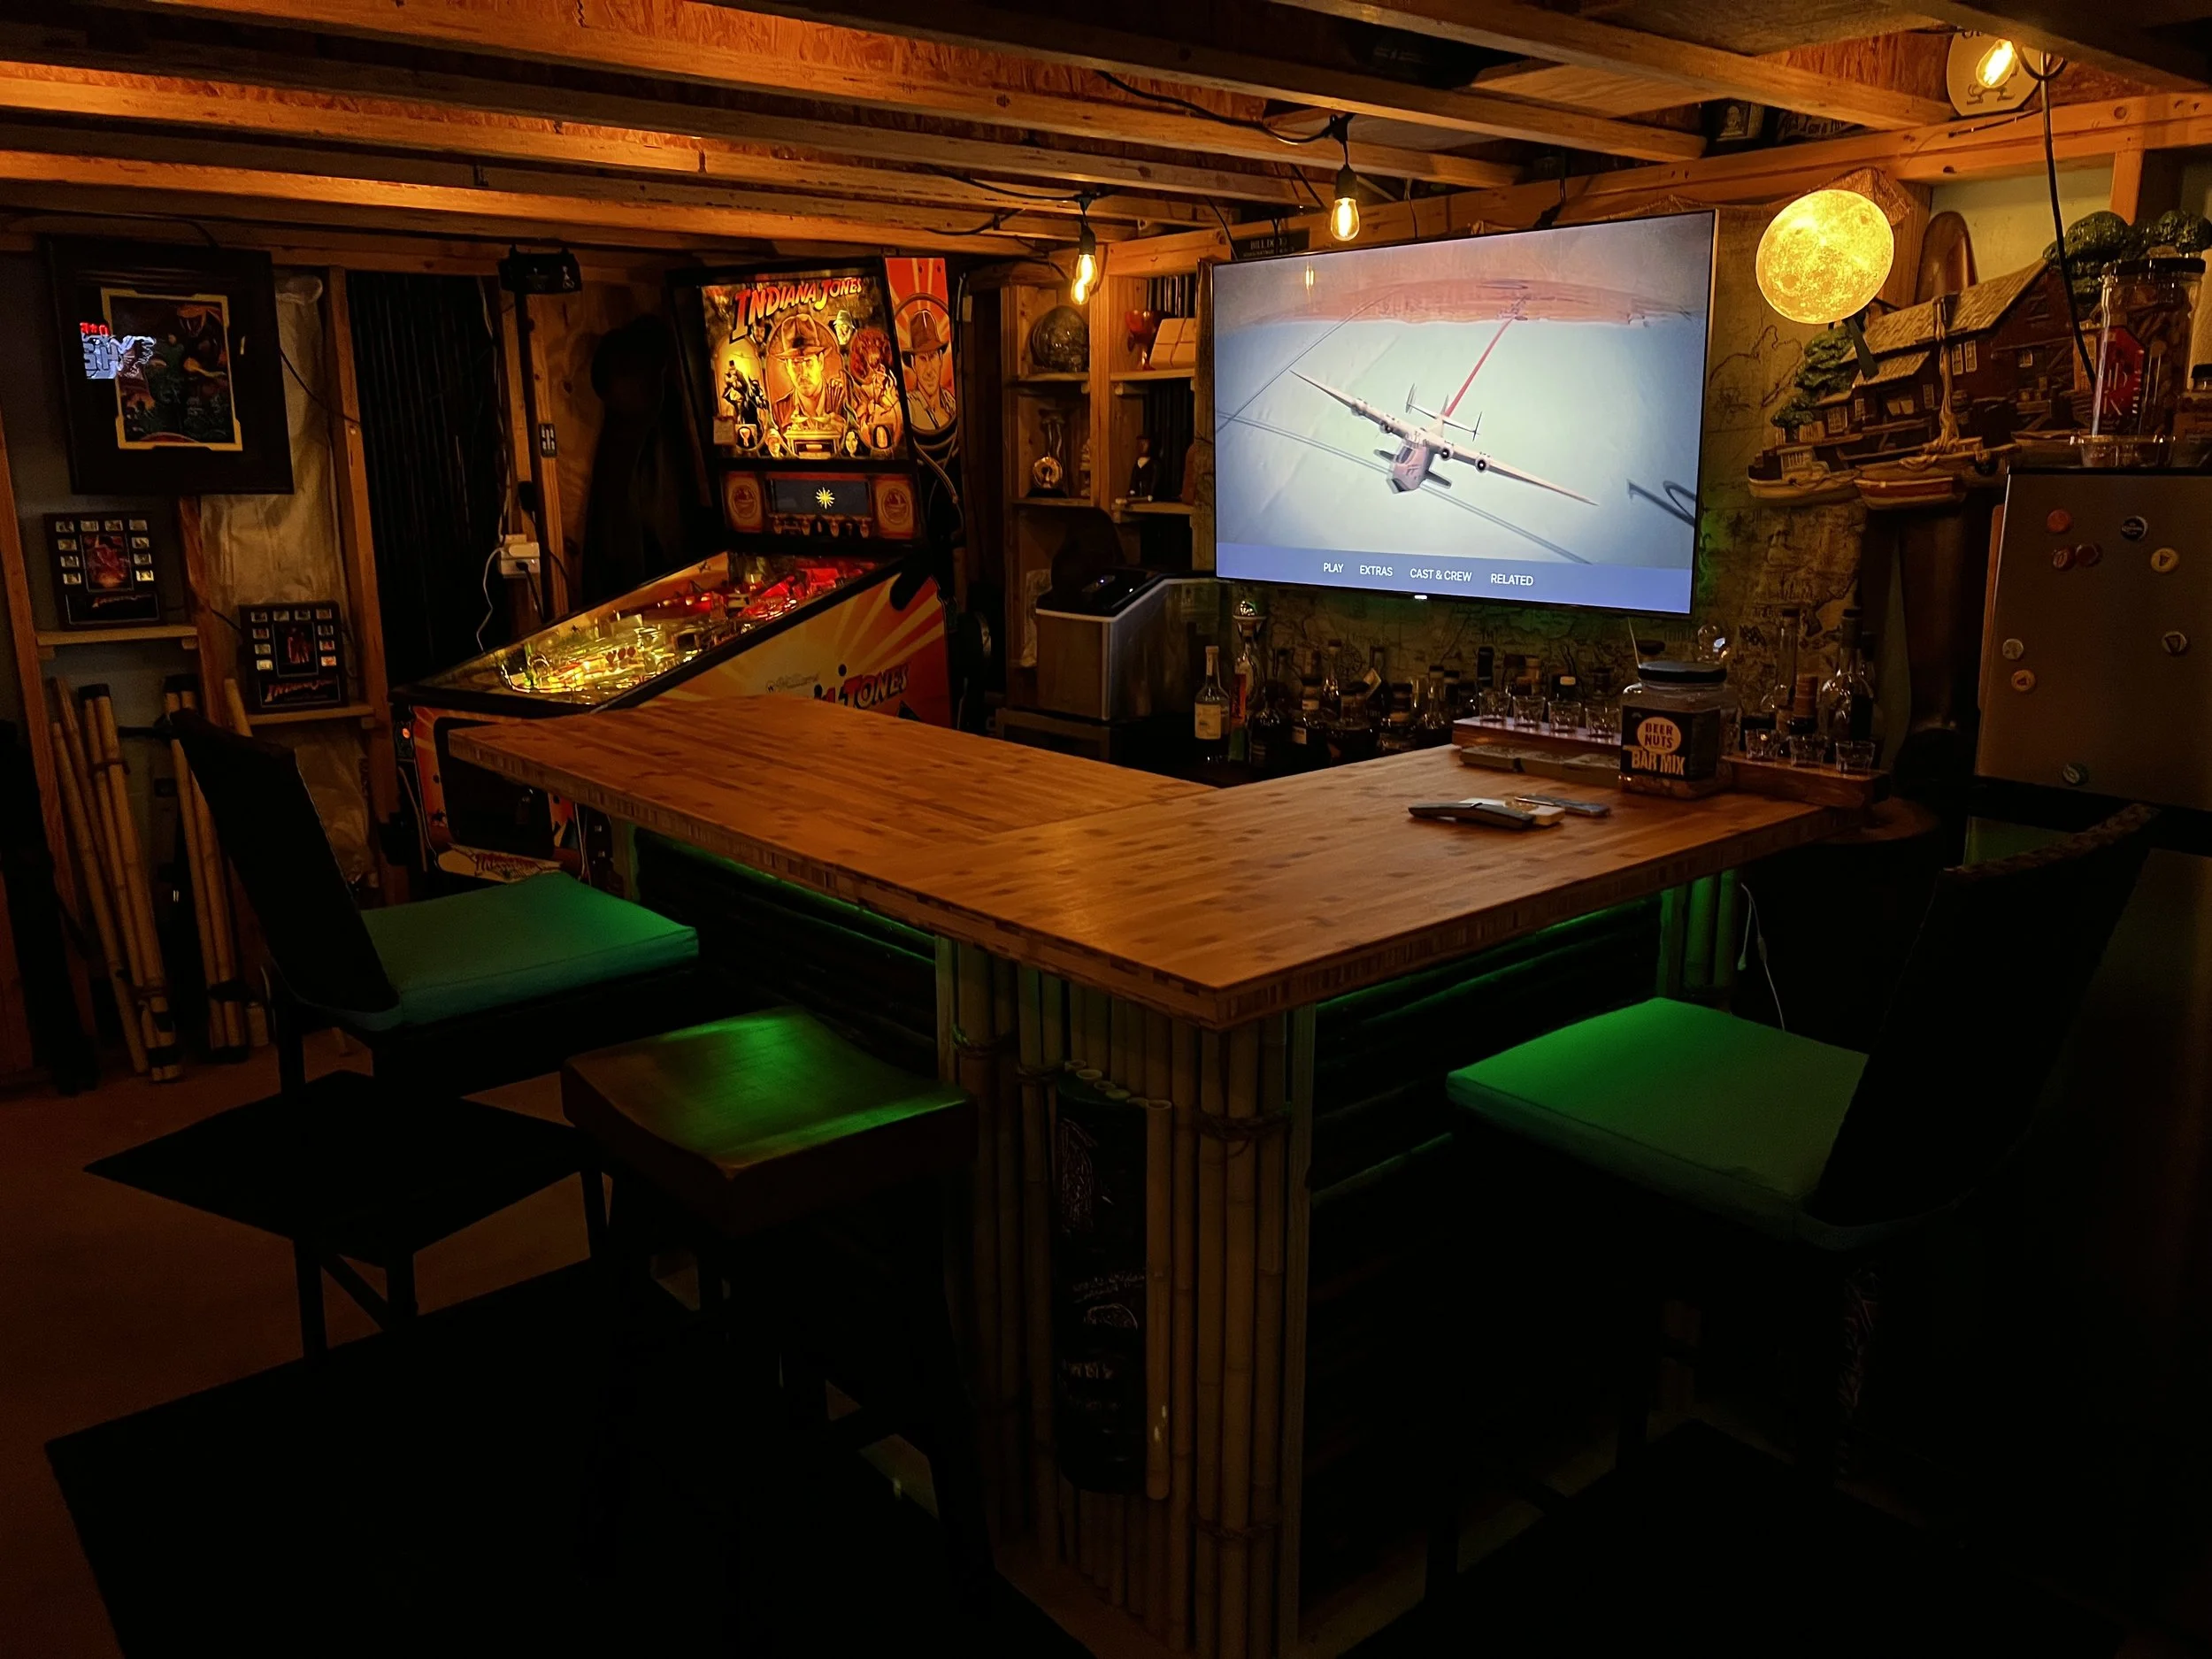
Slight Updates to Lighting and Props..
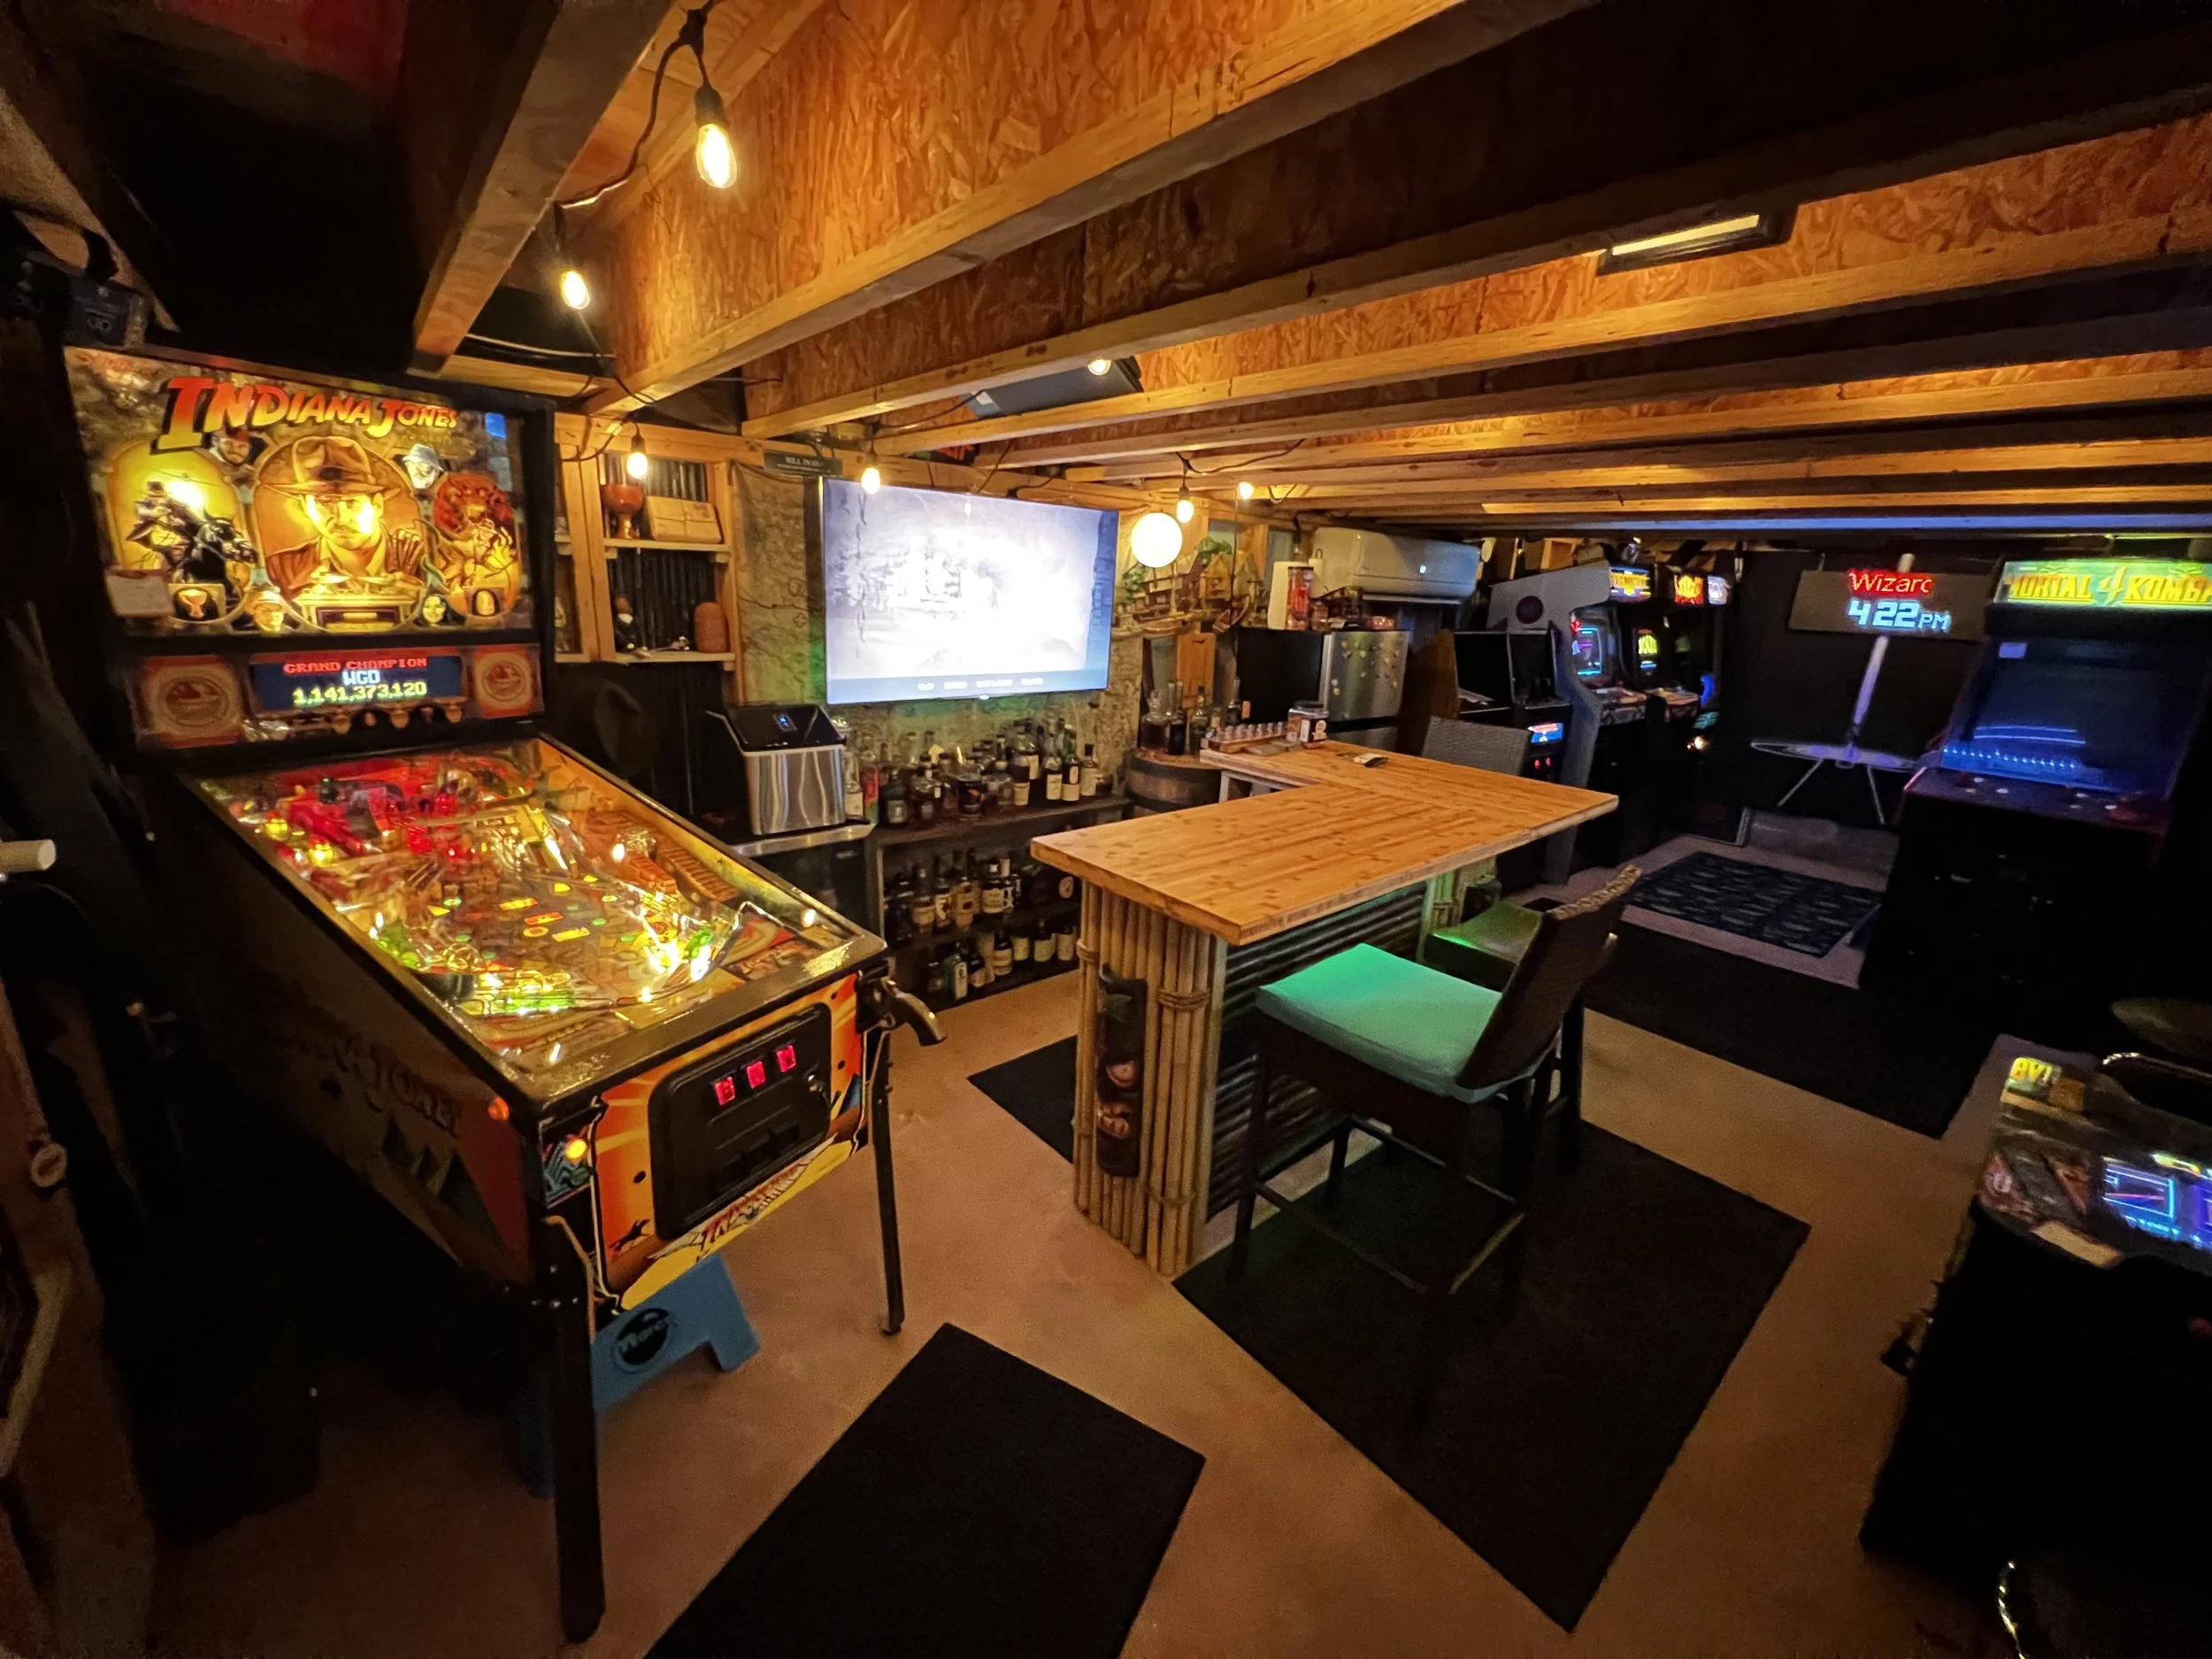
April - May Updates
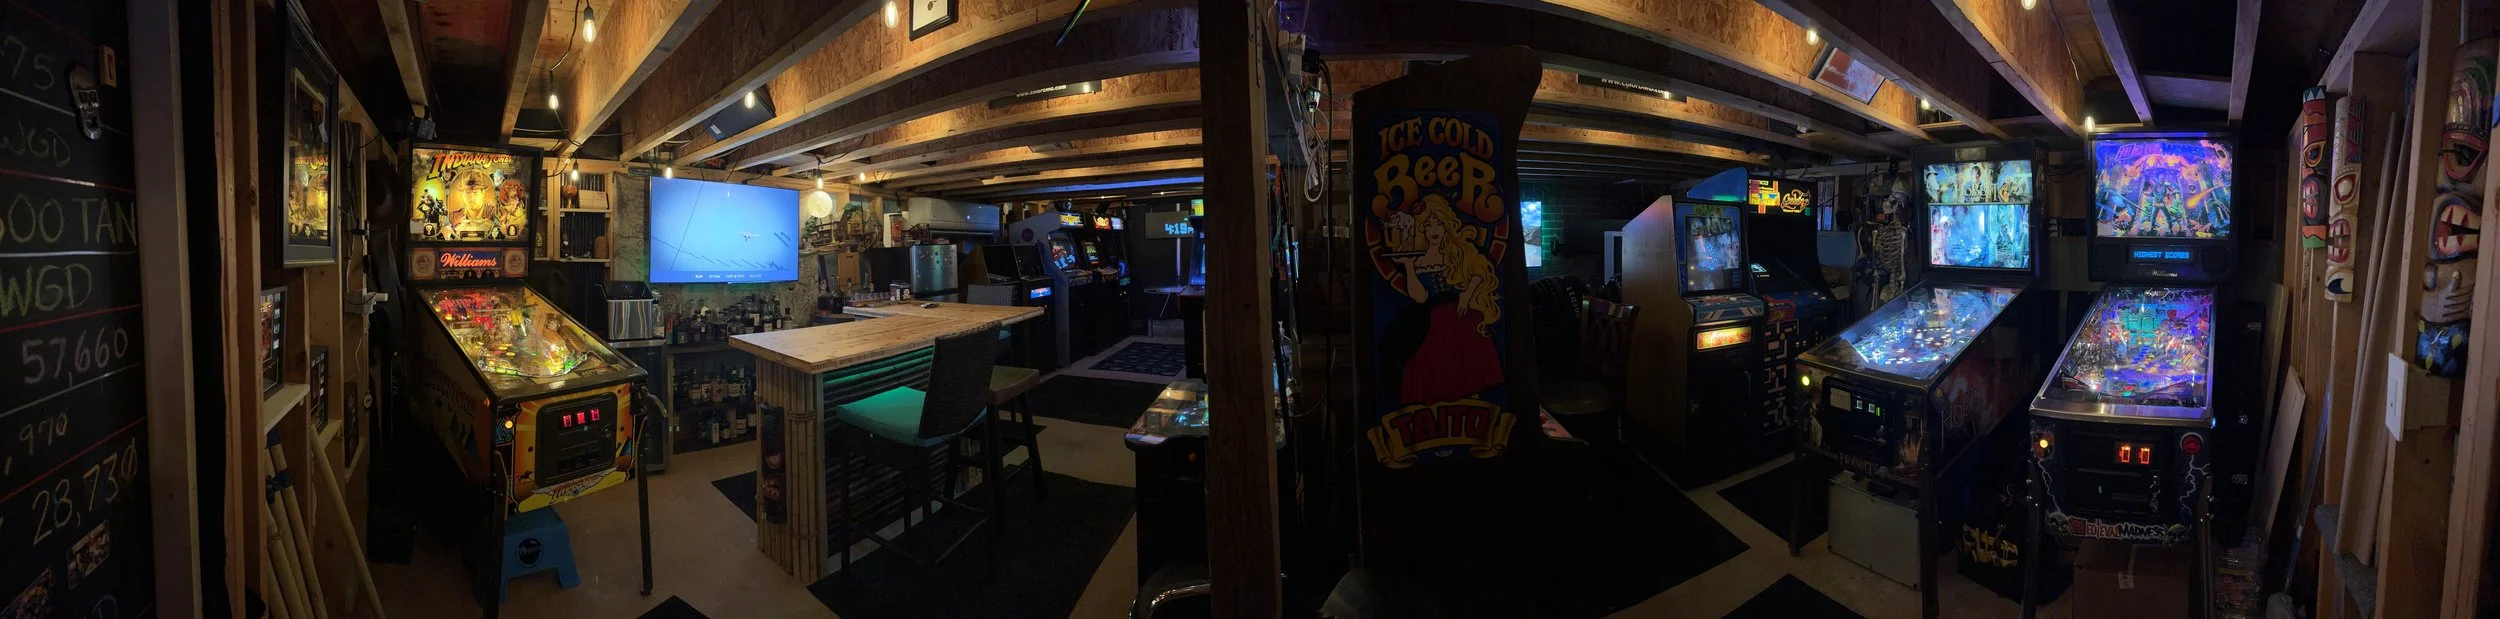
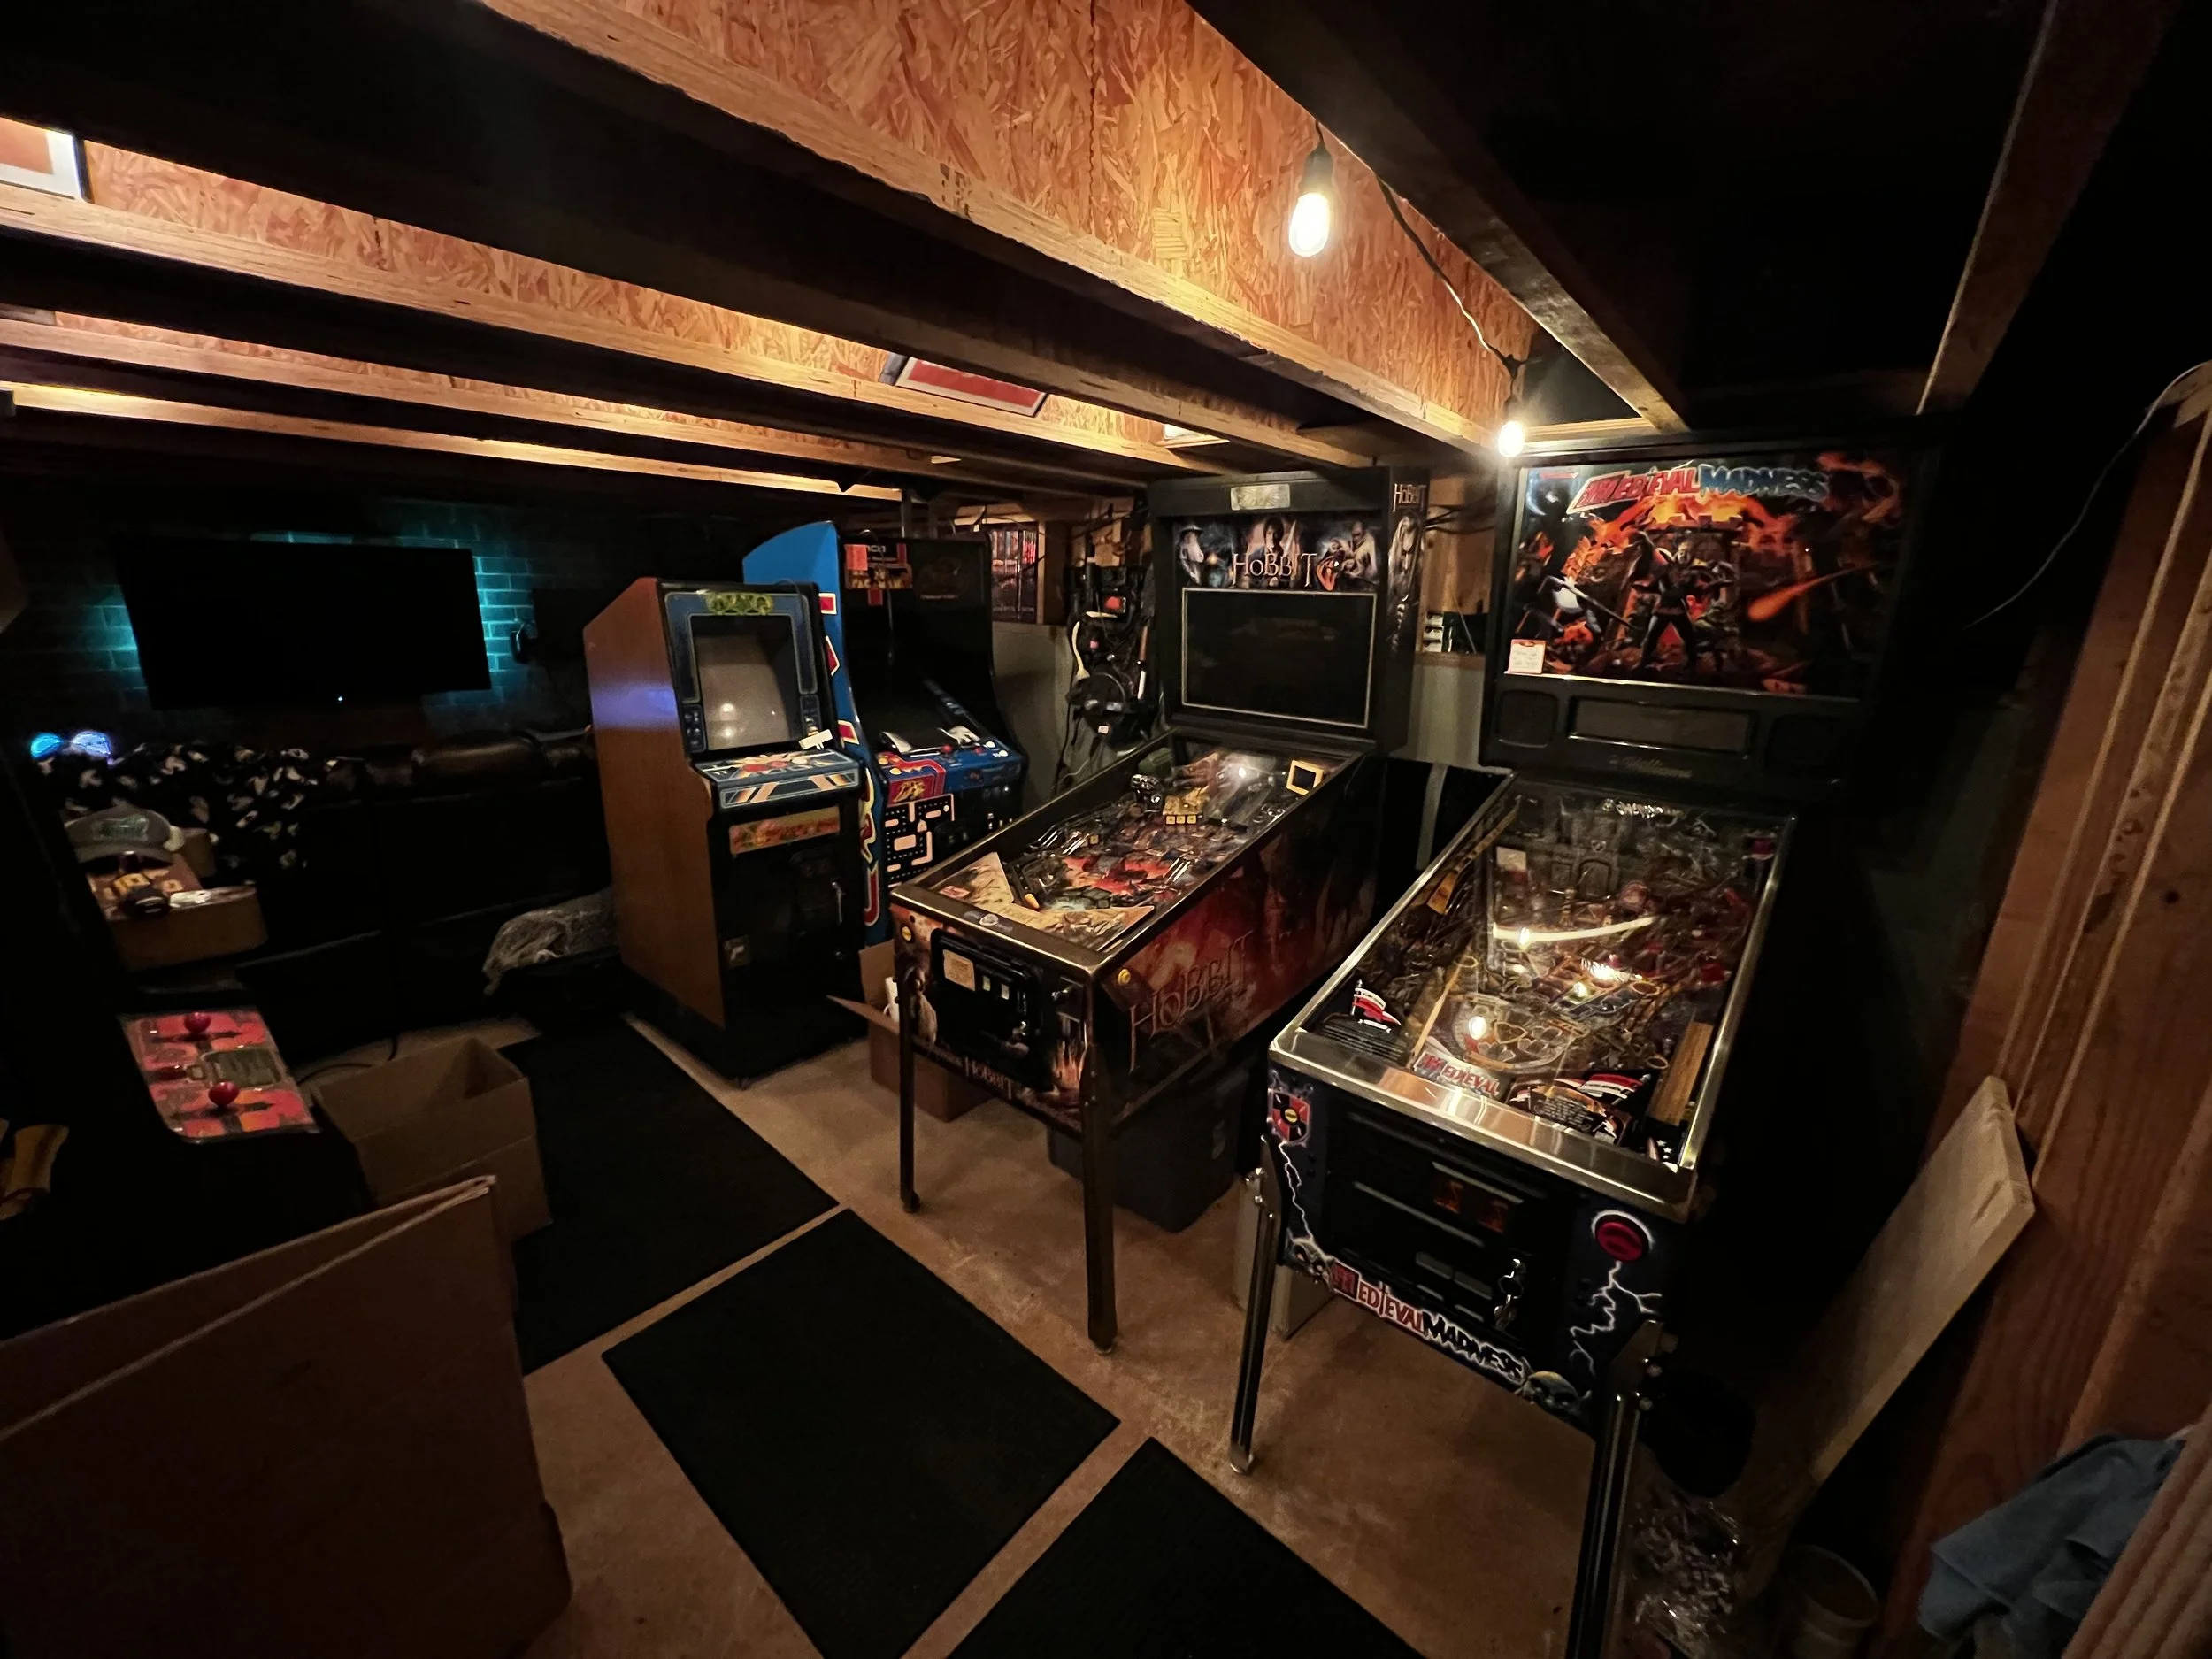
Panoramic
Concluding Notes
Well, the space has officially been used.. Drinks with friends, side by side Nintendo Switch Mario Kart antics with my teen boy. I call it a success.
My biggest constraints along the way were budgets of space allocation and cash to spend. The original design ideas that included a two-wing design and a lower prep space behind the bar were sacrificed to leave room for games and space to walk through to the arcades in the back.
On the spend, I spent about $1200 on the project; budget-assists by using Amazon Warehouse finds for some of the bamboo and up-front material calculation to keep my material waste in check. The ability to 3D print crappy props on the cheap also helped. My biggest benefits going in was that I’ve had the Indy pinball for nearly a decade and the slow accumulation of Indy Stuff and Tiki Stuff over the years.
Already having accumulated decent tools whose lithium batteries still work after 10 years, also helped. Dewalt FTW.