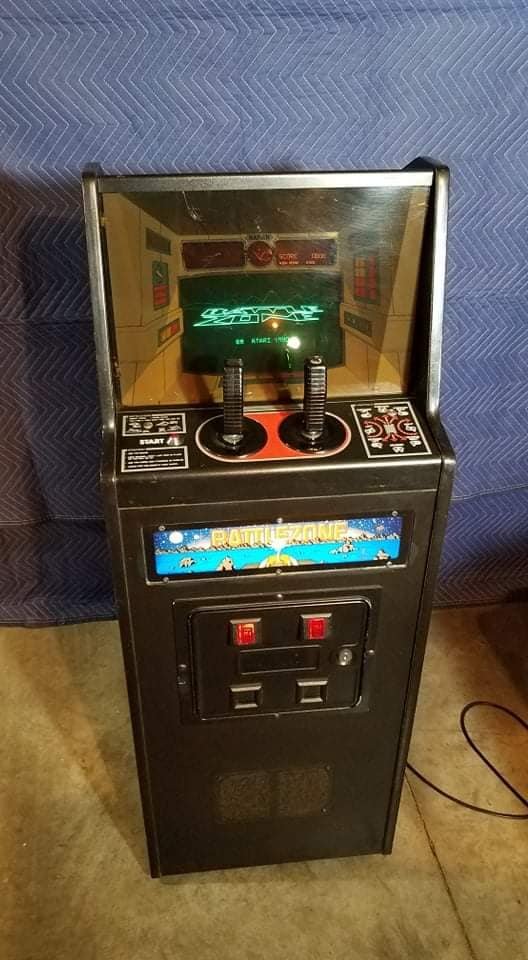
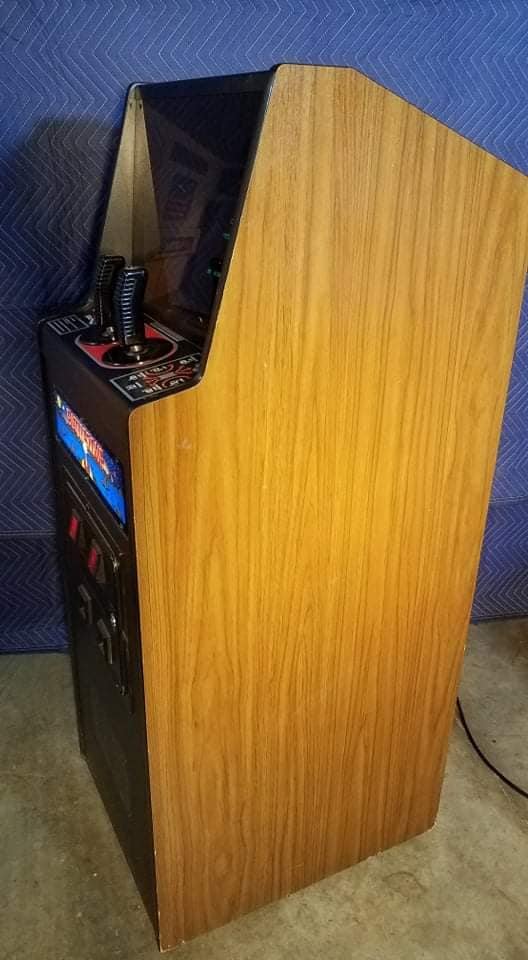
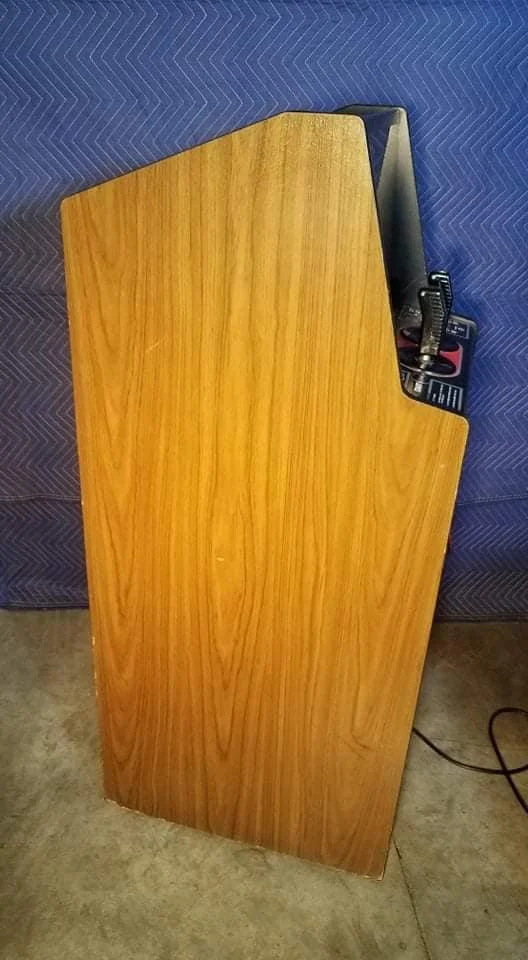
Ever since I fell in love with Ready Player One (the book) I’ve wanted to have a Battlezone cabinet (Planet arcade, reference) but my basement can be a little limiting in cabinet size. I’m stoked to be the proud owner of a Battlezone Cabaret!


Santa’s Sleigh!
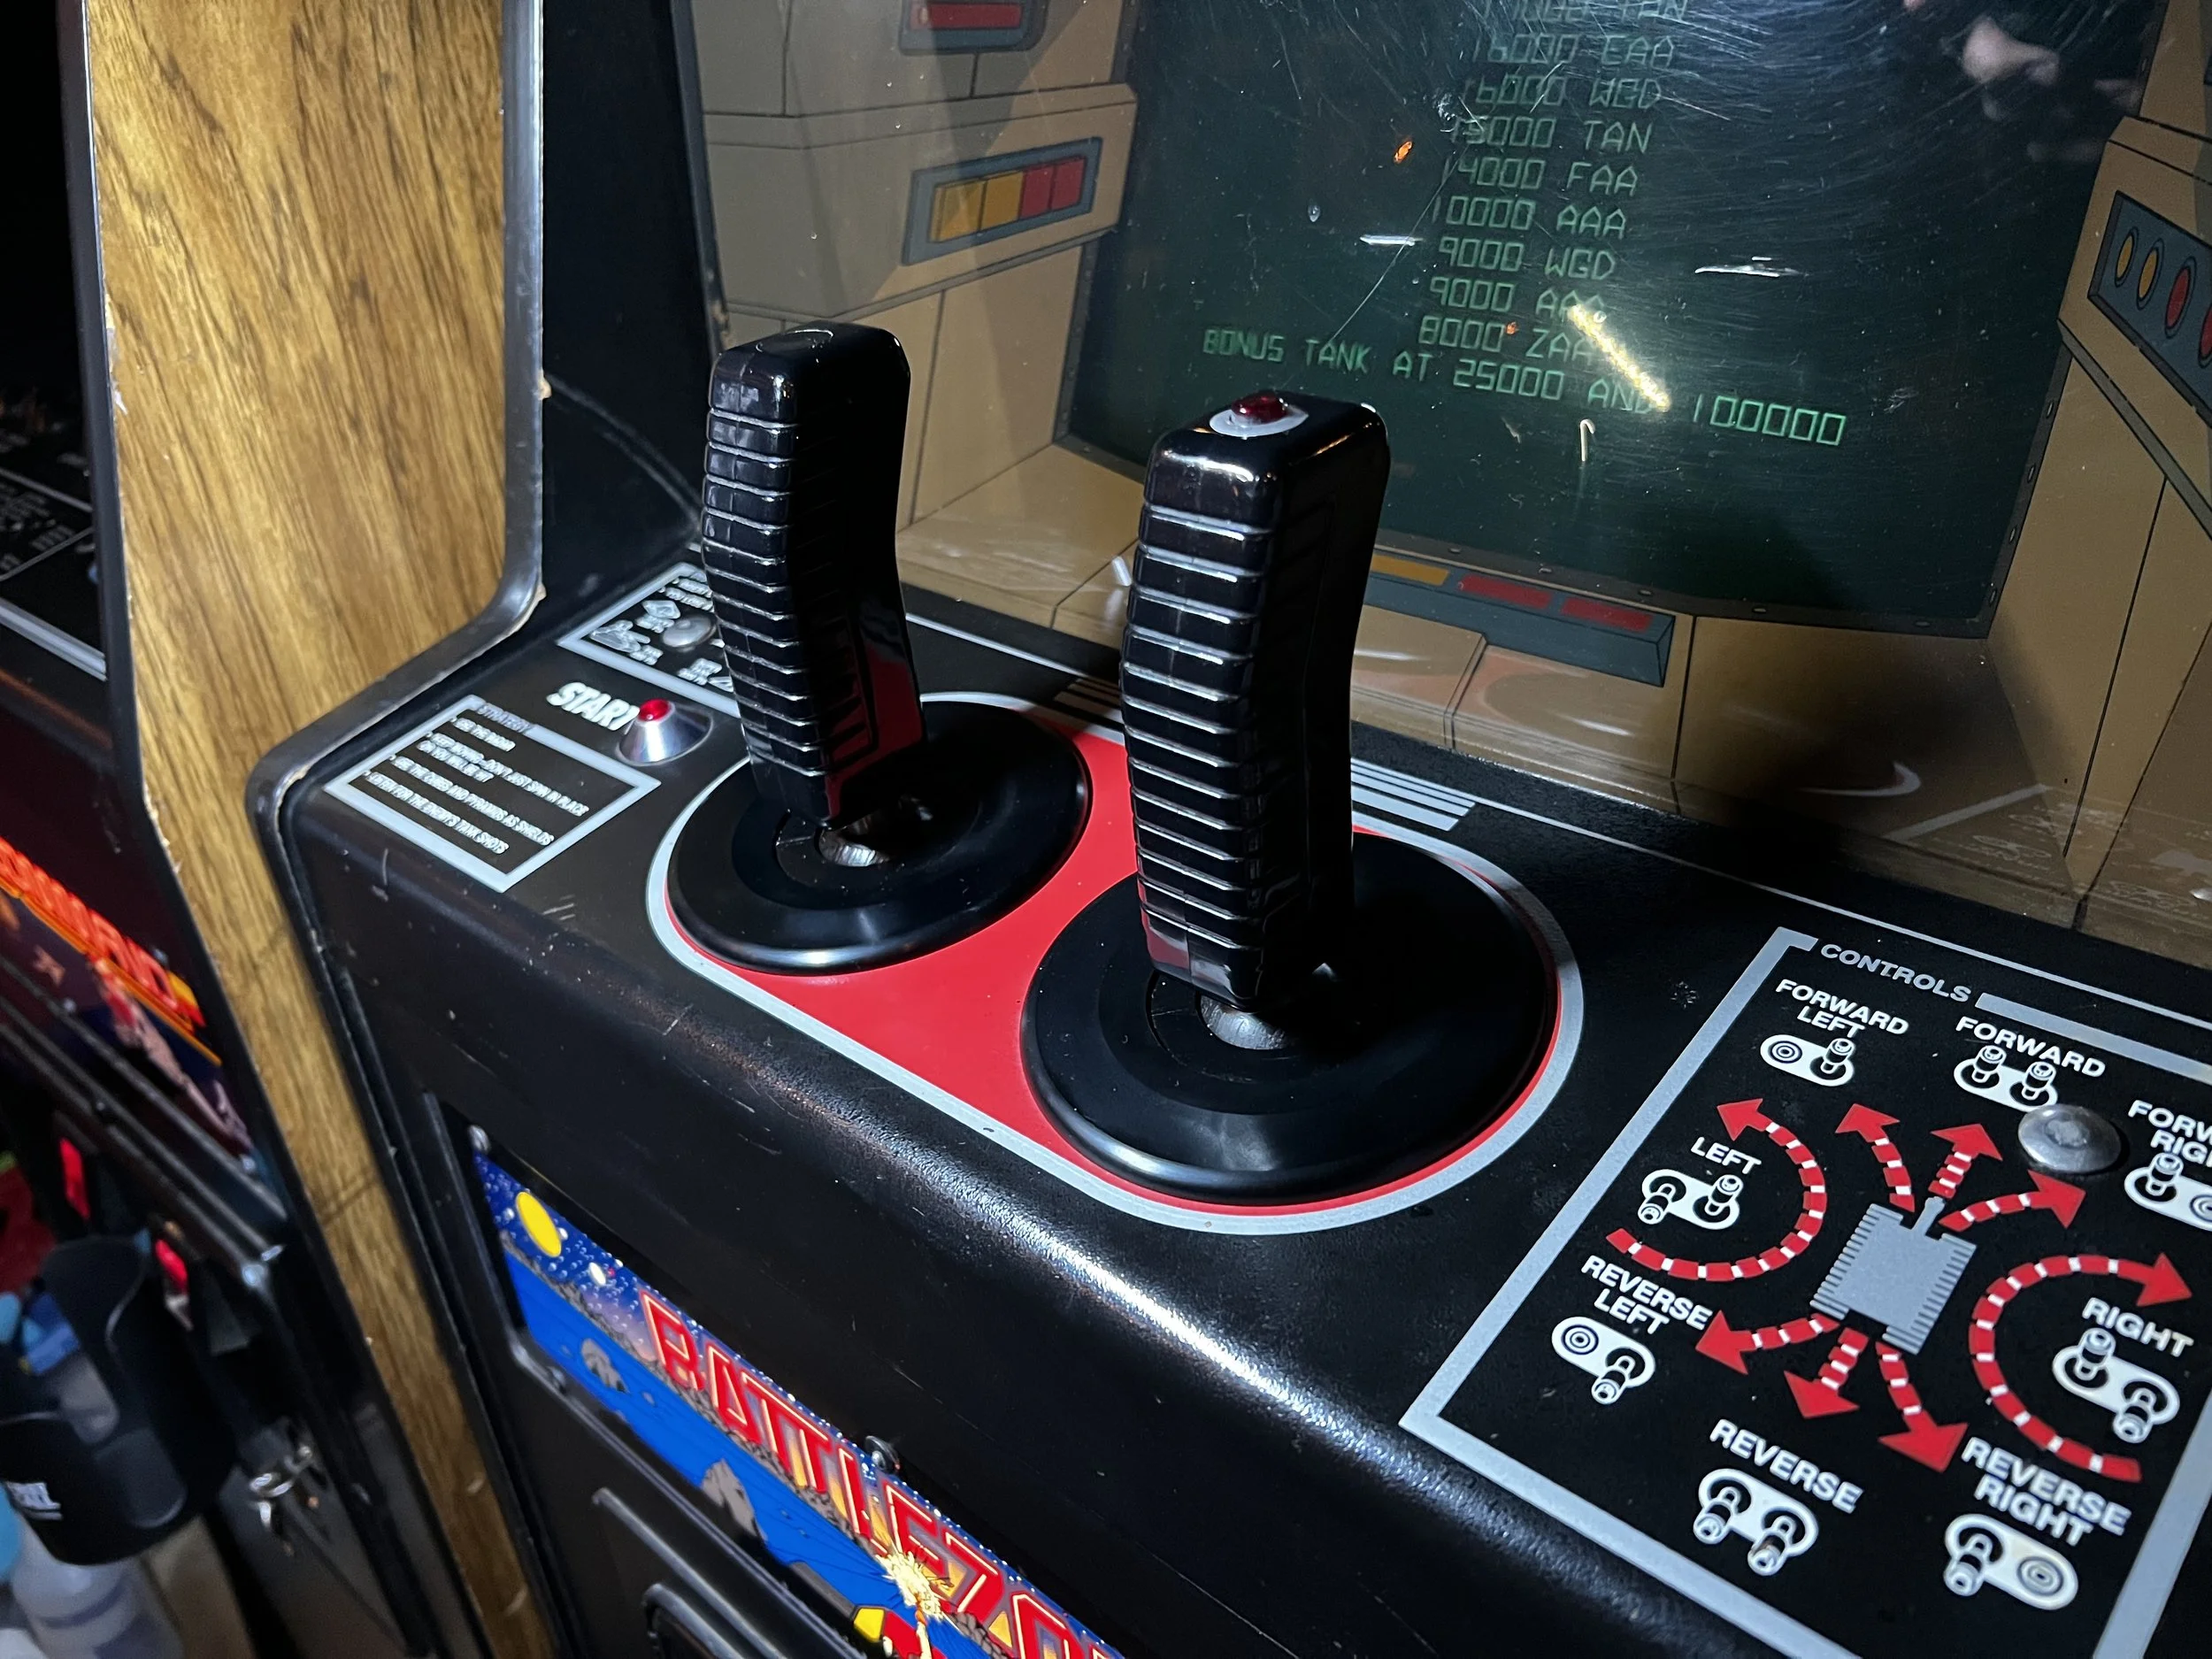
Control Panel Stuff
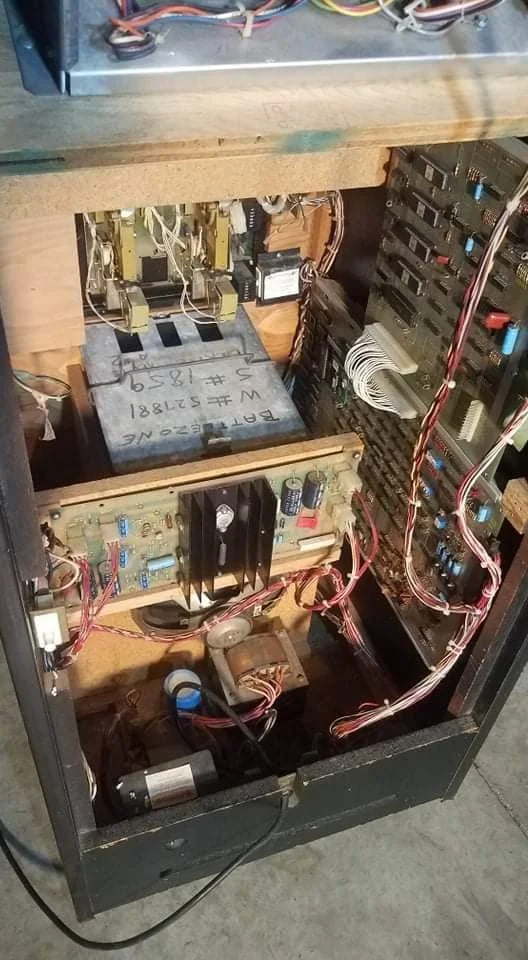
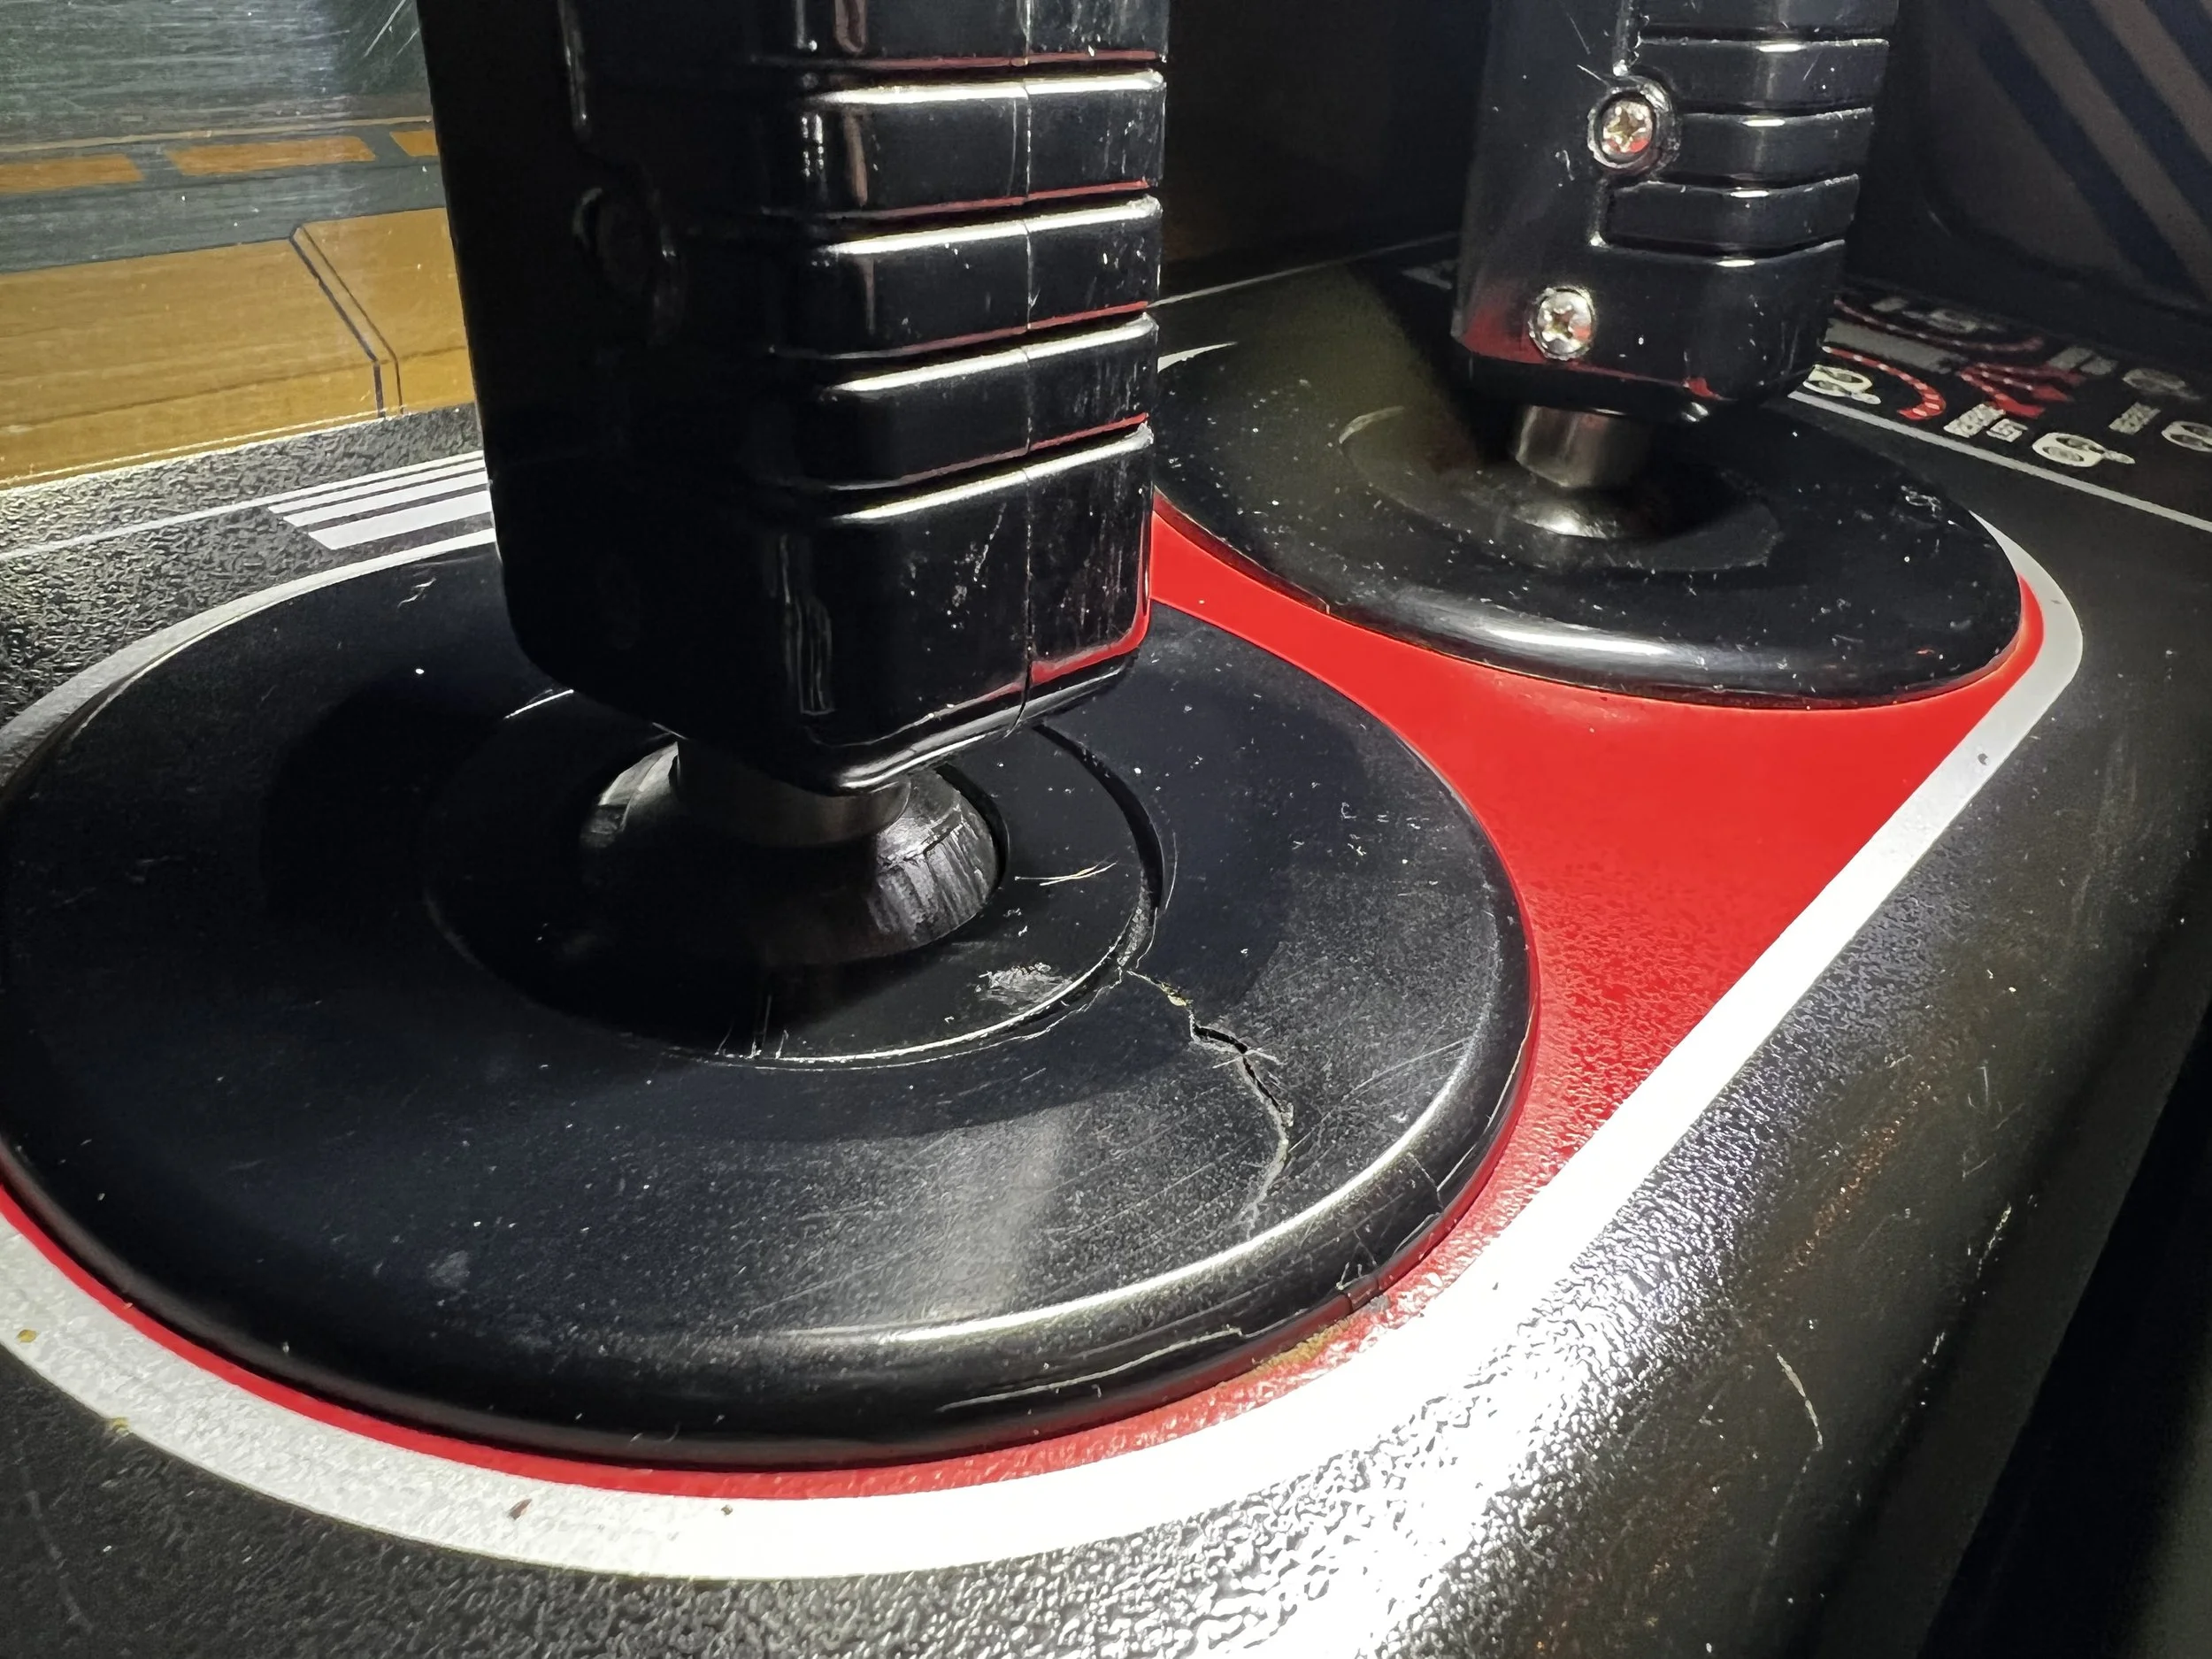
Given the age of the machine and general reputation of frailty of the control parts, I was happy that it was mostly in tact and working.
The right stick appeared to have no real resistence on it and the left stick felt pretty good. The screws had been replaced on one.

A little research seemed to show that getting game-specific parts would be a little bit of an easter-egg hunt shit-show. It seems that the NOS control panel parts in the community are highly overpriced ($90 for the control panel disc- with free blemishes) and that many of the parts are out of stock or difficult to find.
Awhile back, aluminum reproductions of the CP stick surrounds were made by some enterprising individual but the parts were marred in drama related to unfulfilled orders, reports of burned buyers and general sketchiness. The bellows (big rubber grommet thing) were being reproduced by a well-meaning community member but I didn’t hunt down exactly where to find them.
The Bellows / Grommet-Thing
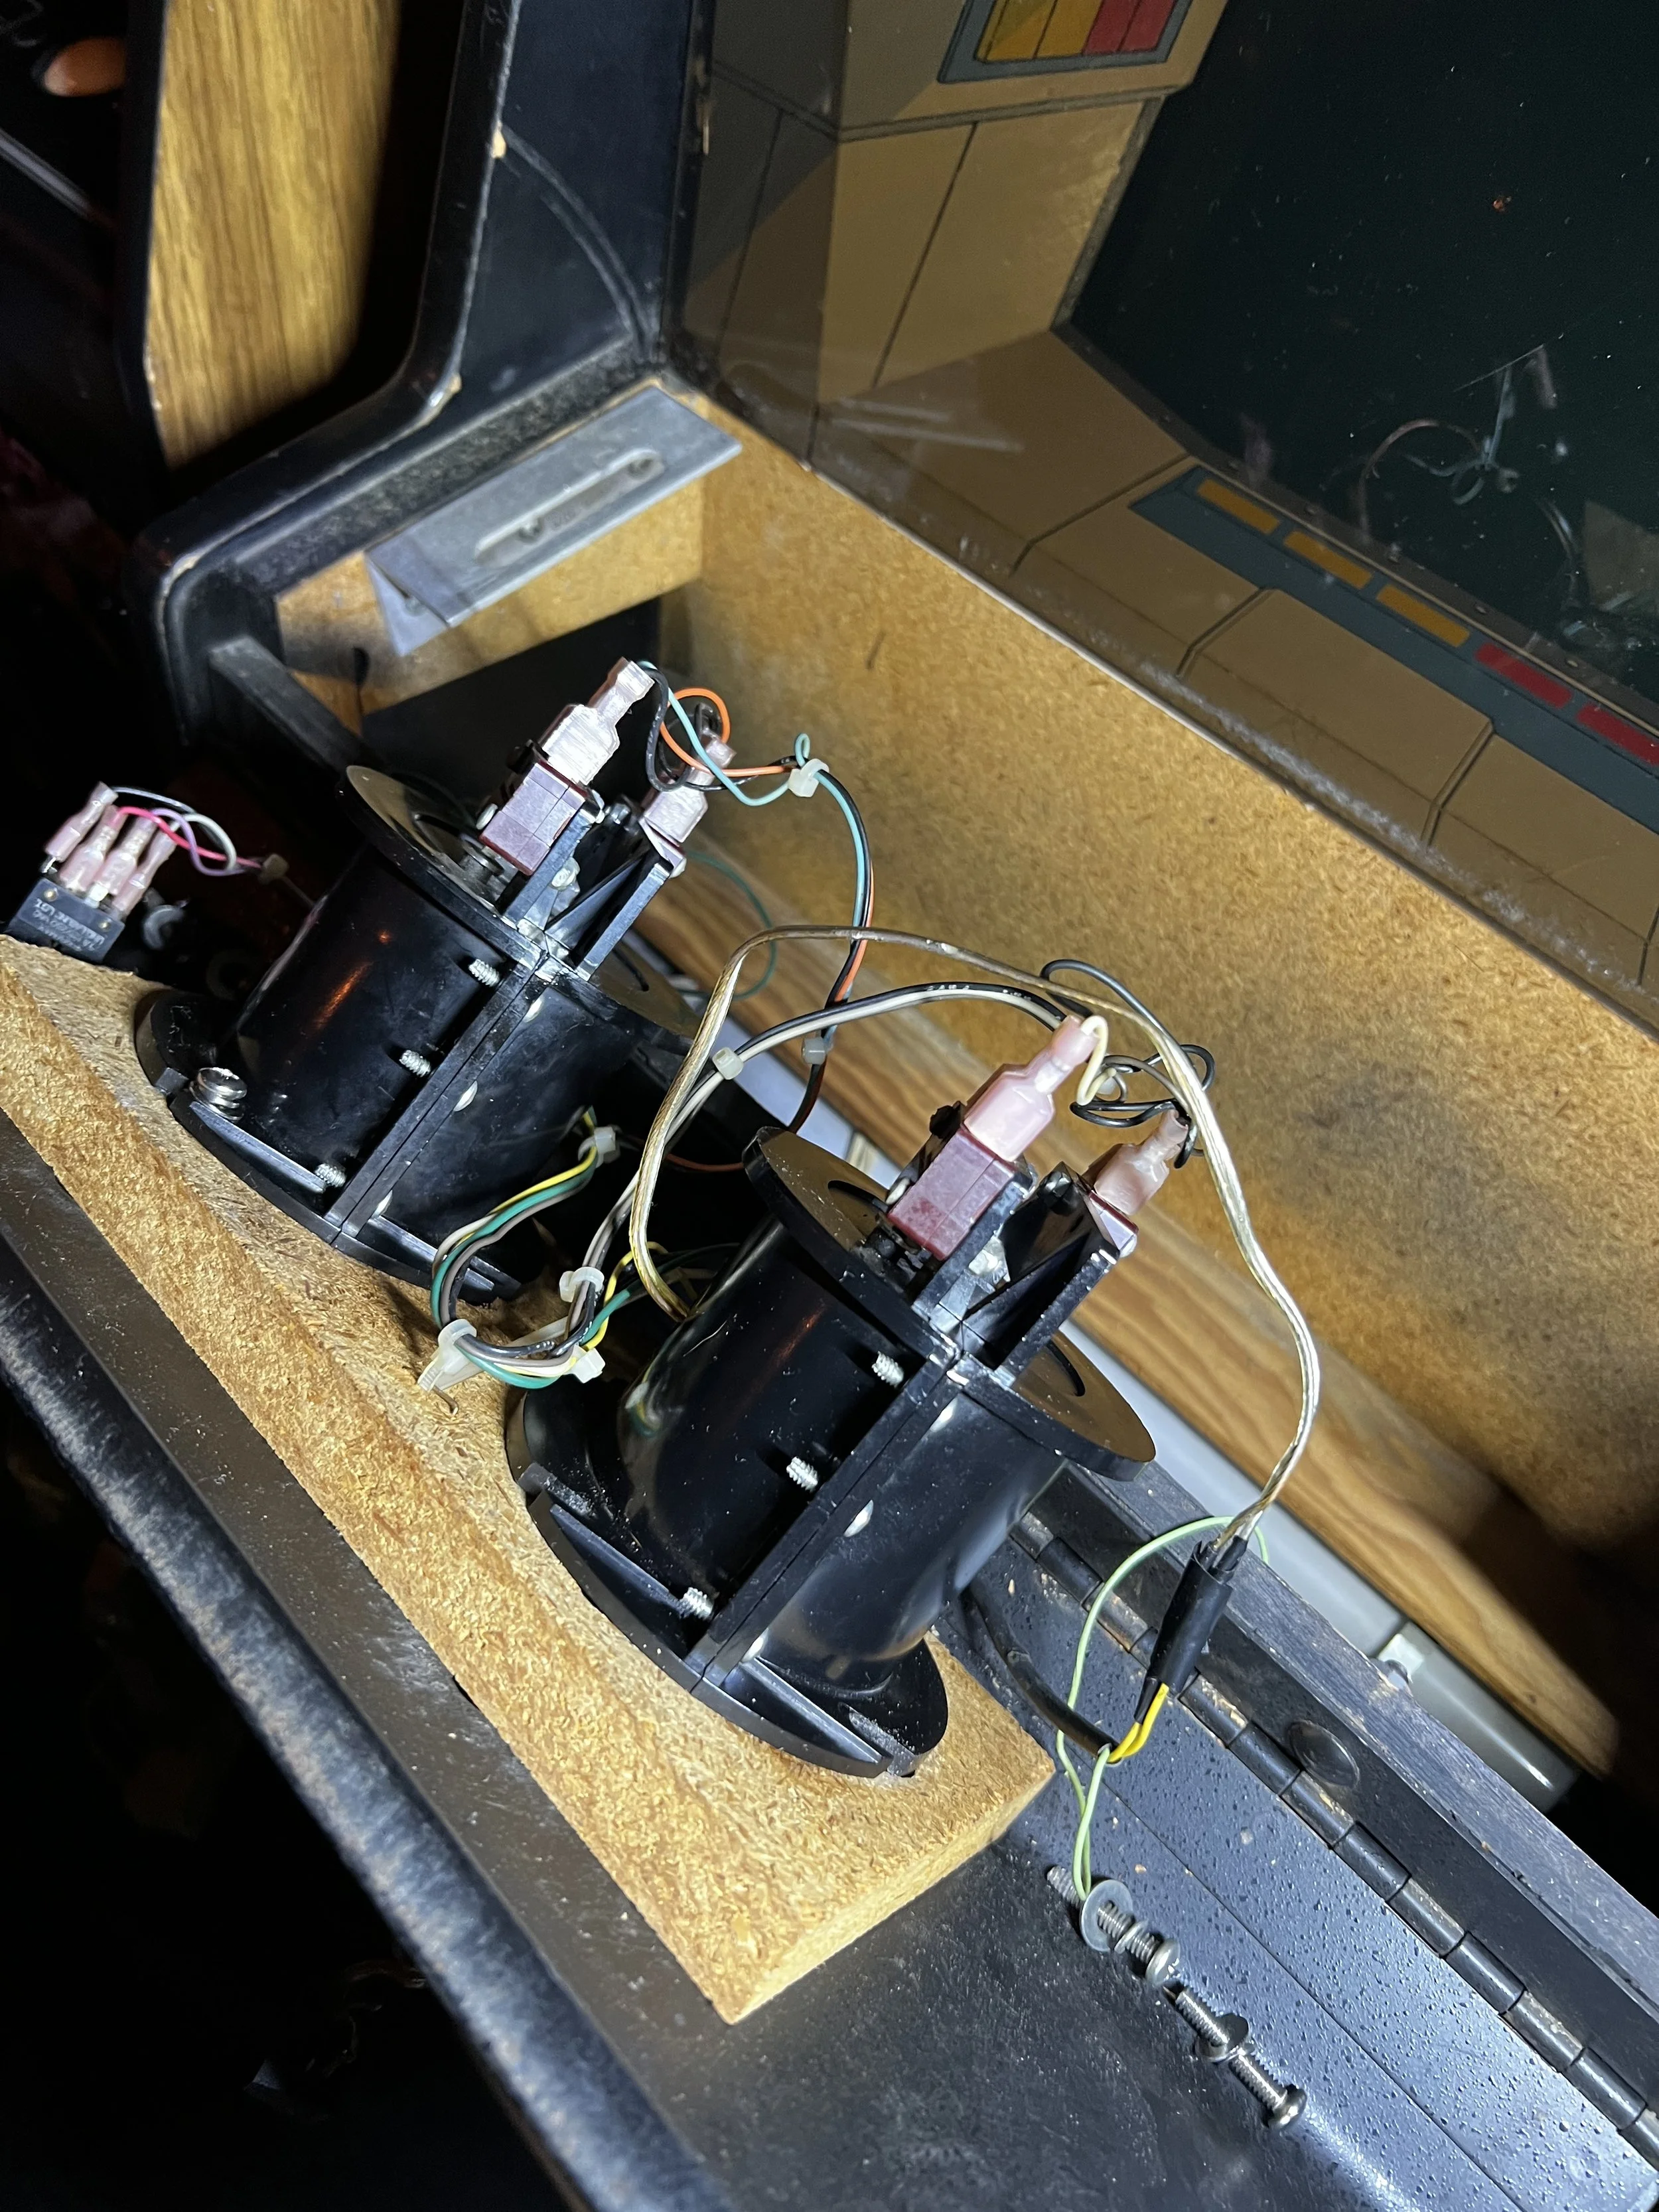
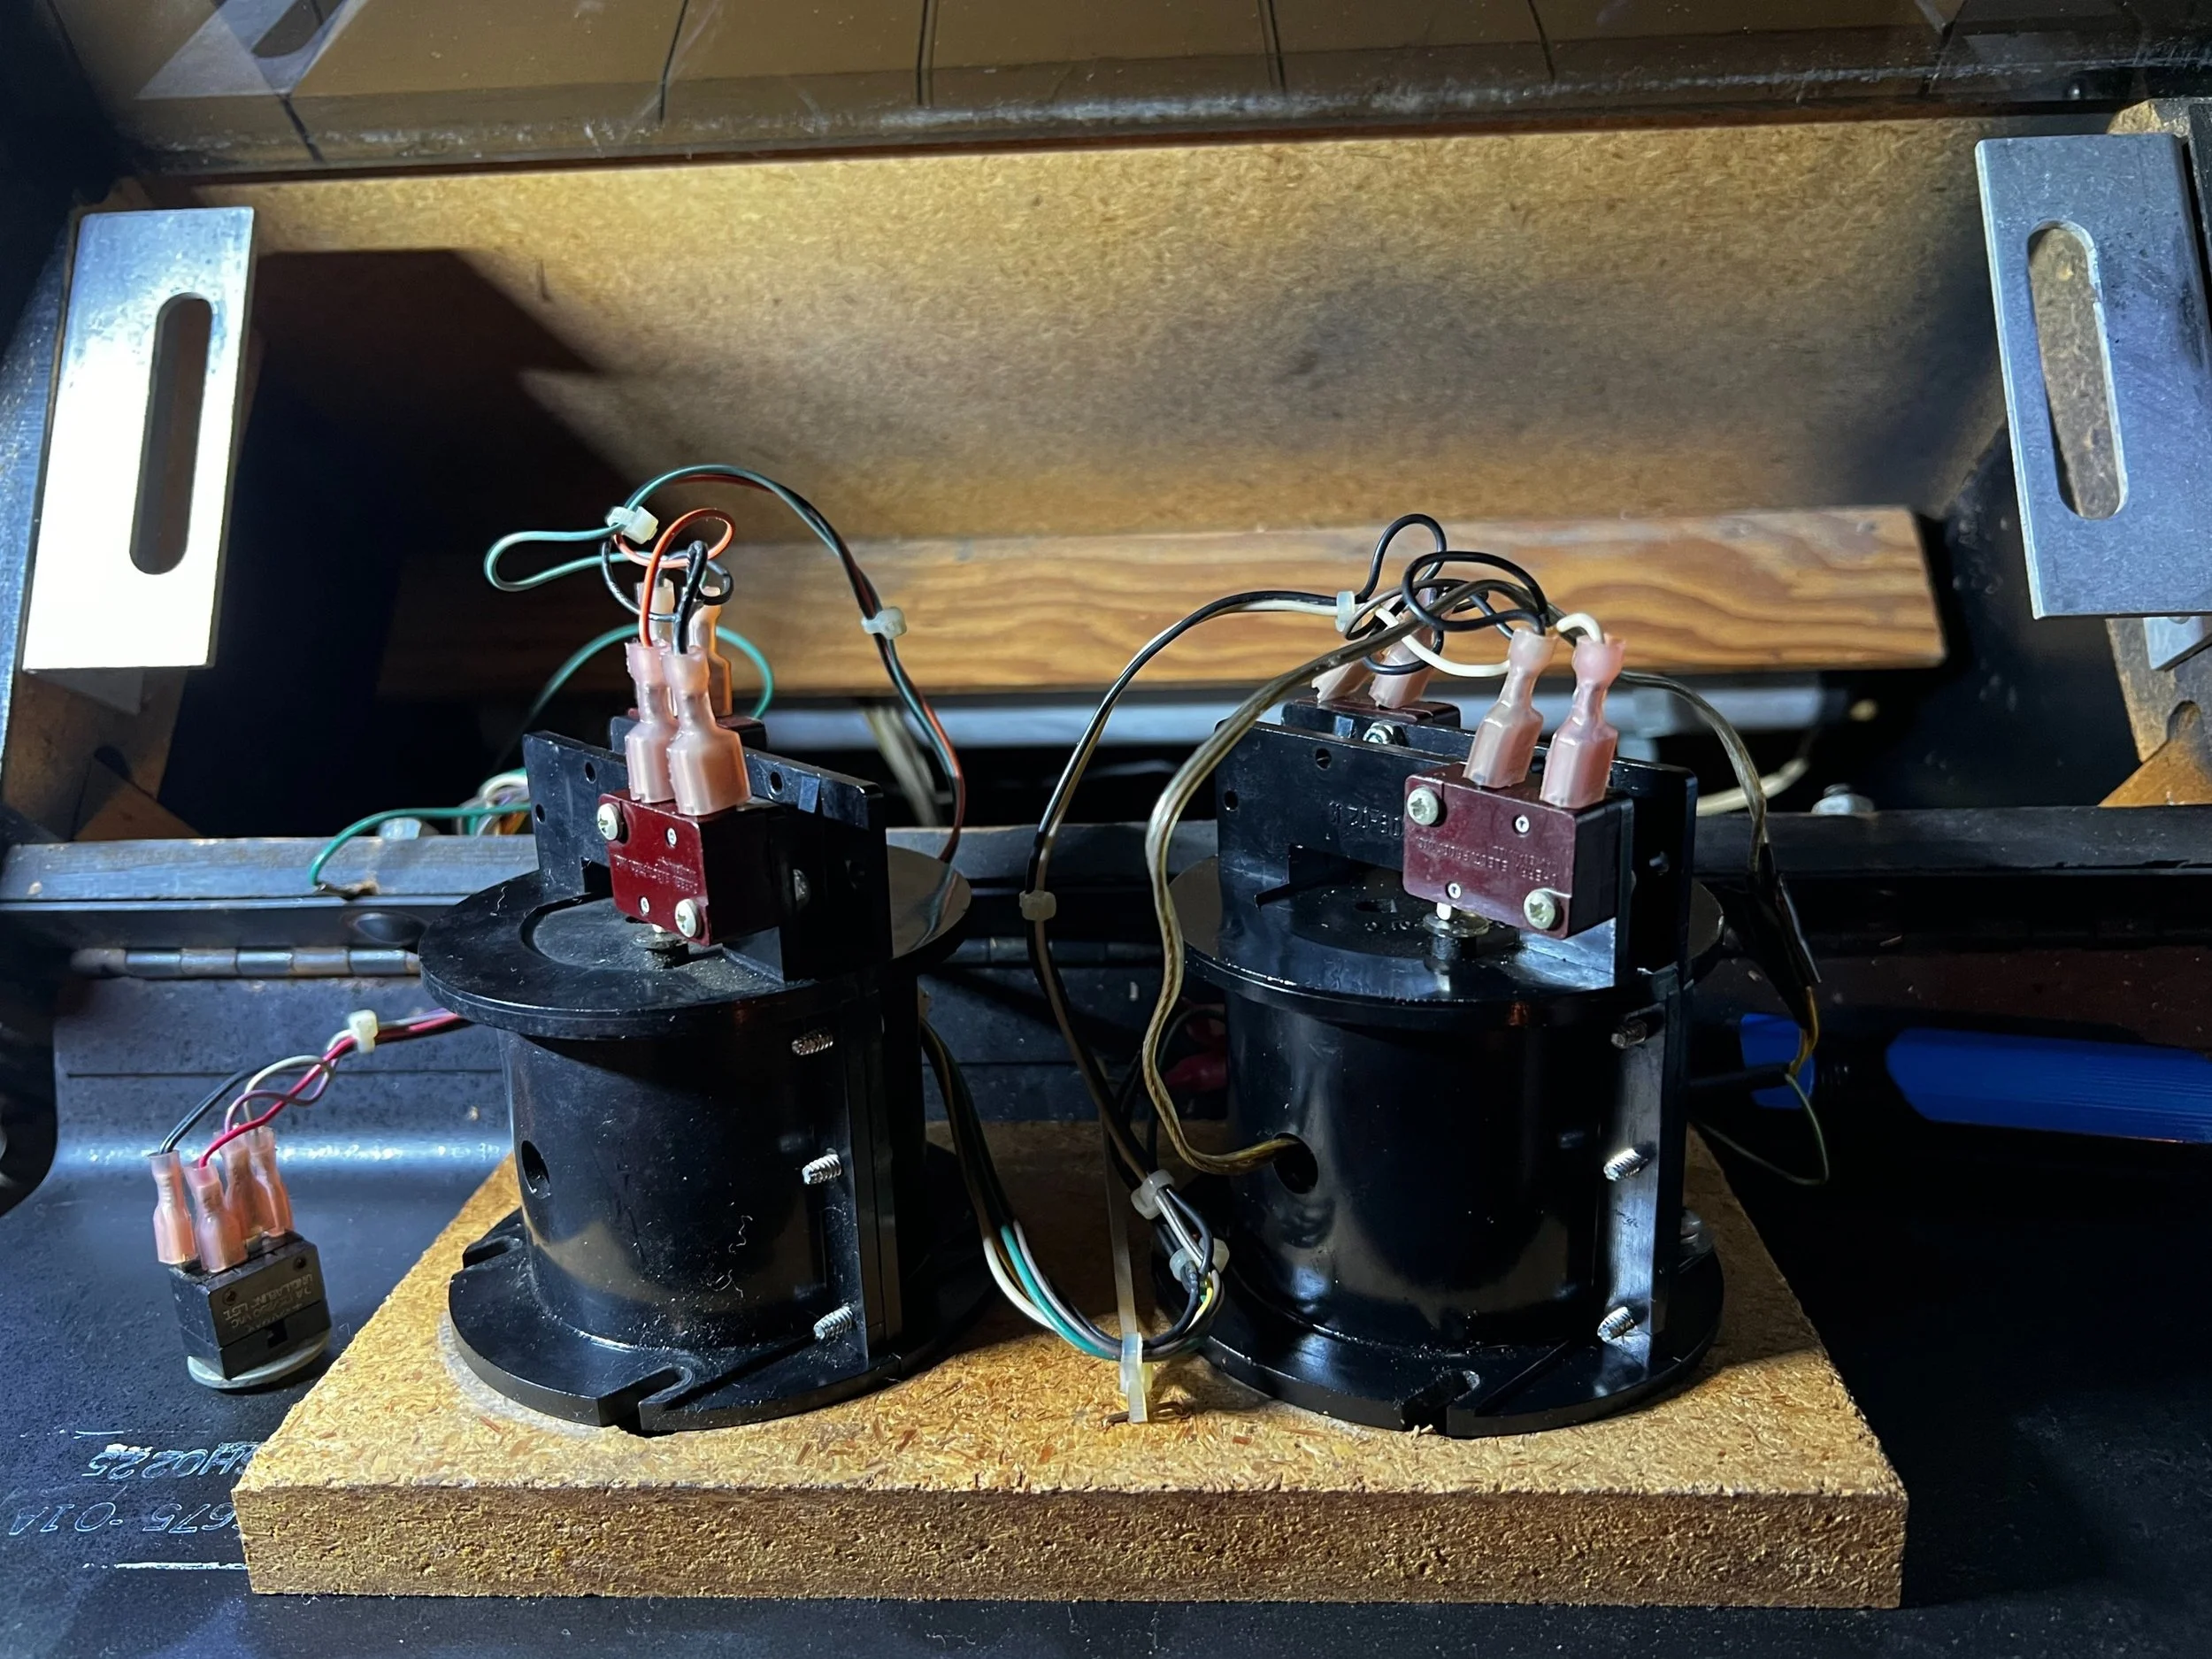
The reason that my right stick was floppy (umm…) was b/c the rubber bellows grommet-thing was blown out. I started here, taking rough measurements with the optical meat-orbs in my head and more detailed measurements from the original part with a micrometer and using a 3D Scanner. I then rebuilt the part in Shapr3D out of primitives by slicing and tracing the scan until the dimensions matched my original broken grommet.
The original is constructed from inner and outer stainless steel metal rings glued to a rubber insert. For convenience and time: my replacement part is one piece. It wouldn’t be difficult to reinforce but I’m hoping material science has improved enough in the last 40 years that my replacements will hold up. Might be inferior / might not - time will tell. At a cost of a couple dollars per print, I’m happy to replace it in a decade, as needed.
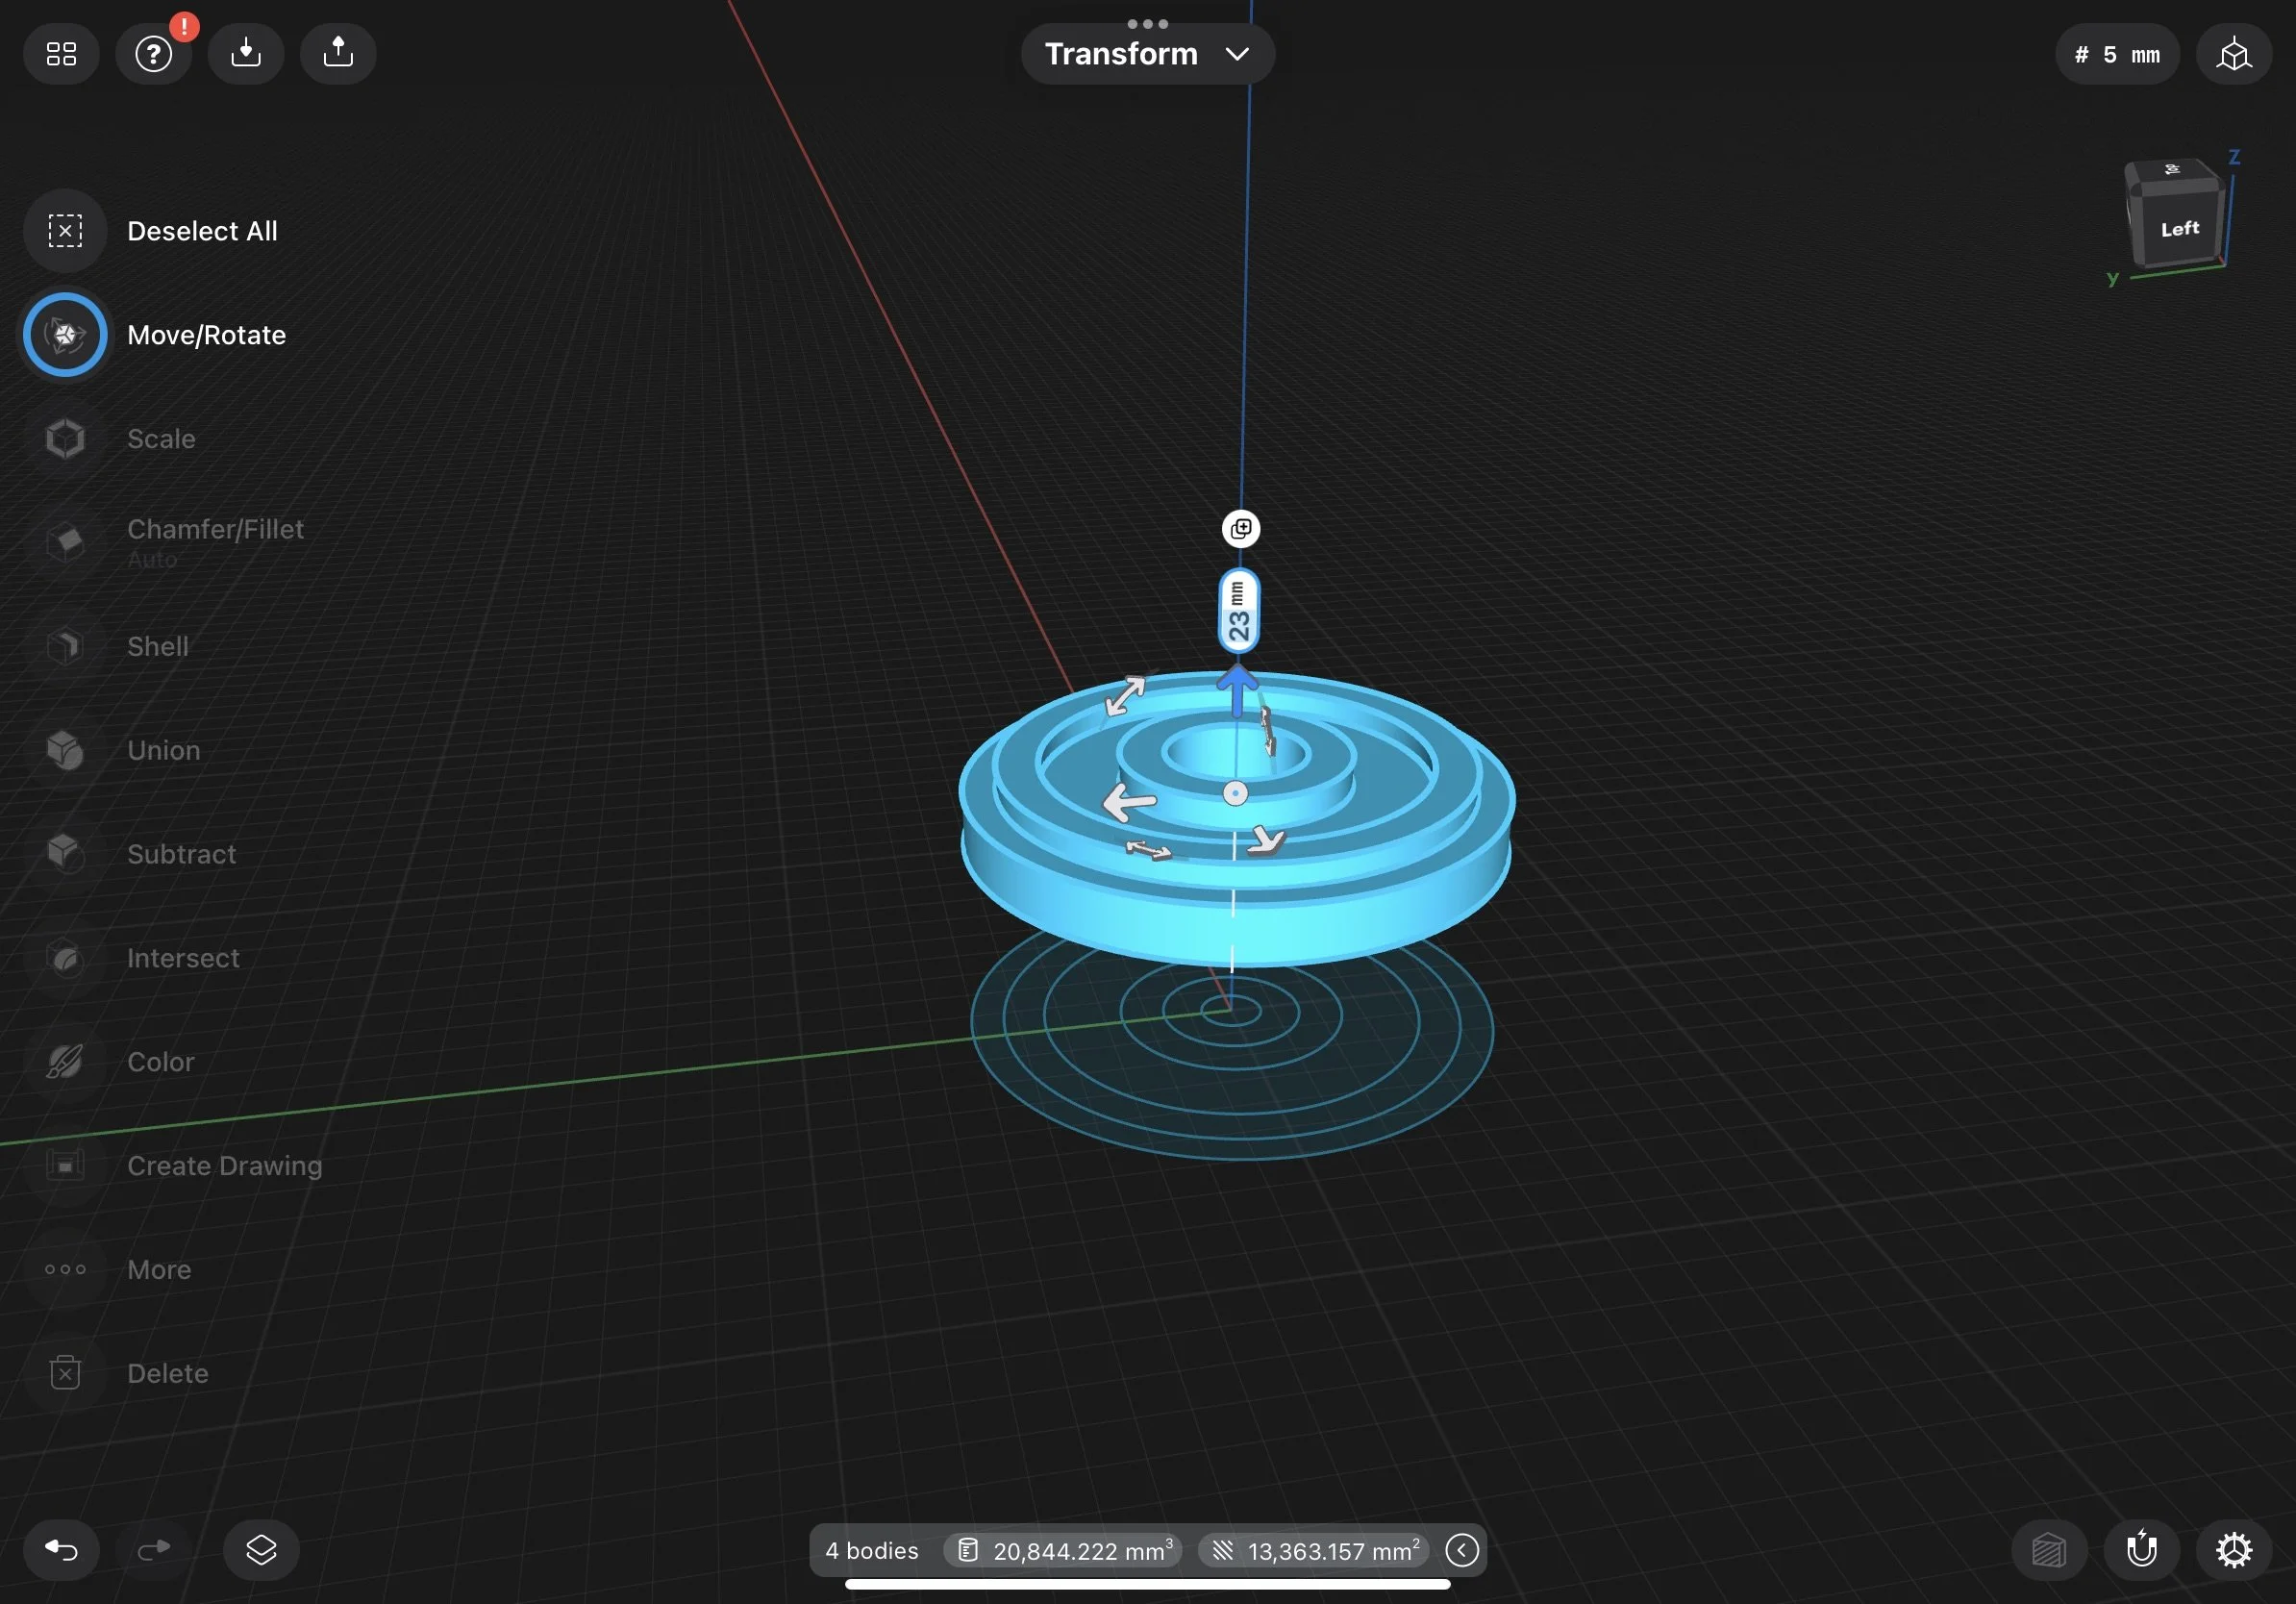
I printed a few with various types of TPU (flexible filament) - the NinjaFlex and Kodak Flex98 were my favorite. The Ultimaker Branded TPU95 I had was too rigid in the final print. Infill will help determine the resistance of the stick, I settled with Ninjaflex with a 20% infill for mine.
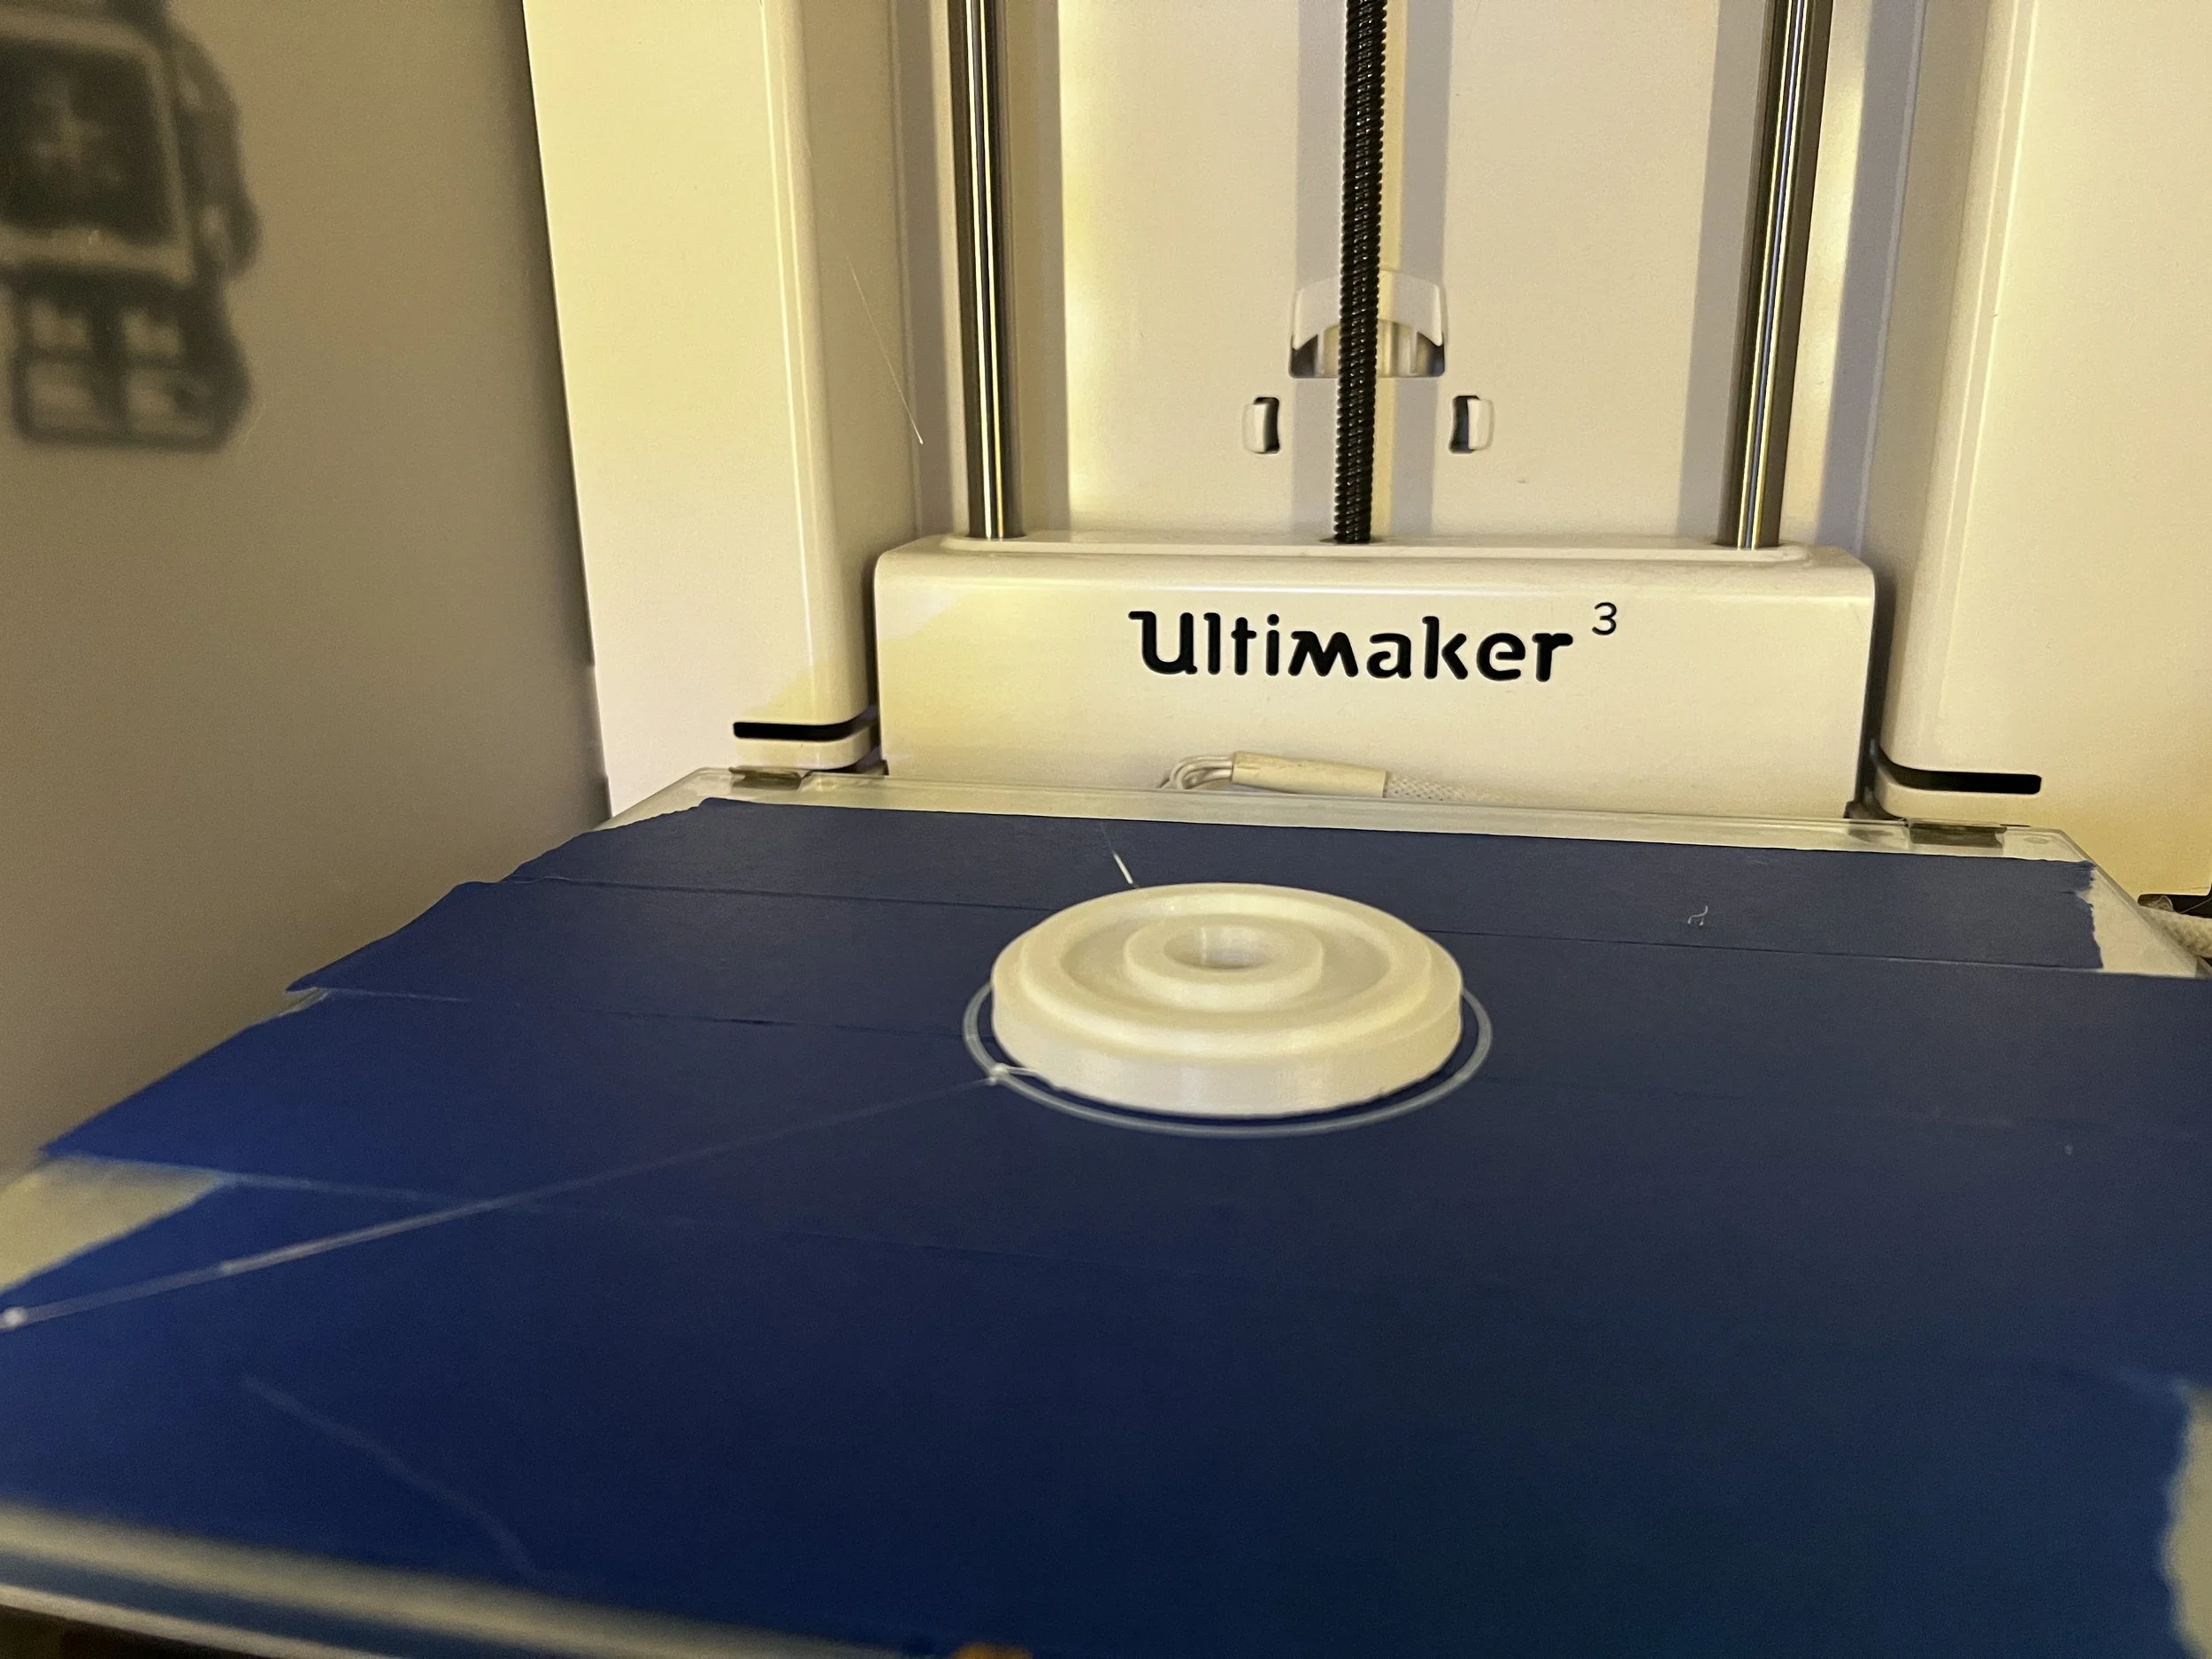
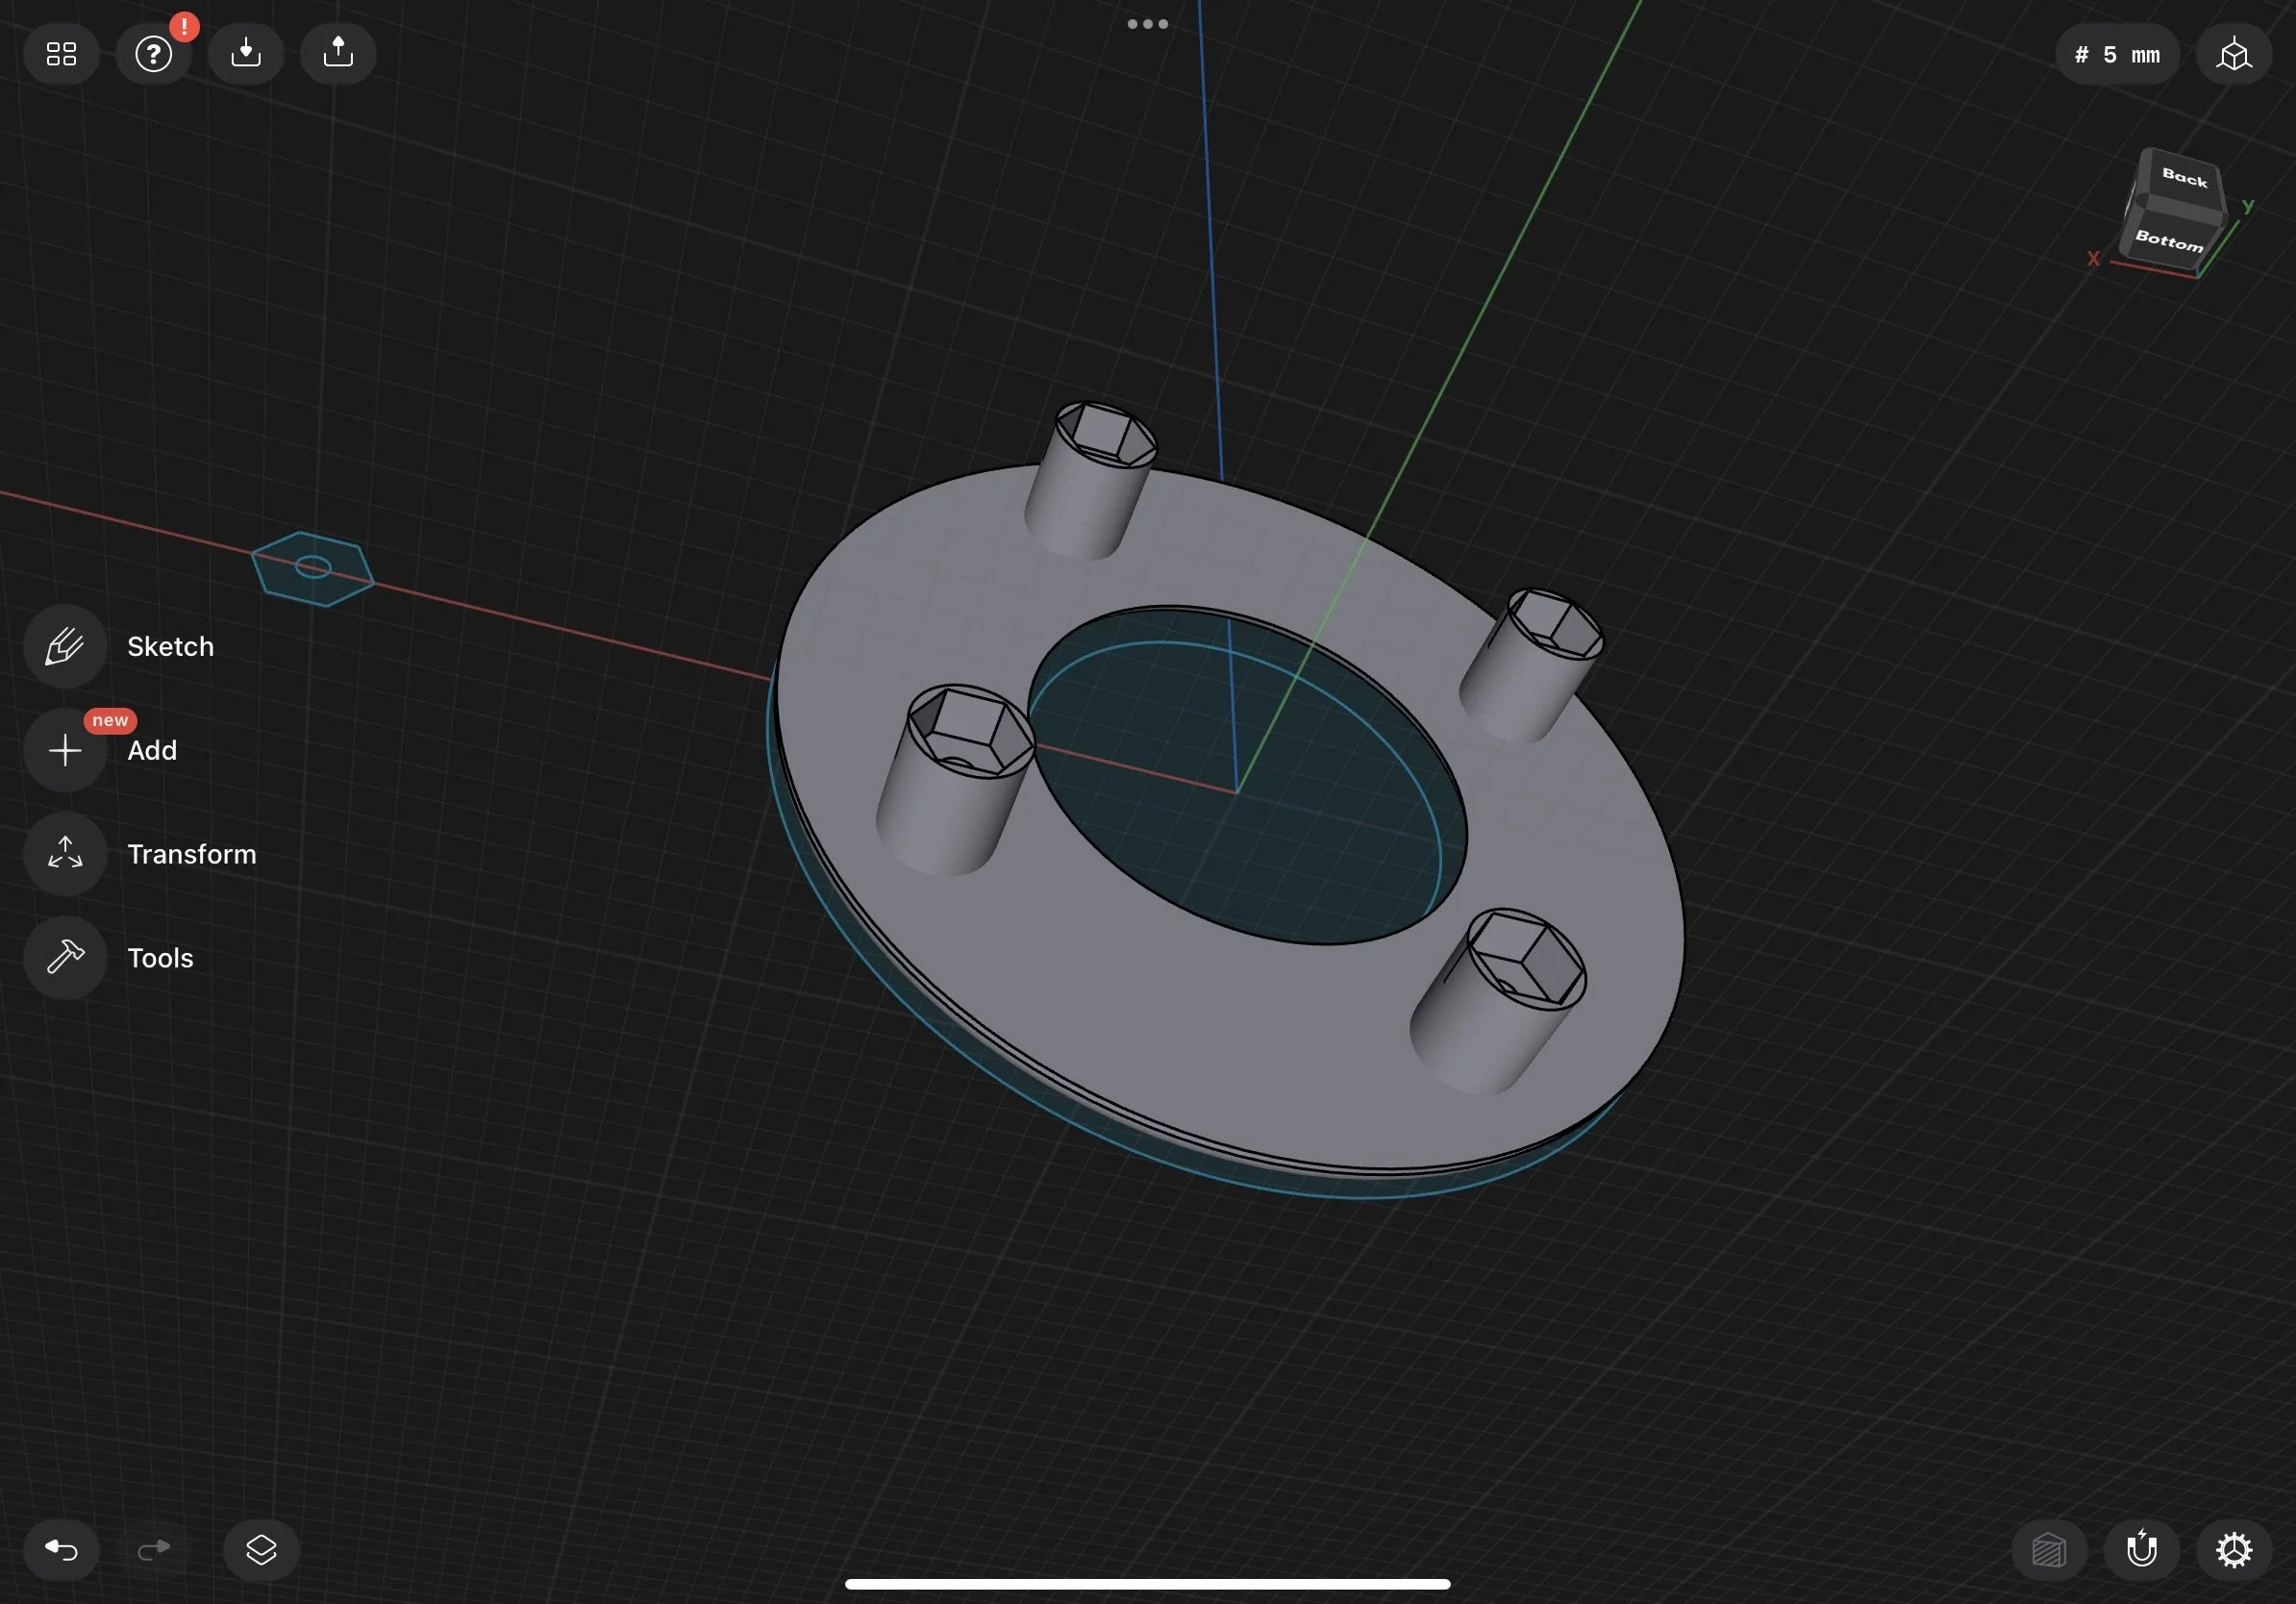
The Control Panel, Stick Bezel-Thing
The original parts (nylon, i guess?) on mine have thread insets for a 1” 10/24 course thread machine screws. The aluminum reproduction parts that are floating around in the arcade supply chain normally attributed to RAM Controls have the finer 10/32 thread insets.
B.Y.O.T. (Bring Your Own Threads)
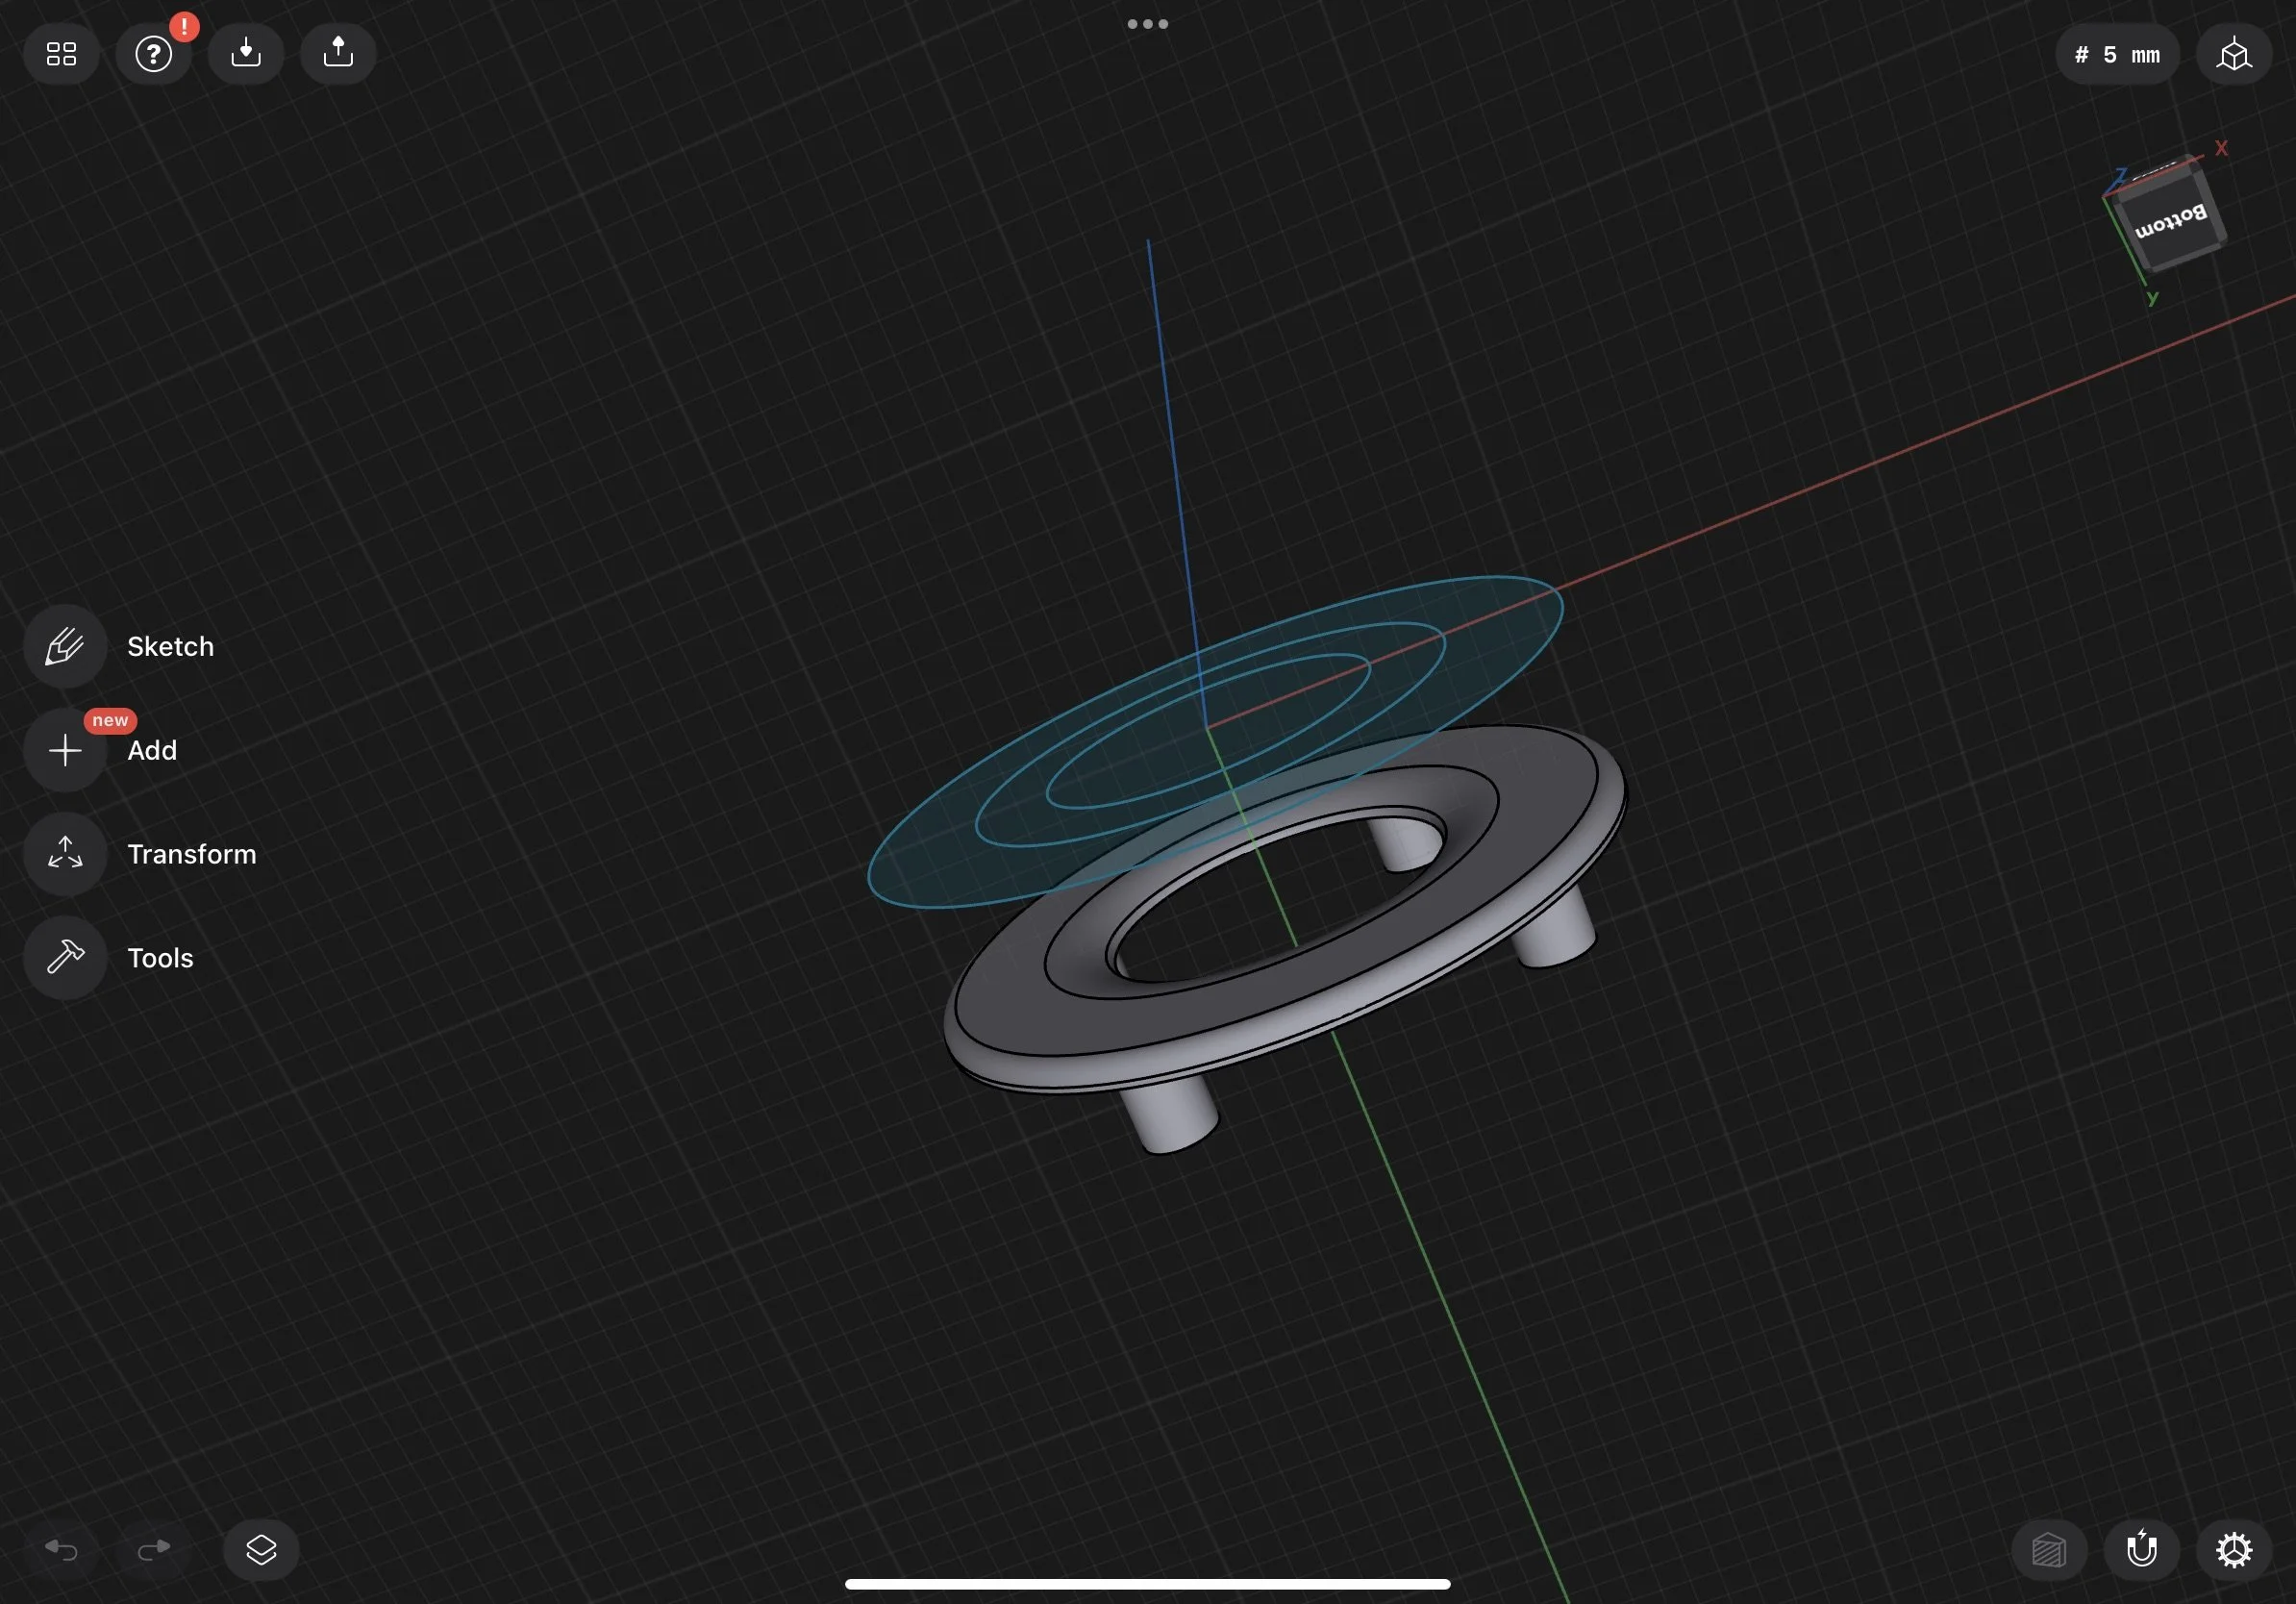
I painted my cracked original part with a flat spray paint to keep reflective errors at a minimum and did four scans of the original part. (2 close, 2 far, upside and downside) After importing them into Shapr3D, I rebuild the primitives using the original scans as a sizing template. For this version, you could thread the legs with a very hot screw or you could use it cold with a sheet metal or drywall screw instead of machine screw.
Glue-Nutty-Version
A made another version that can accept a #10 nut for threading. The idea being you could melt or glue a nut or standoff into the holes and use them to keep to the original machine-screw design. In order to accommodate the negative space to accept a #10 nut, the legs are slightly thicker (about .65 mm) than the original. I believe it would still fit in the original board but honestly, I didn’t test this one thoroughly.
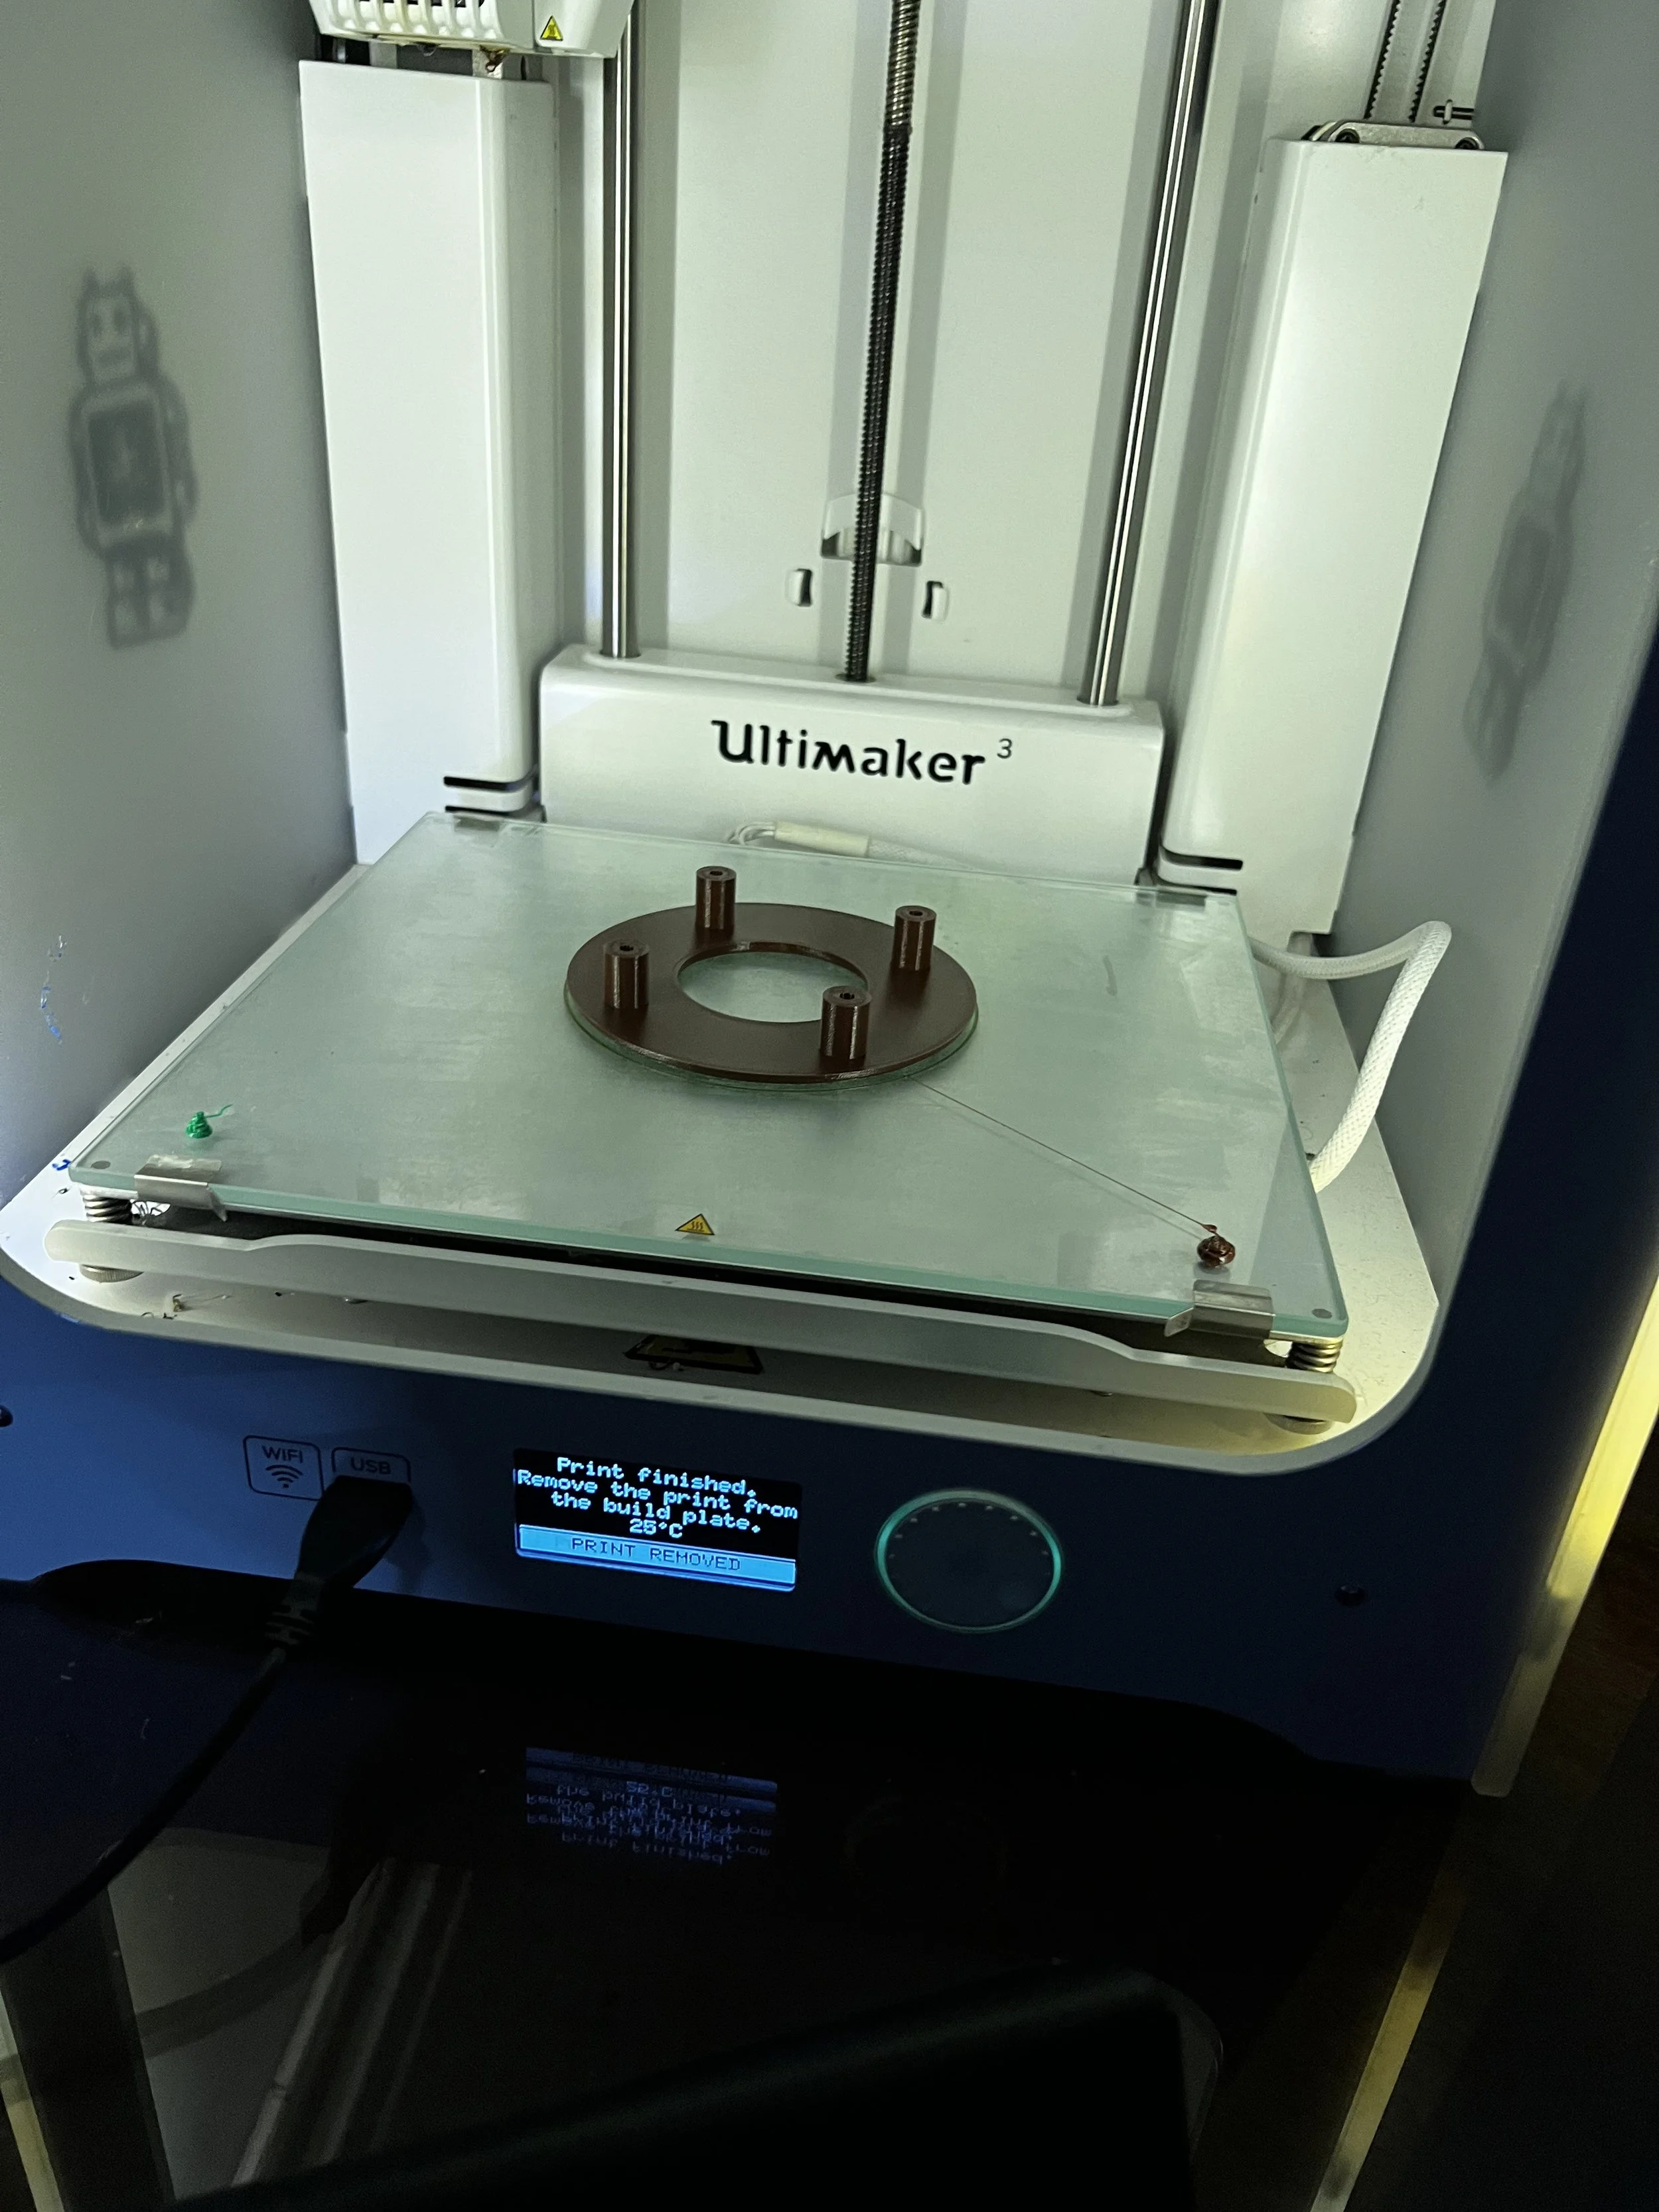
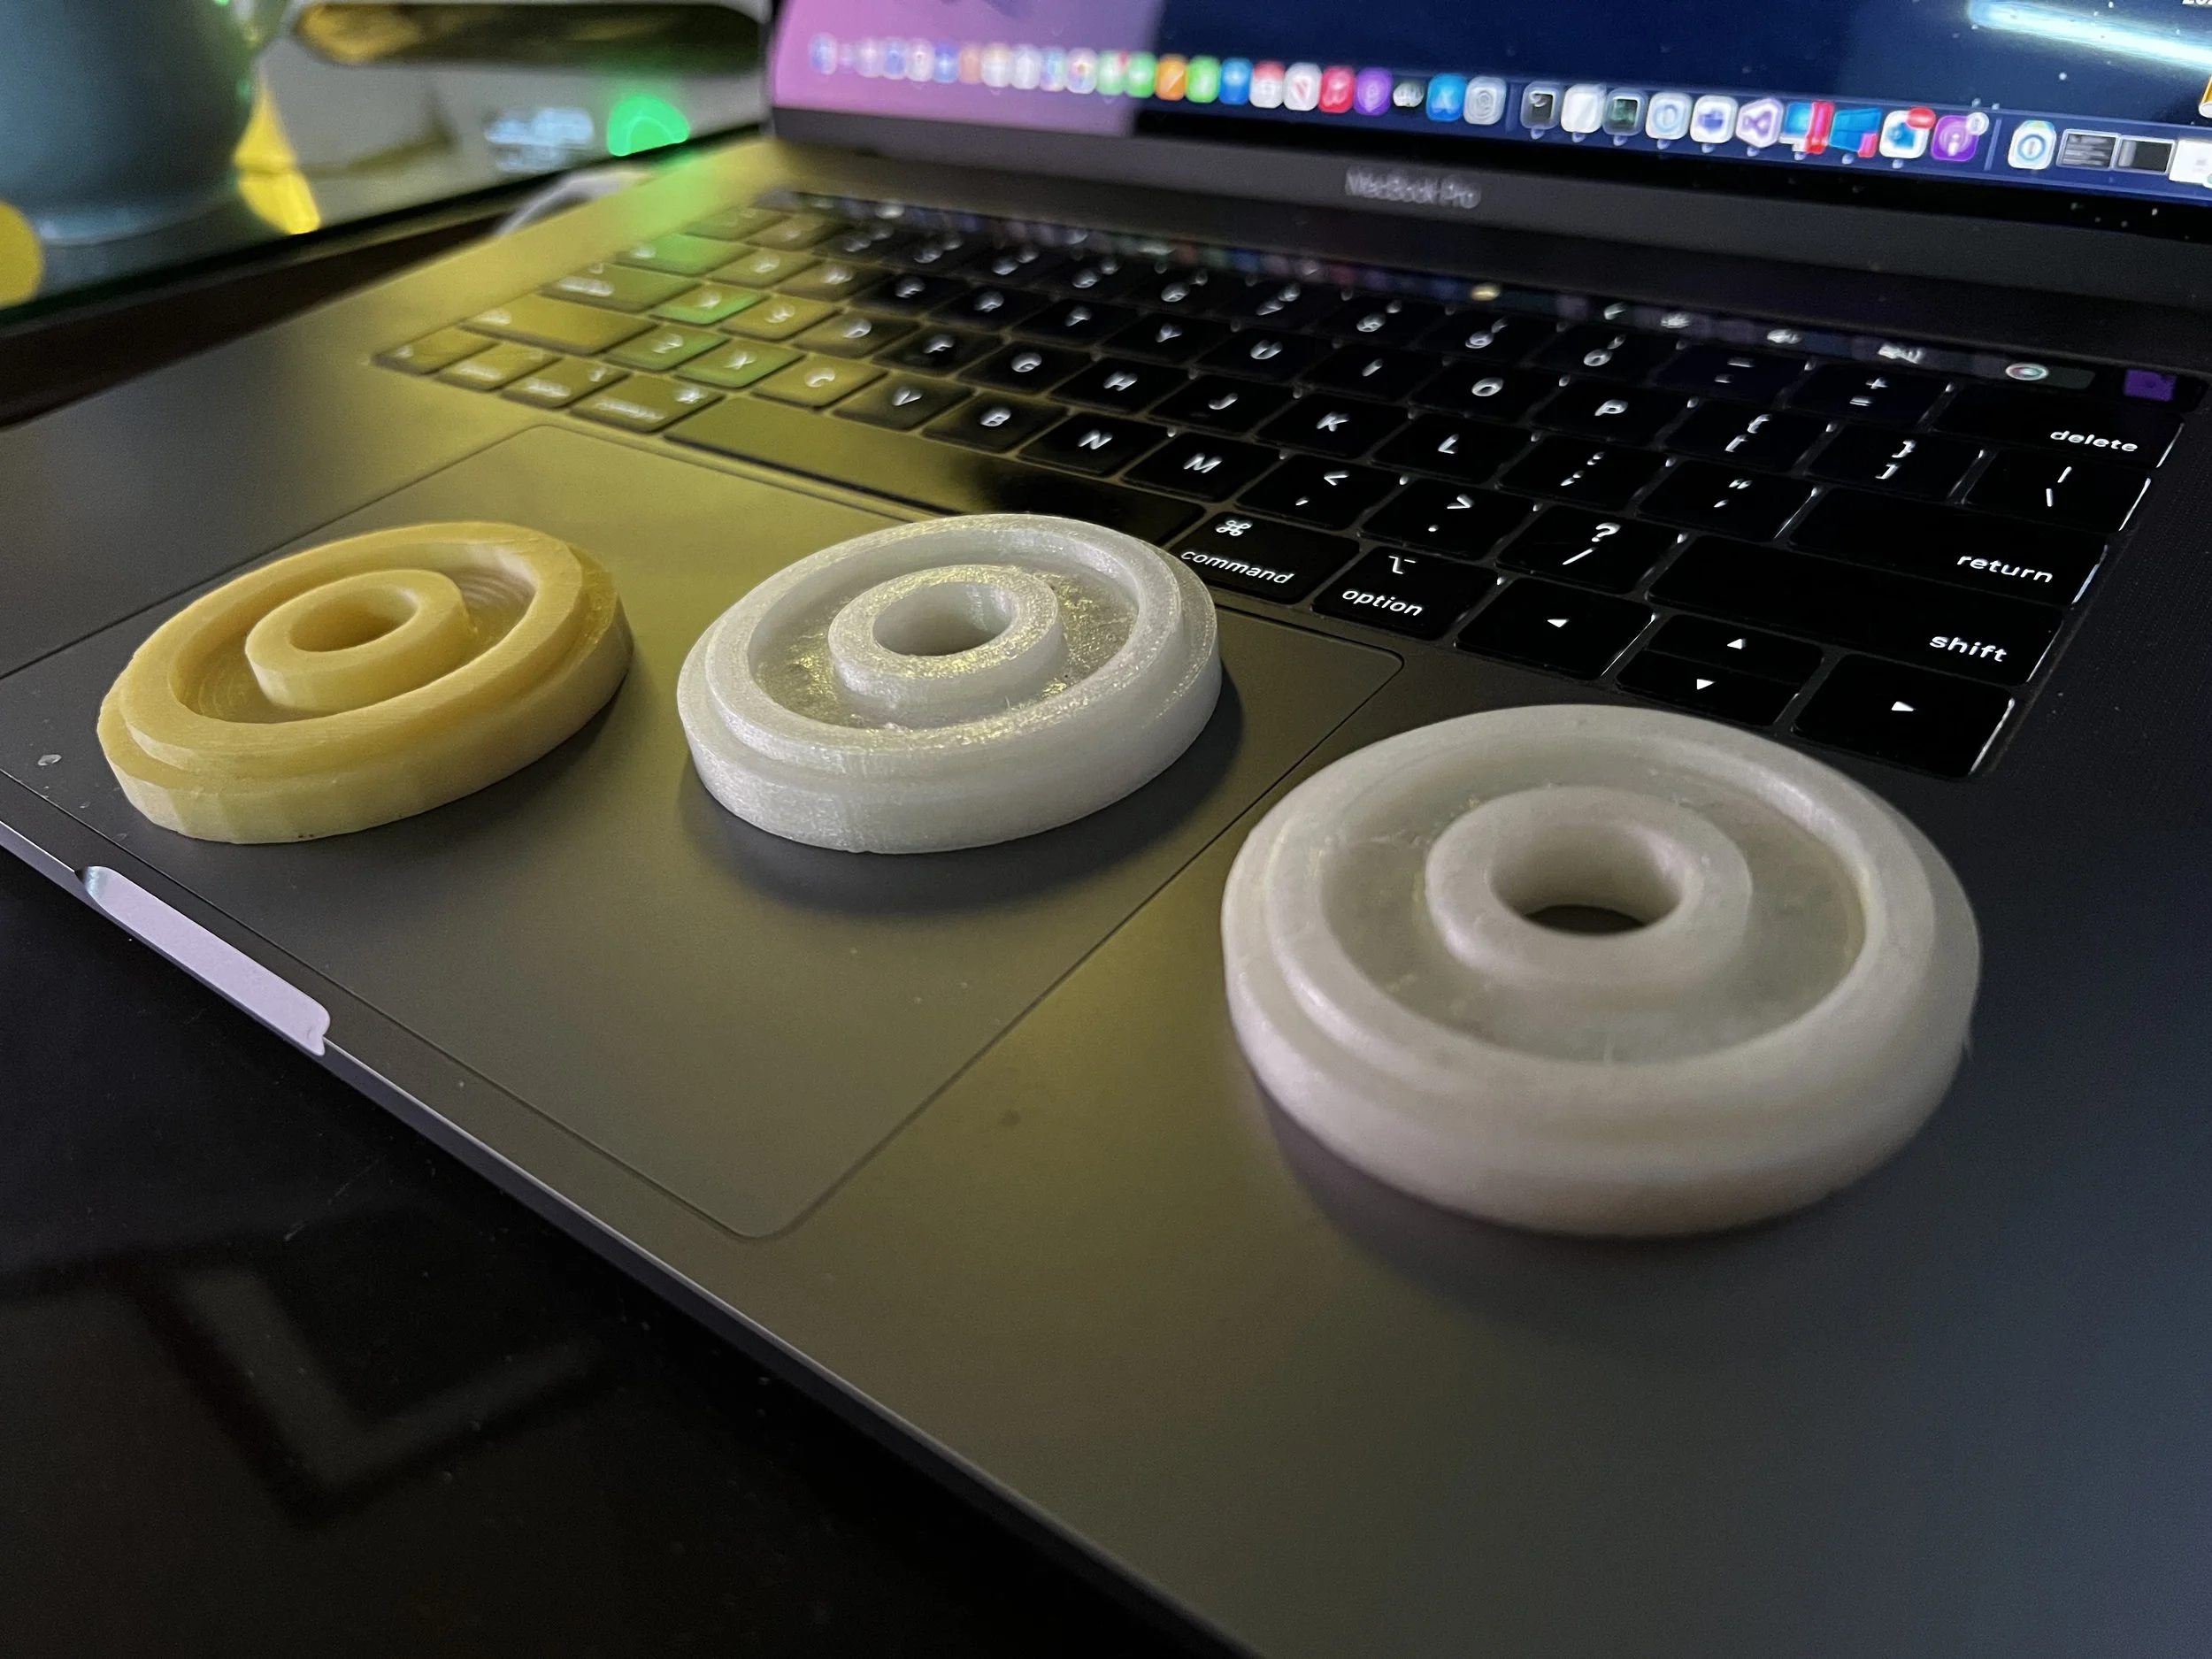
PETG, Face down print - strong but a little stringy on the center cut-out bezel and internal camfer. Doesn’t play well with other materials as a scaffold.
Kodak PLA+. Very ABS-Alike in rigidity and finish, seems to work well enough with PLA or other PLA+ as a scaffold. Less stringy than the PETG. This is what I used in my final parts.
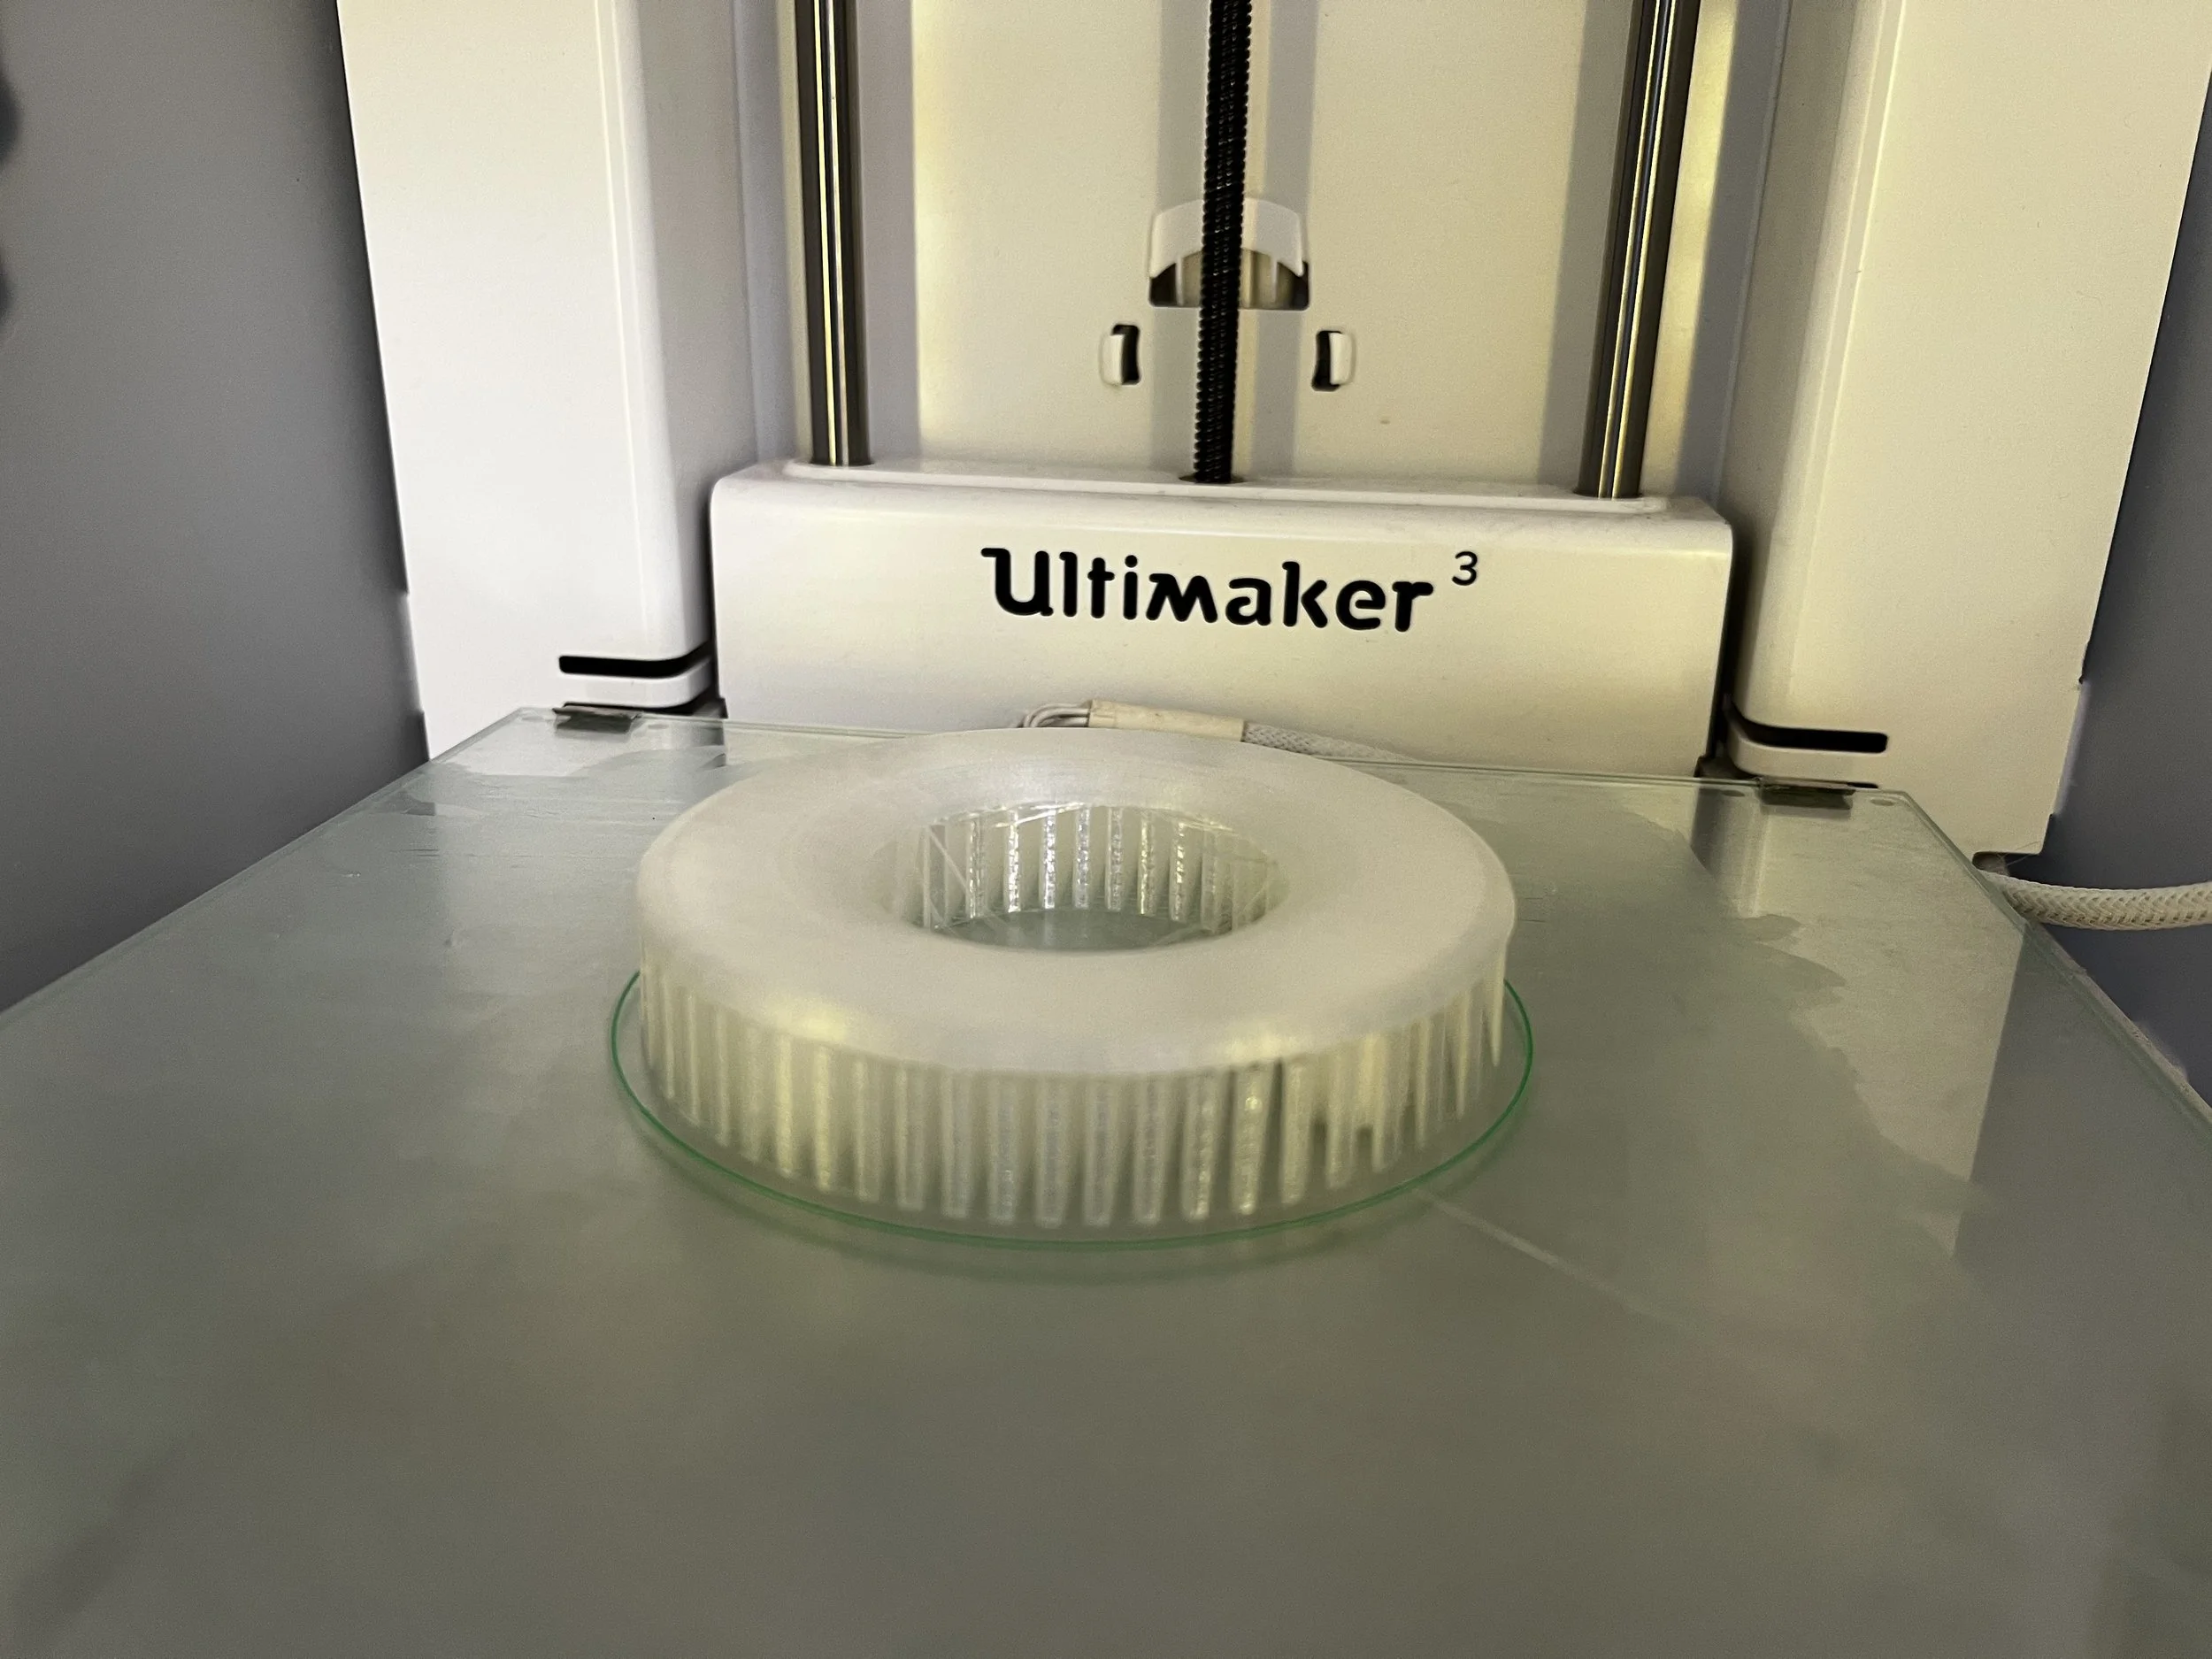
Getting a completely smooth finish out of a filament printer can be pretty tricky. Printed on glass, we tend to get waves from the adhesive substrate or printed with supports at a 180, you can get fine filament lines in the result. I’ve found that if I print it inside a dissolvable scaffold material (like PVA), you can end up with a pretty smooth surface. That is a trade off, though in that PVA doesn’t play nice with all build materials. I’ve also found that some materials (PLA+, ABS) tend to smooth out naturally or the lines are smooth enough that a few coats of paint do nicely to fill the 3d print lines.

The original parts seem to have been Vinyl or Nylon (or something like it) but the way this part is used, really any material will suffice. I’ve tried PLA, PLA+, PETG, Tough PLA and Nylon. Nylon & Tough PLA would be strong enough to drive a small truck over but the extra strength comes with some tradeoffs in getting clean removal of support material, at least with my limited setup.
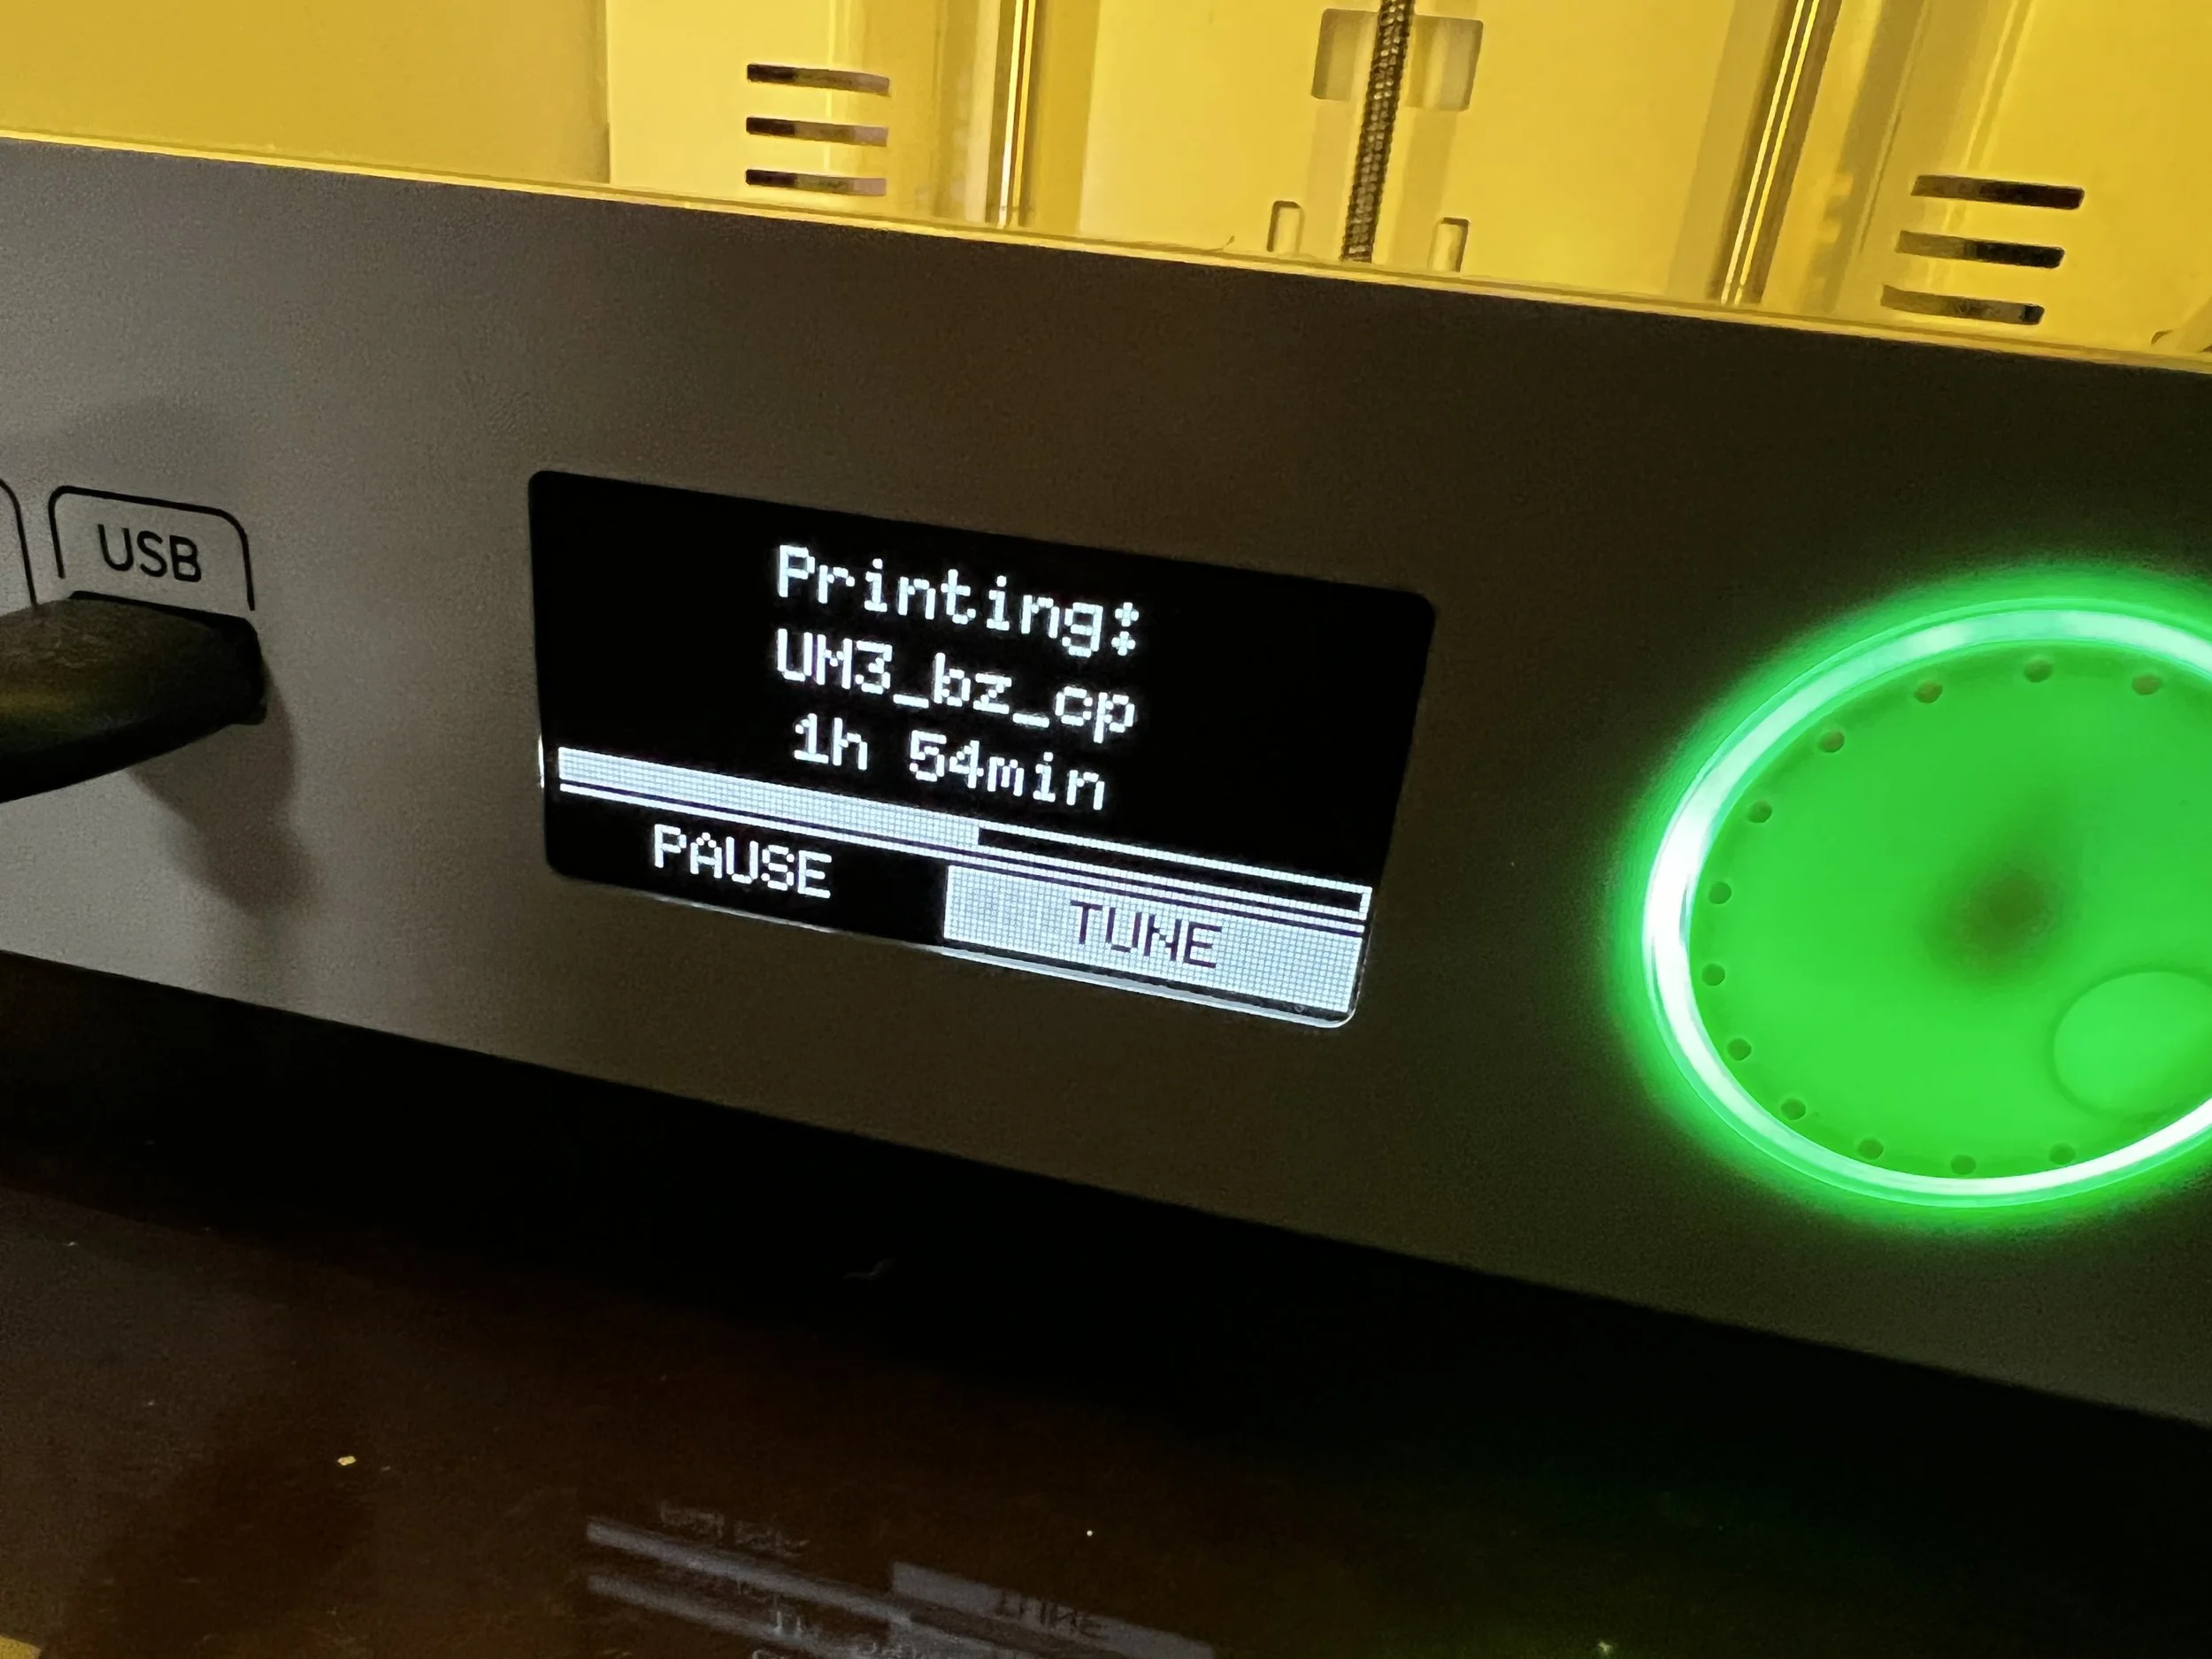
Kodak PLA+ was my favored result considering all things. Material cost comes out to about $2 and a 7 hour print job on my printer.
3d Models for BattleZone parts:
https://www.dropbox.com/sh/lsrehk5g4rfjmxt/AAC1iHikChVlAG6Cj3jABPvta?dl=0