Not a restoration log… Maybe….a player’s revival log?
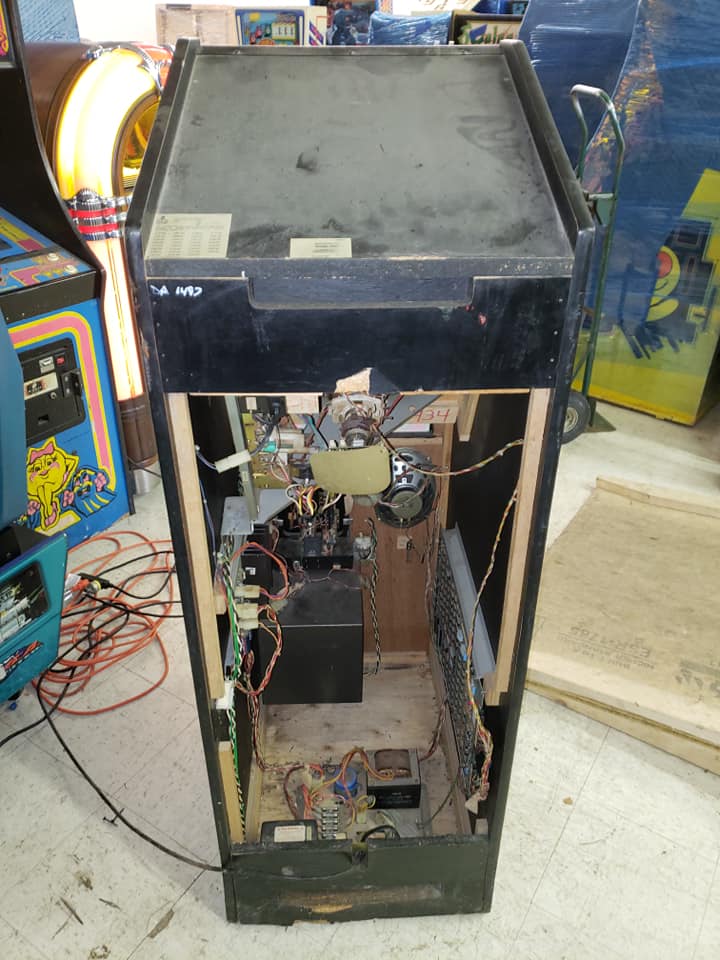
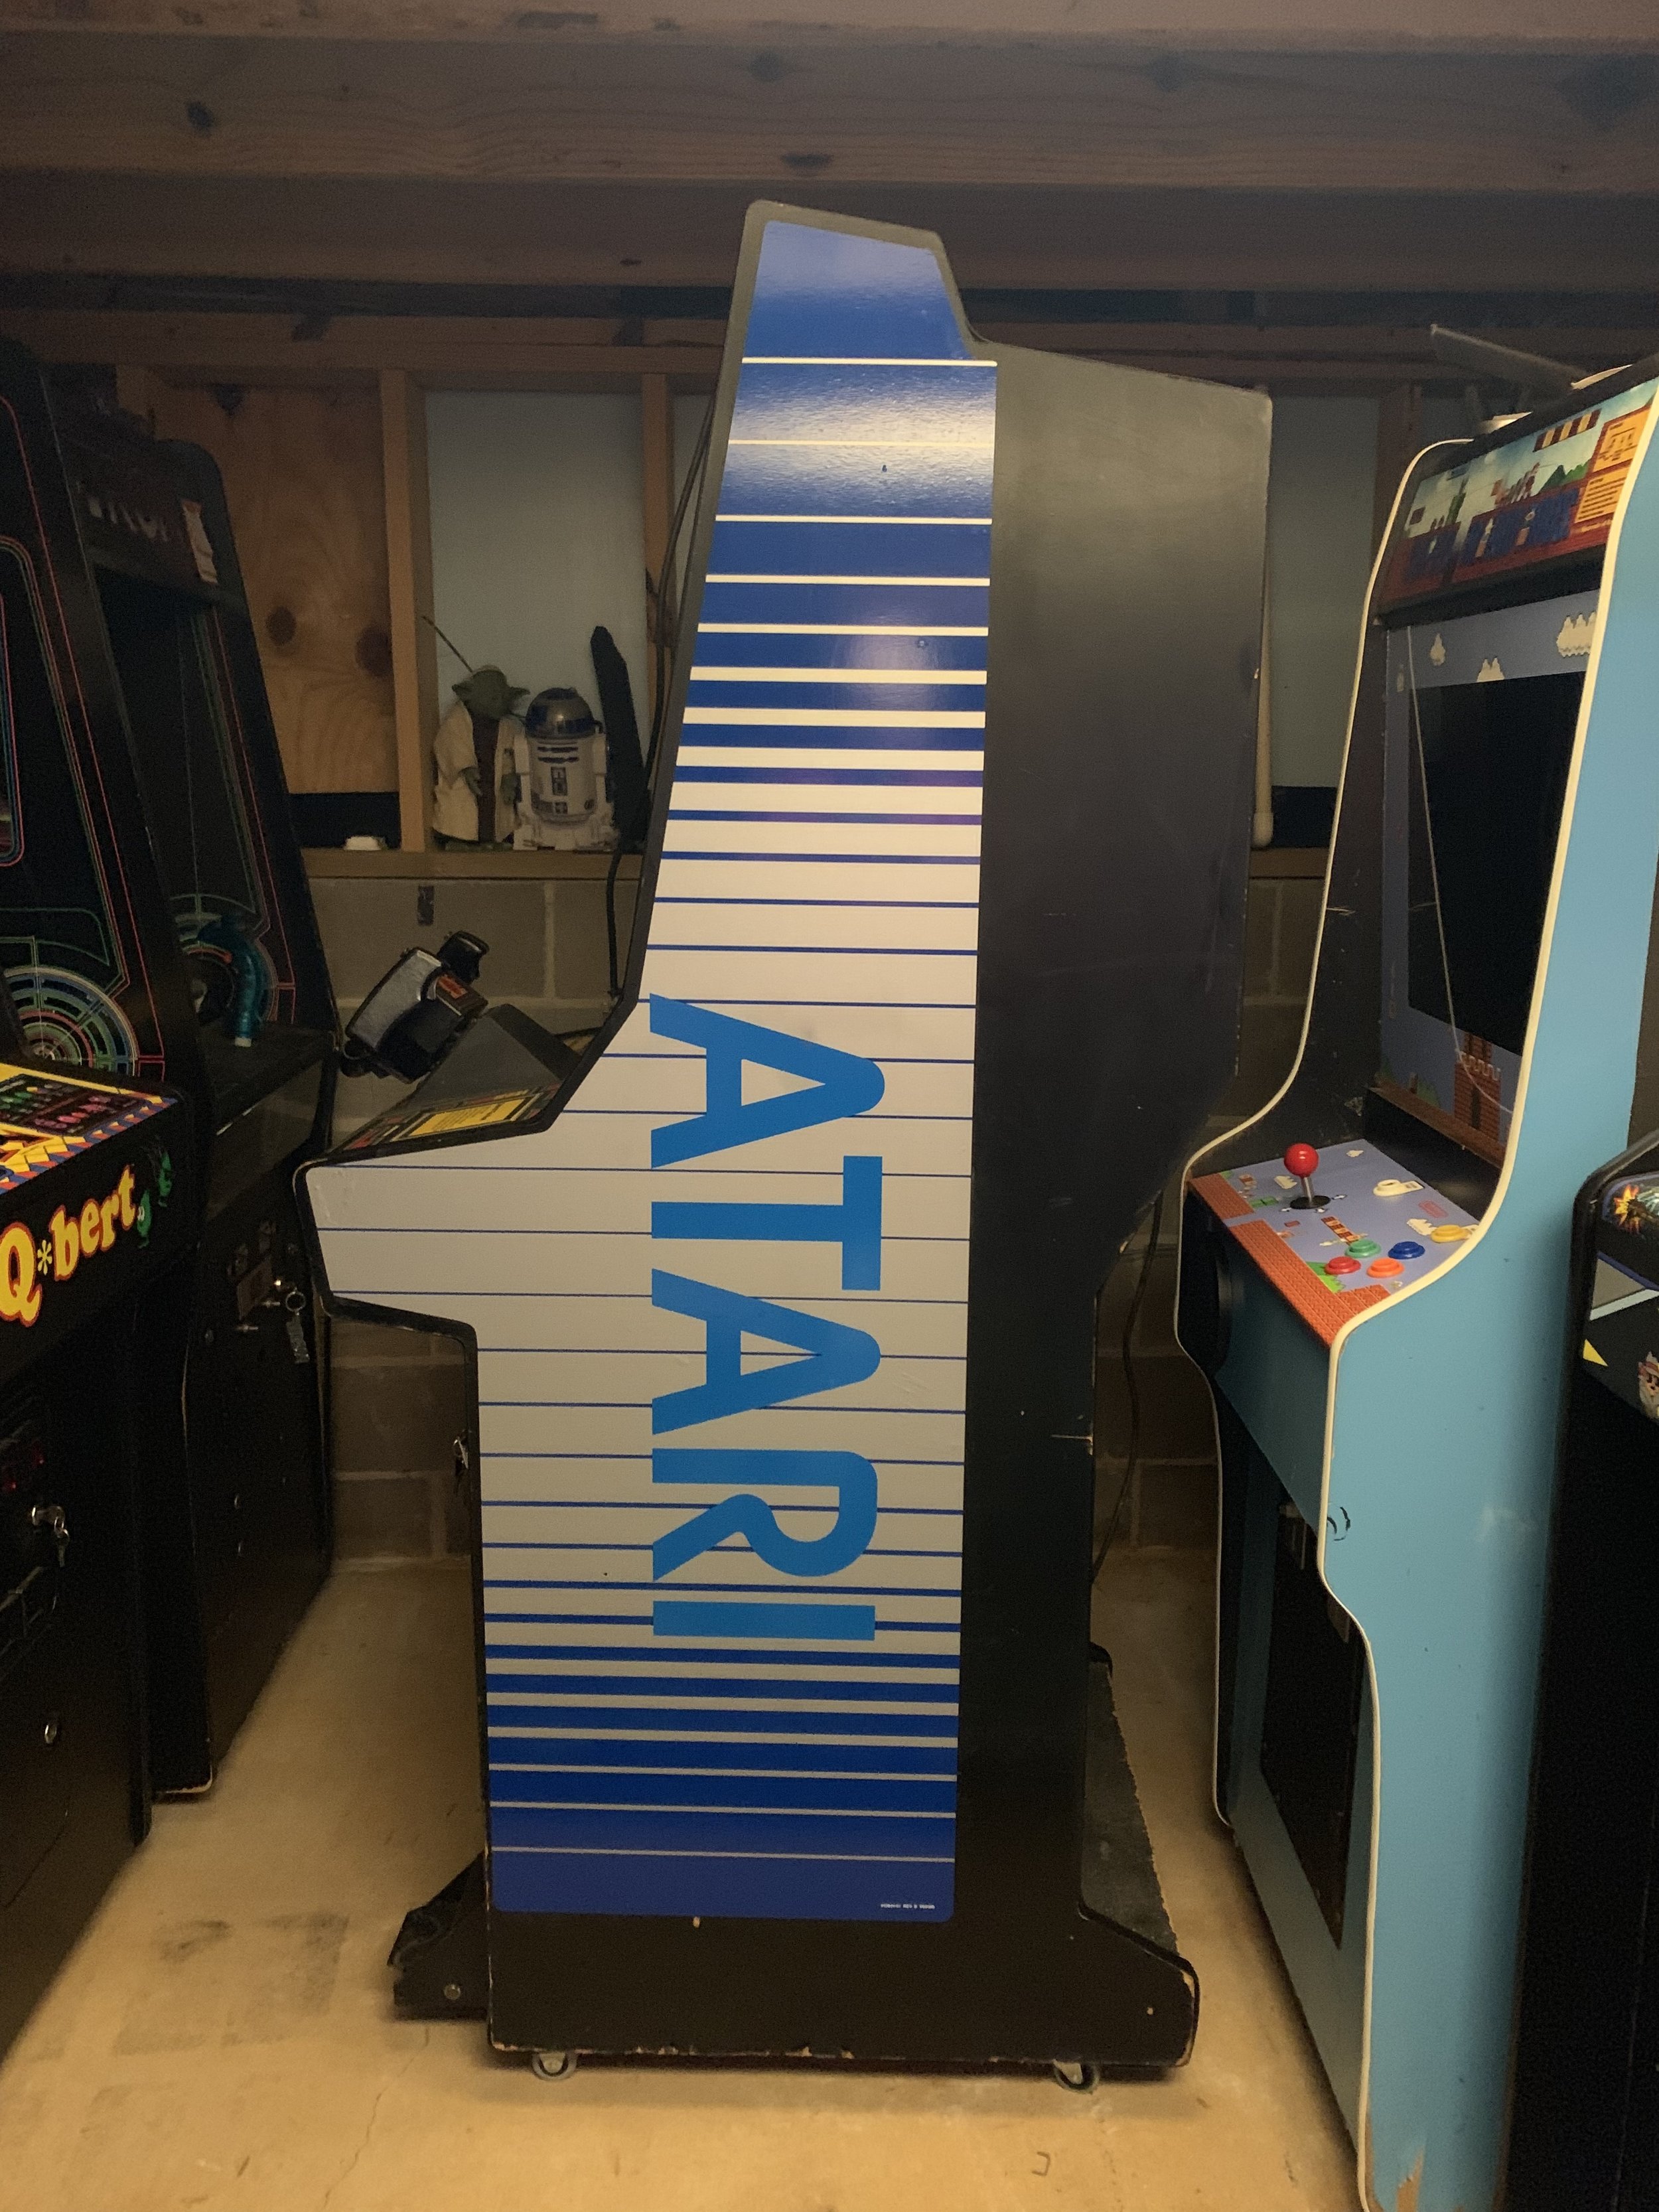
I got my first project cabinet a little over 5 years ago. It was a mostly-empty Nintendo cabinet with no monitor, a non-wide, unpopulated Mario Bros control panel and an incomplete power brick. I wasn’t looking for a project at the time and this one was bound for the landfill before it was diverted to my garage.
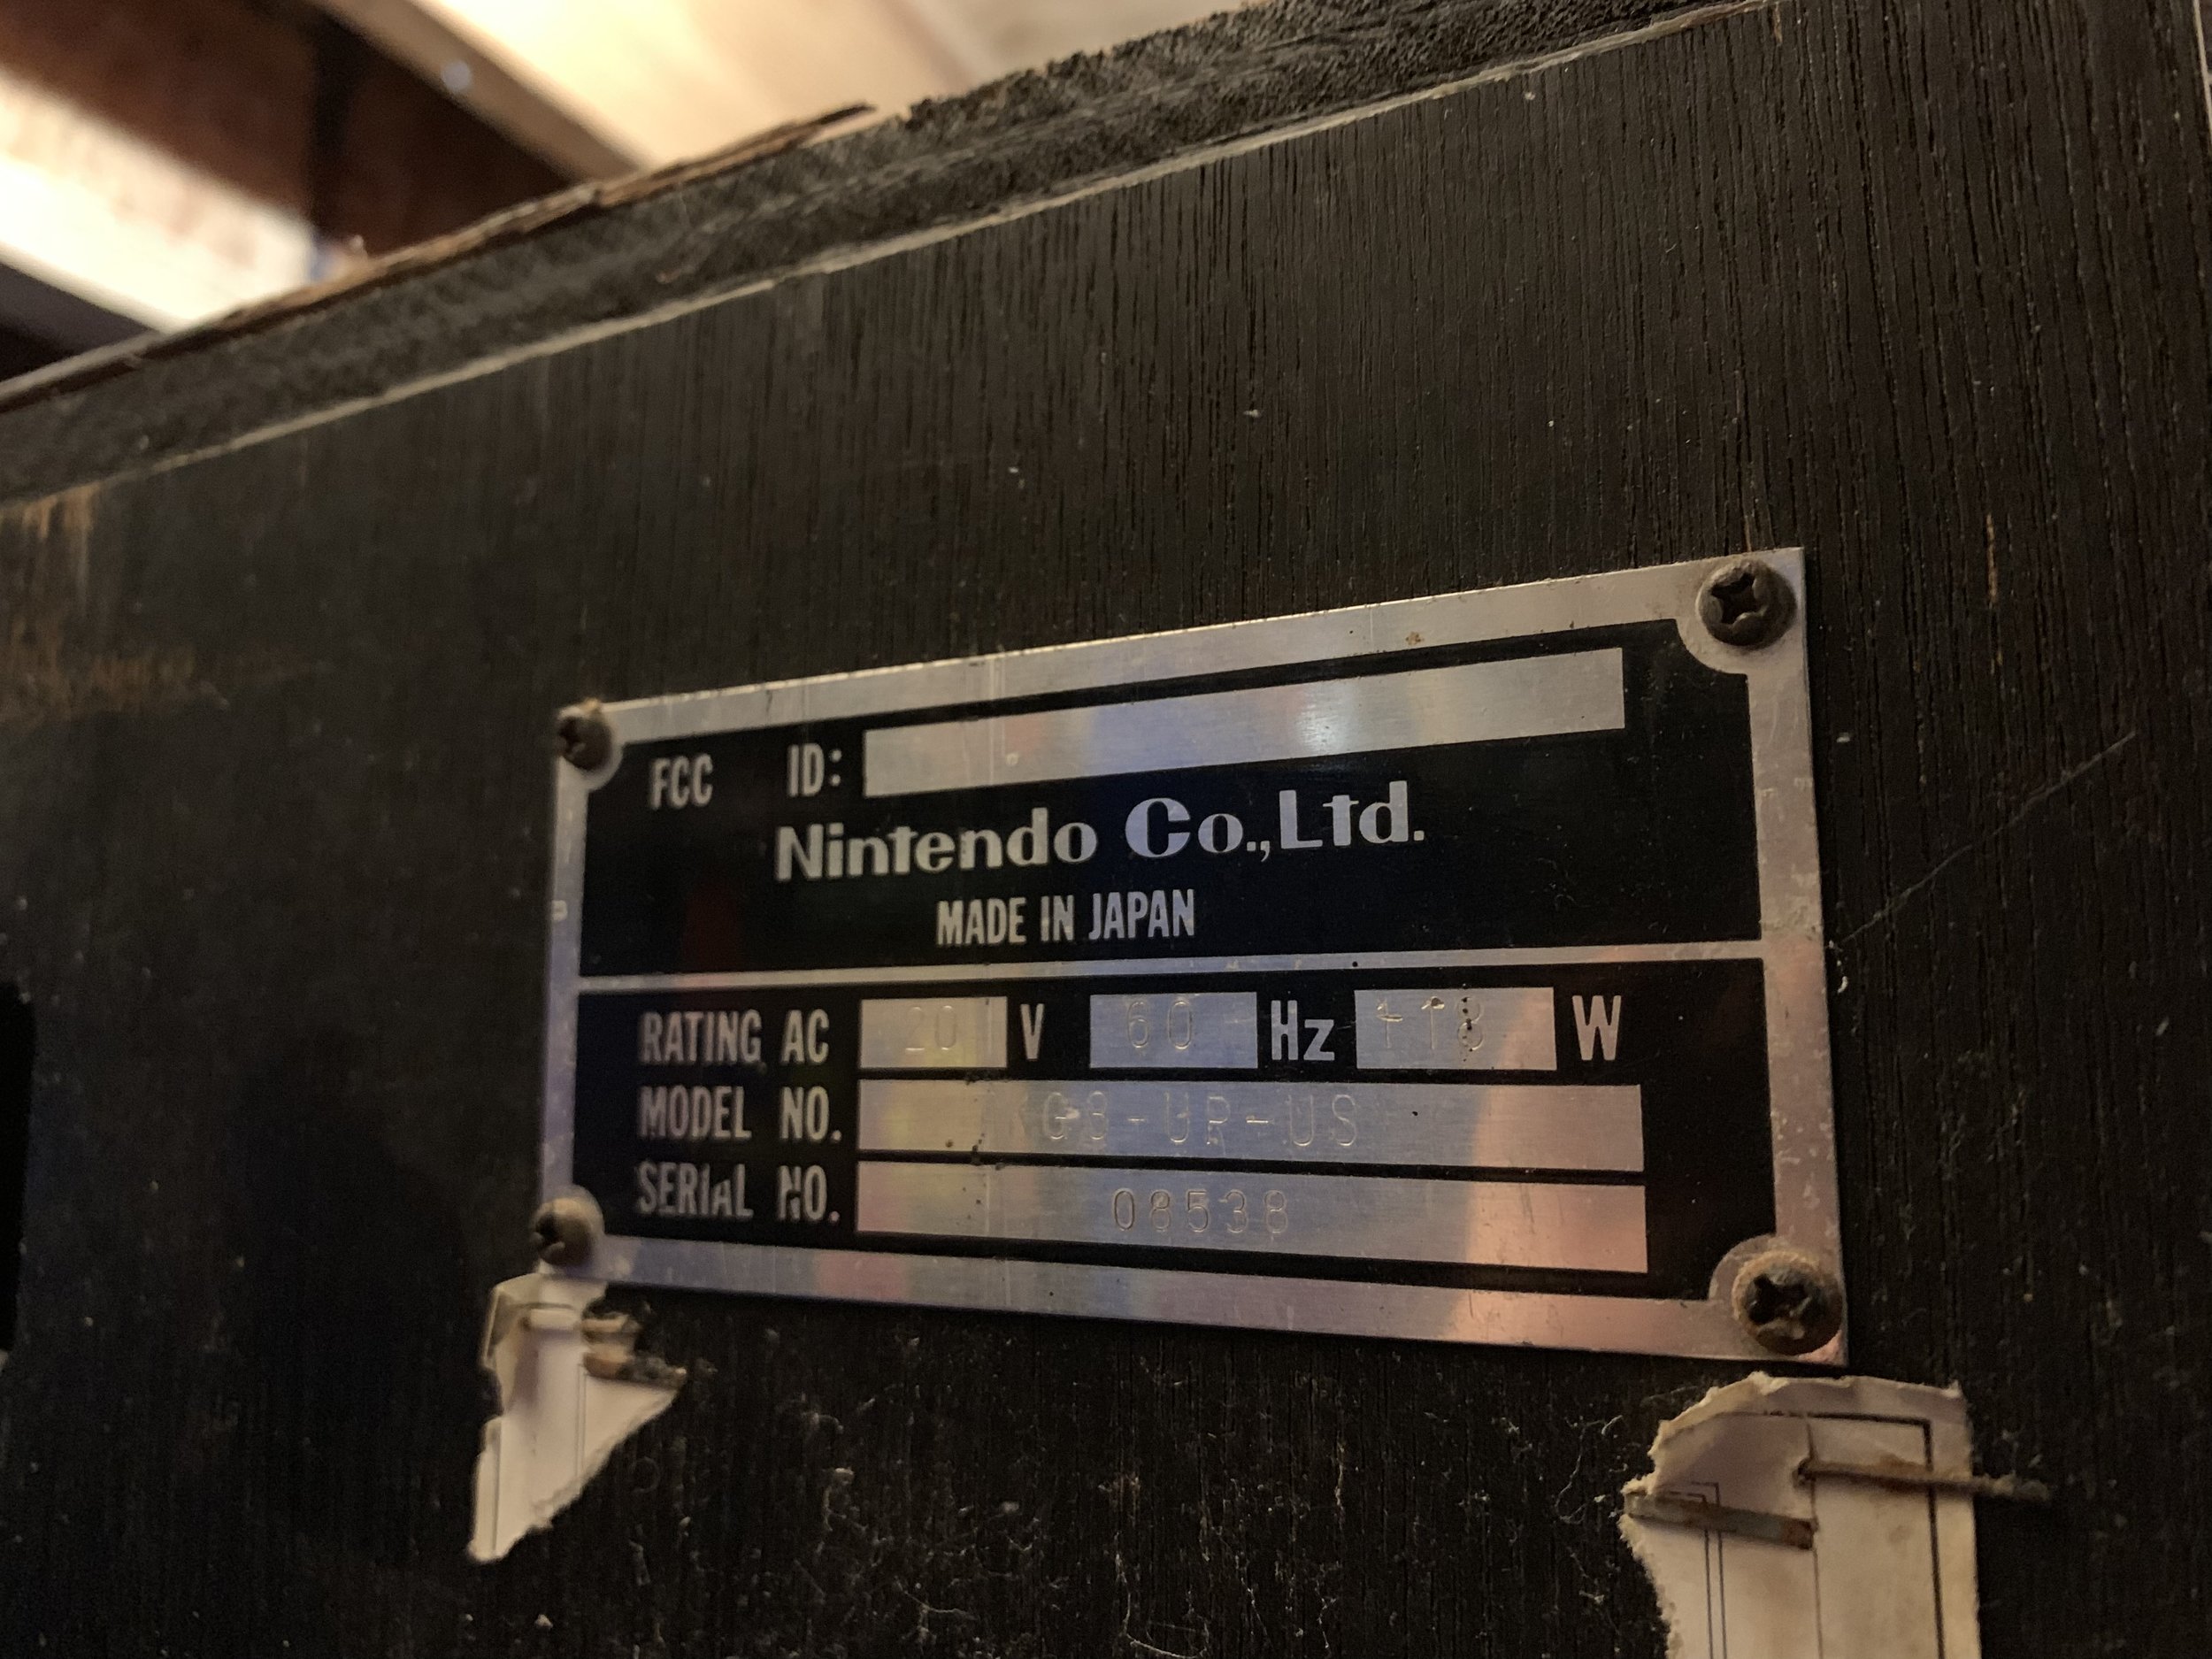
The cabinet was structurally sound - just missing some hard-to-replace stuff and victim to a few cosmetic scrapes and scuffs.
Got Project, Will Derp…
![I was really unprepared and quite green in this hobby. While investigating the power brick’s completeness I almost electrocuted myself and welded kitchen scissors cutting through a cable inside the cabinet while the cabinet was plugged in. [dumbass]](https://images.squarespace-cdn.com/content/v1/53daa276e4b040c0690e1deb/1552914410992-WFKTSY9RMN4YQH01SIZ2/dumb.jpg)
I was really unprepared and quite green in this hobby. While investigating the power brick’s completeness I almost electrocuted myself and welded kitchen scissors cutting through a cable inside the cabinet while the cabinet was plugged in. [dumbass]
Knowing I was short on available time (and frankly out of my league) I ended up slapping in an old Dell Optiplex tower running WinXP & Hyperspin.
Looking back, I think getting Hyperspin “just right” took more time than a full DK restore would have…
..and for years, that is how I left the cabinet. Mostly, people playing NES/SNES emulation and limited MAME on Hyperspin.
Two DK’s
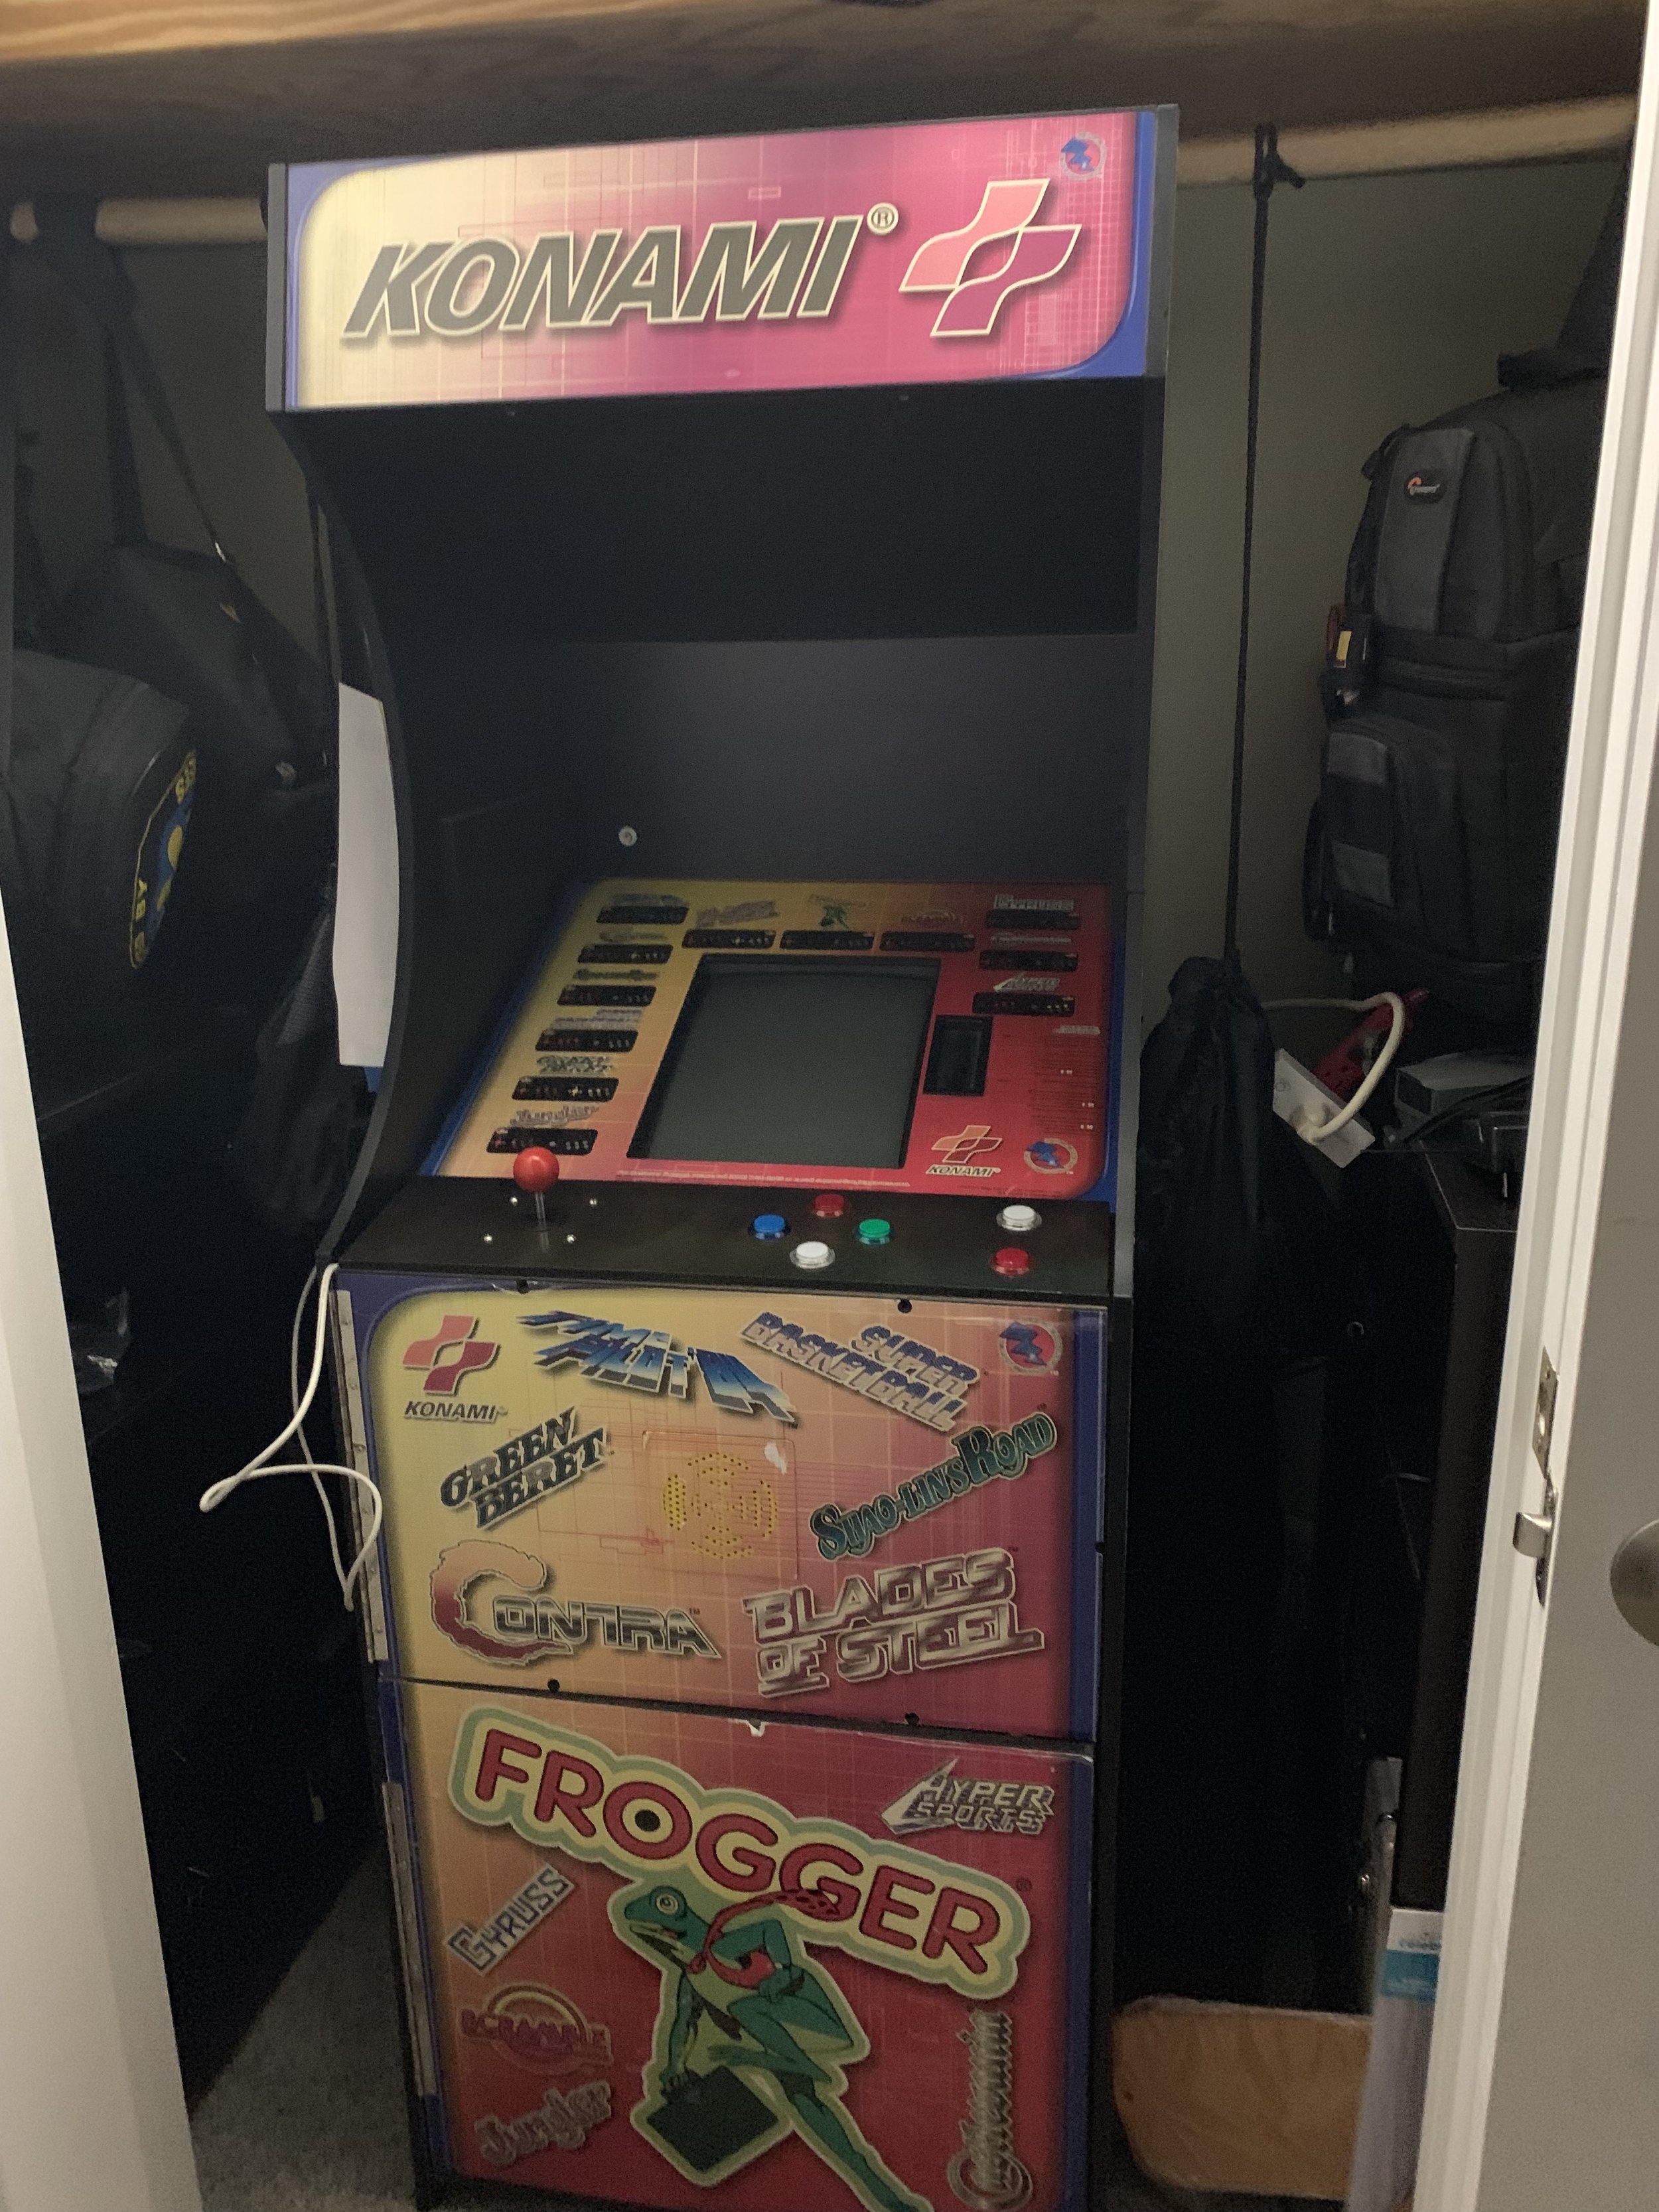
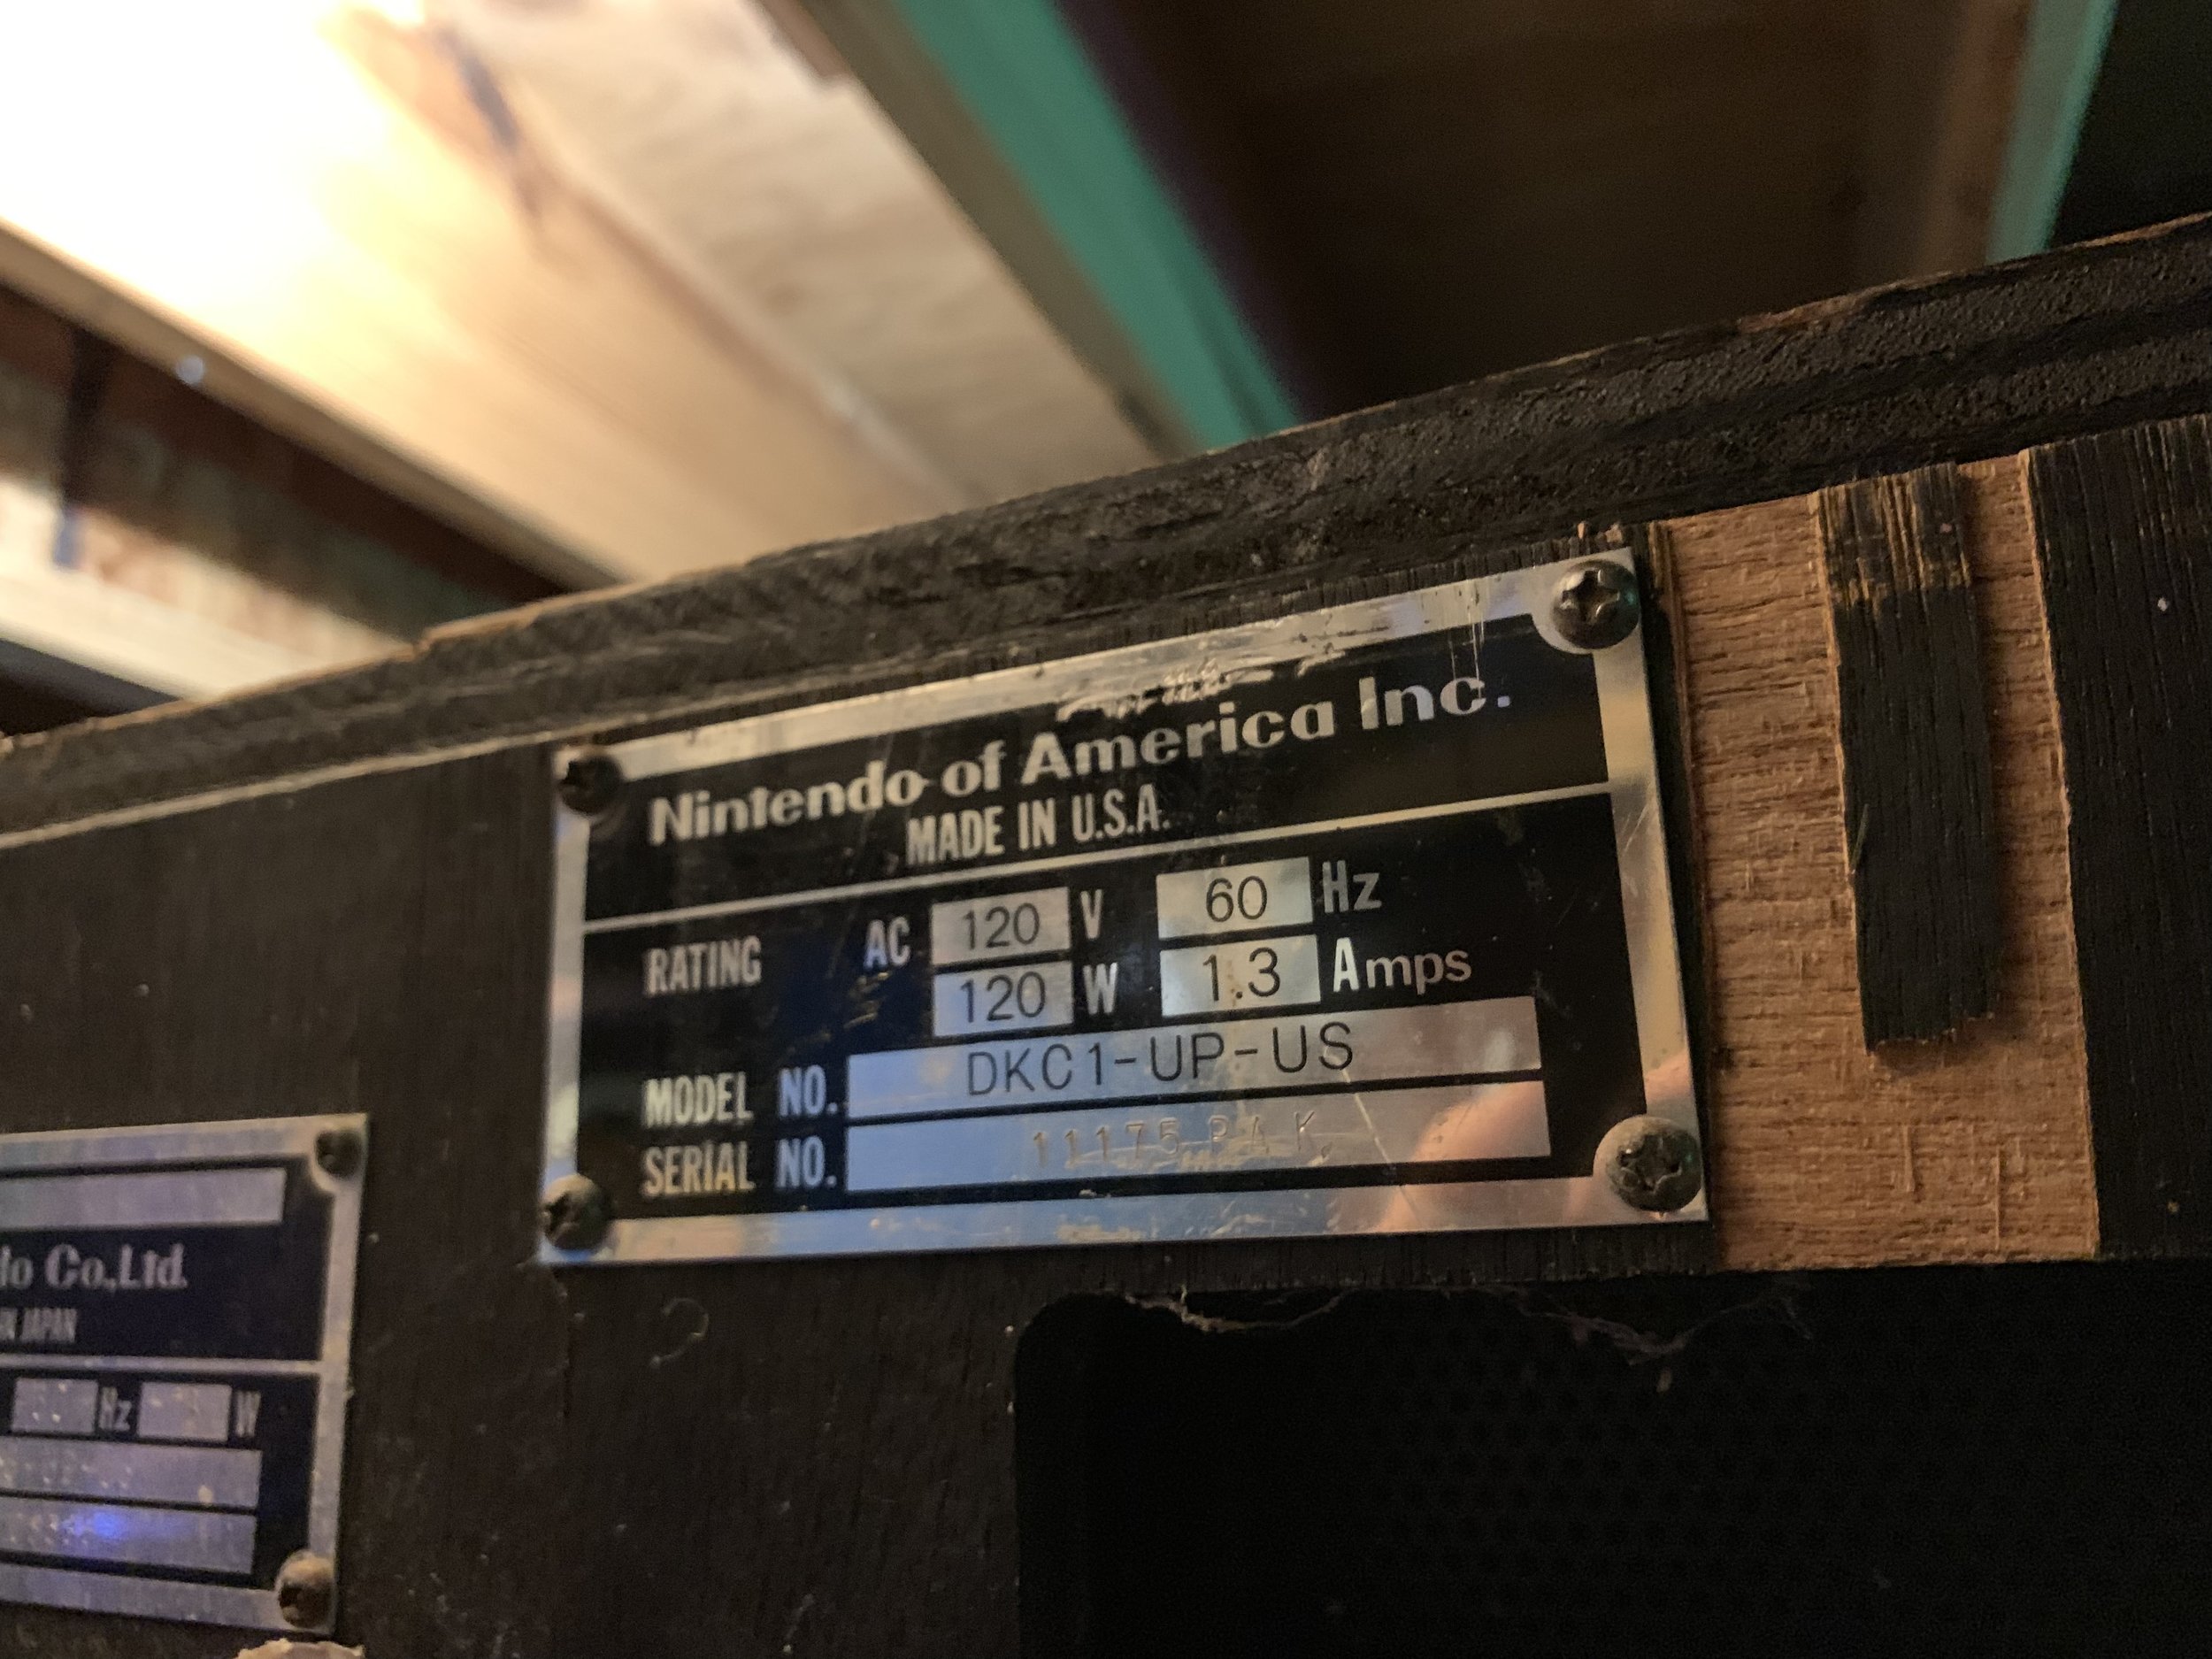
In 2015, I ended up getting a complete but not working Donkey Kong. Still mostly punching out of my educational-weight-class, I bought it thinking it was a really-nice original cabinet. It had a 2-board boardset with a Nintendo logo silk-screened on the board, after all…
Over time, the fog of derpy-ness lifted somewhat and I discovered that the second cabinet was an ArcadeShop remake. ArcadeShop circa 2005-2010 sold these complete DK’s running DK boards in remade cabinets with a K7200/K7300 monitor (not the Sanyo EZ), a JAMMA harness and DKJamma adaptor.
The cabinets were really nice. The controls were a little generic but felt good. Nice & clean modern power supply. The only downside I could see was the blue on the cabinet was a big decal, not a real (thicker) laminate. Of course, you aren’t going to qualify for any world-record play on these cabinets but they were super nice, in all.
FWIW, Arcade Shop in 2019 still sells a hella-nice DK repro cabinet: http://www.arcadeshop.com/i/968/donkey-kong-upright-new.htm
I’m told that item picture is dated and they now have the full-laminate treatment now with speaker slats instead of the black speaker cover. Unfortunately, CRT’s are all gone so that kit includes an LCD.
At this point in the story, I had two blue Nintendo cabinets. One as a DK-Restoration in waiting with the Hyperspin set up and another with the reproduction JAMMA-fied cabinet.
I decided it was time to finally give the DK project some time.
DK Sit-Rep
I decided to let the perfectly-fine repro cabinet go to a friend, in service of Gameroom - cabinet density and as a mind-hack to start the timer on getting my other cabinet restored. Good friend gets a good game for a good price and I get a free-machine slot to work with, everyone wins.
My intention was to eventually use the DK cabinet for an OCD-level restoration. Re-laminate the sides, acquire some DK boards and wiring harness, power and the Sanyo EZ. Get an original control panel and restore it…
cha-ching, cha-ching, cha-ching (cash register sounds)
Donkey Kong is a $800-$1200 game. You can buy a nicely restored one for $1200 or you can buy one with authentic battle damage for $800. You … might… be able to buy something totally abused for less or you might be able to abuse your own character with an uneducated seller and offer more. They made ~80,000 of them.
If I go through the OCD restore, I’m going to be $2000 in parts alone and some of those parts are going to be tricky to get without buying another populated cabinet and furthering my DK-Gameroom-Density problem.

This is where the current (high) pricing on parts and games seems to really screw me on this. For the full restore I’d have > $2000 and countless hours in cabinet prep and rejuvenation….
All that I really want… is to have a good-enough looking cabinet, something that plays really well and looks original or original-adjacent.
I’d like to keep the price down b/c I tend to drop more in games than I sell them for.. Like the Star Wars Trilogy I essentially gave away last year..
If I keep that crap up, I’ll qualify for a 503c charity.
Also, to complicate things I find myself with a stash of NIB burn-free G07-compatible Korean-made pristine 19” CRT monitors w/ Samsung tubes. Well.. a modest stack of them, anyway. Do I really want to go pay an arm, leg and first-born for someone’s Sanyo EZ for the sake of originality alone?
Practicality > OCD
My success parameters are:
A game that works
A game that uses a CRT
A game that looks good & doesn’t smell like a dying animal
Play more Donkey Kong, become a better player
My rules of engagement are:
No 60-in-1’s
Don’t spend more than a DK should cost
No 60-in-1’s
Less than 40 hours of precious-fleeting night and weekend time
No 60-in-1’s
Decision Time

Instead of going with a Sanyo EZ, I decided to use one of my spare CRT’s.
On the upside, this decouples me from the weird 100V stepdown stuff and the need to work with a Sanyo EZ restoration and I get to use one of my stockpile.
On the downside, it sort of informs the rest of the build. We’ll be going with JAMMA and a modern switching power supply..
Also downside, these are all horizontal frames, so I committed to a chassis-frame transplant as part of that decsion.

On thing that I didn’t mind splurging on…. The Control Panel. I wanted it to “feel” right from the player’s perspective.
I decided to go w/ a repro control panel from Mikes Arcade, a little pricey but includes a reproduction TKGU-23-50 joystick and a more appropriate button setup than the direct-click generic buttons you often see.

As a time and sanity savor, ArcadeShop sells a really well-built JAMMA harness that is nicely labeled and includes a reasonable set of connectors that are pre-installed and wire-management tabs for inside the cabinet..
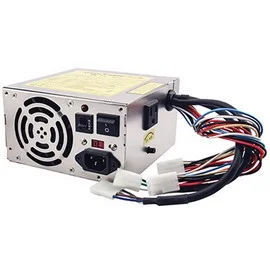
They also sell a pretty bitchin’ little 20amp ATX-like power supply with matching connectors & flexible switching capabilities.
Not the cheapest offering for either but I’ve been running one of these power supplies for 3 years without issue in another game. The JAMMA Harness is a huge time saver and promotes some tidy habits in the game, also reducing the likelihood of a stalled project while I pay $10 in shipping for $.75c in connectors because of a shortage in my parts bins.

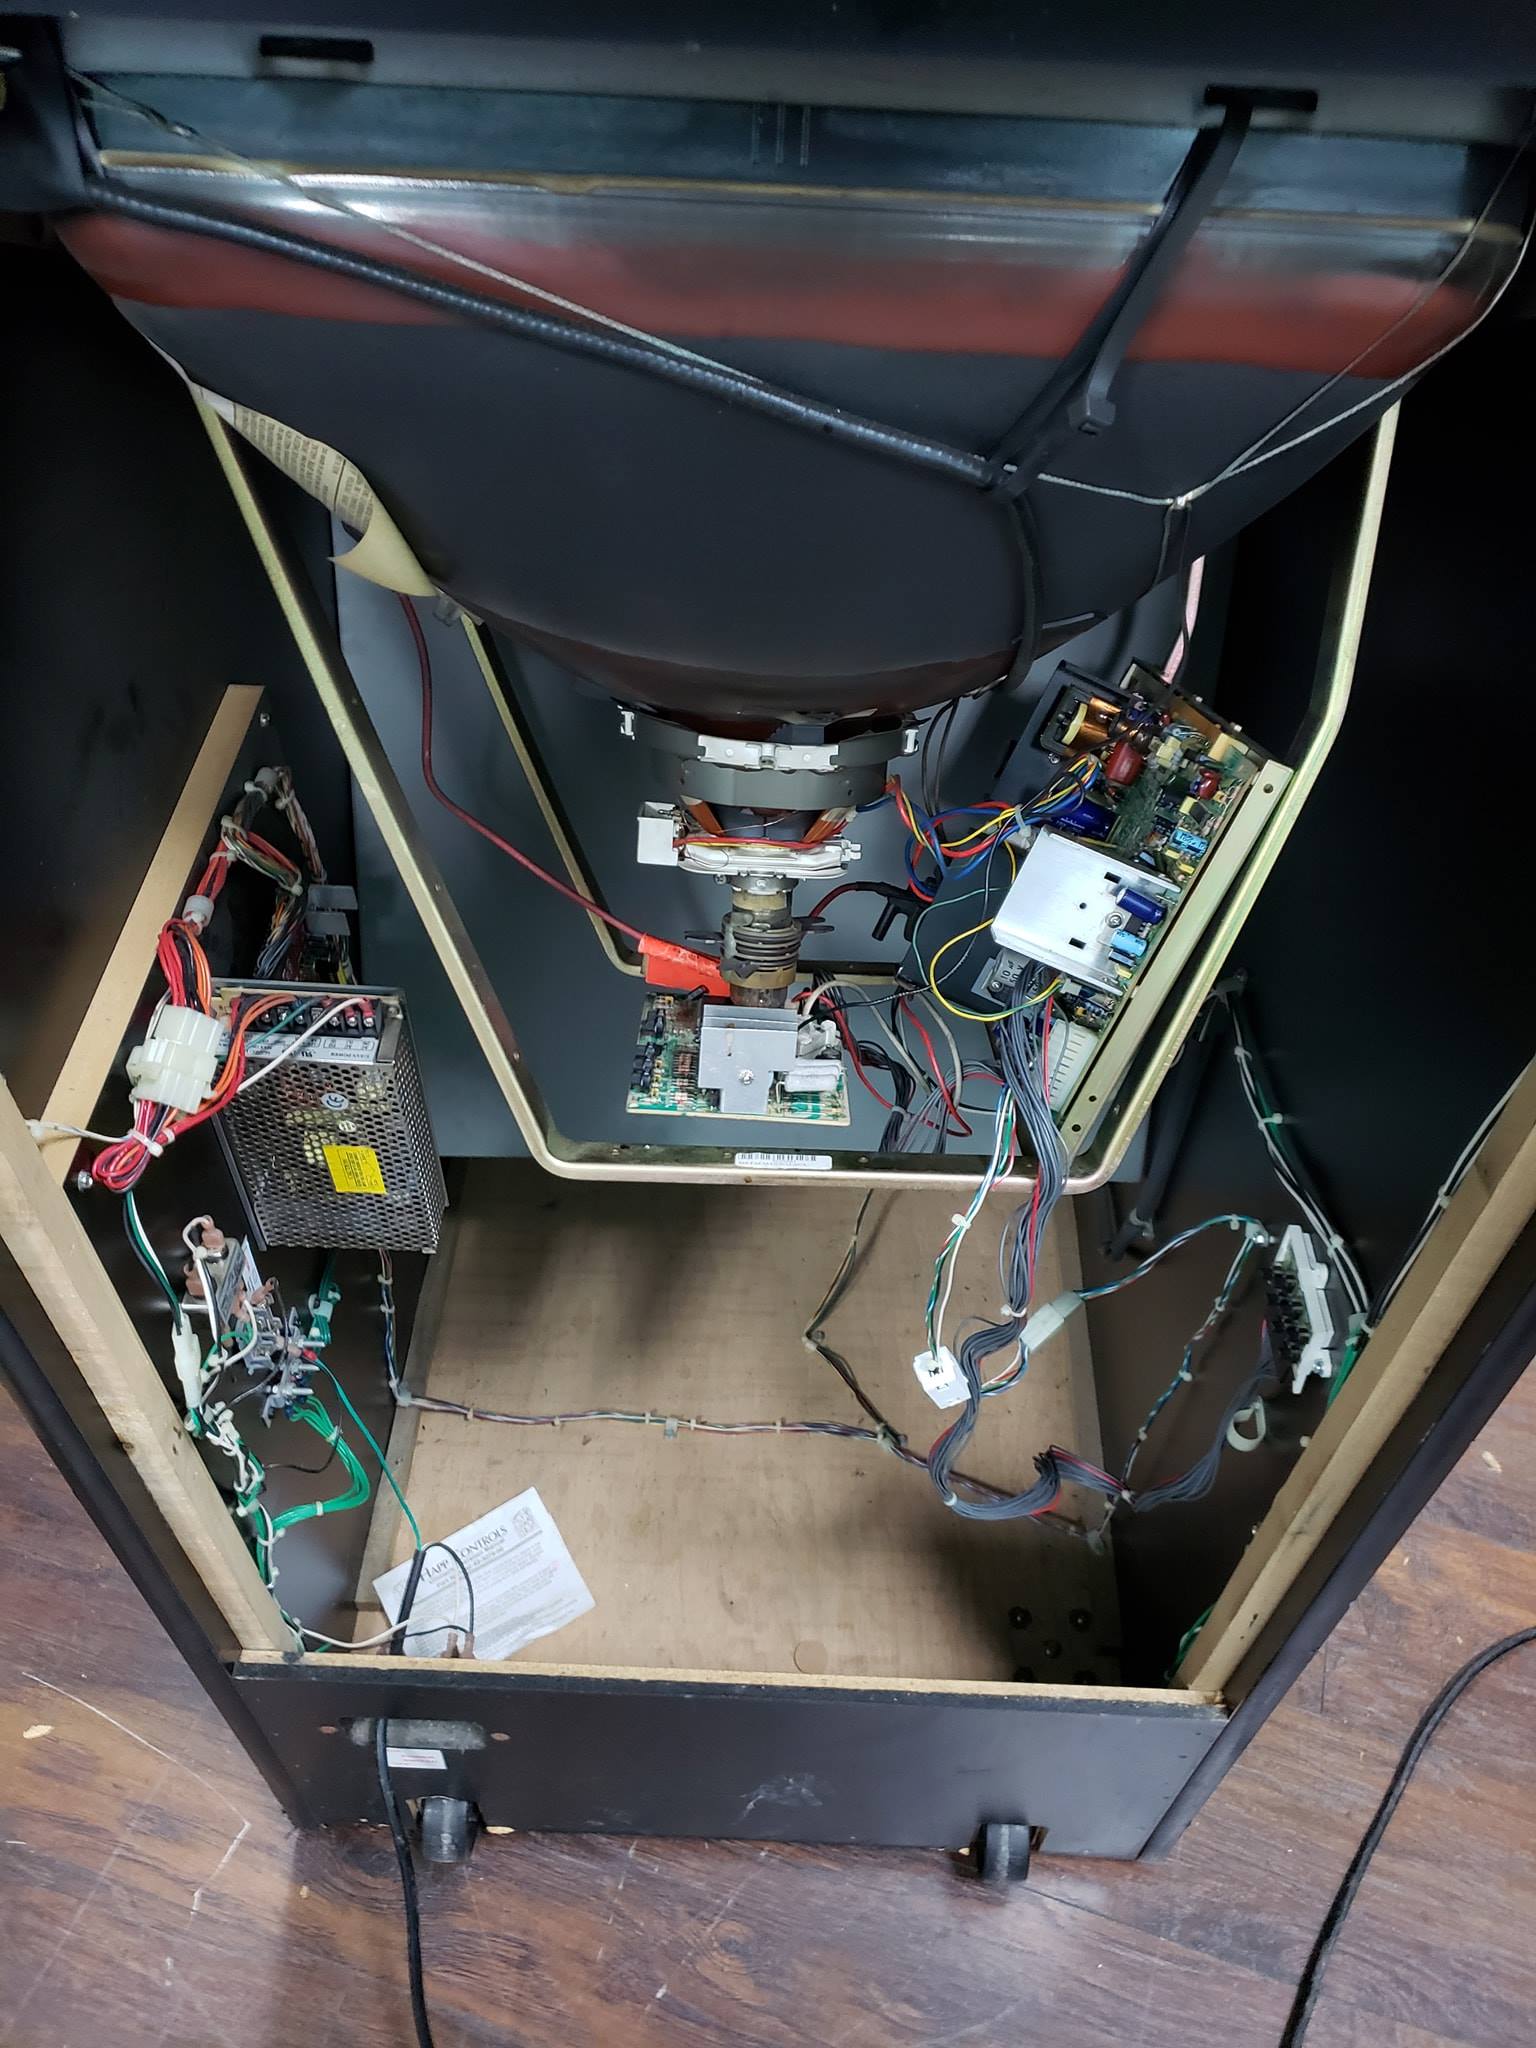
Monitor and power supply during the install.
I had to make some slight adjustments (drill new holes) to get a repro upper monitor mount to fit with this not-from-a-DK monitor frame. Nothing too nutty, though.
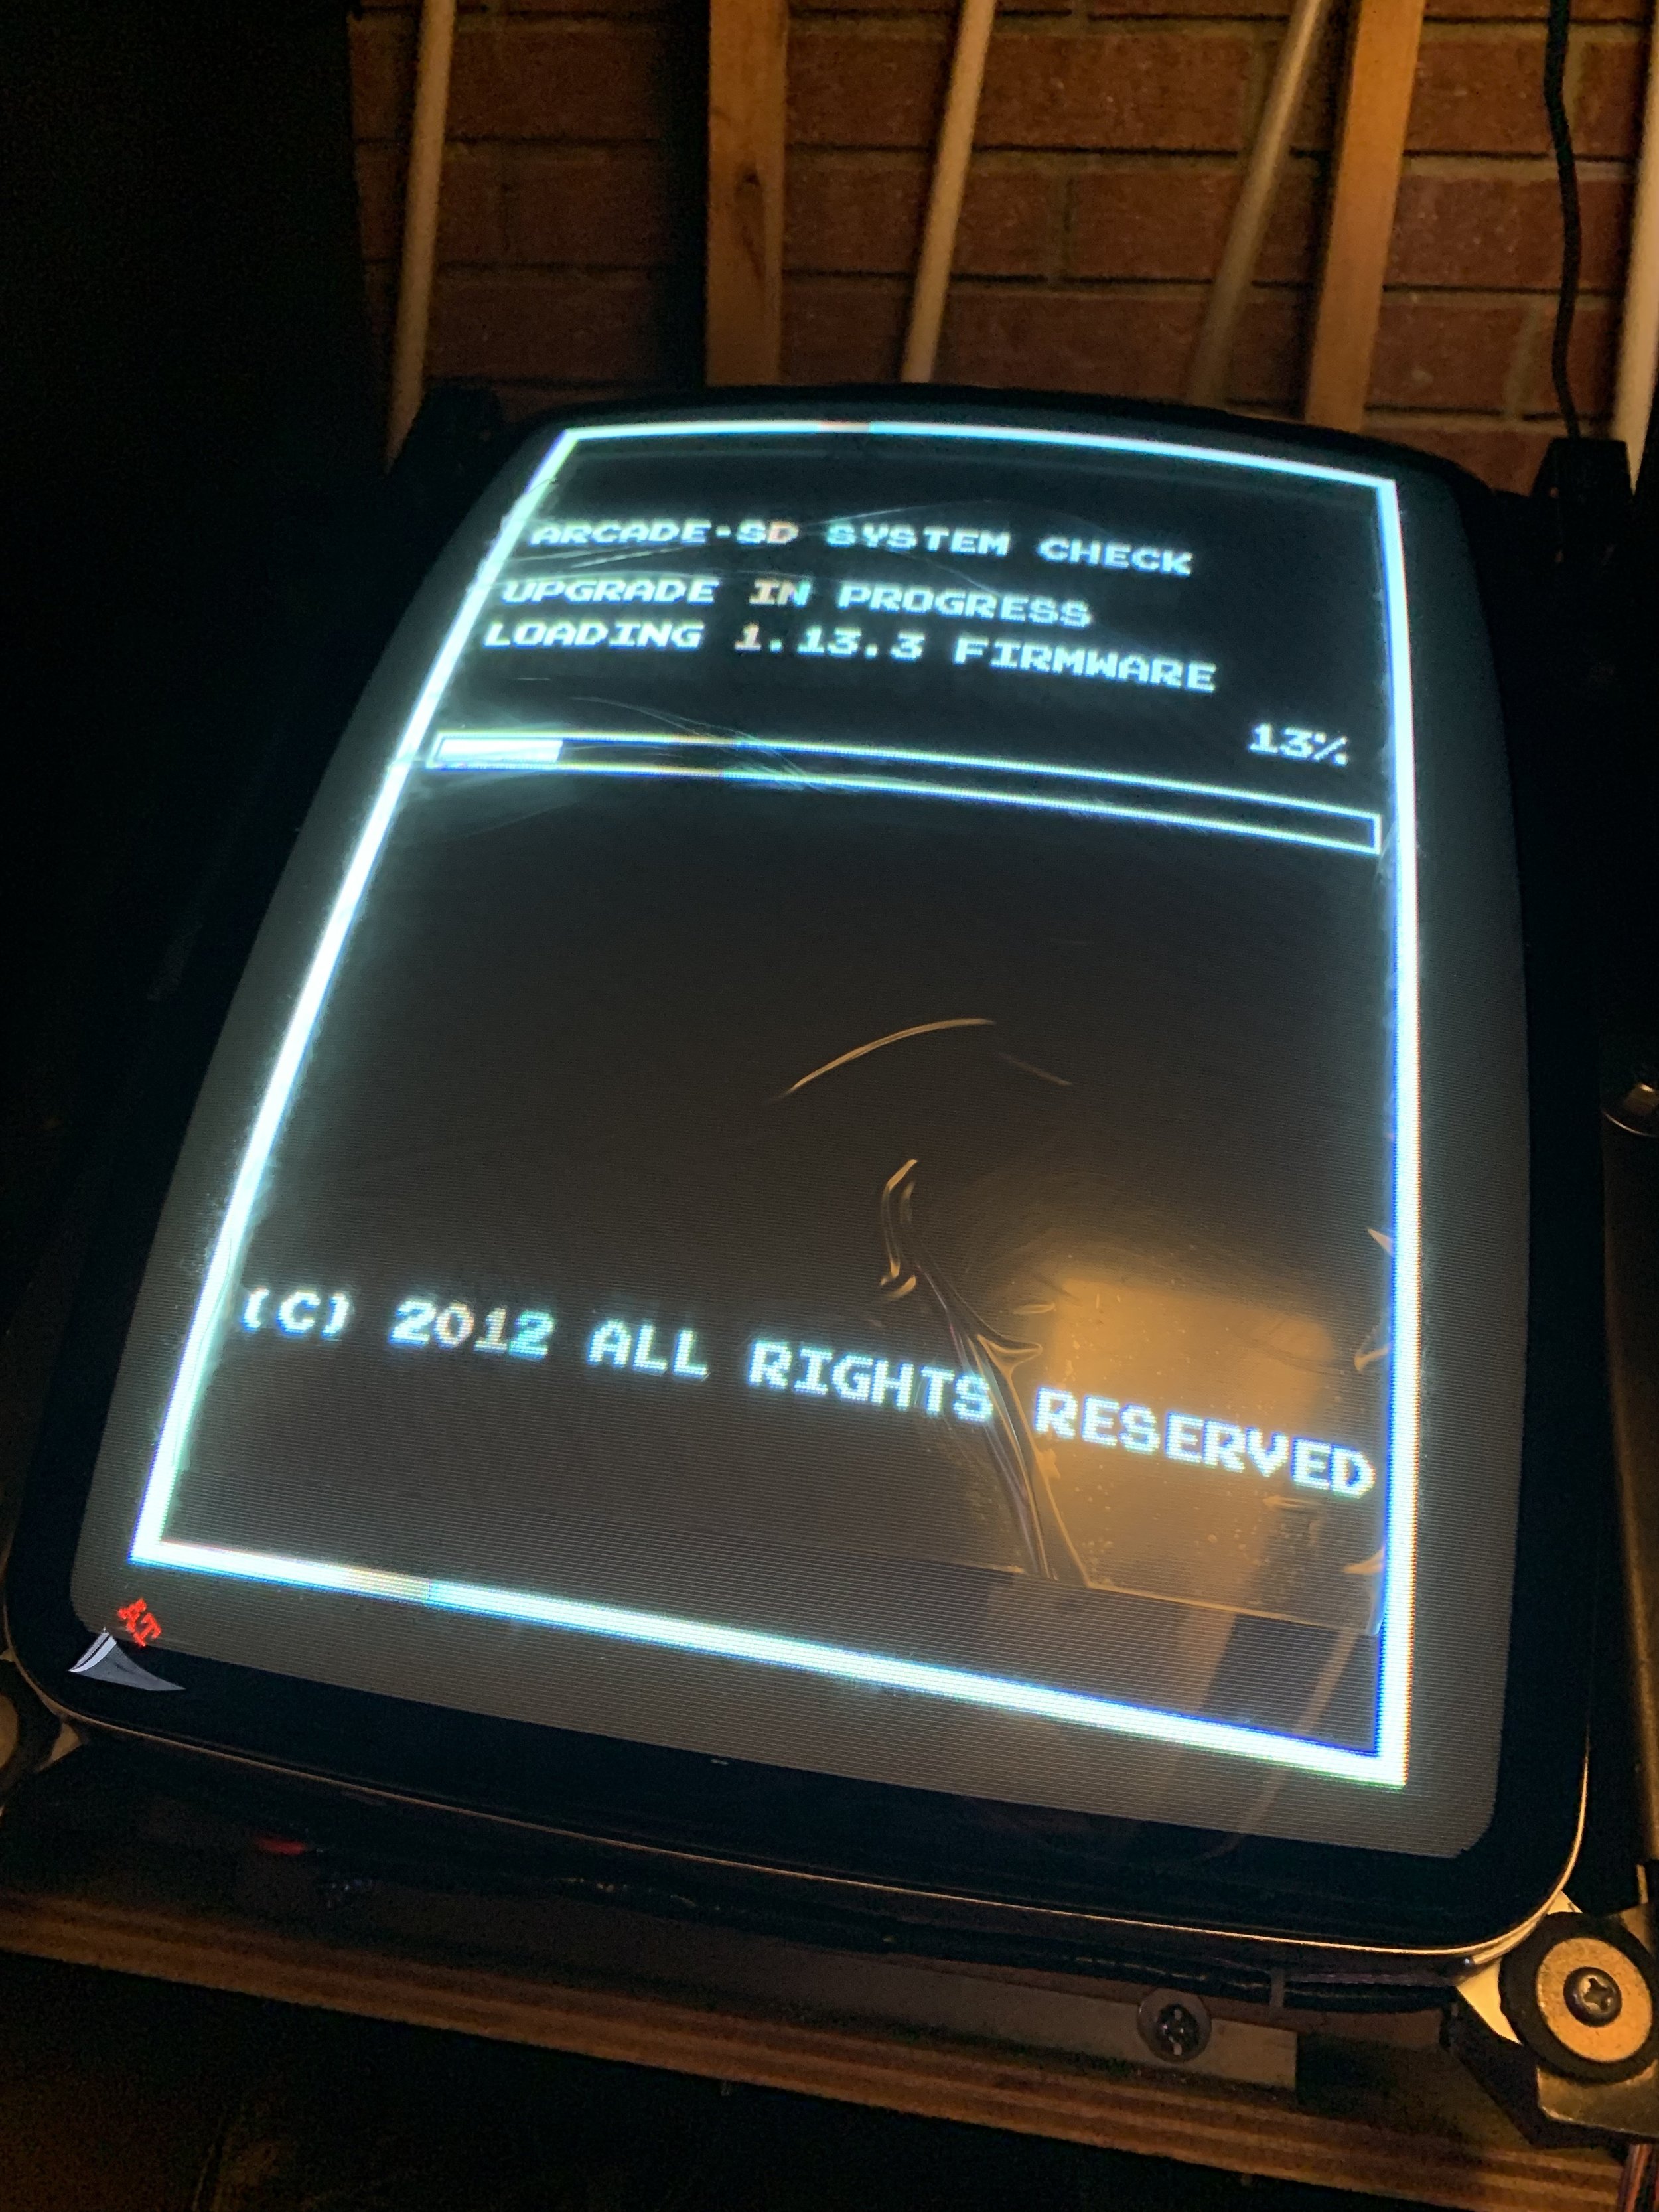
JAMMA-Adapted Boardset or Something Else?
For this iteration, ArcadeSD won my vote of confidence. I’ve been on an FPGA binge lately but I didn’t see a quick turnkey solution yet available with the quality of the Mylstar FPGA for Q*Bert or BitKit for Pac hardware. While emulation, ArcadeSD plays, sounds and looks really-really good for the Kong games and gives me the ability to do the multi-Kong thing and get DK1, DKJr and DK3 in the one cabinet. Side note: Timber, Tapper - are inexcusably poor on ArcadeSD. He clearly spent the time getting DK right. Like, really-really right.. Also as a bonus you get support for D2K and Foundry.

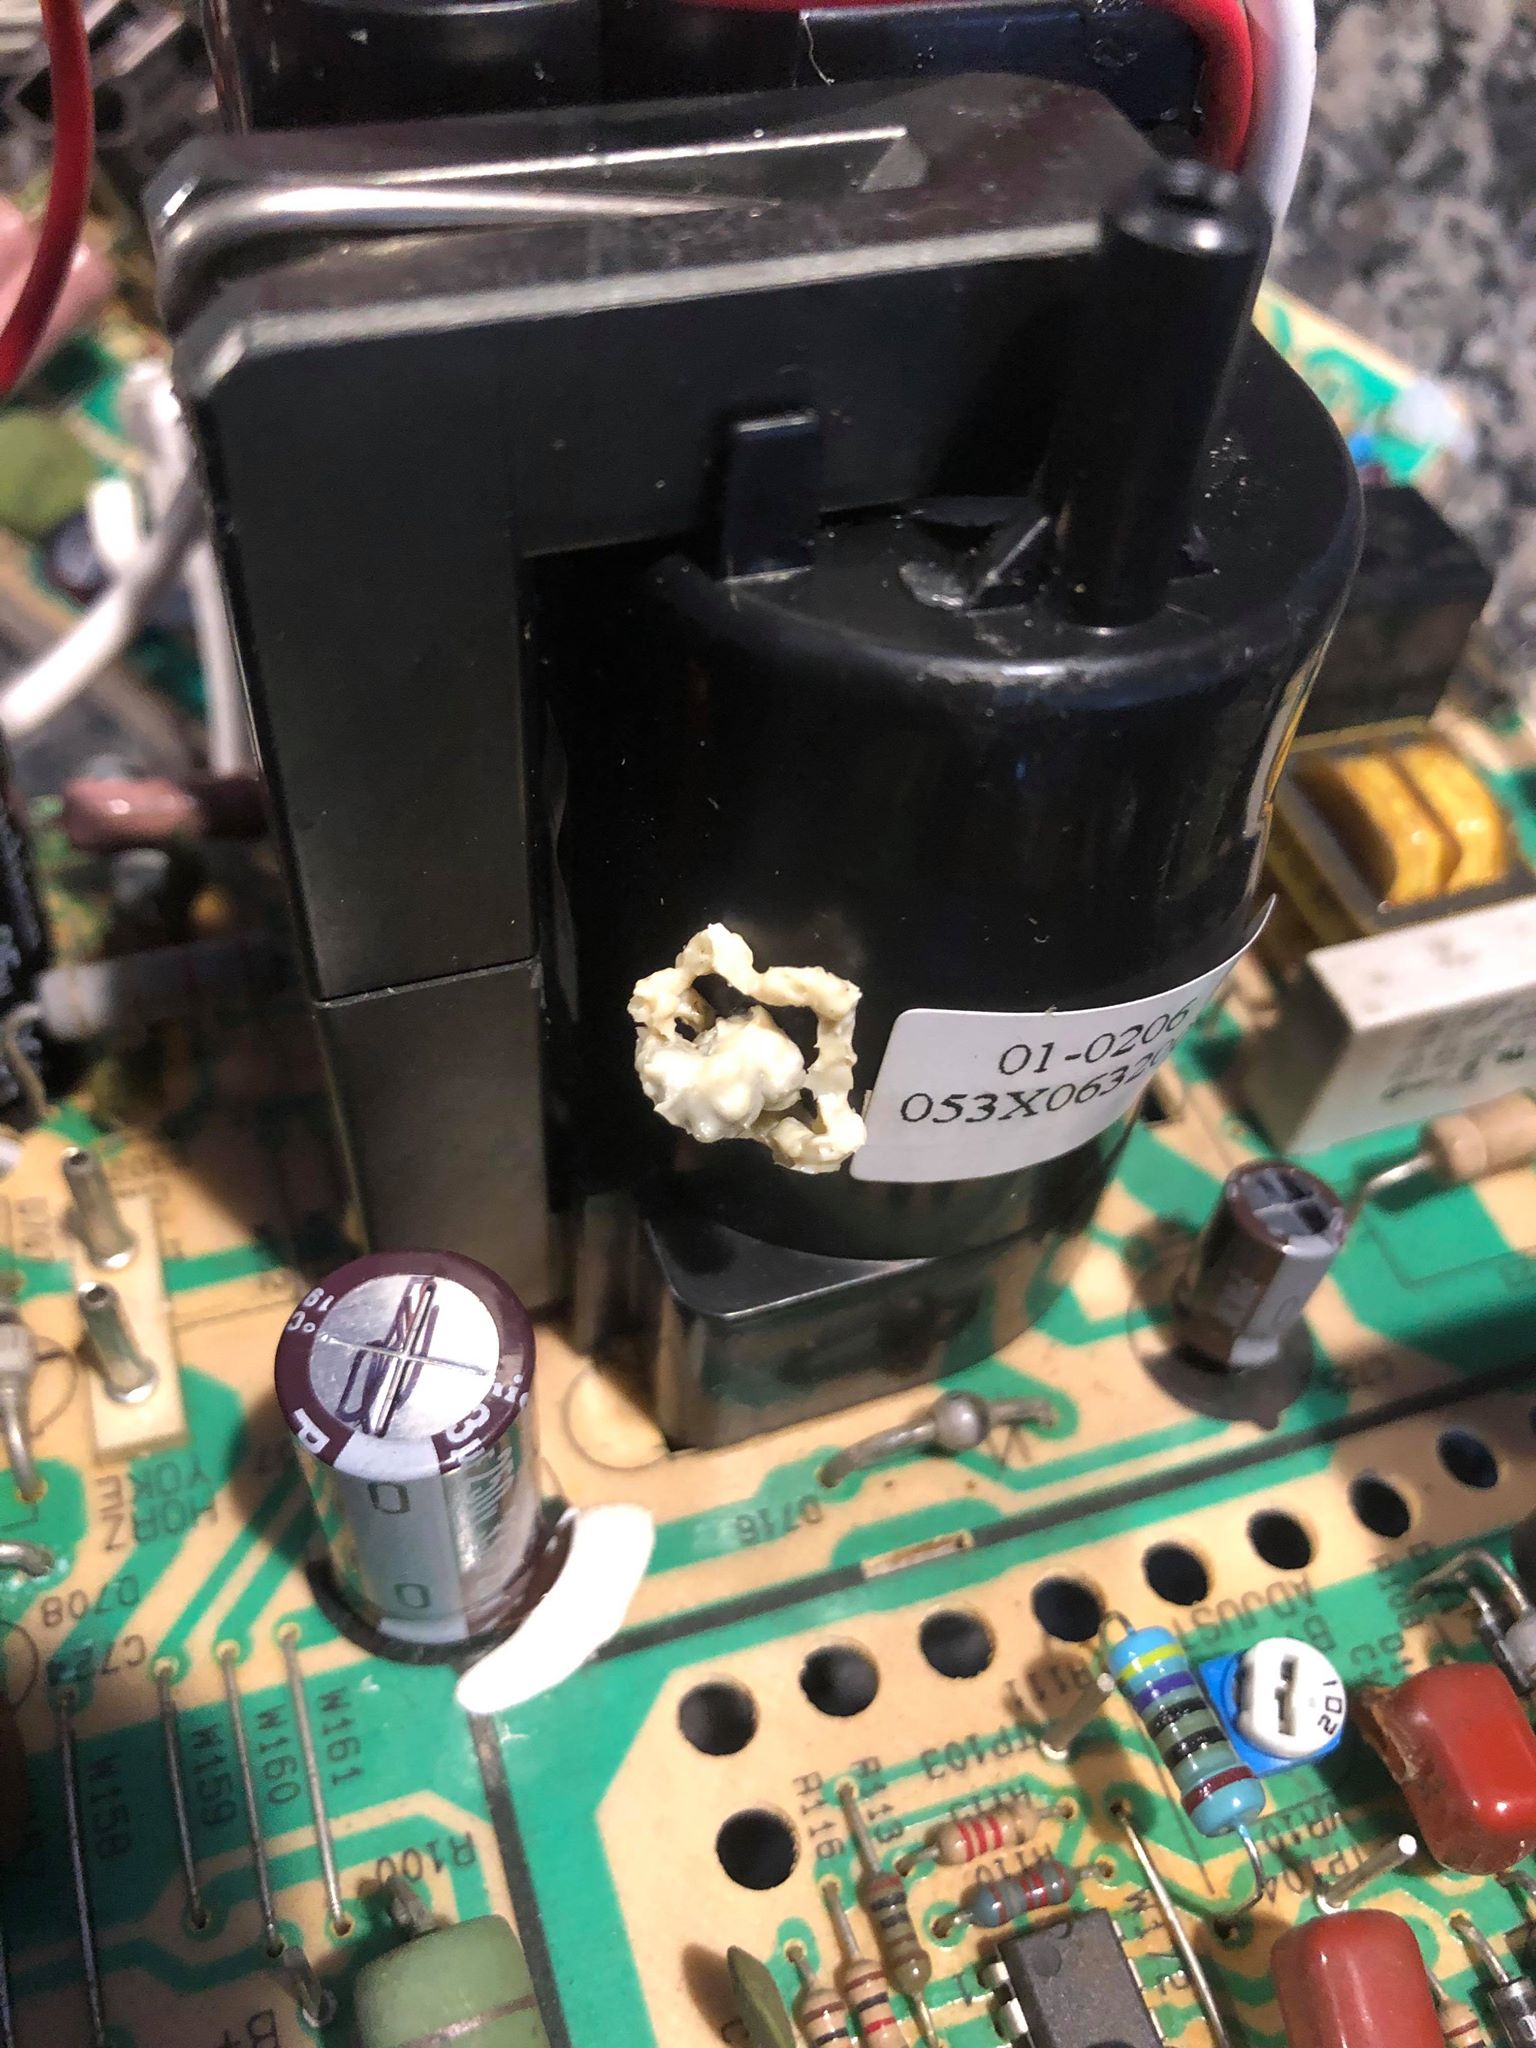
Yep, that’s the factory plastic on that CRT…. :)
The only real downside I’ve seen so far with the ArcadeSD is that the single-game-boot for DK isn’t compatible with the free-play cabinet-pricing options and they don’t have a simple “back out to menu” option in single-game-boot mode. The multi-Williams FPGA board in my Robotron cab, by comparison - can boot directly to Robotron (with free play intact) and you can exit out to a menu and select Joust, Defender, Bubbles, etc.. ArcadeSD doesn’t really work that way. So, for now, I’m stuck with it booting to a menu. Not the end of the world: it isn’t a 60 in 1.
I could see in the future if a solid multi-Kong FPGA gets released moving to that as a replacement. Less likely, I could give it the multi-board JAMMA switcher treatment that is in my MK4 cab. Though, the idea of a JAMMA Switcher and multiple adapters to DK Edge connectors makes me lean away from really wanting that level of PCB-purity. Because.. you know - no JAMMA Switcher/Adapter survives contact with the installation in a way that wouldn’t raise Purity concerns from the sticklers, anyway.
I’m not that stickler-y.
Other Stuff
I picked up a repro monitor overlay, marquee and instruction card from ArcadeShop and side art from Phoenix Arcade.

One corner I decided to cut: The blackout surround / bezel.
It was hard for me to justify ~$70 shipped for the Nintendo-like cardboard blackout bezel. The previously-available supply of plastic trim-your-own bezels with CRT curvature seems to have dried up. Instead I used black weed-cloth, staples and gorilla tape. Go ahead and send me hate mail. It looks great with the monitor overlay installed. And.. for $10- I’ll spend the remainder of my savings on an okay bottle of Whiskey and be much the happier for it..
Next Up, I’m going to work on the wood damage in the speaker slits and add the missing quarter instruction card. I’m thinking I’ll have to revert to paint instead of laminate for that touch up work unless I can find a source for laminate that isn’t $200.
All in all, though - as of this weekend I have a playable multi-Kong, so I’m a pretty happy camper.
Done-enough for a Guinness, finally got to spend some time on St Patty’s day putting some plays on the cabinet and new control panel. I’ll continue to whittle away at the cabinet’s idiosyncrasies and while I didn’t end up doing the full-on OCD restoration I originally planned, I’m feeling pretty good about where it sits for the investment in time and treasure to this point.
Which.. leads me to the last game in my game room that isn’t operational… Up Next:
Tempest…