The connector dilemma.. How often when working on games do you find yourself in the position of “dangit, I need connector x in order to be able to proceed.”
On the hack side of the decision matrix you can go with twisted connections, solder and shrink tubed, electrical tape or wire nuts.
On the OCD side of the decision matrix you place an order for the connectors, pay $8 in shipping for $5 in parts and have to wait a week for them to arrive so you can finish your task.

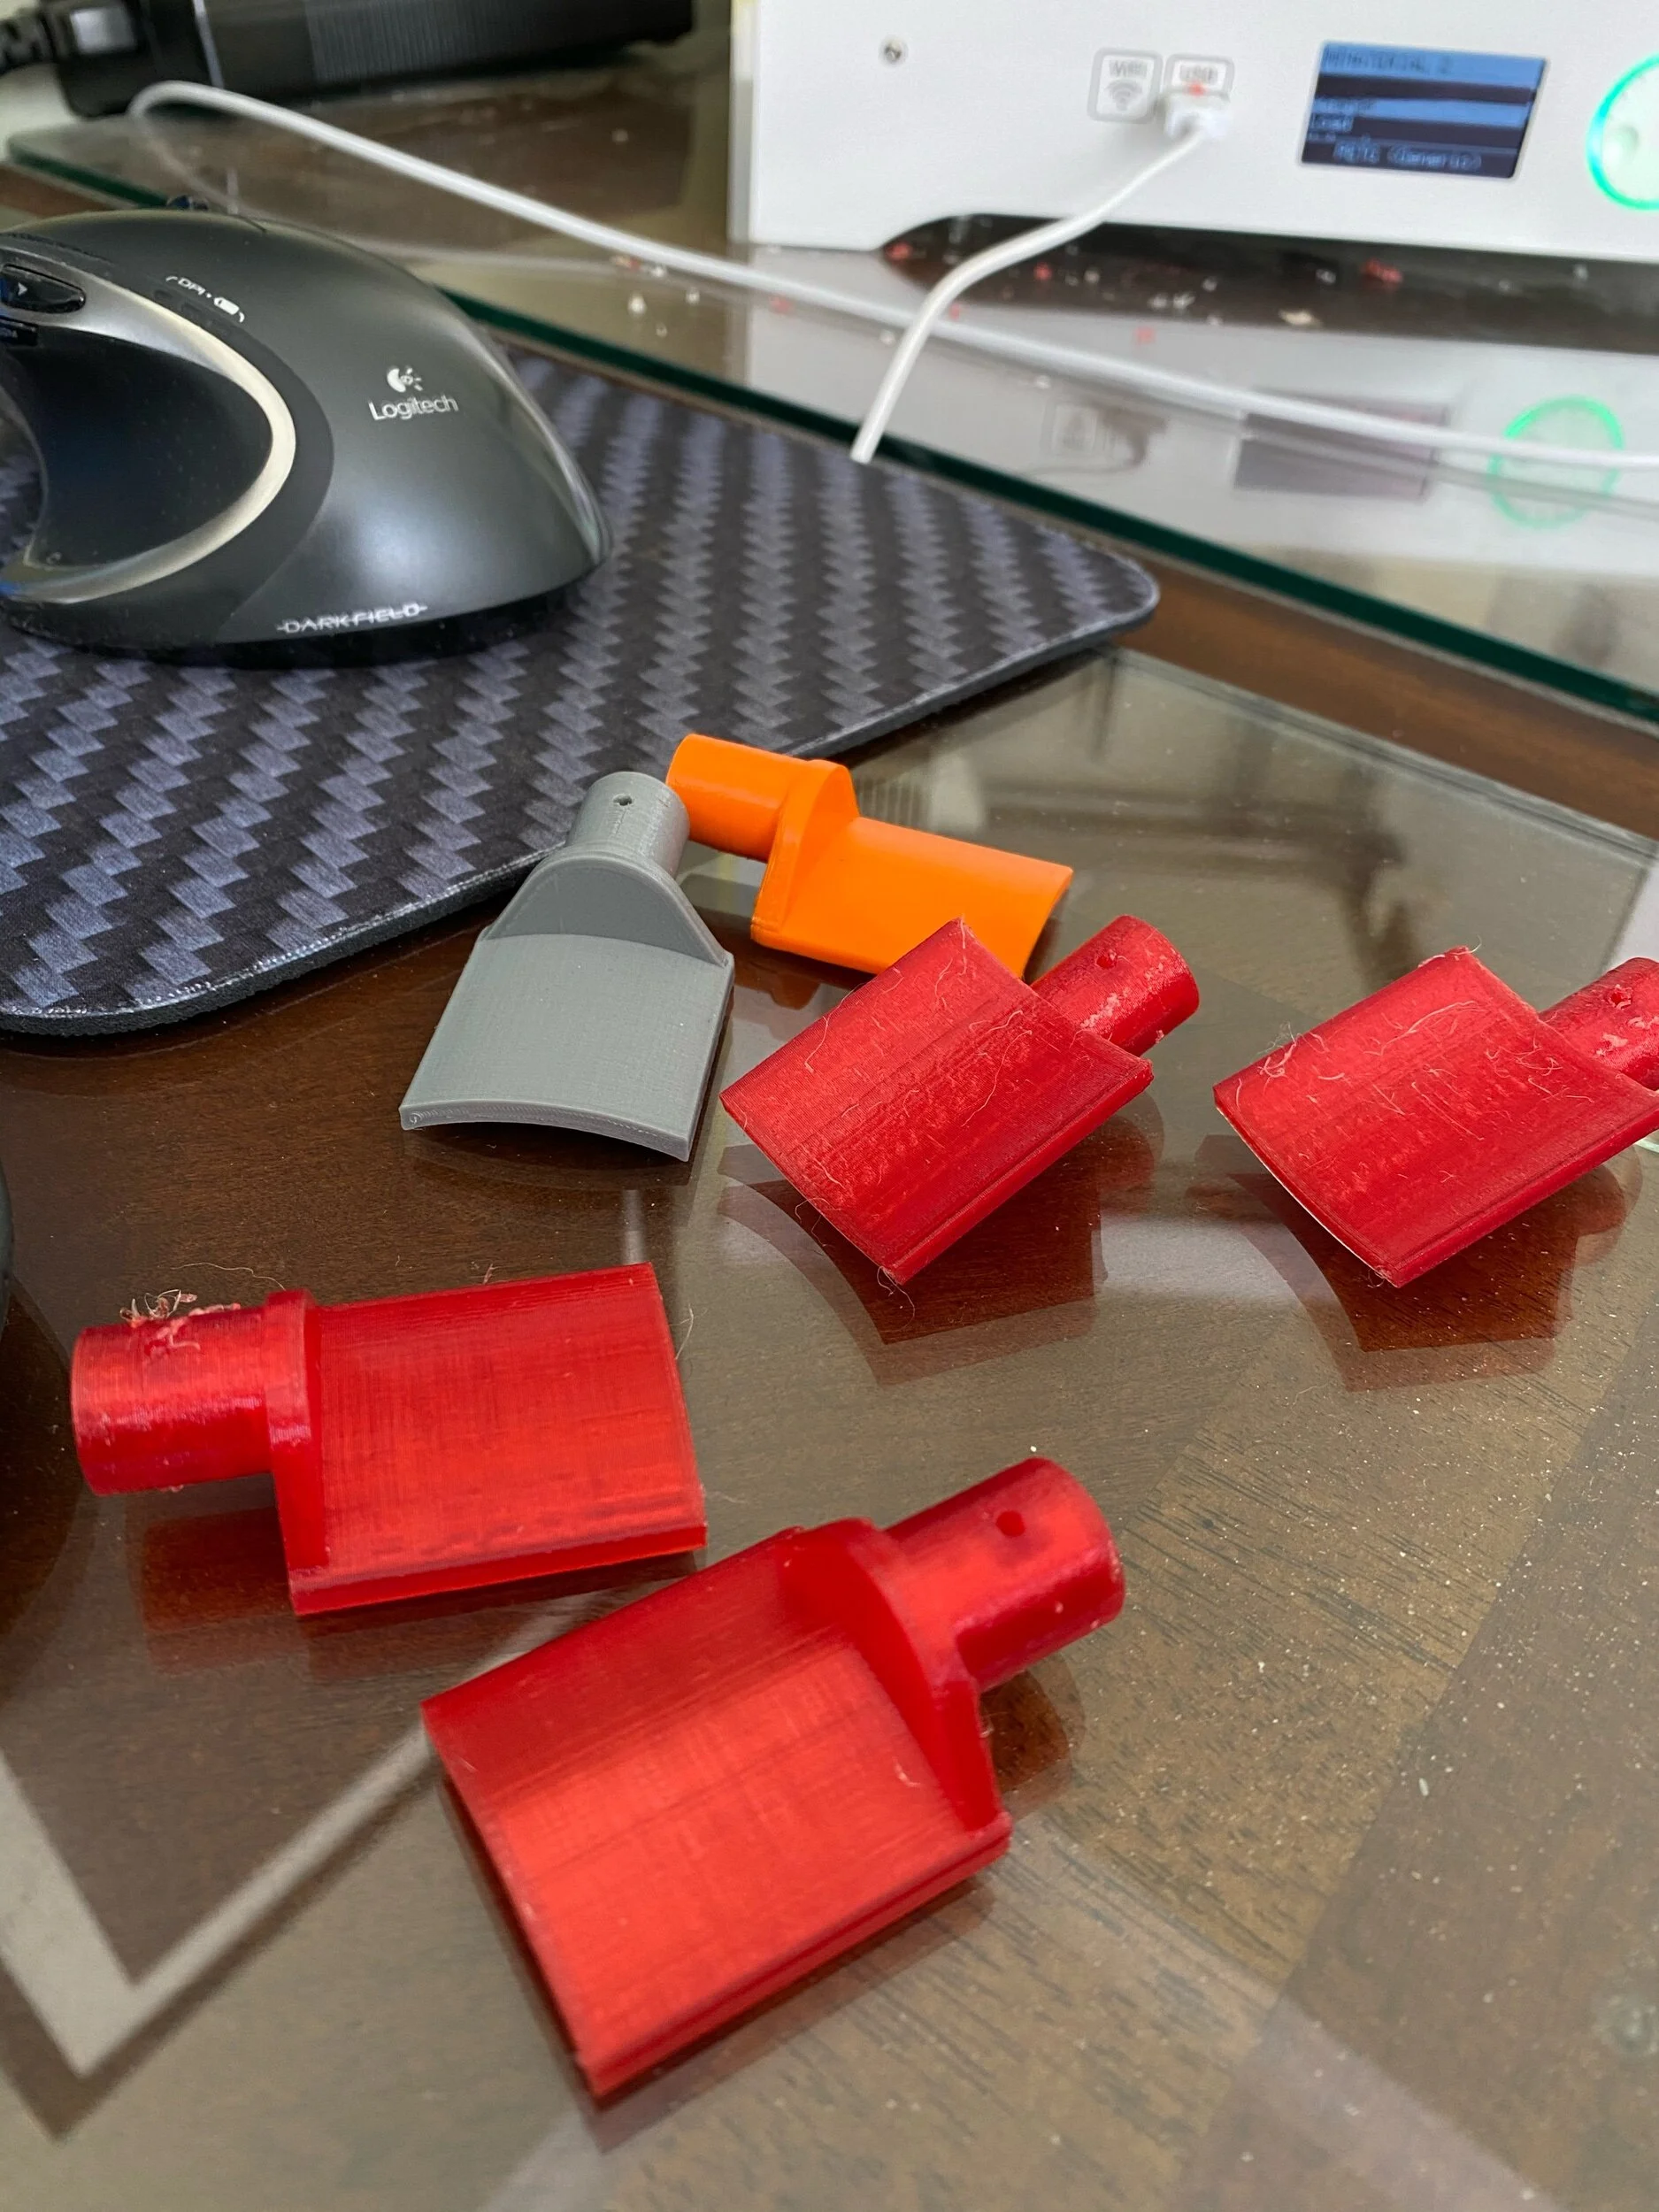
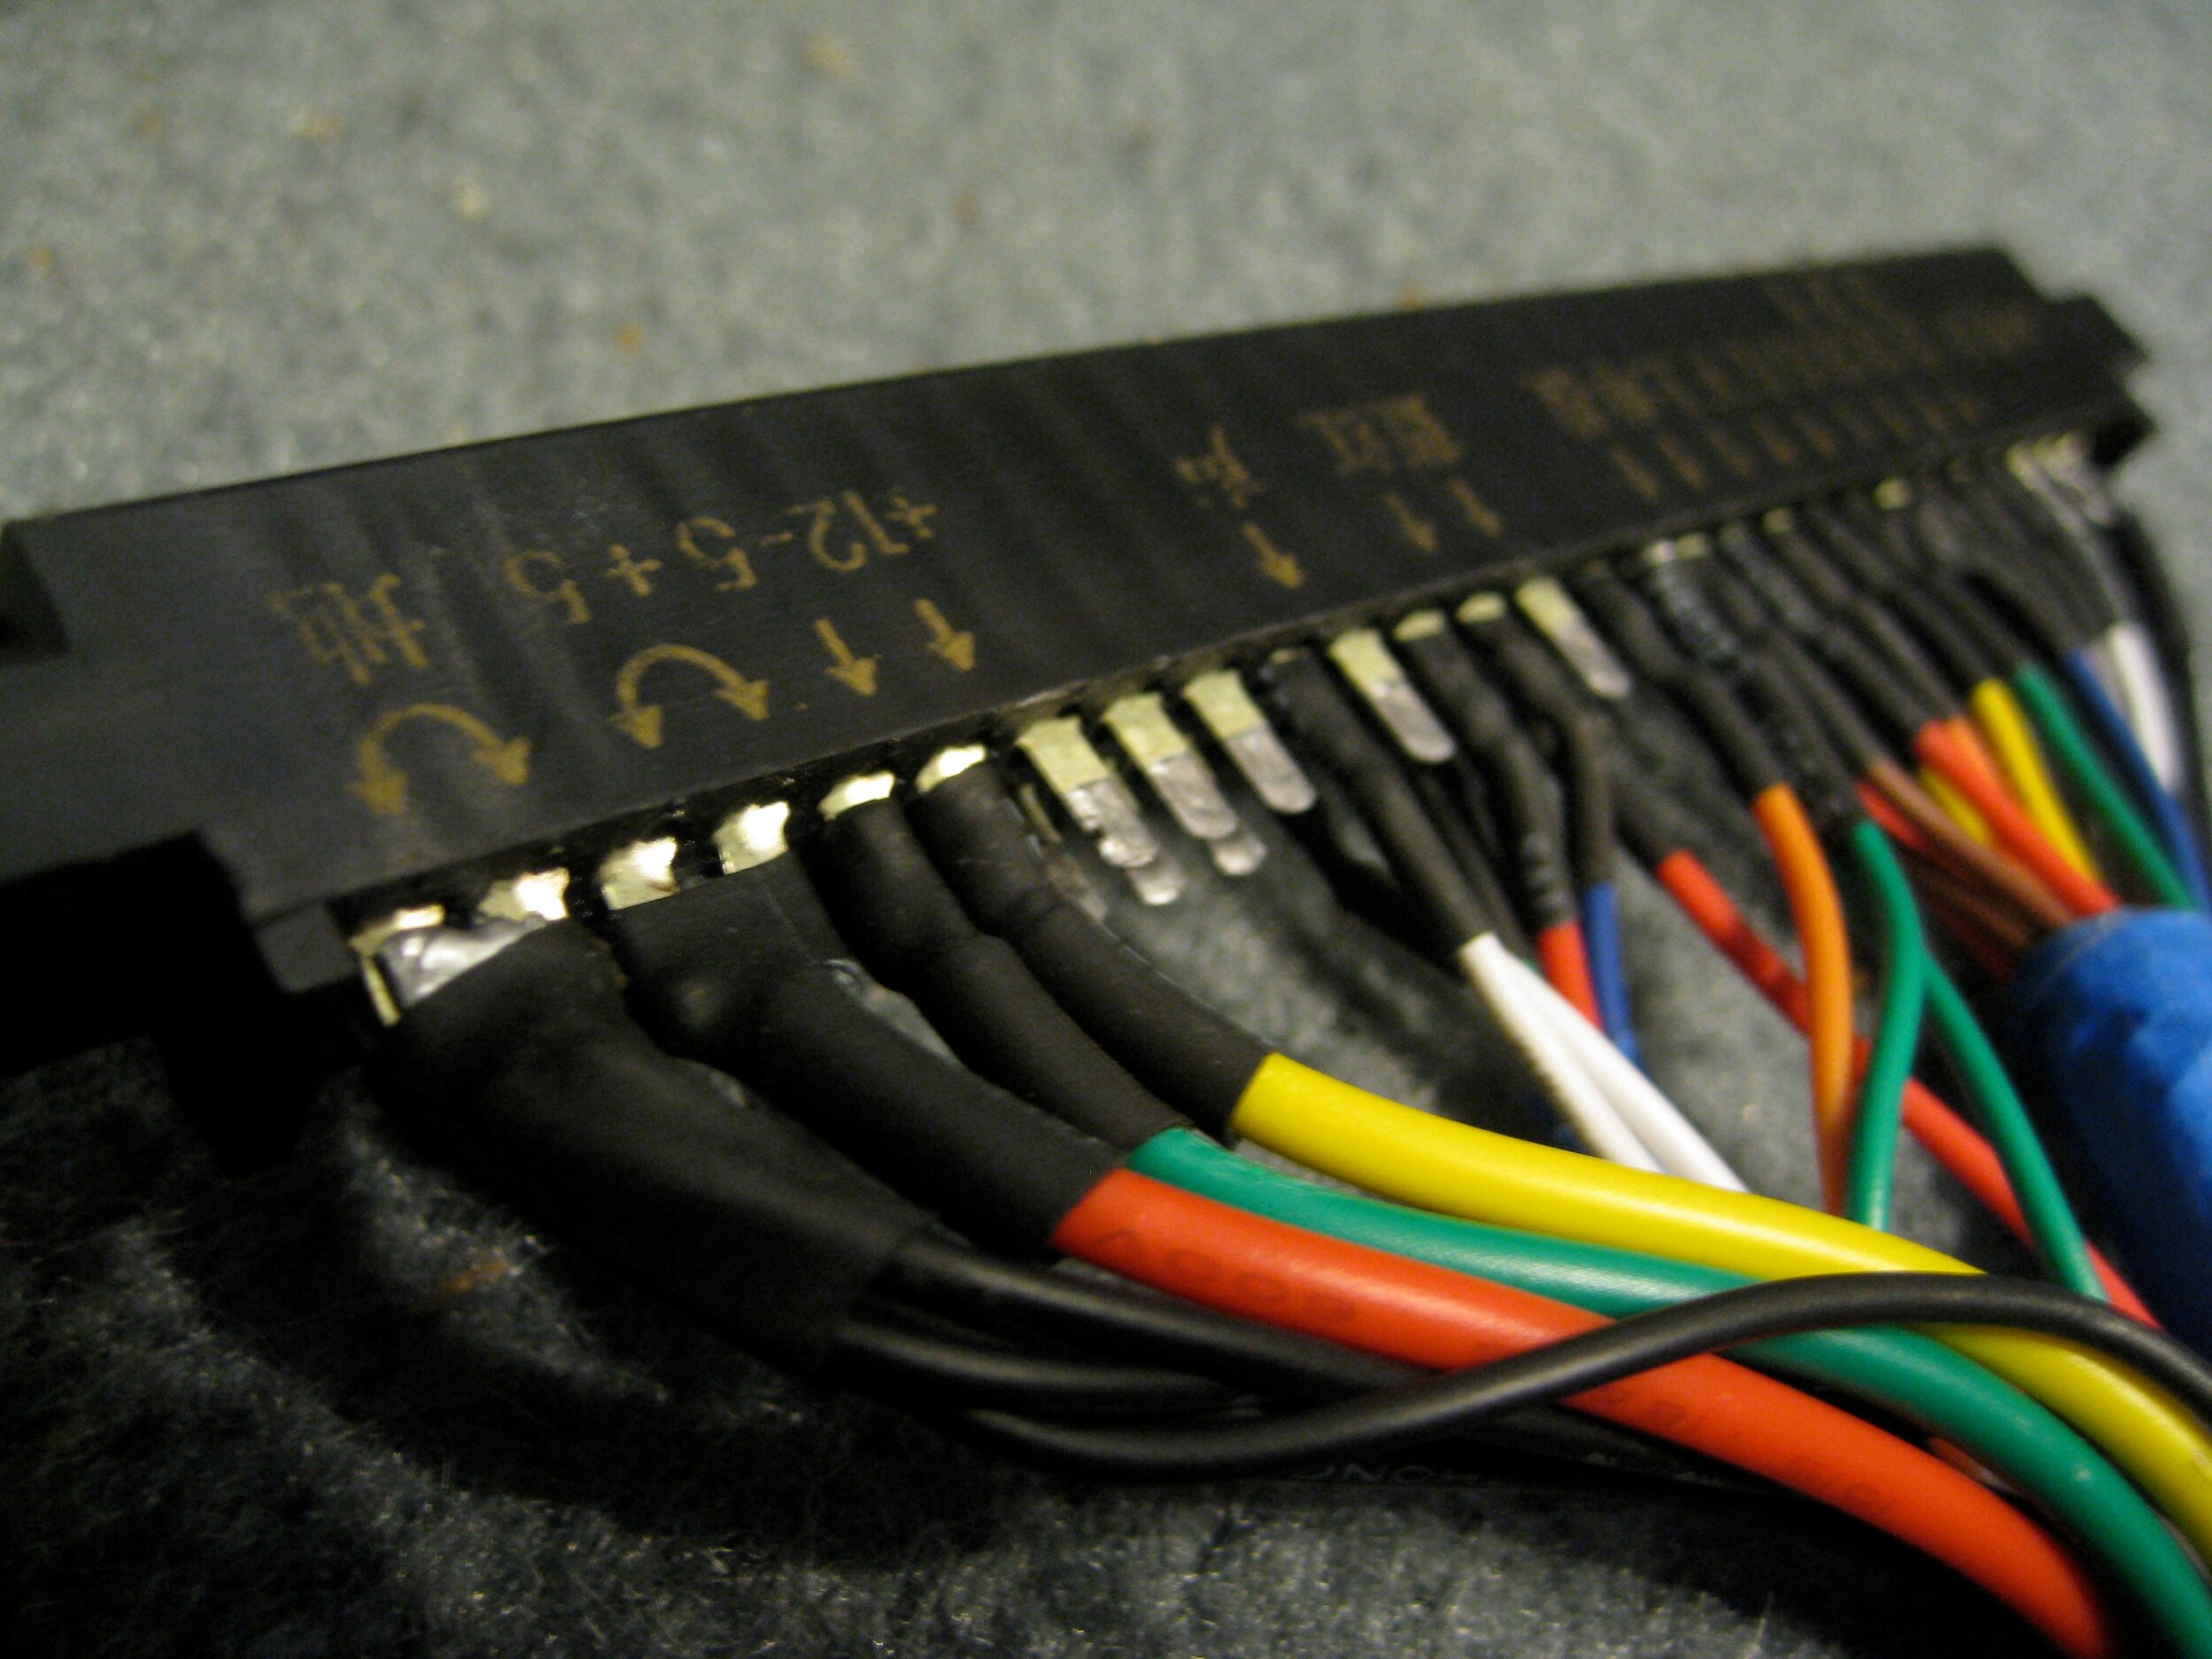
Eventually, you end up with something like this. Varied pins and housings. Some for DC applications, some for AC applications.
Once you get bitten by the “I need this one part” bug enough times and you end up over-buying spares or mixed-lots that include dozens of varieties of pins and connectors.
Cost Considerations

$.14c in material cost for a connector is a pretty decent deal.
Working on Ice Cold Beer, I recall paying ~$8/each for the 18 position dual-leaf PCB edge connector housings and around $70 for 30Au Gold 22-26AWG pins. (Sourced from arcadepartsandrepair.com )
Working on my first pinballs (Data East Star Wars, Sega Star Wars) I recall waiting a week for appropriate .156 IDC connectors or .156 molex-equivalents to improve interconnect reliability.
2 or 3 position Molex connectors are often used in arcade / pinball power or modding situations. I’ve paid $.50c up to $2 for individual Molex connector pairs. $.14c for a 3D printed pair in under an hour is pretty nice!
Originality Vs Pragmatic Convenience
Detail-oriented collectors might focus in on sourcing exactly the right connectors, something like the Red AMP connector that was manufactured in the middle-80’s. Profit-oriented operators would often direct-solder wires to board pins or use electrical tape and shrink tubed solutions in order to keep their amusement machines in service.
I’m not wholly opposed to a wire nut or compression slice with the justification that most of the wiring in our homes use these methods inside of electrical boxes for switches and plugs.
But mostly for arcades and pinballs I try to use connectors when it makes sense.
Finding Models
Connector-housings are actually pretty easy to “eyeball and approximate”. Taking measurements or looking at the spec, there are alot of connector-housing models on thingiverse to support peoples’ electronics projects. The two sets I found below were some of the most impressive in terms of quality and closeness to originals.
3-pin Molex
https://www.thingiverse.com/thing:4139433
https://www.thingiverse.com/thing:4131380
2-pin Molex
https://www.thingiverse.com/thing:4139450
https://www.thingiverse.com/thing:4139409
Searching around, it turns out the CAD models for Molex (and other) connectors are available from the official sources
For example, the commonly used .093” pin connectors often found on the AC lines of arcades:
Plug Side
Receptacle Side
Broader categories
- you will recognize alot of these from wiring harnesses in cars, common appliances in addition to arcade and pinball uses.
AMP Dual Leaf 28 Position (like a JAMMA card edge connector)
The file formats are common CAD formats that can be converted to printable .STL files pretty easily.
I’m not sure around the legality of using them but for the sake of this post we are going to assume hobby use one-offs won’t be a problem.
Finally, GrabCAD has a really handy library of all sorts of engineering CAD models, connectors included.
FINDING THE CONDUCTORS
There are so many different connector and mating-conductor standards used in Arcades & Pinballs, I’m not going to even attempt a comprehensive list but here are a few that you will probably run into frequently.
MOLEX .156
Molex .156 are often used in Arcade monitors (RGB, G, Sync) connections. The .156 size is also what most Bally, Williams, Data East, White Star, Sega and SAM Pinballs use for power interconnects. Though the pinball applications are typically as IDC (vampire tap-style) connectors. Molex is a solid upgrade and will mate perfectly with the .156 header pins on those boards.

https://www.aaarpinball.com/TwilightZone/TwilightZone.htm

https://www.flippers.be/basics/101_general_illumination.html
Some sources I like for these pins and connectors:
https://www.arcadeshop.com/search?q=.156%22
https://www.arcadepartsandrepair.com/product-category/connectors-sockets-pins/156-kk-molex/
MOLEX .100

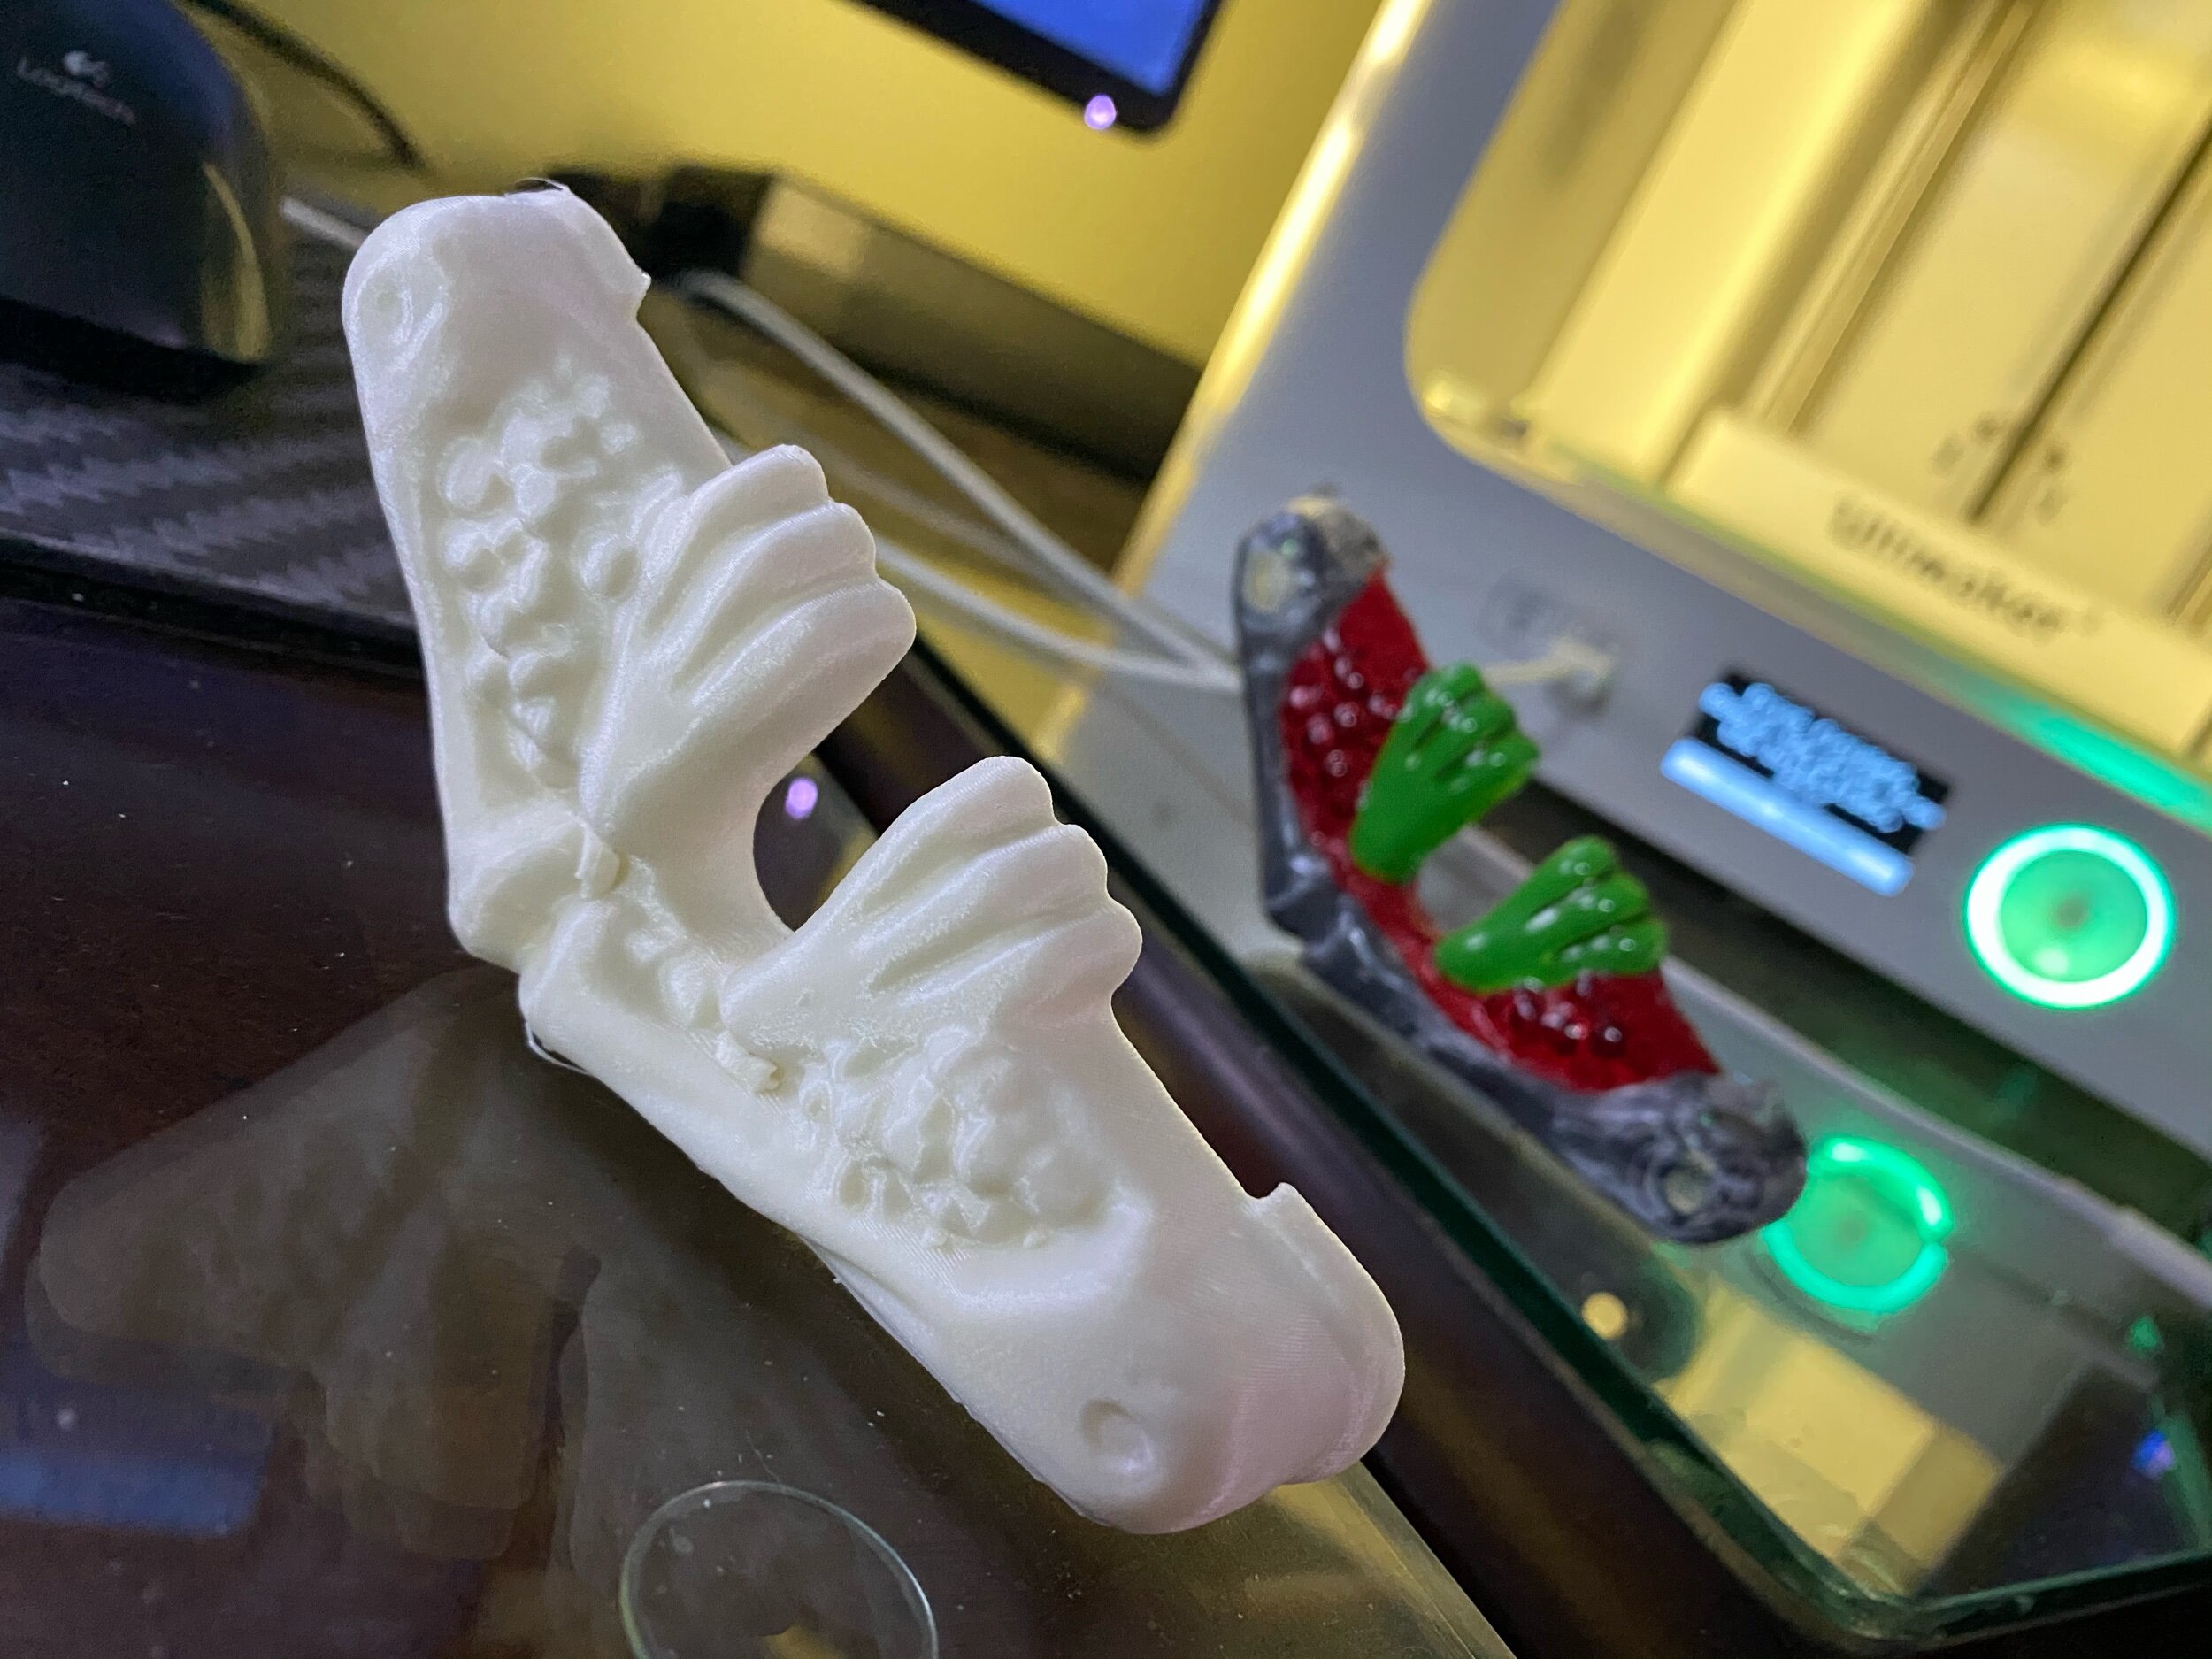
Yellow one is .156 spacing, red one is .100 spacing.

http://www.ukvac.com/forum/connector-idsolvednow-id48-drive-board-versions_topic359385.html
Molex .100 are often used for lower voltage interconnects or in cases where component spacing was tight on the original board designs. Stuff like, Controlled Lamp to Cabinet Harnesses for Pinball and IO interconnects on some arcade cabinets.
https://www.arcadeshop.com/search?q=.100
https://www.arcadepartsandrepair.com/product-category/connectors-sockets-pins/100-kk-molex/
MOLEX .093

https://primetimeamusements.com/tech-tips-monitor-issues/

https://www.pinballlife.com/power-tap-and-8-way-power-splitter-board-for-williamsbally-wpc-pinball-machines.html
Molex .093 are very commonly used in 2 position and 3 position AC applications in arcades. Usually from a power tap before the isolation transformer running to the marquee light.
https://www.arcadeshop.com/search?q=.093%22
https://www.arcadepartsandrepair.com/product-category/connectors-sockets-pins/093-molex-connectors/
AMP and MOLEX Leaf Connectors

https://www.youtube.com/watch?app=desktop&v=WYi6_xv1mSY
https://www.instructables.com/install-a-JAMMA-harness-in-an-arcade-cabinet/
These edge connectors are the basis behind the JAMMA 56 pin card-edge connector found in many arcades.
Taito’s Ice Cold Beer uses three partially populated 36 pin card-edge connectors. I’ve also seen them used as beefy interconnects between some multi-board stack arcade PCBs.
https://www.arcadeshop.com/search?q=edge
https://www.arcadepartsandrepair.com/product-category/connectors-sockets-pins/edge-connectors/amp-twin-leaf-edge-connectors/
That’s enough to get you started though there are obviously others. As like most things in the electrical component space, you can also find these things at mouser.com, greatplainselectronics.com, digikey.com and other electronics suppliers. Personally, I try to support arcade and pinball specific suppliers when shipping is convenient and pricing isn’t out of hand.

A Note ABout Materials
Did you know PLA thermoplastics come from corn? PLA is formed from the sugars in corn starch by immersing corn kernels in sulfur dioxide which breaks down the corn into starch, protein and fiber components. Sort of like a fermentation process.. The oils are extracted into long-chain polymers that behave similarly to fossil fuel byproducts that can be made into plastics, polystyrene and textiles.
The most common thermoplastics used in 3D printing tend to be great insulators. The exception being, any filaments that might be reinforced with metal fibers and some carbon-fiber composites. Heat is the largest concern. You wouldn’t want to use 3D printed connectors in a service environment where it might be exposed to heat greater than the material tolerance.

PLA is a solid electrical insulator but only within a nominal temperature range. You can use PLA but understand that applications above 125F degrees carry risk as PLA starts to break down and loose structure at higher temperatures.. A moving truck or storage unit can reach temperatures of 120F degrees. You can use PLA to print connectors but it isn’t the first choice for electrical applications.
ABS can keep its properties above 200F Degrees. going to have similar temperature properties to PLA but a flatter melt-curve at the melting temperatures. (It will deform less)
PETG falls between PLA and ABS with support of temperatures up to around 160F degrees.
Nylon, which also support 200F+ Degrees (often much more) is commonly used in electrical applications. Wall plates, even some electrical wall boxes are constructed from Nylon or Nylon composites.
I make most of my connectors from Nylon, ABS, PC, or sometimes enhanced PLA. (ToughPLA or PLA+)