Working with Pearl (live draft)

I’d be a terrible salesman. Promoting things; compelling a call to action; these just aren’t part of my default behaviors.
But: short attention spans? That, I understand. So I’ll but the result right up front, this time.

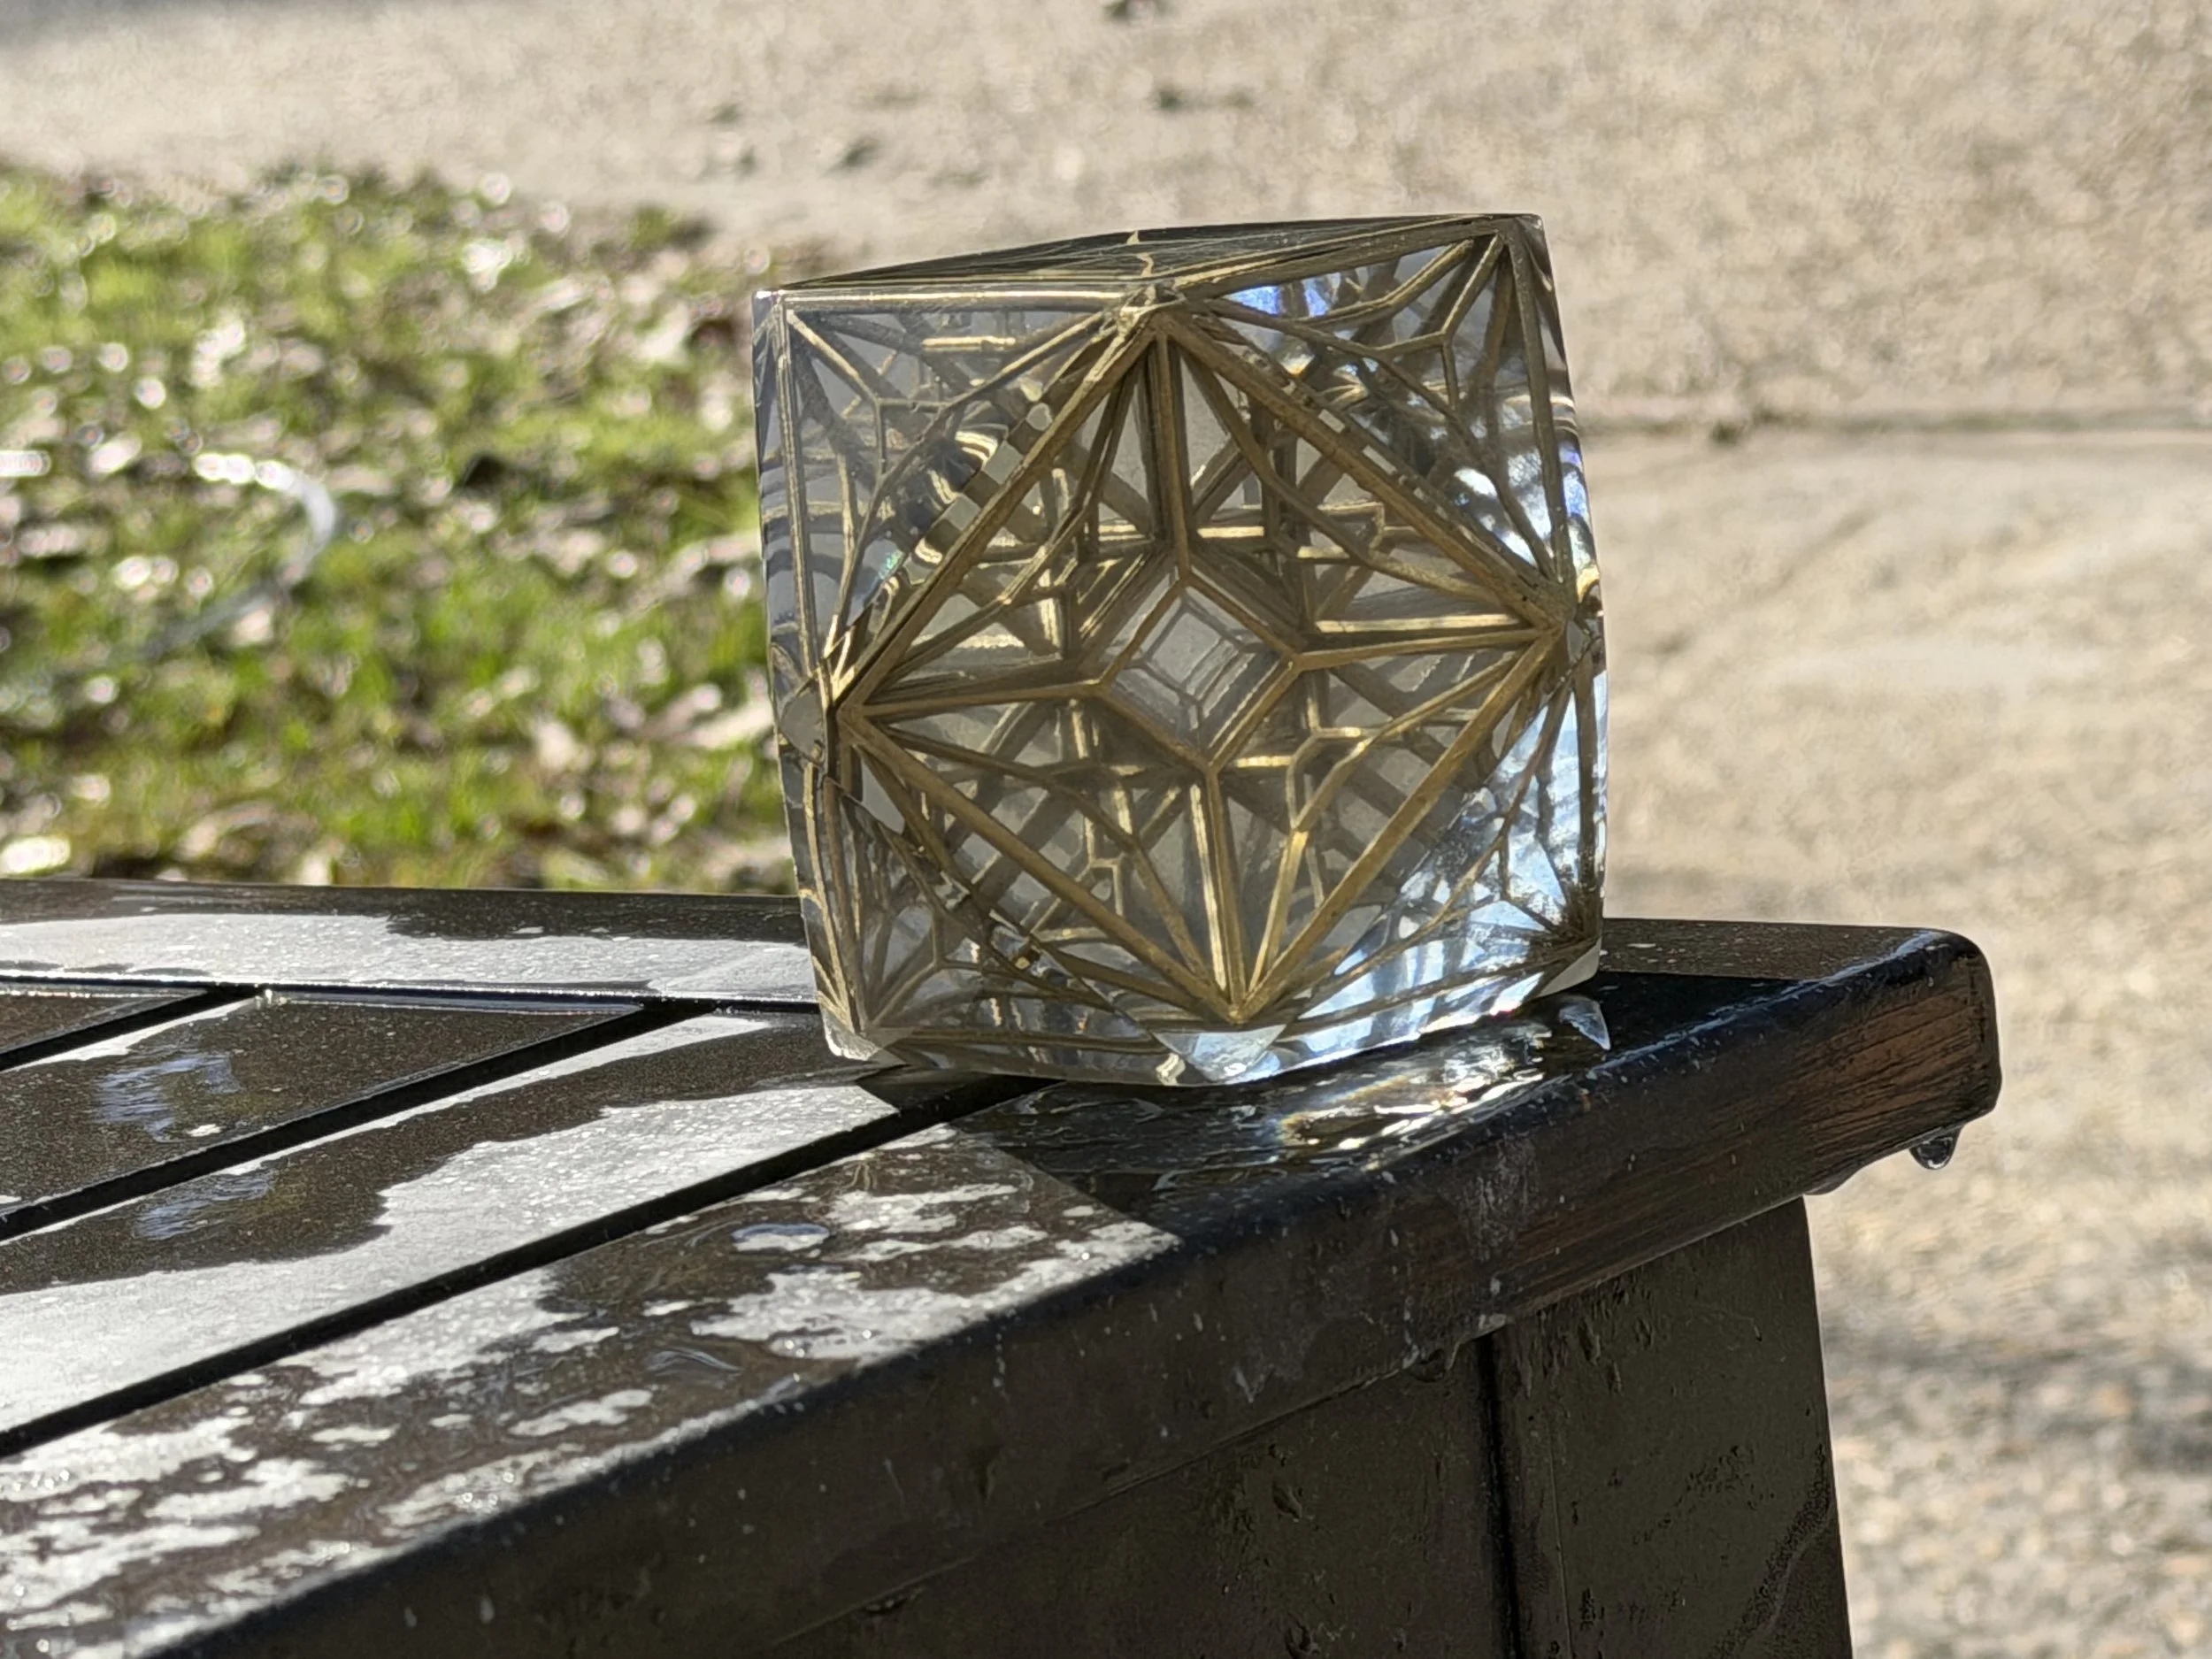
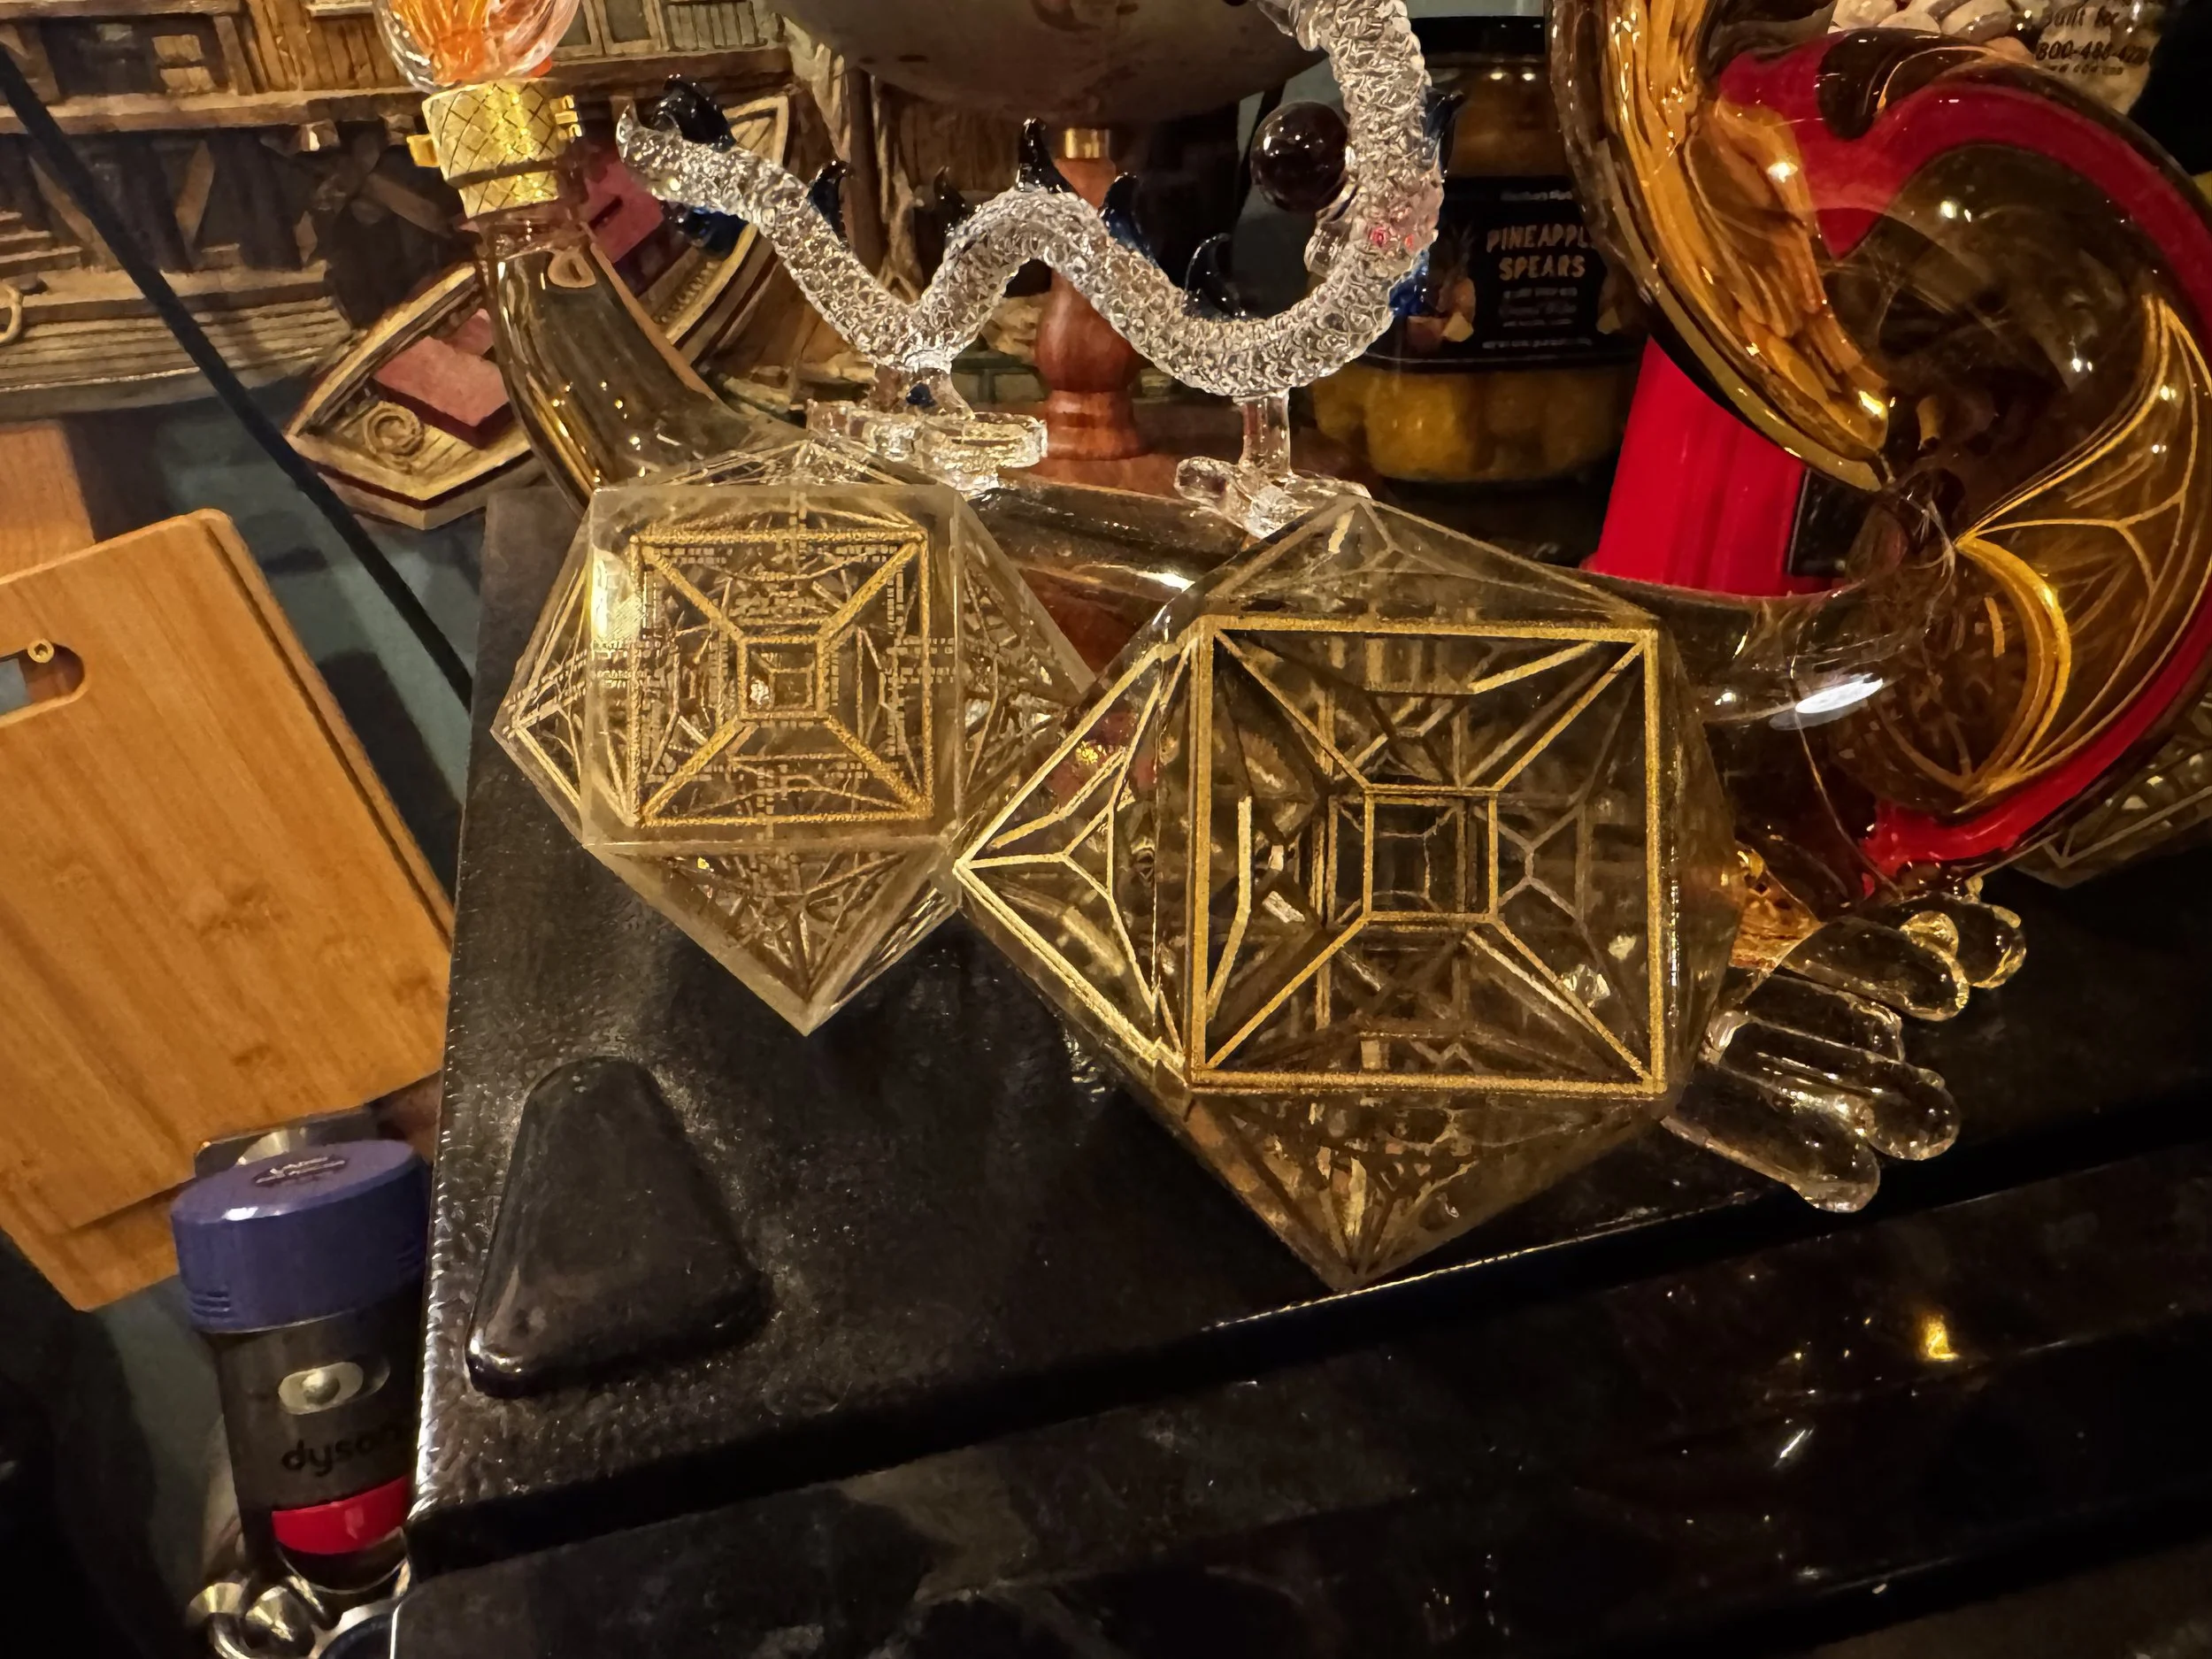
Trying to implement abalone or mother of pearl in the Dial of Destiny prop builds has bothered me since I started on it. I never found a great 3D printing solution for a true pearlescent effect though I found a pretty good workaround for the white rings.


I set up a two color print with a black backing and the top layers with a silk white. The glyphs in the rings are cutouts, that reveal the black beneath. Silk filaments have a directional polarization to their reflection that becomes evident if you print the same part in two different orientations.

It occurred to me that part of what gives pearl its beauty is that it also polarizes and reflects at different angles based on the organic matrix of the intricate growth patterns of the material. People are like Bass, we like shiny things. It roots back to evolutionary selection for pattern matching cognitive behaviors developed on the Serengeti. (Probably)


As 3d printers put down layers, you can control the patterns of movement by setting various travel and fill patterns. The printers often use faster (but less visually consistent) patterns for interior structures and then switch to monotonic patterns for top layers in order to try to provide a uniform finish. If you think of a 3D print as an Oreo, the bottom and top layers have one pattern and the filling can be something else entirely. Yummy. I’m not sure what the milk is in this metaphor…

Anyway.. so, I had this idea. What if I reduce top layers and let some of that patterning through; especially considering the visual properties of silk white filaments. To get this effect, I could reduce the top-layer counts of a print or even just pause and top the print early when it looked “right.” It worked out pretty well and gave the Dial’s white features a pearlescent effect. I’d typically spend a day making nothing but the white parts for future builds using this trick and my build plates have the wear grooves to show for it.

One limitation is that the effect is diminished in larger surface areas. I tried to account for it with various holographic skateboard paints but lets be real. Actual Pearl always beat plastic.


Glyph Disc

Last year I started including a mother of pearl glyph disc option with the Dial of Destinies that I made for people. The process was timing consuming, the material is costly and can be a challenge to work with. I started by ordering 240mm x 140mm Mother of Pearl Veneer Sheets. You can get them from Amazon, from Etsy, from specialty suppliers and prices vary from $75/sheet on the top end to about $8/sheet when buying in bulk from a sketchy part of the internet. I applied the veneer sheet to a backing material with adhesives. I cut the pearl circle by hand with a hobby knife. I went through alot of hobby knives.

Pro-tip that I learned while cutting floor tile. A piece of masking tape (on both sides) of the area you plan to cut, then cutting through the masking tape -and- material at the same time can help sharpen the cut lines and keep it from crumbling. It works for marble and tile floors and it happens to work for mother of pearl as well.

Marking the glyphs onto the pearl is a challenge.

I tried various approaches at using hand-made stencils but most were underwhelming. Anything from 3d printed stencils to vinyl cut stencils. The vinyl-cut stencils mostly worked but the Cricut is my wife’s toy. She has a job -and- keeps the kids alive when I’m mad science’ing in the garage; doesn’t need me adding to her Cricut cutter backlog.

Top, unpainted plastic print. Middle, Dark pearl. Bottom, Light pearl.


I had Dry Transfer Decals made from the glyph design. At bulk, I ended up with two giant rolls for a few hundred dollars from different brands.

The first vendor, Ninja Transfers misprinted the first order, got the middle order correct. They sent the entirely wrong product type on the third order, which was a reprint from a QR code of the good roll. The print and cut quality is really good. From the customer perspective it feels like a fully automated print on demand business with bugs in the print provisioning pipeline. Their customer service was so unhelpful that they may already have been replaced by chatGPT agents. ¯\_(ツ)_/¯

I had another batch made from a local sign company.

The challenge with dry transfers was that their transfer tape was too sticky. Removing the transfer tape pulls and cracks the upper nacre layer of the shell sheet.

Heat transfers work but have to be applied before the shell is applied to the backer. The backer becomes warped from the 380F heat press.


I can get 1 1/2 glyph disc per 240mm x 140mm sheet of MOP. I seamed together each scrap at the up-arrow and used these in discounted (fused Dials) aimed at Cosplay. The single piece, went to the more expensive complete Dials that I sold. This is why there was a price difference between the two.

//TODO: More words. Been busy with work, I’ve got more on this to say over the weekend.

XL Filament Printing (live Draft)

Printing big things

Some of my favorite 3D prints are somewhat large items. You can print giant things with normal size printers, there are some great builds out there of everything from full-size Darth Vader’s to life-size museum-quality Dinosaur skeletons.

The Bambu X1C has a 256mm x 256mm x 256mm build volume. You can do a lot in that amount of space, especially if you are dedicated to the project. My own desktop Bambu X1C has over 6000 hours of print time, everything from small fidget toys to Cosplay pieces and prop weapons.

Smaller build surface equates to more seams, more post-processing. Sometimes you just want to one-shot print a Mando helmet for a friend and not worry about seaming and sanding. This need has fed the recent trend towards accessible filament printers with larger build plates.

In this post I’m going to share my experience with two popular XL filament printers. I have some strong opinions, so it is probably best that I’m not sponsored in any way by these companies.

Printing Complex Things

In addition to larger build volume, the recent wave of printers introduce or expand on multi-material printing capabilities.

As an engineering problem there are a few ways to achieve multi-material printing.

The Bambu AMS allows users to load 4 different materials per AMS unit and has the ability to chain multiple AMS units through a series of material hubs. Lets say you wanted to print Odie from Garfield. He has a yellow body, brown ears, white eyes, black eyeballs, nose and tail. You could load yellow, white, black and brown filaments into the AMS, assign those filaments to parts of the model and print a nice-looking multi-color Odie.

3d printers assemble objects by laying down melted material layer-by-layer. The way the Bambu AMS acts like a material multiplexer. As each color change is detected in each layer, the printer retracts the current color out of the hotend by winding the spool. It then loads the next color into the hot end and purges a small amount of material into a poop chute before resuming the print.

This is really handy but it has some limitations. The most obvious is that it wastes alot of filament and time through this highly repetitive purge process. A least obvious drawback but just as important is: the thermal state of the hotend. Different materials have different extrusion temperatures and binding characteristics. Generally, the printer will heat-soak the hotend and allow the temperature to fluctuate +/- 10 degrees based on the selected material properties as encoded in the g-code file. But, when you have two materials that work well together but have wildly different print-temperatures the printer is often unable to feasibly meet the hot/cold state necessary to support both materials. One popular example is dissolvable supports. Another example is making parts that include both rigid and flexible materials.

These multi-material printing characteristics account for some design differences in the most popular printers.

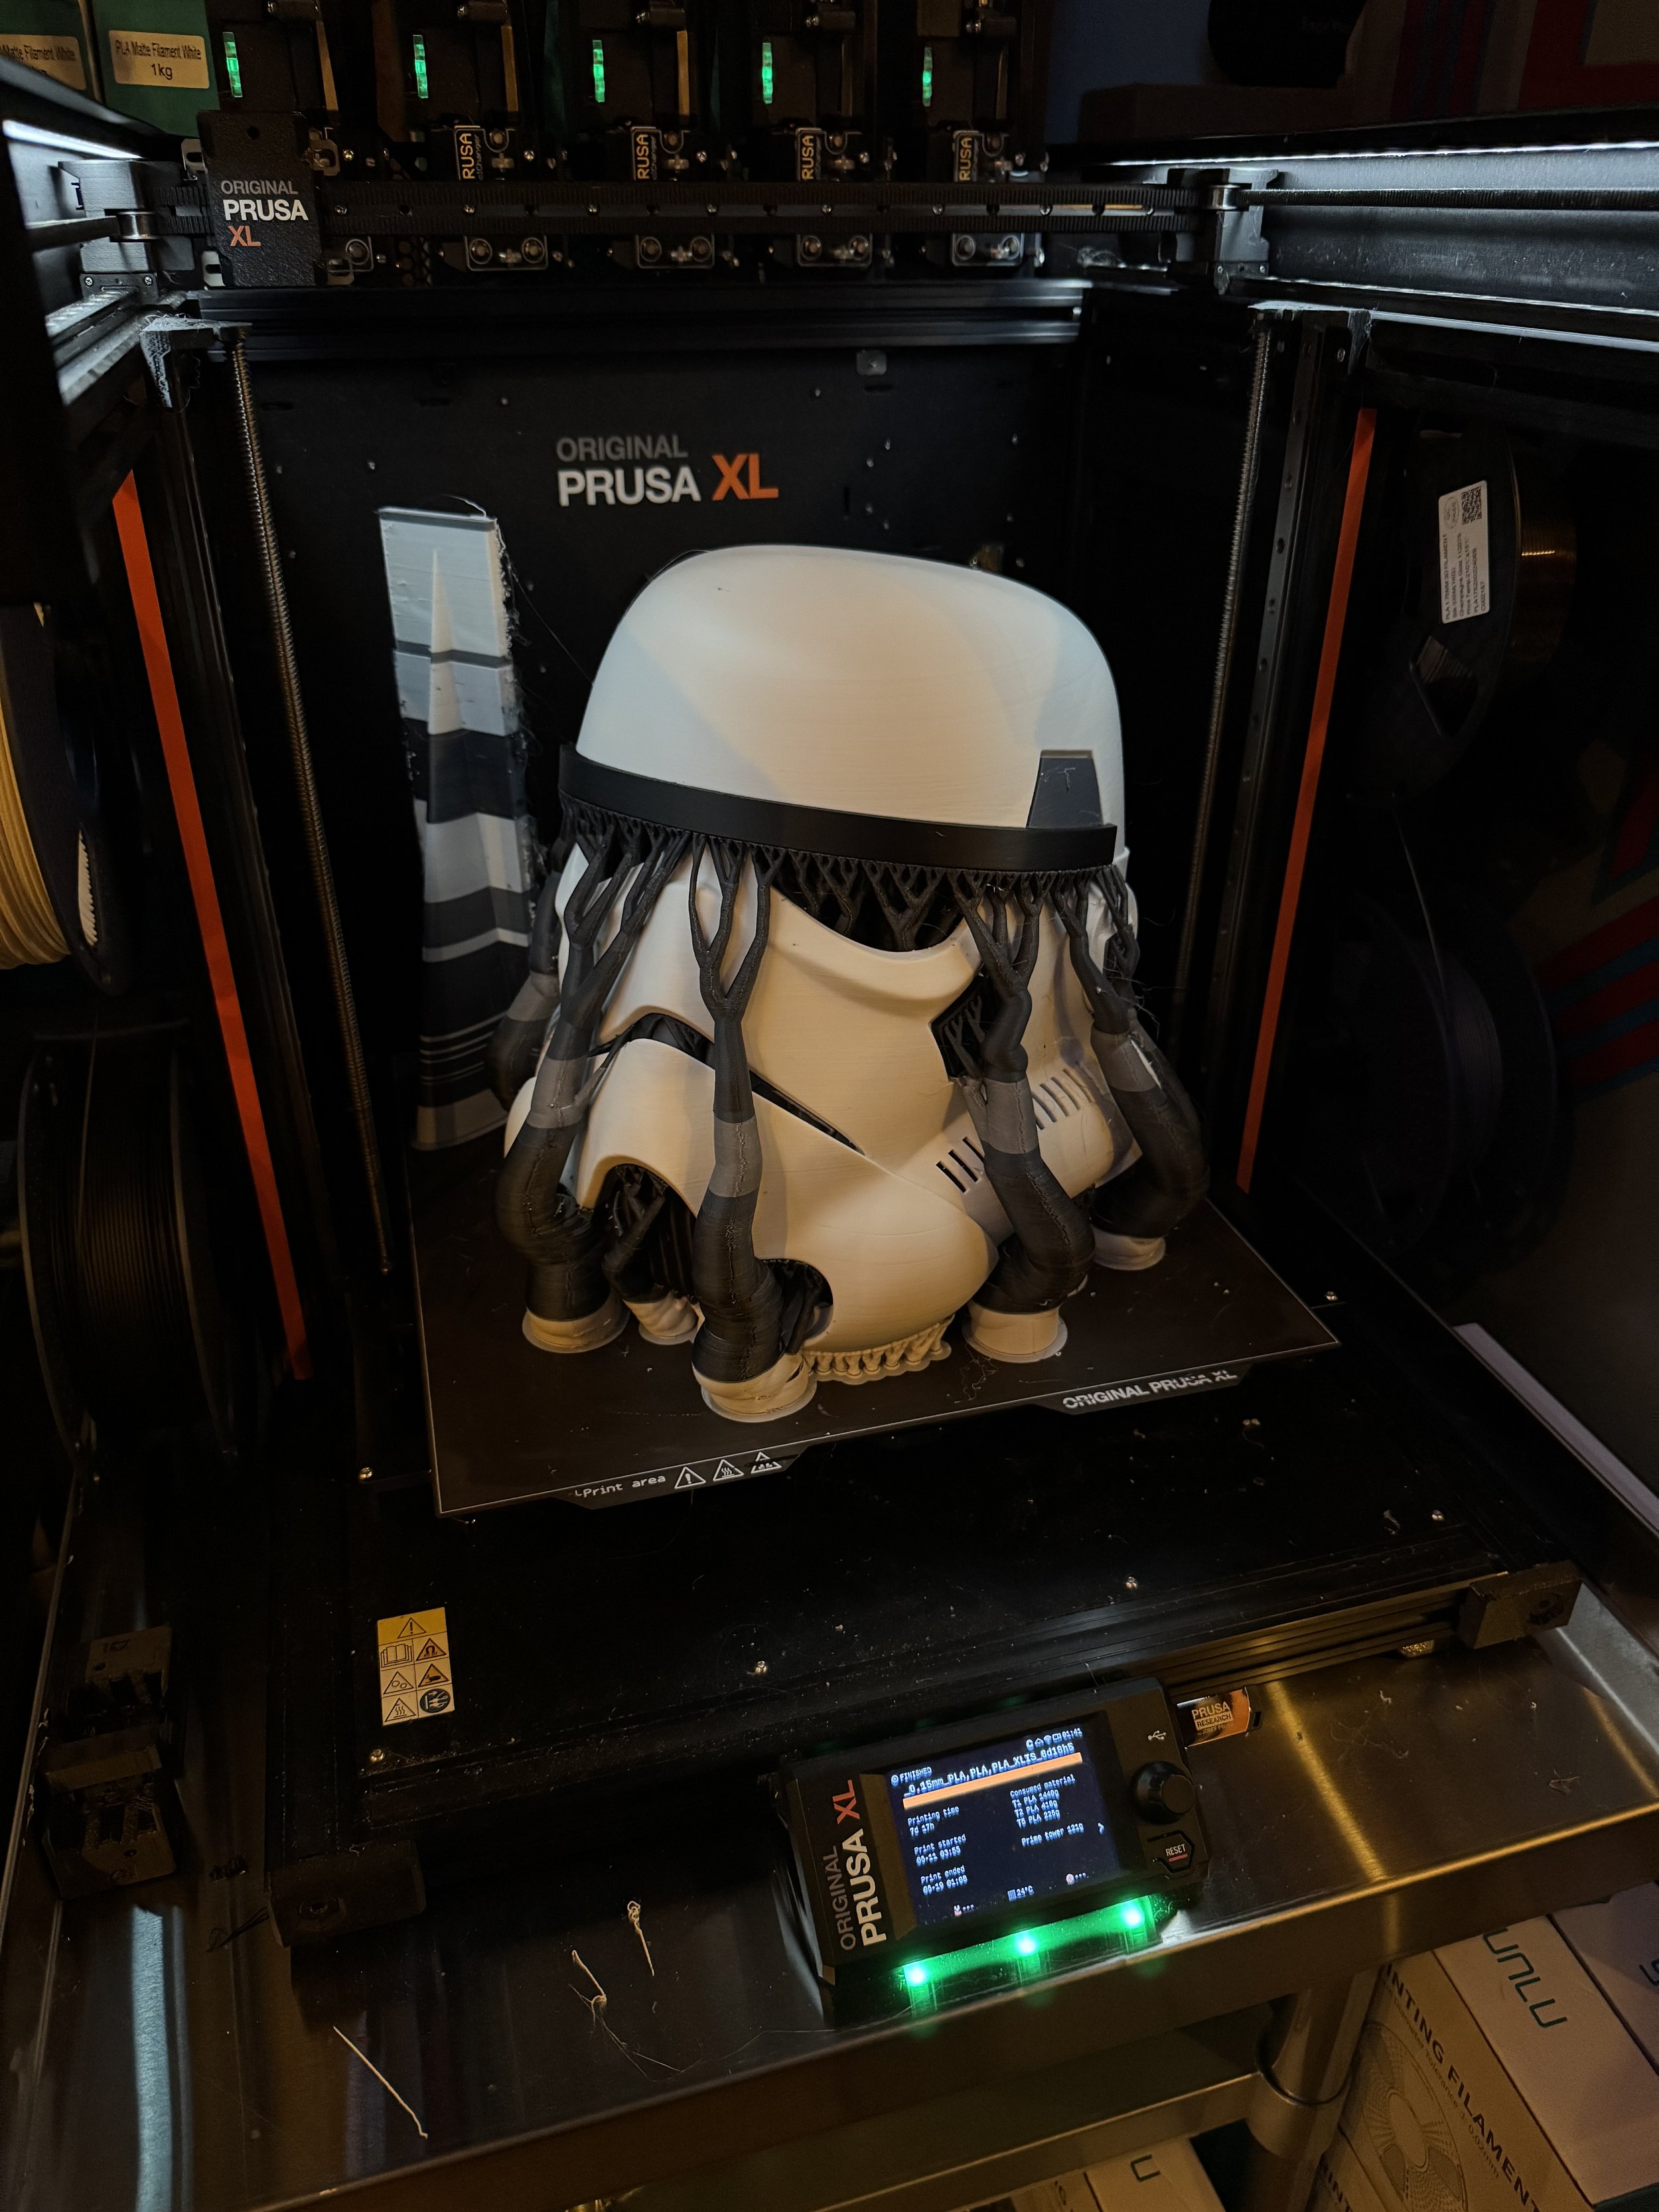
The PrusaXL 5 Tool

Coming into this hobby I understood Prusa to be a darling of the maker community. Based in the Czech Republic, Prusa is known for modular design, reasonably transparent and open ecosystem and steady pace of innovation.

When the Prusa XL was announced, I was immediately interested. A generous build volume of 360mm x 360mm x 360mm is complimented by a build plate that supports heated zones and the ingenious concept of a tool changer.

Printing a Benchy in the top left of the plate, only the top left portion of the plate will be heated.
The tool changer supports up to 5 different materials running distinct hot-end characteristics per hot-end.
Instead of multiplexing the material when the printer encounters a color change, it simply parks the current tool head, picks the appropriate tool by color assignment and continues printing. The only waste generated would go to a flush-tower and that is optional.

This has a ton of potential in time-saving over a model with many material swaps. Especially as (eventually) the firmware develops and if Prusa can prep-warm the temperatures of the various tools before they are called by the carrier / gantry.

Potential isn’t always realized.

Read the Fine Print

My PrusaXL order was held for a few extra days at a local Fedex terminal but Fedex agents couldn’t explain why. Eventually, they delivered it.

About a week later I started getting emails about CBP forms that needed to be filled out and an invoice for $157 in Duties. Most of those communications seem to imply they would hold my shipment until these were paid even though the printer had already been delivery. There are so many scam / phishing attempts around parcel handling that at first I was suspicious of those communications. On deeper inspection, they are customs paperwork and duty obligations for Prusa buyers shipping into the US. I understand those duties have increased since so-called Liberation Day. :eyeroll:


PRUSA XL: Assembly and Setup

The assembly / setup time even for the assembled Prusa XL 5 Tool, was about 1/2 of a bottle of Jameson or 3ish hours. Less, probably, if you don’t have to stop working on it every 5 minutes to make some minute decision about dinner three days from now or which pair of Terry Cotton socks from Temu are likely to match a school uniform.

The assembly guides for both the unassembled and assembled versions are on Prusa’s site. I suggest you check them out before ordering to determine your own “assembled for $more or unassembled for $less” calculus and tolerance. At a glance, the unassembled version looks like it would take the better part of a quiet Saturday.

The wiki-based assembly guides are well done and include comments from other Prusa customers that are validating.
Things like: “Why am I having to install the super delicate wifi module and antenna on my assembled printer?” or “I found this other approach easier for this step.”

Mostly, assembly involves installing the Nextruders, which is all quite easy and well designed. Setup involves a number of calibration steps that require user intervention like “screw in this thing, un screw this thing, re screw this thing back in”. Nothing difficult but you are essentially trapped by your new toy while it calibrates.


PRUSA XL: Fit and Finish

Companies like Prusa are addicted to the narrative of a printer company that makes printers that are used to make more printers. I get that. It is cute in a recursive way that my programmer brain appreciates. My first nit to pick relates to this decision.

If you must use 3d printed parts in one of your flagship products, could you at least not use the shittiest print settings imaginable for those parts?

My first experience unboxing the PrusaXL was honestly:

Whiskey Tango Foxtrot

This leaves a really meh first impression.
Add some top layers, reduce the layer height? C’mon guys.

Channel your inner Steve Jobs, just for a minute. This was your flagship printer!


Prusa XL: Layer Shifts

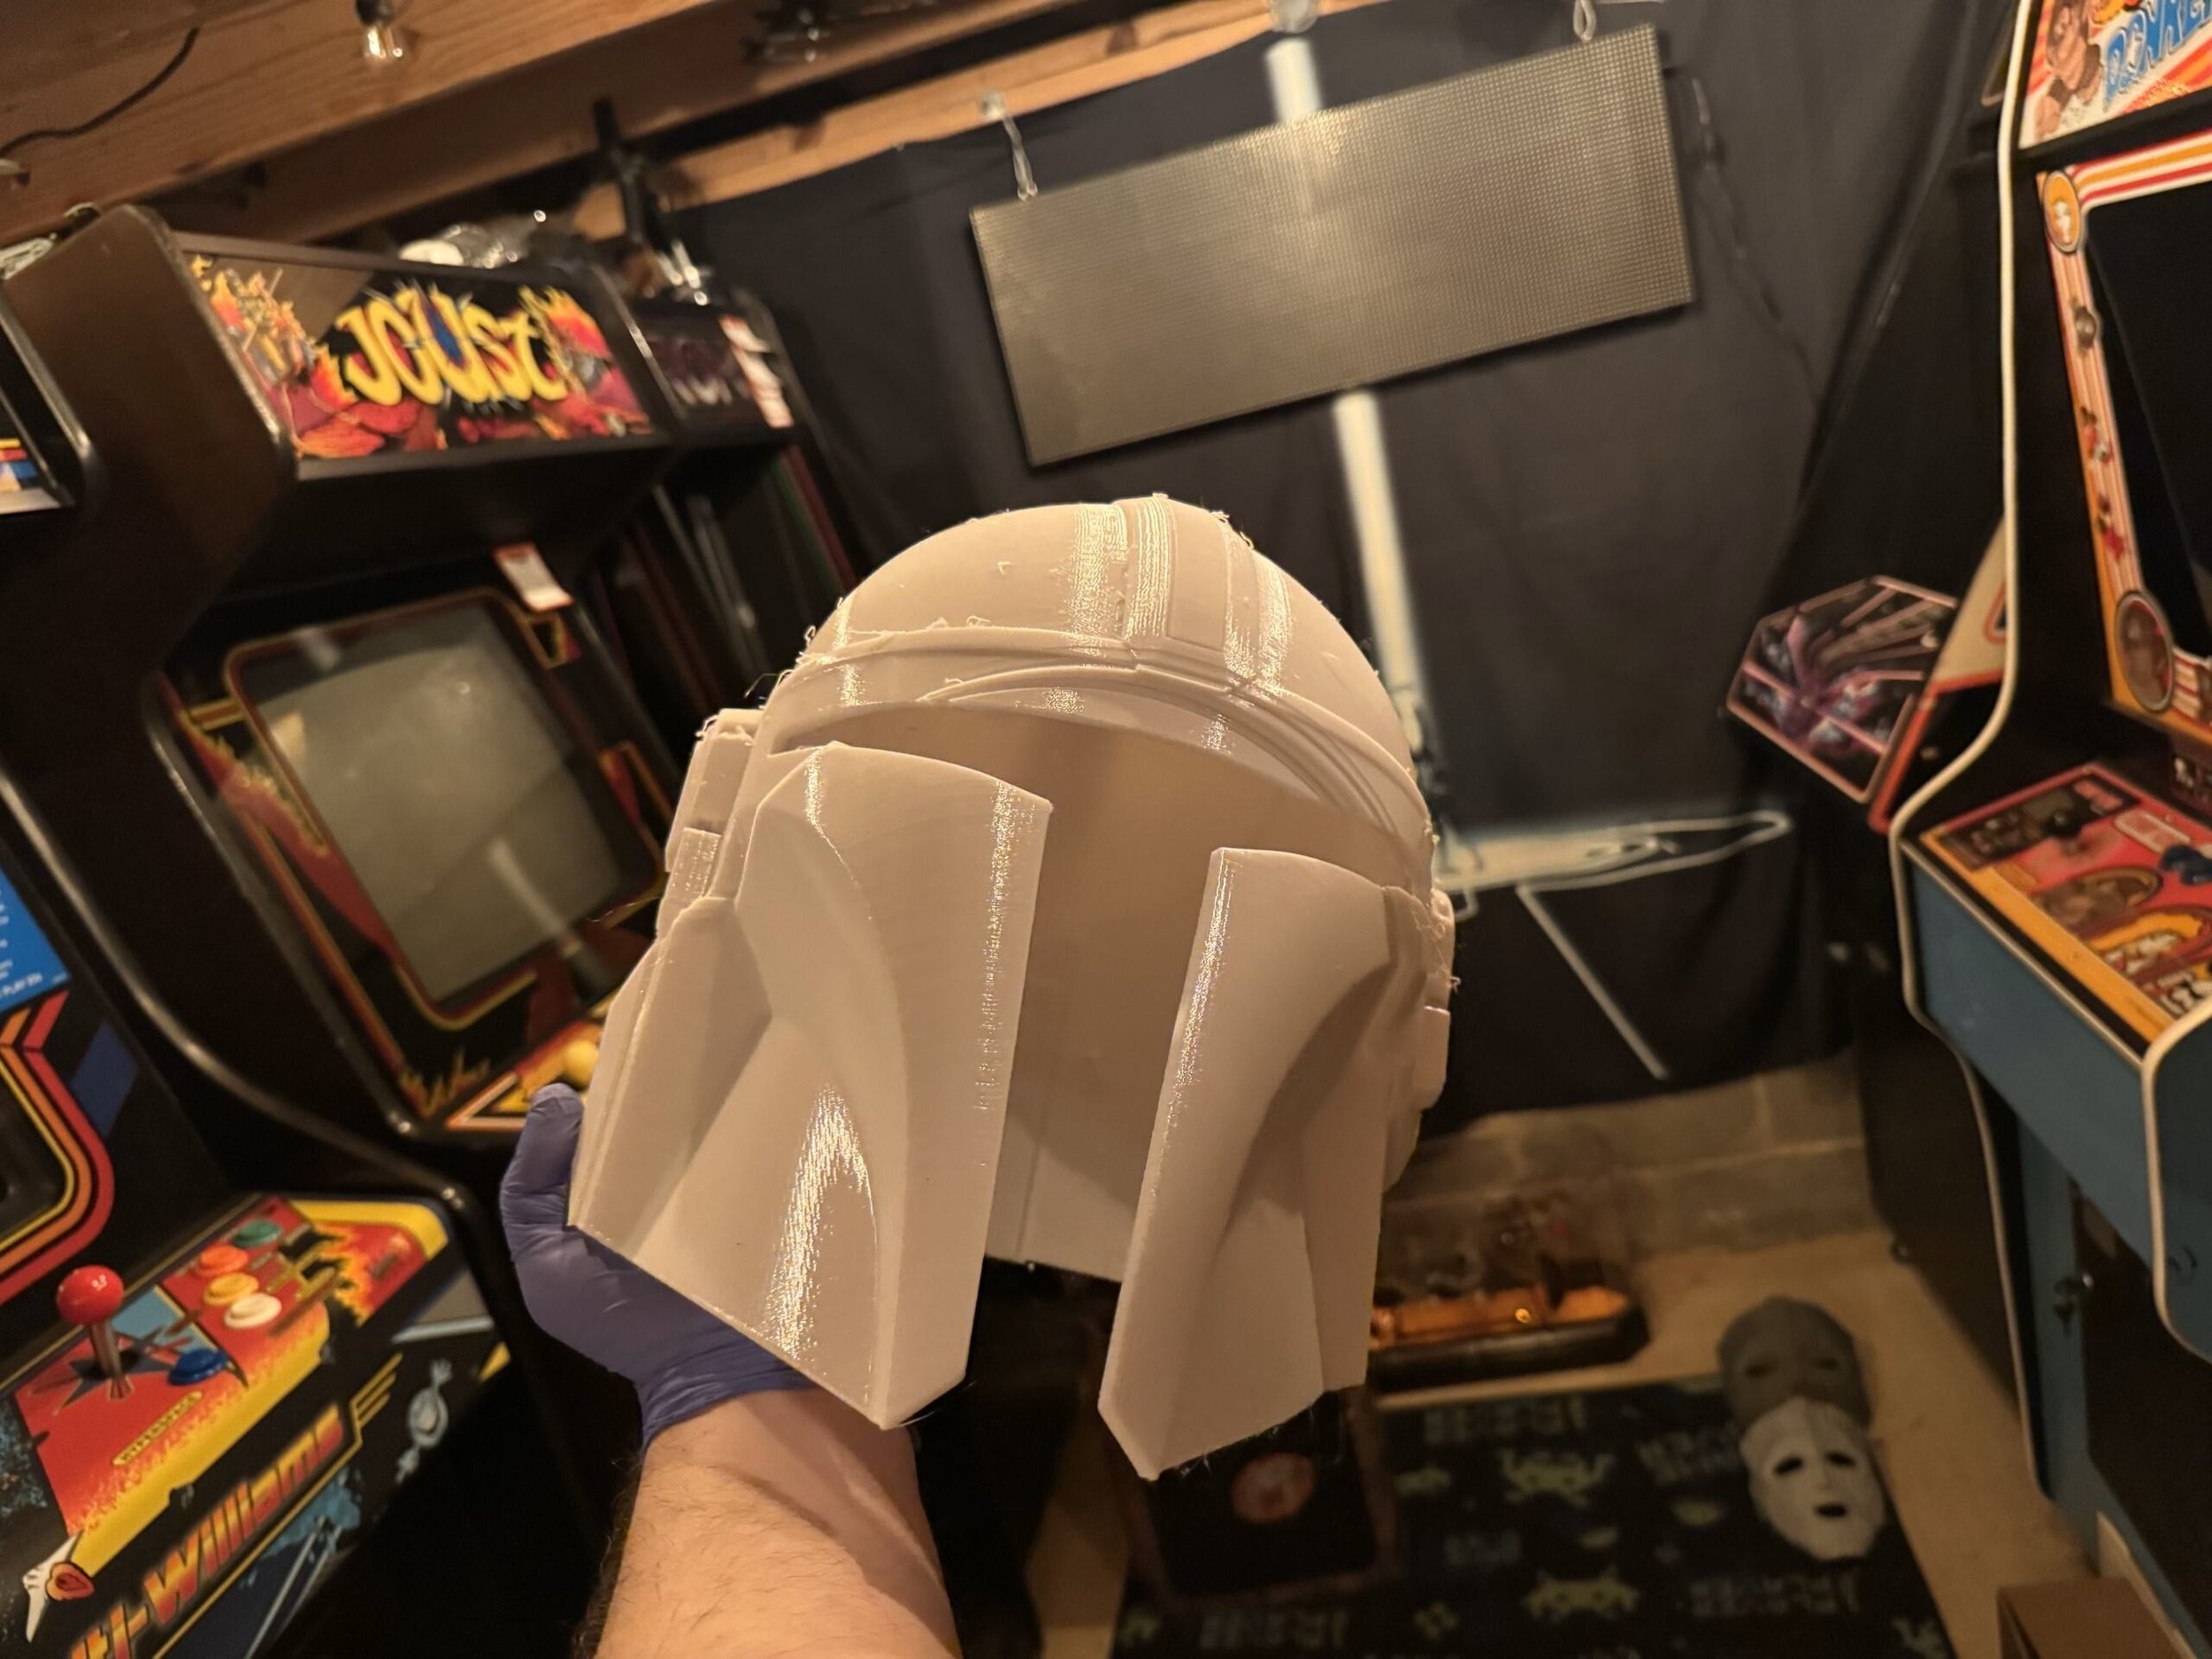
One of the first models I attempted to print was a Mando helmet. Instead of Mando helmets, the Prusa XL made a bunch of silk black bowls with massive layer shifts.

I had five consecutive failures in the attempt to make a Mando helmet with the PrusaXL. Two of these attempts included the print head being slung off of the carriage assembly resulting in an unrecoverable error. Not unrecoverable for any particular mechanical reason. Unrecoverable because of shitty firmware with many dead end errors.

Apparently the input shaper printing profile included default non-print travel acceleration of 5000 mm/s. The belts were perfectly set but this speed in certain circumstances was causing the carriage’s momentum to hop across multiple belt grooves or the aforementioned yeeting of the tool from the carriage.

My opinion is that Prusa tried to push the print speeds in order to goose their performance in head to head comparisons with competitor machines. This marketing ambition creating real problems for customer results isn’t the sort of thing that I expect from an eingeering-forward company like this.

Success

With this problem out of the way, I went on to successfully print a scaled down Sauron helmet. At 60% gyroid infill, this was a 4 day print. It turned out pretty nice. Four days seems excessive for a single color print of this size, though.

Print Quality

In terms of print quality, I’ve had mixed results with the PrusaXL. For most things, if I print the same model with the same filament and comparable settings on my Bambu X1C - the X1C yields a cleaner print. Less noticeable layer lines, cleaner support removal. The X1C just makes nicer prints.

One of my primary goals for the PrusaXL was to use PETG prints with PLA support interfaces or vice-versa. This almost never works. They have a 20 page article about it on their support wiki. I’ve read it many times. I haven’t found a set of settings that really work for this purpose.

Speaking of PETG. The same PETG that I use on my X1C in the exact same environment is always much more stringy on the PrusaXL. I can usually tweak the nozzle temp to get the stringiness mitigated but it this is a noticeable characteristic of this printer’s nozzle and PETG. Plenty of Prusa XL users on facebook groups and reddit pages have the same issues with PETG. The fanboys will all point out that, “You gotta dry your filament first.”

To that straw man I say: “Look, I don’t have to give the same PETG a spa day before the X1C can use it. I expected at minimum the same out of this much more expensive printer. Fix your damned material profiles and nozzle.” Though, I suppose if you want your PrusaXL to look like it has a penis foreskin, you can buy the $650 enclosure.

Reliability

Prusa’s are known for being workhorses. Surely this printer is at least reliable?

Not really. The PrusaXL doesn’t come pre-loaded with cameras like other printers, though you can add them. This means that spaghetti detection capabilities of other printers are not available without 3rd party cameras.

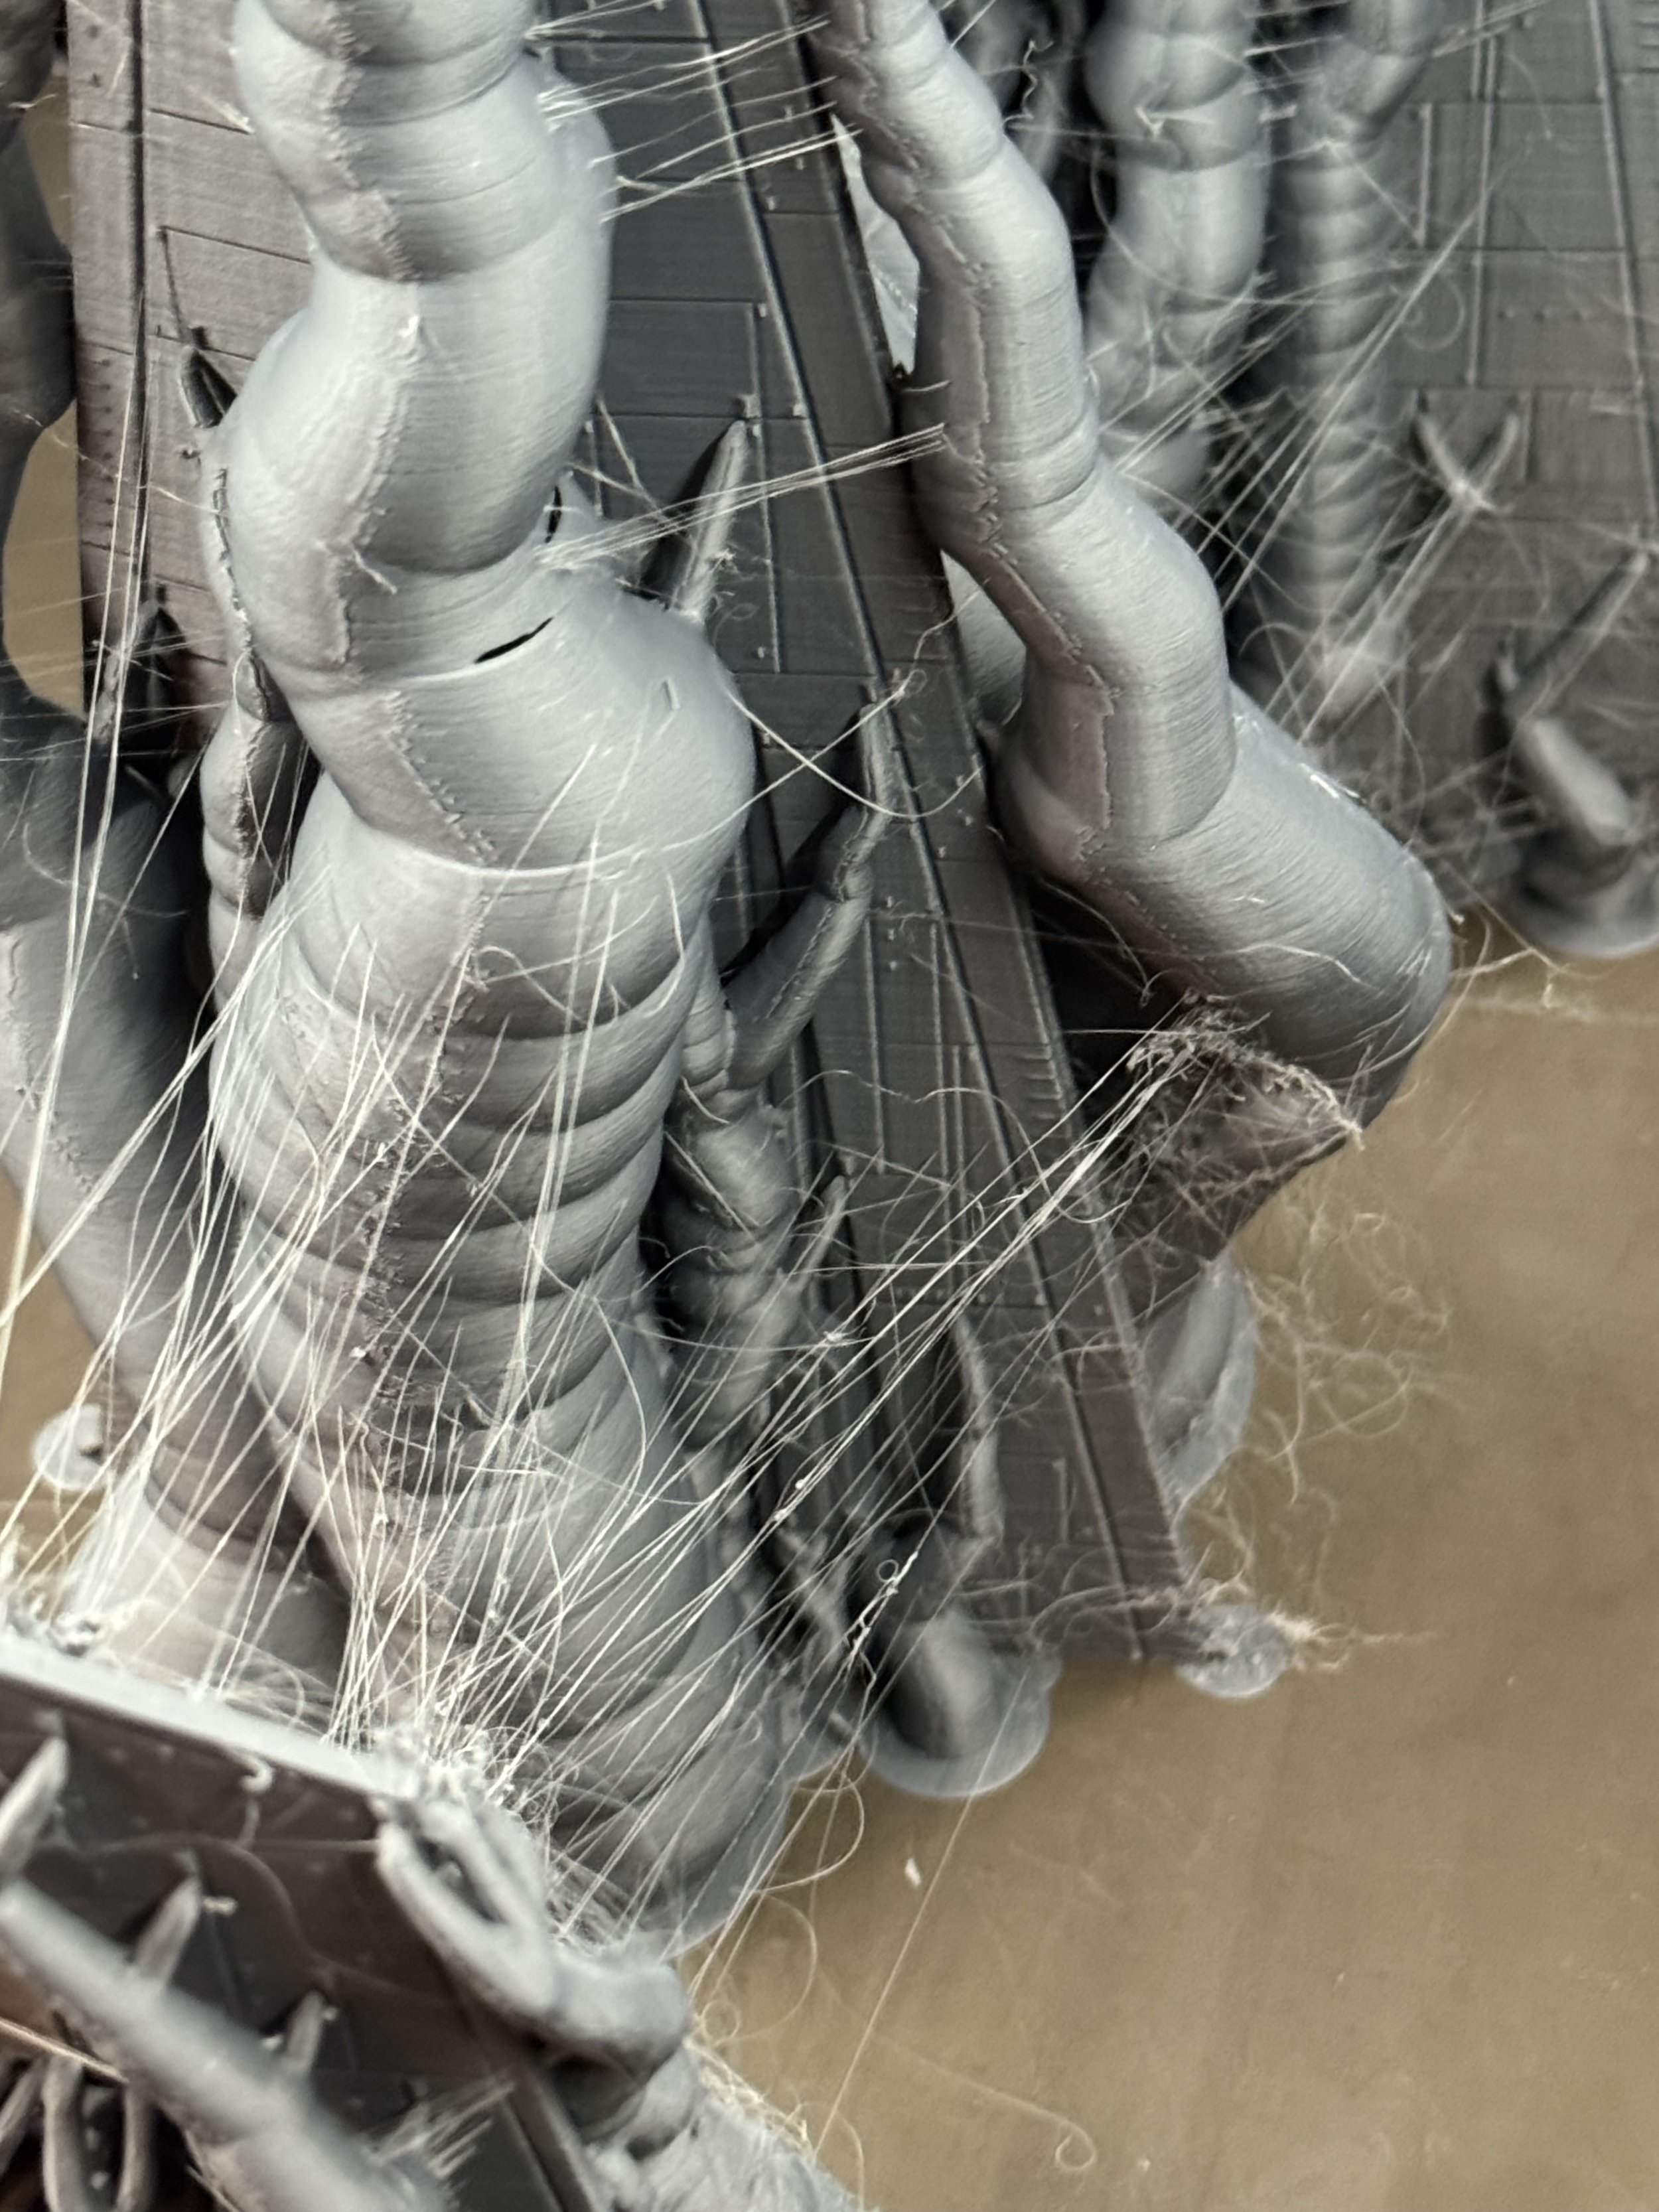
The following print was part of the Noodle Nexus AMS stacker. I printed each part twice (for a friend). This was a reprint so the same settings that yielded a perfectly serviceable part now resulted in a catastropic failure of the same hot end. The printer pulled around the melted plastic and it built up around the heater block end, partially severing the thermistor wire but this time, when I’d like the printer to detect a failure and stop - it just kept on dragging this blob around the build surface.

I wanted this.

I got this.


The (initial) repair cost for this little misadventure was north of $200USD.

I like having spares, so while ordering I scoured the site to see if I could just buy a complete spare / fully assembled tool. They come in little neat packages with the printer, after all. I did not see a way on Prusa’s site to just order a completed XL Hotend Tool that is assembled. You have to work out and buy the parts individually. I see others have asked the same question and not received any guidance. They have a $350 spare parts bundle that was out of stock.

I’m glad that I paid for Int’l Priority Shipping. 6 days later, this order wasn’t even in the US, yet.


Oh, FFS

Great. Another $70 shipped and week delay.

While I wait on those parts, at least I have four perfectly good mounted print heads to use, right? RIGHT?

Sort of.

With 1 tool offline, I can’t print anything to this printer over the network.

With Tool #3 removed from the printer.. despite the gCode not using that tool, PrusaConnect’s derpy matchy-matchy logic for qualifying this printer to show up in available resources is busted.

I get the privilege of sneaker-netting the pen-drive into the basement whenever I want to make a print. Party like its 1995.

I broke one of the rules of Murphy’s Law by not breaking down the assembly in order to check the level of the above print failure more closely before ordering the parts above.

As the filament glob climbed the heater block, it snagged and pulled the connector sideways on the Dwarf board, shearing one of the pins from the PCB itself.

I thought to myself..

“Self (that’s what I usually call me), This PCB is completely repairable, this is just a sheared off pin.”

So, I opened this support chat with Prusa to see about ordering the pins. No path for repair. Can’t sell you the pins.

Admittedly, these pins will be available at any electronics component shop and I probably have something close enough in my arcade-pinball repair stuff. With easy access to desoldering tools, a hot air rework station - this is a super simple fix. But, I thought the very least I could do is offer to buy it directly from them so they could save me the research of hunting down the exact pin for this connector type.

NOPE.

I’m so glad that I watched all of these Youtube factory tour fluff pieces about Prusa making their own boards in house and the benefits of that vertical integration to their customers.


Random Errors == Sundry Frustrations

Another one from the duh files.

Loading and unloading filament should be easy. This is a chief interaction between the customer and your product. So, for a filament runout sensor you have a PTFE tube mated on each end to the sensor block with very cheap collars. There is a travel gap inside the sensor block. 3d Printing filament is delivered from a spool and has some amount of shape-and-bend memory.

As the spool finishes (usually the tightest-curl of the filament wire) and the wire runs past the sensor, it triggers a filament unload cycle from the Nextruder. This filament unload pushes the curliest part of the filament in reverse through that sensor gap and the curl of the filament catches internally and the filament remanent doesn’t fully unload and/or creates strain at the cheap-ass collar and pops the PTFE out of the sensor block. This happens in -almost- every filament unload/reload cycle. I guess if the filament came in a tense straight line like the filament production rig, it wouldn’t be a common problem. This is just a bad design.

The 3d print community saves the day with this mod:
https://www.printables.com/model/699934-xl-filament-sensor-blocks-3x-and-6x-with-pc4-m10-p

This $4200 machine sure does blue screen alot.

Firmware != [Solutions for Mechanical Connectivity]

https://www.printables.com/model/1124941-secure-xl-nextruder-cable-connector-solution - 3d printable fix for this mechanical connection issue.

Yet another dead-end error that can occur at random intervals that puts this printer in a state from which it cannot resume printing.

I received this “Extruder Motor not spinning on Tool [n]” error several times, each case it was late within a print cycle, wasting filament and time. This particular error tends to happen more frequently on Tools 1 or 5 - because of the angles of travel involved with the cable management loom. The QR code here will take you to a support wiki that includes a fraternity of other frustrated commenters with exactly the same problem and the head-dizzying implication that this problem has since been solved in firmware.

The real problem stems from the dwarf-board connector coming partially disconnected at certain angles, shutting down the extruder stack for that given Tool.

The notions of tweaking the firmware to “adjust the tolerances” is completely bullshit. If Prusa wants to solve this with Firmware, I have a Galaxy Brain idea:

Allow an escape hatch out of this error so that the error can be cleared and printing can resume. Perhaps by.. dunno just riffing here.. reassigning the active tool to one of the other 4, mid-print.


Prusa3D: Final Thoughts

I know, I know: these are spicier takes than my usual faire. The first six months with the PrusaXL has been frustrating in a way that resonates with some of my particular pet peeves.

I joined a few subreddits and Facebook groups for PrusaXL owners and observe the usual internet-standard ratio of frustrated owners and snarky shills. I’m sure there are plenty of PrusaXL’s cranking out quality prints for makers but there appear to be just as many people grappling with avoidable issues like these. Given the potential of this printing platform, that is a real shame.

Over six months of intermittent use, some frustration and many tweaks, I feel like I’m just finally starting to get workable prints from my PrusaXL. The rational move would be to cut my losses and sell it. I’m not quite there, yet.

Would I recommend a PrusaXL?
Not based in my experience.

The Bambu Lab H2D

Clickbait thumbnail and title aside; I think FauxHammer’s thoughts after living with the H2D for a bit more or less resonate with my own.

I share the perspective that I’m not into 3d printing for 3d printing’s sake. I want a tool that works for the job that I assign it. The more attention I have to pay to the printer, the less that my attention is focused on the goal of a particular set of makes.


That gash in the box? Yeah, that is where the glass front is. Thankfully Bambu packed it well.

The Bambu H2D answers the “Big Stuff” print challenge with a 350mm x 320mm x 325mm build volume. Personally, I was hoping for something close to the PrusaXL’s dimensions. The H2D continues on the X1C’s answer for multi-material with a slightly upgraded AMS. Instead of a tool changer, the H2D distinguishes itself in waste reduction and solves for more complex material combinations with a two-nozzle design very similar to my old Ultimaker.

The H2D comes in variations with or without AMS and with or without a laser-module and related laser-safety features.

I hope that Bambu didn’t set themselves up for a support tsunami with those additions.
The laser module, drag knife and pen plotter are interesting but laser smoke-debris opens up a level of chamber contamination I’d prefer to avoid. I’ll stick to a Cricut and my garage-exiled xTool F1 Ultra (device name: Stinky Pete) for those features. For now, anyway.

Step 1) Unbox the Printer
Step 2) Let the robot calibrate itself
Step 3) Print a thing

… and it just works.


Vader’s Ship


My first test print with the H2D was ResinEngine’s Executor.

Print Profile: 0.12mm Fine
Infill: 42%, Gyroid
Supports: Auto, Organic
Print Time: 35.6 hours


Mando Helmet

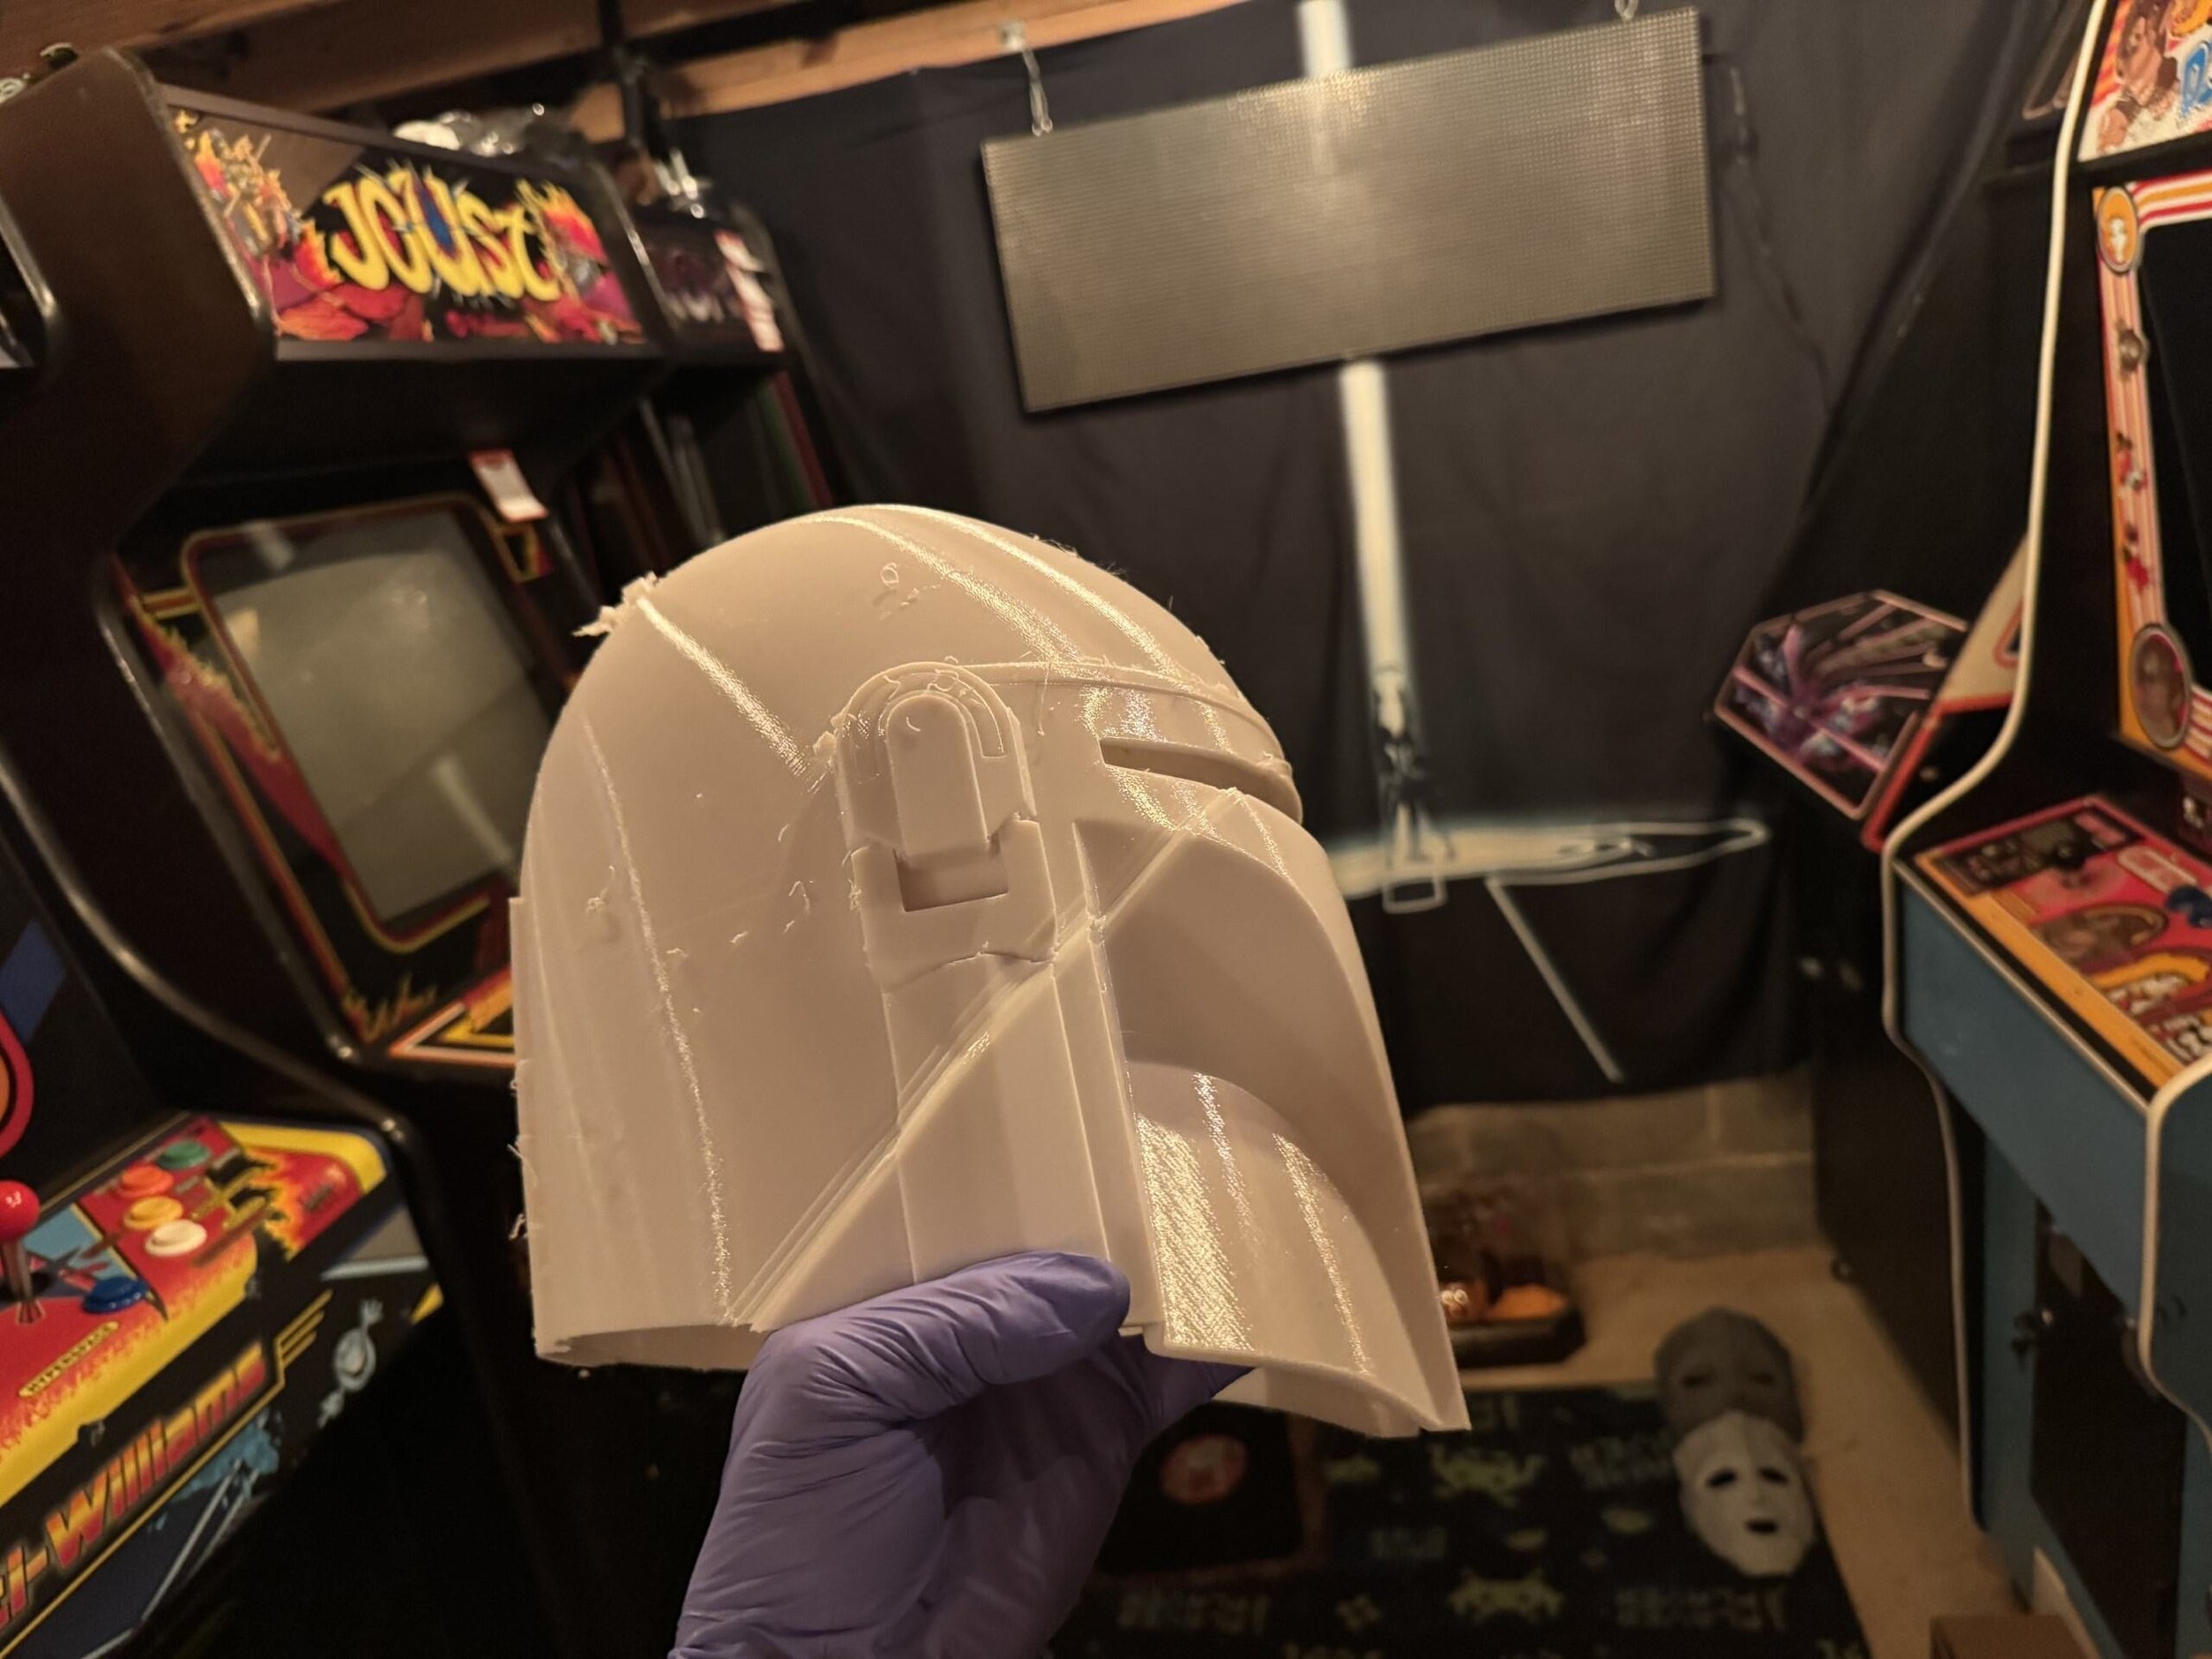
The second print test is the V3 Mando Helmet.
(in progress)

Print Profile: 0.12mm Fine
Infill: 42%, Gyroid
Supports: Auto, Organic
Print Time: 35.6 hours

Far from perfect but I’ll be able to make this work. I’m tempted to lower the table to reduce vibrations, recalibrate and try again.

PrusaXL vs H2D Head to Head

XL Resin Printing

I must admit my first resin 3d printer left me underwhelmed. I just didn’t get it.

All of the extra process and mildly-toxic material handling didn’t seem worth it to me. I felt like the build plate was tiny with limited utility. It also seemed easier to screw up and make expensive mistakes. Like, printing a Cinderella castle in an orientation where the extremely sharp parts puncture the film. (ahem) Though, I had a specific use case for a transparent part and the printer serviced that need well enough.

I’d likely have felt differently if I was into tabletop gaming but alas, that life is not for me. Not for lack of interest, my family and work schedule seem consistently too restrictive to allow for multi hour gaming sessions several times per month. I’m jealous, really.

Size Matters

Large format resin printing brought the utility and flexibility I was looking for to justify the extra processing. For parts that required a uniform translucent material, resin is a good answer. Resin is great for sub-millimeter accuracy. Resin also expands your toolbox of material properties with some cured resins exhibiting characteristics of ceramics rather than typical thermo-plastics but easy use of ABS-like resins when that is your need.. Most electroplating services can be dubious of filament for fear of spoiling their acid baths but happily accept resin parts. For prop-making, I’d often found myself using high-infill rates or building sand/concrete-pour channels to add weight to FDM-printed models. Making a resin print solid doesn’t require any infill pattern shenanigans that might introduce seams or sacrifice the surface quality. When making batches of parts, the ability to run large plates of parts is really nice.

Because of these characteristics and a side-adventure into prop making, within six months I had a significant amount of the Elegoo outer solar system represented in Resin printers. Two Elegoo Saturns, two Elegoo Jupiters and a Phrozen Mega 8k on pre-order.

Having spent some time with all of these printers, these are my notes.

Saturn Ultra

The Saturn 3 Ultra is a good machine. In many ways the advertised 12k resolution was more gimmick than practical. The ability to issue print jobs over the network from within Chitubox was nice. The Saturn 3 Ultra’s network printing features are pretty basic, however. Closer to “drop a file via sFTP” than a tight integration with full machine and job management and status callbacks. Network printed files get uploaded to the Saturn’s local storage which is limited and fills up pretty easily, requiring intervention.

The 12k panel costs more to replace and the results aren’t significantly better than every other printer in this class. The black hood looks nice. No hood would be better. The mask LCD is attached to the surrounding frame with adhesive which makes replacing the panel and re-leveling for accuracy somewhat of a pain.

Ultimately, my chief complaint with this printer was the limited build volume. (218.88x122.88x260mm)


Elegoo Jupiter (OG, 6k)

To answer the need for volume, I ended up moving to the Elegoo Jupiter 6k. An absolute workhorse, the Jupiter is massive - about the size of a dorm fridge and twice the weight of such. I liked this printer so much that I went off and bought a spare, having grown to rely on it. The 277.848x156.264x300mm build volume brings alot of utility opening up for some massive prints.

The metal-box construction includes two USB ports and still has an optional punch out for exterior ventilation. The O.G. Jupiter didn’t include wireless capability and I found it to be picky about USB thumb-drives. It didn’t perform well with my Sandisk drives but is rock solid with these PNY thumbdrives.

The LED light in the cabinet is quite handy.

Door beats hood, every time. It is so very nice to not have to find a place to stash a hood every time I removed a print. The tinted plastic does a reasonably good job of keeping UV out but since I operate these in an open garage I still opted to attach blackout cloth with magnets whenever resin is in use. Sustained, direct UV will penetrate that tint. Speaking of UV leakage, Elegoo seems to have made no attempt at preventing UV leakage from the lightsource in the machine. The fan vents let alot of the UV out, so keep this in mind if you have nearby uncured resin.

The taper-design of the build plate works well to keep resin from pooling above the plate. The vat is well built with so.. very.. many set screws. The vat includes a clever bottle-refill attachment that I’ve literally never used but appreciate the simplicity.

Leveling is achieved with 4 horizontal set screws. I found leveling to be pretty easy but a common complaint is that over-tightening the horizontal set screws can engage the threads beneath and bring it out of level. If you experience this - put airsoft BB’s in the set screw hole to act like plastic bushings.

I’m not really sold on fast-printing or fast-resins but the Jupiter is effectively twice as fast as the Phrozen Mega 8k. The default resin profiles for the Jupiter have two-stage lift speeds of 65mm/min accelerating to 180mm/min. You can sort of think of the Jupiter as a larger, heavier, Saturn 3.

I think the current standard for fast resin printing is 300/1000 mm/min.


Reliability

In my experience the Jupiter has been a reliable machine. My main unit ran in the garage with an almost-commercial workload of 1-2 bottles per day from Fall of 2023 through the Summer of 2024. From cold winter nights and blistering hot summer days, it just ran. I only ever had to use the spare machine for a few weekends to get caught up. I have encountered two failures with these machines.

Screen Failure

In late July, after hundreds of kg of resin in this one machine, it had a screen failure. The failure didn’t seem to correlate with any particular print failure but it was insanely hot at the time. I suspect that the cause was de-lamination inside the LCD panel itself.

The replacement panel was $180 shipped directly from Elegoo and was extremely easy to install. Unscrew the mounting screws, attach the ribbon cable and re-fasten the mounting screws.


MOSFET FAILURE

I switched my remaining workload to the backup machine, which was more or less new by comparison while waiting on the replacement parts. This machine experienced a failure, symptomatic of the UV light remaining on regardless of machine state. Evidently, this is a common issue and relates to a MOSFET (like a transistor) shorting to remain on. Here is a pretty good blog post about it: https://blog.honzamrazek.cz/2021/06/fixing-the-backlight-always-on-problem-on-elegoo-saturn/

The machine was still under warranty but I also ordered a spare mainboard for $58 from Elegoo.

Elegoo’s Support Experience

In southern terms, I’d put Elegoo support in the “bless their hearts”, category. I think they mean well and eventually they arrive at the right solution. My biggest complaint is the same complaint I have with most 1st-level tech support experiences: They waste alot of time. You can email support on one business day with a dense but thorough set of troubleshooting steps and some direct and reasons observations. A day later, expect a boilerplate response that has you repeating steps already covered in the first email.

You must jump through the hoops but once you do they tend to stand behind their products and out of warranty parts are reasonably priced.

Phrozen Sonic Mega 8k

The Phrozen Sonic Mega 8k sports a 15” masking LCD screen and ample build volume of 330mm x 185mm x 400mm. Phrozen’s perforated build plate design is meant to reduce suction during retract. Reading reviews, I was concerned that this flat build plate design might lend to issues with resin curing in the holes but thankfully that hasn’t been a problem.

The V2 model of this printer introduces an integrated drip hanger and there are open source models and etsy sources for retro-fit plate drip hangers to work with the V1 version of the printer. I do recommend using one just be careful to use appropriate material if you print your own. Having the plate crash down into the VAT has the makings of a bad day.

Unlike the Jupiter, the Phrozen Mega 8k build plate comes factory leveled and I’ve found their factory leveling to be very good.

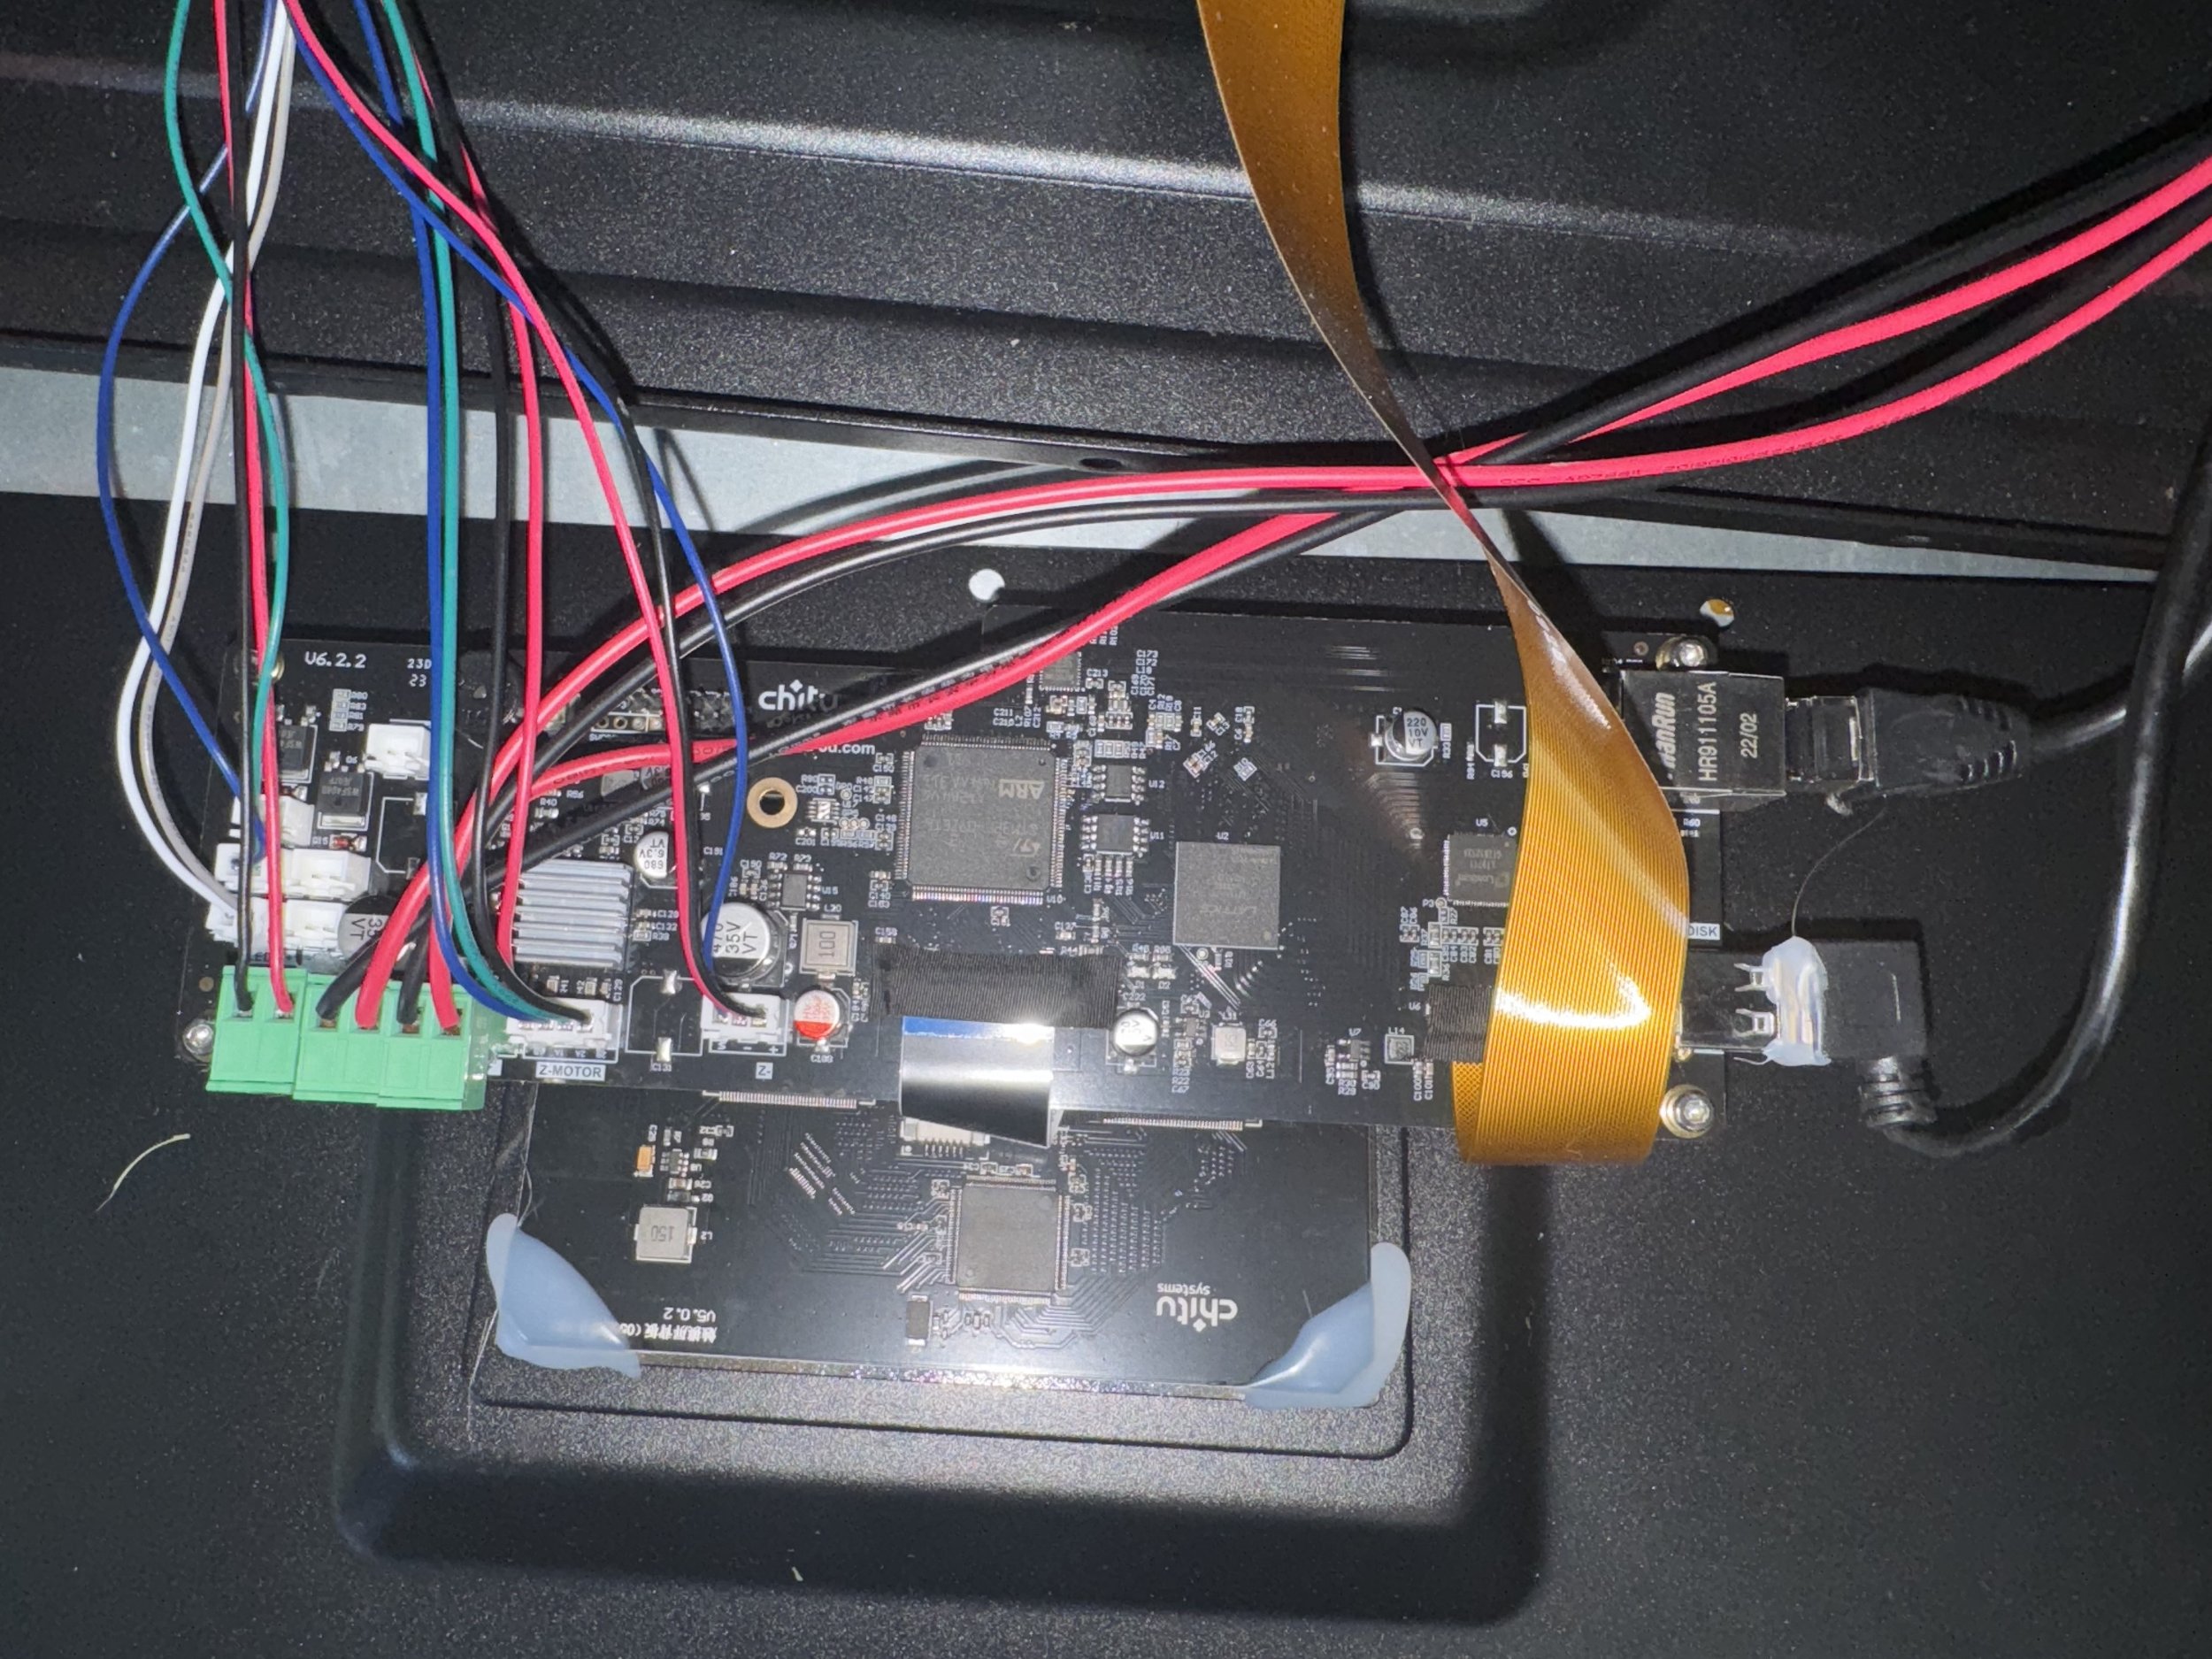
The cabinet door design has its pros and cons but I broadly like it. There are more (and more powerful) cooling fans inside the Phrozen Mega 8K to keep the light source and PCB well ventilated. The PCB, Panel and Touch screen are also sourced through Chitu Systems, which provides piece of mind in the event something happens with Taiwan=based Phrozen’s ability to supply parts and upgrades.

The Phrozen Sonic Mega 8k’s $3200 price tag is pretty steep for a resin printer and seems extreme if you consider the Elegoo Jupiter and AnyCubic Max line of printers. I will say that the Phrozen support experience has been very good, though I still experience the typical lag in responses due to their offset in operating hours.

The Phrozen Mega 8k isn’t a fast machine. I find that it is easily about half as fast for the same jobs as the Jupiter. I suppose the printing profiles could be tweaked to eek out additional performance.but I’ve been very hesitant to do so. This printer is consistent but the extra time focuses the use case, for me anyway. I could make 1 Dial of Destiny prop per day with a Jupiter printer but the same job takes 2 1/2 days on the Phrozen, based on the current profile defaults. This speed is okay for my use case that favors quality over quantity but if you plan on cranking out many parts often, you may consider a faster printer.

Dial of Destiny, A Year Later

My final-state Dial of Destiny

As a recap: last year I converted a portion of our basement game room into an Indy Themed Bar and fell down an obsessive rabbit hole building Indy props that would have made Alice proud.

In the process I met some really awesome Indiana Jones fans, raised a little money for charity, picked up some CAD design skills and significantly upgraded my at-home manufacturing capabilities to include 3 fdm and 2 resin printers. I also added a ton of top-tier Indy props to our bar through trades and other shenanigans.

Mark XLII

No, I didn’t actually make 41 other designs though sometimes it feels like that many. In MCU Iron Man Tony Stark builder-parlance Mk42 was the result of a particularly obsessive period of focus following Tony’s experience at the Battle of New York. If you are superstitious, the naming has a pseudo-cursed connotation. I’m not superstitious and 42 is an awesome number.

In the time that I started making these Dial props, I’ve been careful to not call them replicas. There were a few incorrect initial guesses in my design and certain aspects of the original film models that my models didn’t even attempt to address. Also, I’m still an amateur at painting details and weathering.

Using the photo below, I revisited the designs in hopes of closing the gap towards replica-status.

This brilliant photo of the original hero film prop has been my sole design-update inspiration.

After spent a few months of on and off staring at the photo above, I started to make notes on design corrections that would make my model more accurate.

The glyph bowl angle of my previous build was too steep. This changed the depth of placement of center components and increased the size of the white glyph rings. The typeface of those glyphs was closer to the Disney World prop than the film prop. The original design had incomplete inset inscriptions on the sawblade gear and gold viewfinder disc. In fact, the viewfinder disc should act more like viewfinder floor. The large side was missing additional gear-teeth details. The way that my original model split using a center threaded retention plug was annoying. The placement of that split was a little off the mark.

I’ve also encountered a slew of issues related to my CAD environment. Shapr3D, being a parametric modeler isn’t well suited for sculpting like a direct modeler. It is outright hostile to handling mesh files, particularly where mesh files and parametric-modeled bodies influence one another. For example: I used adobe tools to make the glyphs themselves. These svg paths aren’t directly supported by Shapr3d and get converted into stl-like meshes as part of the import process. Anything that uses these meshes also get converted to meshes. So by using meshes as cutouts I limited my ability to go back and edit parts of the model later. This project is not well aligned Shapr3D’s capabilities.

Thankfully, a year after the film release and after a few weeks of renewed interest and tinkering I think I finally rounded home plate on a replica-grade Dial of Destiny prop, despite these challenges.

Ordering Info

I don’t expect a ton of interest and frankly I don’t plan on making that many of these. However, if there is interest I don’t mind making a few extras to sell. It will be more of a premium-priced project with any b-stock going to fleaBay. You can use the order link below to purchase a Dial based on these new designs.

I’ll also post a few on an Etsy store until they’ve all found homes.
What’s included:

A Dial.
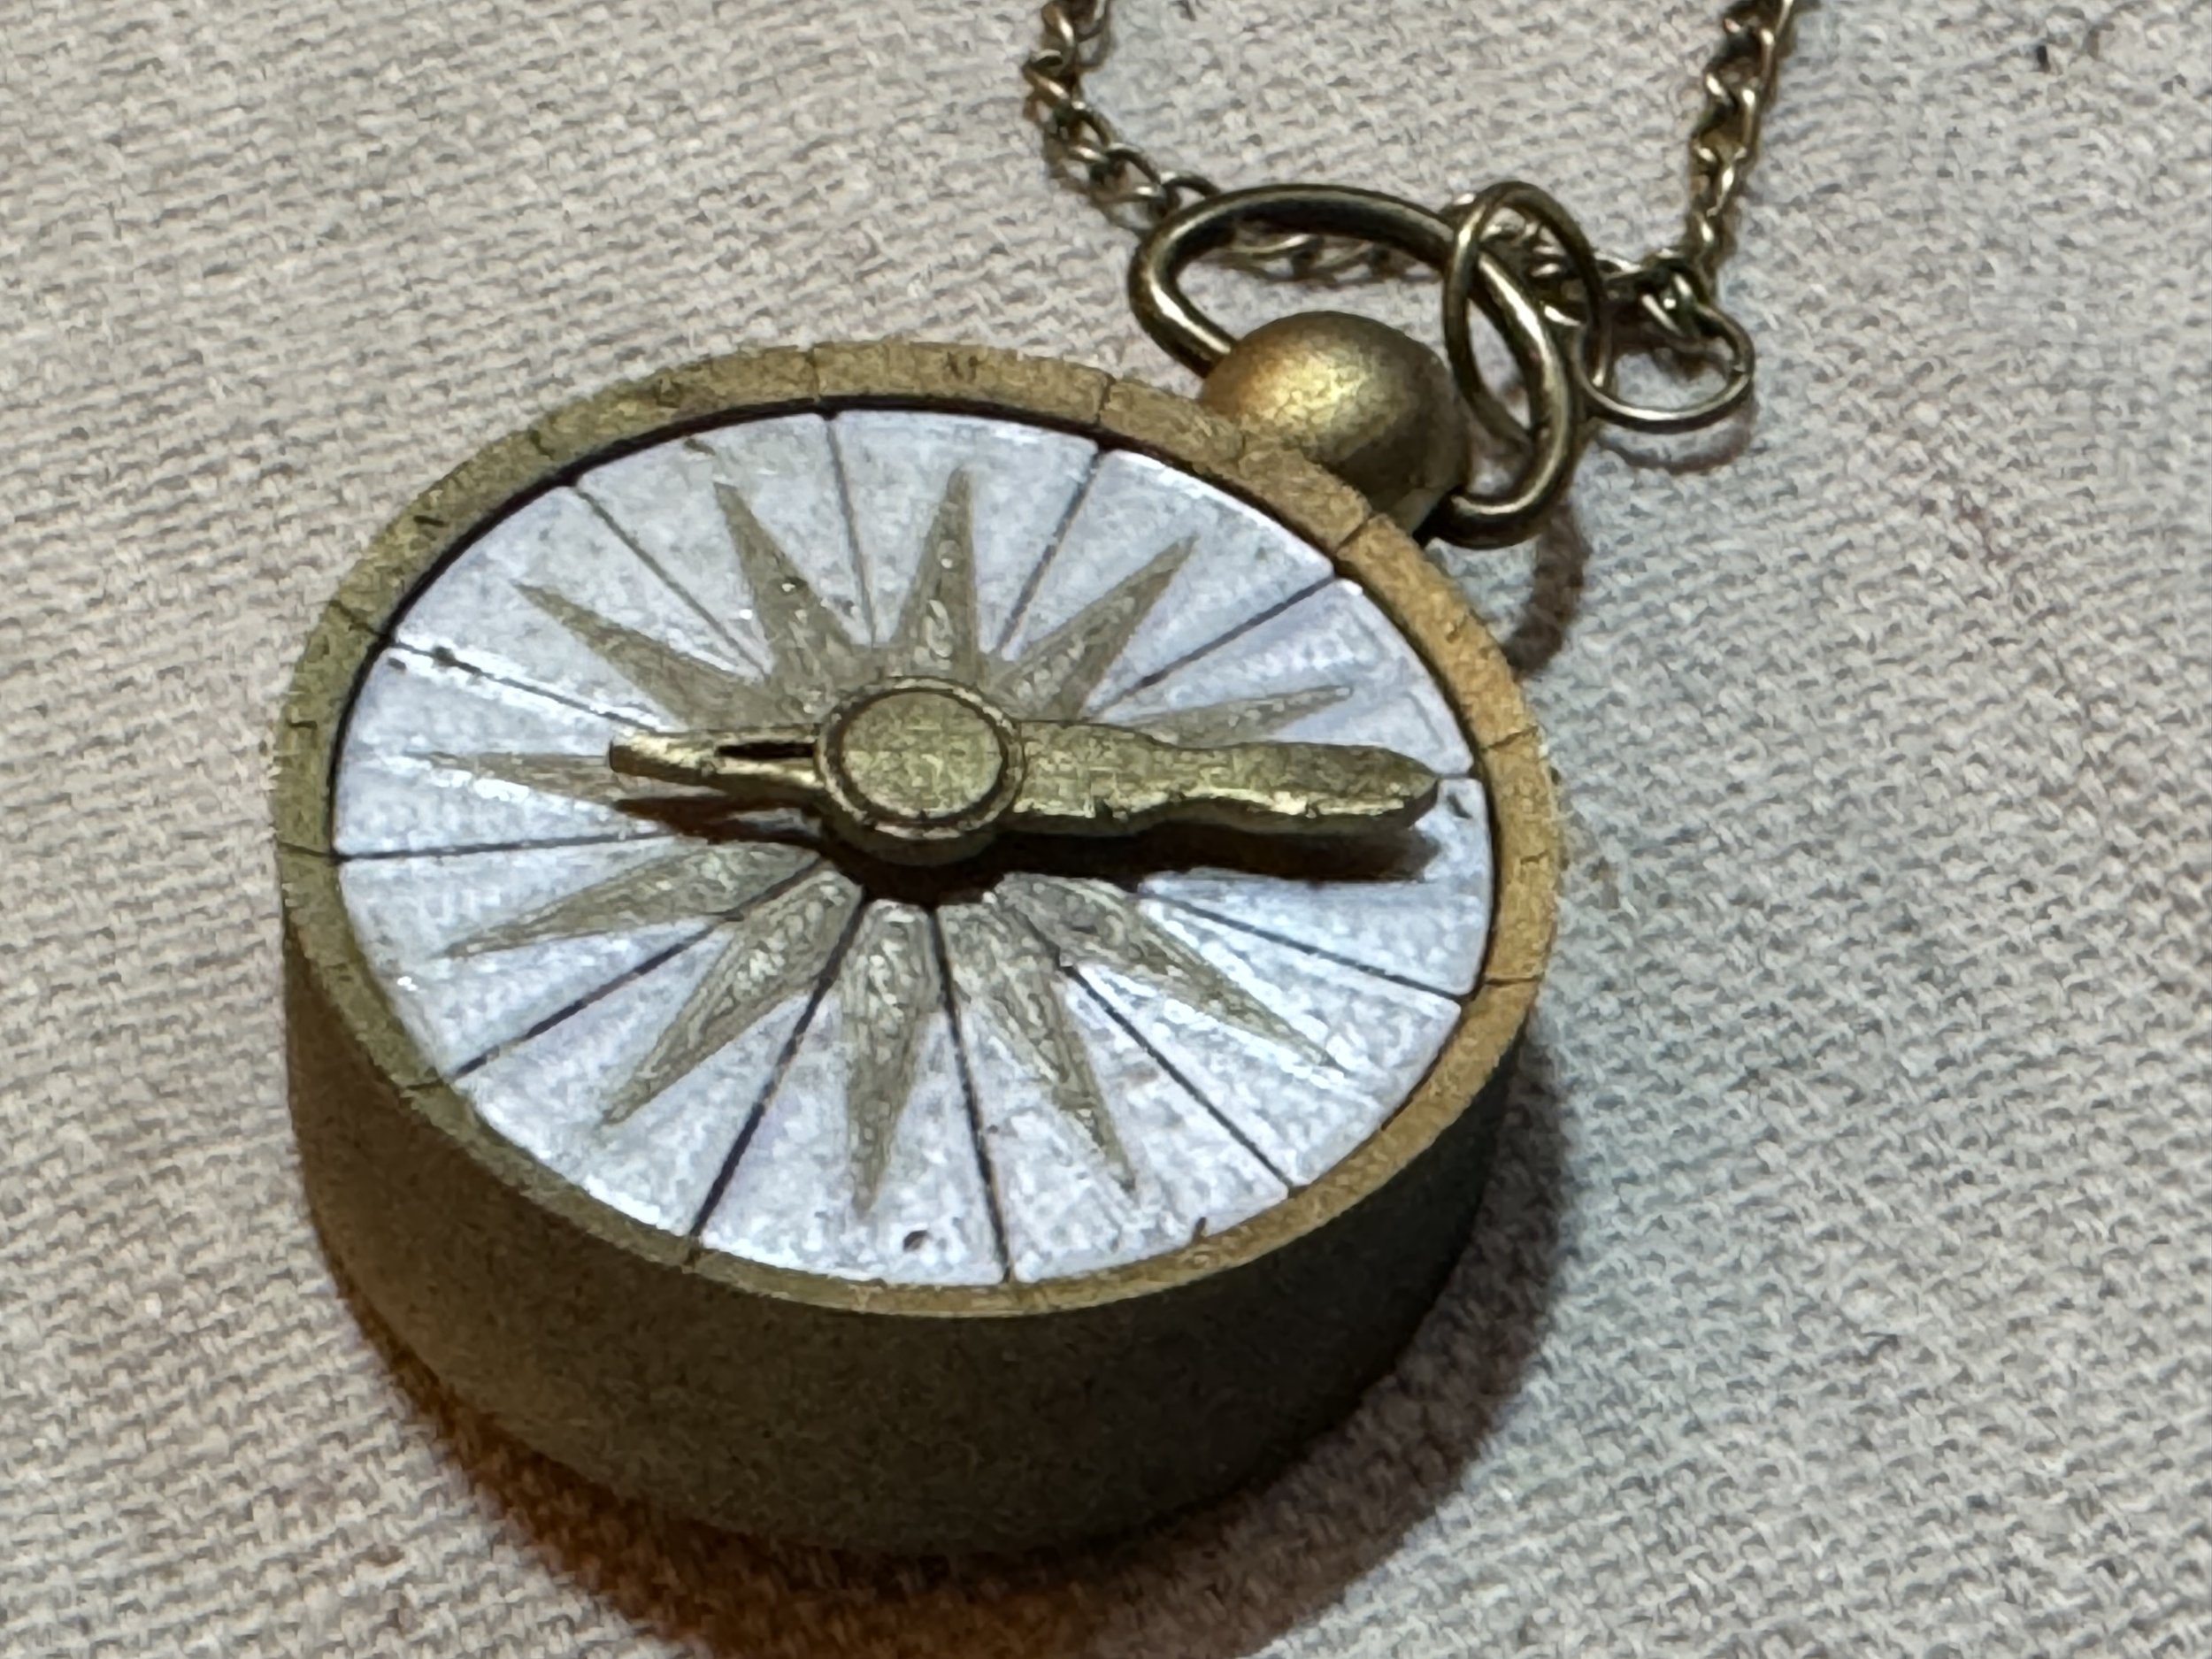
A Compass.

A DIY path to make your own lanyard like shown.
I [really-really] don't have the aptitude (or time) to make these lanyards right now.

Making the Spring Compass

This build assumes a conical / tapered spring. My early prototypes used the springs from mechanical pencils but they do not compress flat enough to be effective. The valve springs that come with a Delta Faucet RP4933 repair kit work reasonably well too but could be a little longer and Ace sold them for $7/pair. Ultimately, I settled on guitar pickup springs.

I designed the compass around the Hillman 903 1/4 x 1-1/2inch fender washer. Metal, because: thinness, resiliency and weight. I briefly tumbled these washers in a coarse media to lightly rough them up but I made 24 of them. Sandpaper works too. I printed and glued a PLA+ pad to act as a dial receiver and spring mount. I clip a small portion (1 loop) of the pickup spring to shorten it. Heat it with a torch and push it into the PLA+ to seat it. Don’t breath that in, btw. Then I add a little glue to reinforce the spring-pla mating surface.

The inside of the compass foot is a two stage pattern that locks into the Dial. I built slide grooves into the compass body and grooves and a catch into the big + small foot assembly. The center spring pushes on the center small foot which creates tension for the locking pin, slides downward in the groove to the point of the catch, which pulls the larger foot out of the body. The locking pin is steel cut from landscape pins and edge glued into 3d printed resin head-beads with a D-Ring hole.

Making the Lanyard

I won’t be making lanyards for people. The hourly rate would be in the “I hate doing this” price point. Making Dials can be pretty fun. Making the lanyard is not my thing. This lanyard took me a couple hours of eyestrain and mild frustration and it shouldn’t have. There is probably an easier way. Admittedly I watched 1/2 of a non-english muted youtube video about spacer beads and bracelets and the Squirrel that controls my attention span said “Nope.” As I said, probably a better way to do this but in the interest of sharing:

DIY Path:
- For people that buy Dials from me I will include the painted, resin spacer beads that I used and I'll share the model shortly, though it is nothing special.

Eye Pins:
Amazon.com

Jump Ring Kit:
Amazon.com

Chain and Lobster Clasp Kit:
Amazon.com

I'll shoot a quick video soon but essentially just using a cheap needle-nose plier, wire snips and super glue:
I put an open super-glue tube (the kind with the plastic applicator funnel) on a paper plate. I trimmed the eye pins, shove the the eye-pin wire into the applicator tip of the super glue to very-lightly coat it and then using the small needle-nose pliers, push it into the bead. You have to do it before the glue dries. Do this for both sides. If you are fast enough you will only have to actually apply glue to one eye pin wire per bead b/c they will glue together inside the spacer bead.

- I recommend using cheap pliers instead of your nice stuff so that if you get glue on it / who cares. Some of my time was spent cleaning glue off of nice tools.

(Did I mention?: I'm sure there is a better way to do this.)

Then, essentially just cut lengths of chain, open, apply and crimp the jump rings. Build out your segments as desired:
Jump Ring -> Chain -> [Eyepin + Spacer Bead + Eyepin] -> {repeat / alternate bead types}
Get to the length you want, add lobster clasps or rings. Each compass has a D-Ring installed.

Project retrospective


A Mild Bummer
The only negativity I experienced throughout this adventure was centered around a single individual who feels the need to slander or belittle other hobbyist prop-makers. He apparently likes to claim that my plans were derived or reverse engineered from his own. I typically don’t engage with other folks’ wrong-headed thinking and online drama. I’ll just address it directly and say that claim was bullshit and continues to be bullshit. The proof is on this blog and on youtube. I recorded the design sessions.

He likes to claim that I bought one of his Dials to reverse engineer it. In actuality, I did buy several Dials from other people, including his. One that was made for someone else, a cancelled order for someone that had medical bills to pay. I later Etsy-stalked someone matching that description and set them up with a Dial of their choice for free.

I sleep great at night.

Generally, Awesome
I had a great time making Dial props for people last summer and I wouldn’t trade the experience of commiserating online with other Indy fans for all of the ash and bone in Nurhaci’s urn.

I’ve had Dials go to museums, to archeology programs. I’ve enjoyed watching people use them cosplay events and as part of their Indy displays. I’ve seen them used in countless fundraisers and it never gets old to see a pay-it-forward chain that starts from a simple handmade gift to someone that could use a pick-me-up or individual validation. I have a stack of photos from other peoples’ displays that are destined to go around my bar.

I also learned a lot. I picked up some design and modeling skills that will be really handy moving forward.

I think this build will finally leave me satisfied that I did my best with it and ended up with a really nice one-of-a-kind prop.

Time to complete some other projects..

You’ll note this is a pinball and arcade blog, so I have some pinball and arcade-themed projects queued up for the next few months. One of them is a perfect segue in compliment to all of this Indy prop making that I did for a year.

Hint: my favorite pinball machine needs a topper.
Other hint: Decent whiskey-drinking weather is around the corner.

I’ll continue to post a blend of maker-stuff here, as well. This blog is primarily a way of organizing my thoughts.

Footnote: thoughts on Open Source

I opened sourced the original design efforts on the Dial of Destiny project from the beginning.

I was thinking of it like a software engineering project. Most of the Indy and Prop-related forums showed a fair amount of interest in the concept and included helpful posts of screen grabs and logical conjecture around the prop’s likely measurements and other characteristics. But it didn’t seem like anyone was actually doing anything about it. My hopes were to provide a starting point and lean on collaboration with more experienced designers to take my concepts, improve on them and share those improvements back with the main project. One designer engaged with the project in this way. ¯\_(ツ)_/¯

Want to make your own? The files are on printables and dropbox.

The instructions, are still locked up in my brain, unfortunately but I’ve started making an explainer video..

Tron Lightcycle Run

Finally got a chance to check out Tron LightCycle Run today. We rode it twice, one via a Lightning Lane (purchase) and one via a Virtual Queue. When this ride was first announced for Shanghai Disney, we seriously considered traveling over to ride it. The last time we were at Disney World, cast members and construction teams were getting preview rides. I tried everything shy of applying for a job to work at the part to get on during that preview event.

So, I was pretty excited for this.

Impressions

The theming of the queue area is incredibly well done. At night, especially you feel like you are standing in The Grid. The sail-like material covering the ride looks a little like a dead shrimp-analog from an alien world during the day and like a futuristic portal to another dimension at night. The queue instruction-tutorials are more repetitive than most rides. There are two-sided lockers enabling you to easily stow larger items before getting on the ride and that process is basically perfected.

The ride itself is really good. The design of the cycles do a great job of making you feel as if you are riding a futuristic crotch-rocket/sport bike.

There seem to be some design issues with the safety system that I can’t really pinpoint from what I observed. Coming off of a stressful series of events, I’m probably in the worst shape of my life. I had zero problems getting on and locking myself in. 1 or 2 riders per train did seem to have real problems getting locked into the bike seat. It seemed to be less about belly-fat and more about the ratio of chest size and calves. I didn’t try because I was comfortable (and wouldn’t want to be responsible for damaging or stretching a safety mechanism) but you can apparently bench-press your way out of the seating position like the funny guy in the above screen grab. The thinker. Nice. At least one train has a traditional coaster car for those who are unable to be seated on the bike seat.

The ride has great velocity and doesn’t jerk you around. The soundtrack and environmental effects around the entire ride are stellar. It is a short ride. Ultimately, I’m really glad I didn’t spring for tickets to China to ride this coaster. It is cool but not THAT cool. Tron Lightcycle Run is a top 5 ride for me but Guardians is a better coaster.

Captain Crazy's Paradise

I might have grown a bit cynical about arcade and pinball spots near me. Mostly because i’ve been let down so many times by the same batch of unmaintained games from the same two Mobile Area huckster operators. Games with no GI, malfunctioning switches and other problems set up for split-take at a myriad of doomed-to-fail spots that decided to open an arcade, without actually having any arcades.

So, when I started to hear about Captain Crazy’s opening in Foley, Alabama I didn’t really have the emotional bandwidth to get excited. It is just going to be another tease, I thought. The universe will smite my excitement with some new rug-pull, I thought.

I was wrong. Captain Crazy’s is freakin awesome.

Plus.. I’ve been a little busy and haven’t had an abundance of playtime.. But this Saturday I found a window and popped down to Foley.
My quick takeaways from the excursion…

I really appreciated the balance of arcades and pinball.
I really appreciated that multiple eras and game types were represented.
I really appreciated that all games were functioning and well-maintained.
I really appreciated that this didn’t feel like a kiddy-gambling redemption arcade.
I really appreciated the vibes; a great balance where adults, kids and teens can all find something fun to do.
I really appreciated the people. The owners and staff are great!
I really appreciated the theming of the space. There are some subtle touches that really help make the space feel inviting.
I really appreciate that they engage with local players for tournaments and launch parties.

That’s it, for now. That’s my review. If you are in the area - go go go go…

Happy New Year!

From a certain perspective, Avengers: Infinity War is the story of that nice Josh Brolin fellow trying to make traffic better for all us and being foiled by a group of billionaire-backed cheaters in tights. Perspective is important, so lets look back at 2023.

In 2023, I knew that I wanted to refactor a portion of the gameroom around an Indy-Tiki Bar Concept. That part more or less went as intended. A few weekends getting the Mario Karts ready for their new home and a few weekends of measuring, cutting and fastening. The detour came later as I started making film prop replicas for the space and eventually the new bar doubled as a maker-space for assembling Dial of Destiny props. The self-realization here is that I’m at my best when building things and to a lesser extent fixing things.

I started 2023 with a single Ultimaker 3 printer. It was originally used during pandemic times for pandemic things and as a handy local fab unit to reduce our trips to the store. Later it was used to print and design difficult-to-find arcade and pinball parts, which is why I included it within the narrative of this blog.

I ended 2023 with (2) Bambu Lab X1C’s, (1) Bambu Lab P1S, (2) Elegoo Saturn 3 Ultras and (1) Elegoo Jupiter. My daughter also has a P1S as a sneaky introduction to engineering skills and maker concepts.

From 1 printer to 6 printers, I spent much of 2023 making film props instead of doing arcade-y things.

Partly as an exercise in tchotchke making in order to fill in the eyeball overload / Planet Hollywood ADHD aesthetic of the game room. The primary objective though is by learning to make common film props, I picked up techniques and references that can be applied later in other ways. Pinball mods, in particular.

I built:
Chachapoyan Fertility Idol and Base
multiple NCC-1701-D’s
an NCC-1701-E
an NCC-1701-G
multiple Rocinantes (from the Expanse)
an Iron Man Helmet and Mask
a civilian FTL ship from Foundation
multiple Prime Radiants
Eyepiece of Ra / Medallion
a Dune Crysknife
an Iron Man Arc Reactor
a BTTF2 Hoverboard
an Infinity Gauntlet
Several Holy Grails
A few low-res, simple Johnny Fives
so very many-many Dial of Destiny’s

2024: Heeeeeeere’s Johnny

As we start into 2024, I’m about 80% complete with printing of a 26” Johnny Five robot.
It is going to act like a visual - design reference for a 2/3 scale build.

For the 2/3 scale build I’m trying to incorporate parts from two other designs. One is a full-scale build and then a smaller 1/3 scale R/C build. A Full-scale build won’t make it through some of our doorways. I’m hoping a 2/3 scale build will still carry the wow-factor with added portability. The 1/3 scale build is highly detailed and most of the parts will double-scale fine for printing. I’m expecting to have to make some design changes around weight and balance, parts at rest and to have to engineer solutions around practicality, strength and automation. This build is going to take awhile, with roughly 540 parts plus an equal number of fasteners and custom pieces along with various electronics components.

In order to keep it manageable I’m breaking it up into milestones and I’m not putting dates on these because I still have a time-thirsty real job and family obligations. This is supposed to be fun, afterall.

Milestone I: Mimir Needs Input
A functional head that can talk, emote through eyebrow motion and neck pitch and yaw.

Milestone II
Open AI and other frameworks, give it a personality and allow it to see through imaging sensors

Milestone III:
Build the drive system

Milestone IV:
Build the torso and arms

Milestone V:
Head, meet body. R/C Control and limited Macro Recording and Playback

Milestone VI:
Fully Autonomous Discovery and Operation

Arcade Stuff

In addition to the J5 build, which is more of a long-term project; I’m excited to get back into some arcade stuff. I’m planning on updating the Bitkit-cabinets in the gameroom, fixing Missile Command, turning Centipede into a Millipede-Multi cab, working on Battlezone.

Pinball Mods

I’ve been working on design and plans for some high end pinball mods for Indiana Jones, Medieval Madness & Tron for starters. More to come!

Merry Christmas

Looking back over the year, the arcade, pinball and retro-game hobbies took a bit of a back seat to my 3d Printing shenanigans. My plan for 2023 involved reworking parts of the game room for a hangout and bar space and focus more on time-with-friends than game collecting. I .. partly succeeded.

Building a welcoming hangout space was a successful project. Setting aside time to hang out, I could have improved upon.

If arcade collecting was a mental disorder, the psychological pathology of being a gameroom builder is probably rooted in a desire to assemble an epic hangout space and to share it with friends and family. A little bit of Willy Wonka meets Silver Spoons. Though, you may also find yourself in a friend group where everyone is expecting to be host and no one wants to be attendee. I’ve tried to be a better attendee this year.

There’s also the fact that arcade games themselves are often not exactly as social of an experience as you might remember. That time you mustered the nerve to ask that girl out at Aladdins’ Castle: It happened in an arcade but probably not at the control panel. With the exception of 2/4-up games like TMNT, Gauntlet, SmashTV, Joust, etc some of the best games are turn-based. This leaves 1-3 of your guests to twiddle their thumbs when not playing.

..That’s a long a reflective way of saying this year, I built a pretty cool bar and we made some memories around it but need to do more!

..I’ll be posting a look-back towards the end of the month but until then - hug your peeps, make time with friends and enjoy the season.
-BillD