Blow On It

Remember, blowing into your NES cartridge to fix it? Did it actually work / help?

There are smart people out there that tend to agree: No, it didn’t.

But then again, maybe Robot Chicken has the right of it. Video games are a constant source of joy for us, so maybe a little blow now and then is the least we can do to return the favor..

Whichever side of the blow / no-blow divide you may fall on, the NES Cartridge design is iconic. It is both incredible for its ability to hold up over the decades but also frustrating for the tendency over time of the ZIF socket to require “just re-insert it” - type actions to get a good connection.

A year ago, I bought an EverDrive N8 and picked up a 20” Toshiba CRT TV from a Facebook marketplace listing. I had classic NES gaming on the mind and I’ve been meaning to get back to it. Last year, I also installed a “New” 72 Pin Connector in my NES to alleviate some cartridge loading issues.

IMG_3350.jpeg

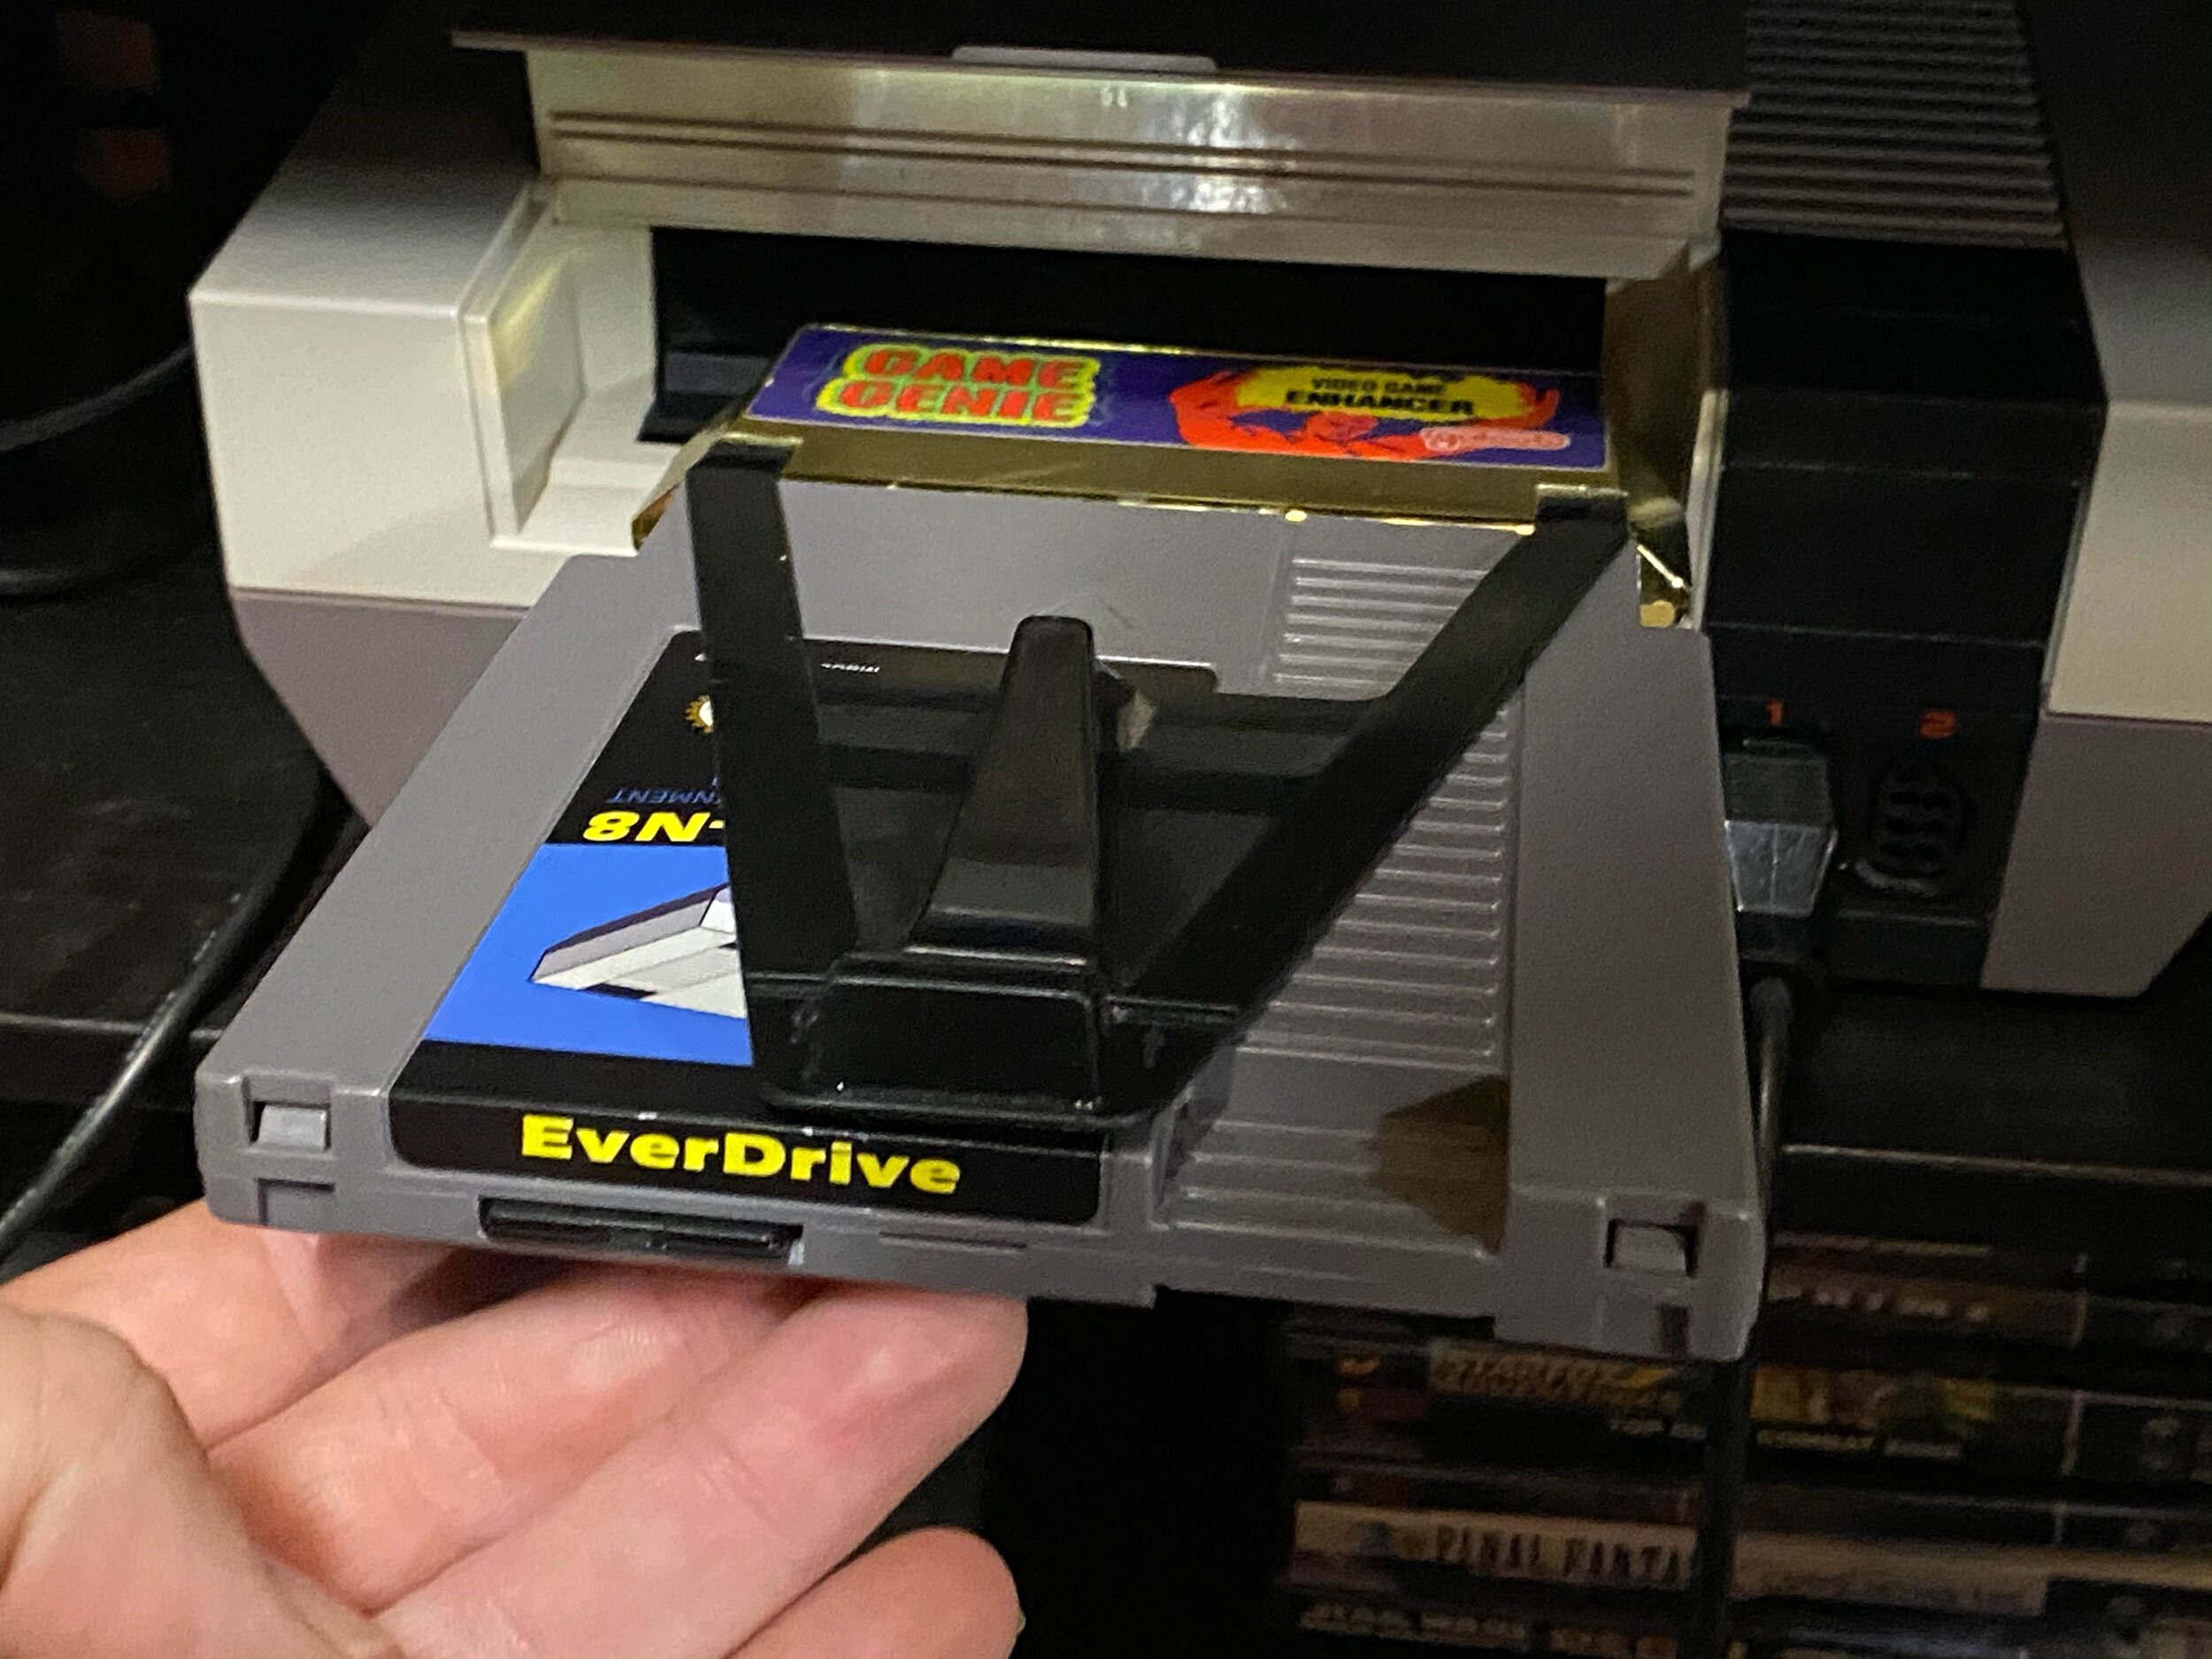
Only a month into owning the EverDrive I found myself in a familiar spot. The NES EverDrive would sometimes boot to a solid color screen or certain games would have jumbled intro screens. I did all the things we did when we were kids, blowing on the cartridge, slamming it into the toaster mechanism with varied levels of force and eventually using a Game Genie with it in order to create enough force for the cartridge contacts.

The thing is, the Krikzz forums are pretty clear that you aren’t really supposed to use this thing with a Game Genie, it can create unexpected mapping errors or inconsistent boot situations. The entire point of the EverDrive is that they have better (OEM) voltage consistencies compared to other multi-carts. What impact a Game Genie or other Wedge-card might have, isn’t probably heavily tested.

So, the NES has sat collecting dust once more as It ended up in my “I’ll get to it later” queue.

IMG_3279.jpg

Then, I flipped on Netflix’s new High Score Mini Series about retro gaming intending for it to be a background watch while I worked on the laptop late one evening. Many reviews have been “nothing new here” but Episode 2, which partly covered the 1990 NES World Championships triggered my desire to get my NES whipped back in shape.

I suppose memories of The Wizard (1989) and my own childhood dreams to play in the Nintendo World Championships. Alas, the nearest cities to me at the time would have been Indianapolis or Cincinnati and the two hour drive and overnight stay would have been more than my parents would have been willing to fork out toward’s their nerdy son’s video game obsession. Probably for the best, based on the scores they put up, I wouldn’t have stood a chance at the national level!

But…I would like to try to arrange for a NES Mock-Championship game night post-COVID…


Motivation Found. Time to fix it!

Paths.jpg

This time, I found a good discussion about the pros and cons of NES 72-Pin connector repair approaches and from this thread I ended up with two paths forward.

Path one: Go back with a refurbished or NOS original connector. The remade connectors aren’t as good as the original.
Path two: Go with something like BLW, which is a redesign of that entire mechanism and connector.

”GO LEFT” <RETURN>


OEM is Probably Better

Where the 72pin edge connectors are concerned, it turns out the original Nintendo parts are pretty well made, so I decided to go this route, for now. Not picking on the BLW redesign here, I will probably go the BLW route the next time it acts up in order to see how it holds up by comparison. But, it seems that the modern remakes of the original 72 pin edge connector are less-than the OEM in terms of resiliency.

IMG_3342.jpeg

I couldn’t find my original connector though I’m sure I have it somewhere in a box. So, I bought a refurbished OEM connector from a FleaBayer.

It arrived quickly, though I was a little put off that it actually had rust on one of the pins.   Refurbished, indeed.  YMMV.

It arrived quickly, though I was a little put off that it actually had rust on one of the pins. Refurbished, indeed. YMMV.

Armed with my trusty can of DeOxit, an eraser and Phillips screwdriver, I set to task and replaced the connector again… or again again? again again agin? I’ve honestly lost track of how many times I’ve done this. :)

IMG_3340.jpeg
IMG_3338.jpg

About 20 minutes of work that could have been achieved faster if I didn’t have OCD screw-handling tendencies and my NES was back in business.

And.. after all this I got to check out the Nintendo World Championship 1990 game, thanks to an EverDrive Update.

Nice to have the option to play it without buying a $$,$$$ collectible cartridge or a $$$ reproduction. There is an an easy hex-edit of the original rom to allow P1 Start to begin the game and Voilà:

Adjustments.jpeg

How’d I Do?

Turns out, I wouldn’t have been World Championship finals material anyway!

Turns out, I wouldn’t have been World Championship finals material anyway!

In SMB, I collected the coins leading up to and including the underground pipe, went back up the pipe, then suicided Mario.

You start back at the halfway point near the 9-block. I jump up while the Goombas roll by and hit the upper coin block, then the 9 block quickly before the Koopa can get there, go right, collect a couple coins and then suicide Mario again.

Next life, back to the 9Block and maybe +1 coin for 50. I think I could probably shave 20 seconds off that portion of the time. I cleared Rad Racer, got two Tetrises before running out of time.


Using the strategy of shorting SMB in favor of more time in Tetris, my highest score is 292,745.

Lap 1 = SMB, Lap 2 = Rad Racer, Lap 3 = Tetris

Lap 1 = SMB, Lap 2 = Rad Racer, Lap 3 = Tetris

More ICB Improvements

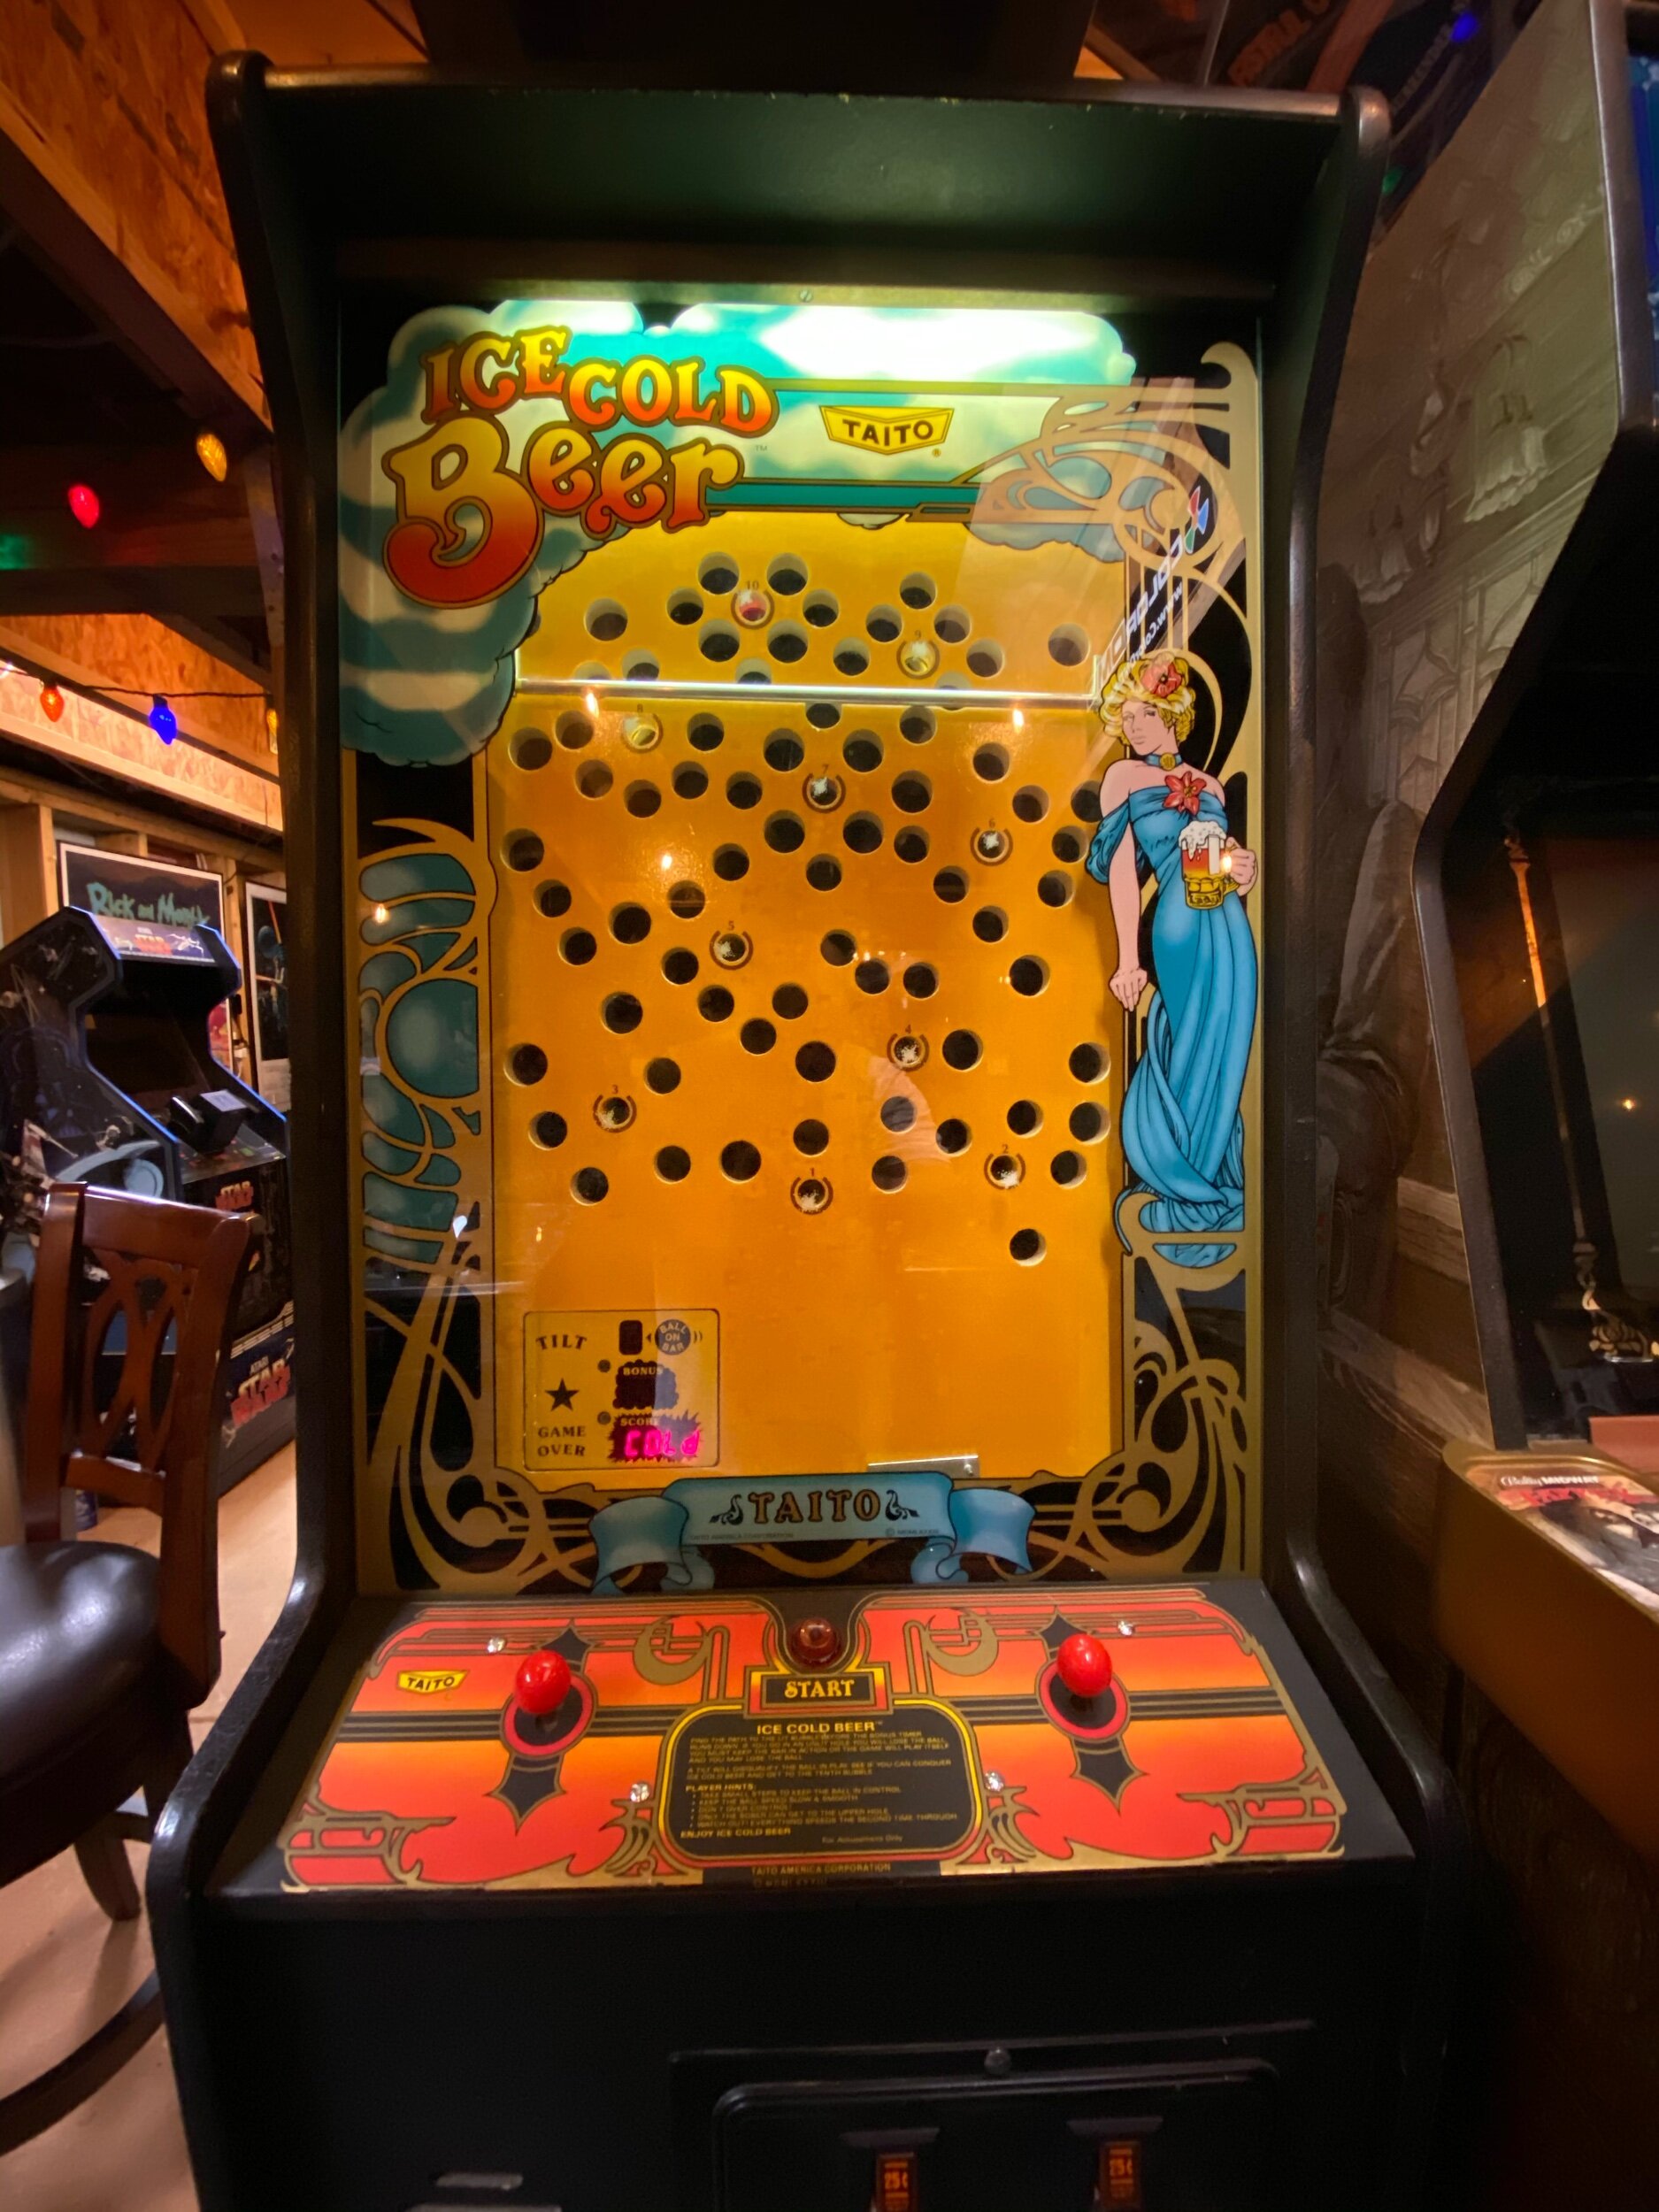
This will be my last post regarding Ice Cold Beer for awhile.

If you are new to this post thread, here is some links to the earlier portions of my journey with this game for context.

Ice Cold Beer (November 2019) - Where I chronicle getting the game in July and working through a myriad of issues to get it playing. The “Happy Ending” was premature, it turns out.

ICB EPROM Shenanigans (July 2020) - In this post, I take an improbably long journey through Murphy’s Law following what ended up being a dead end troubleshooting theory.

ICB Restarts (Conclusion) (August 2020) - In this post, I conclude repairs on the wiring harness and finally have a working PCB.

..and finally this post (the one you are looking at) where I finally get to put in a little detail work on the game and get it to a stable point.

Finally free of frustrating and transient board problems, I spent some time putting some finishing touches on Ice Cold Beer.

Awhile back I ordered new motors and belts from Marco, as well as new motor limit switches from Arcade Parts and Repair.

IMG_3293.jpeg
IMG_3315.jpeg
IMG_3314.jpeg

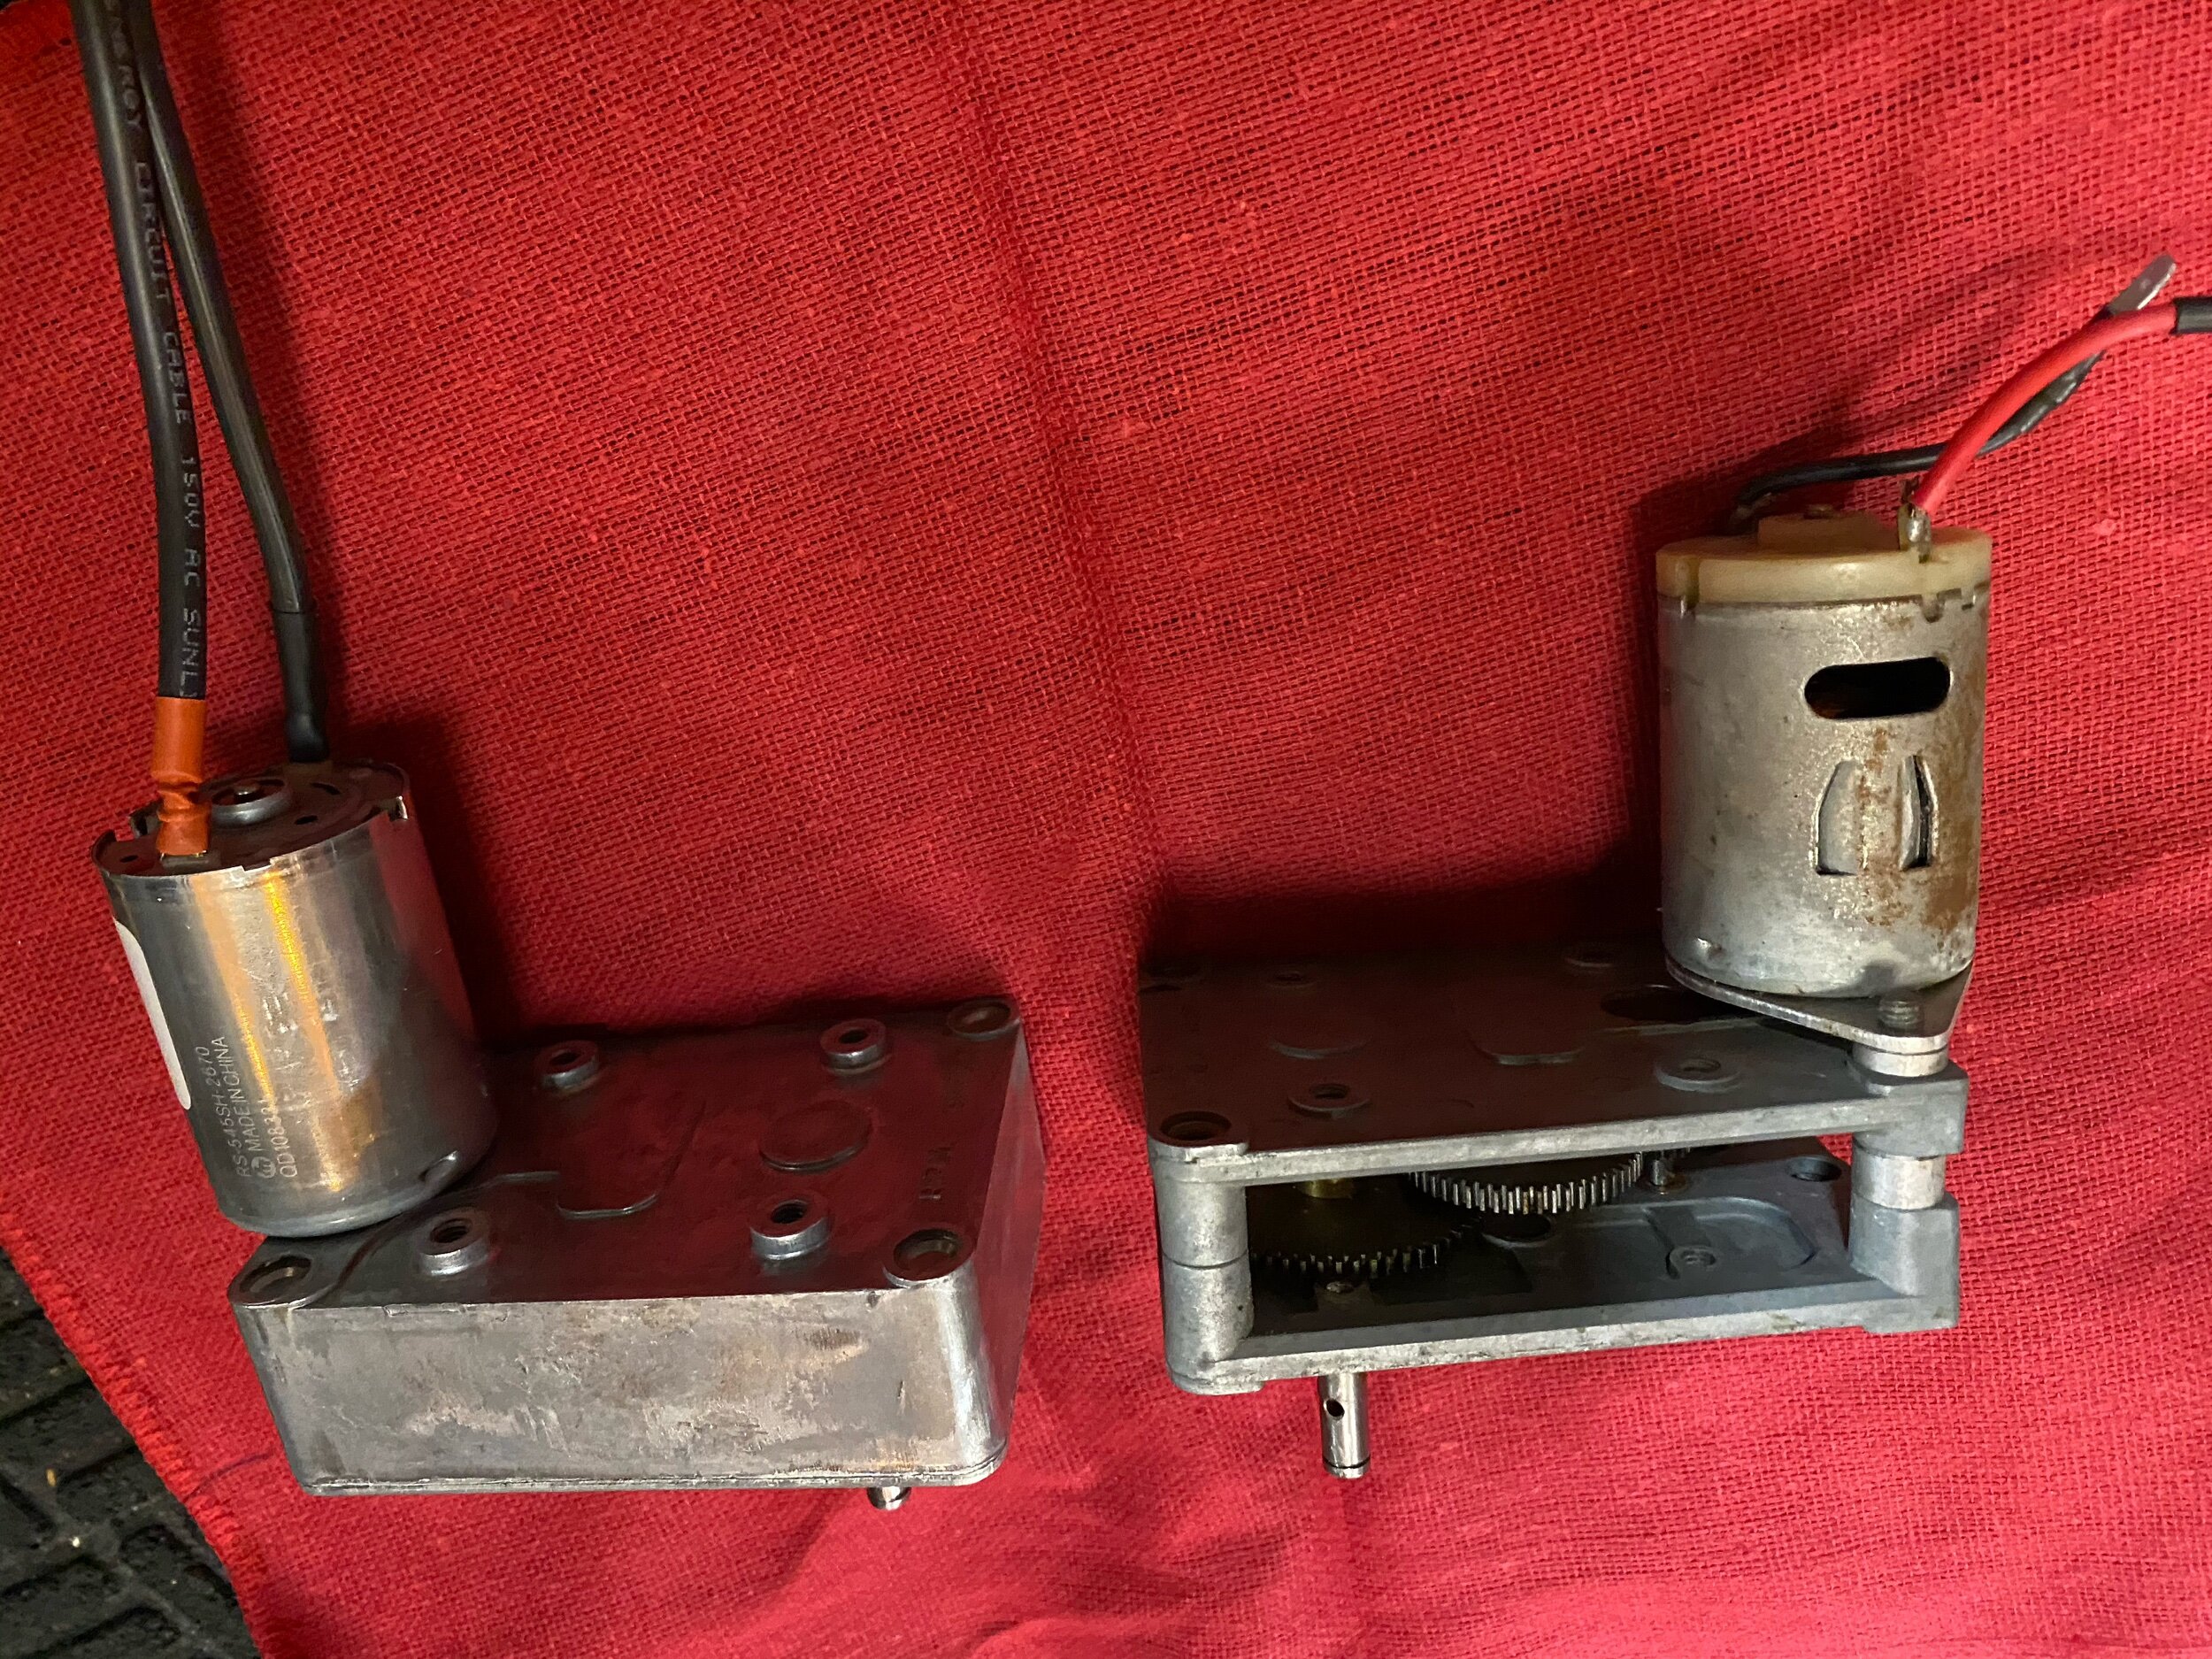
The closed gearbox design makes a tremendous difference in terms of motor noise from the game. I don’t know where Marco sources these motors but just one note, there was a polarity marker (red dot) near one of the terminals and I found that the polarity was actually reversed from what my machine expected. That tells me these motors, at least were probably used in other games, too.

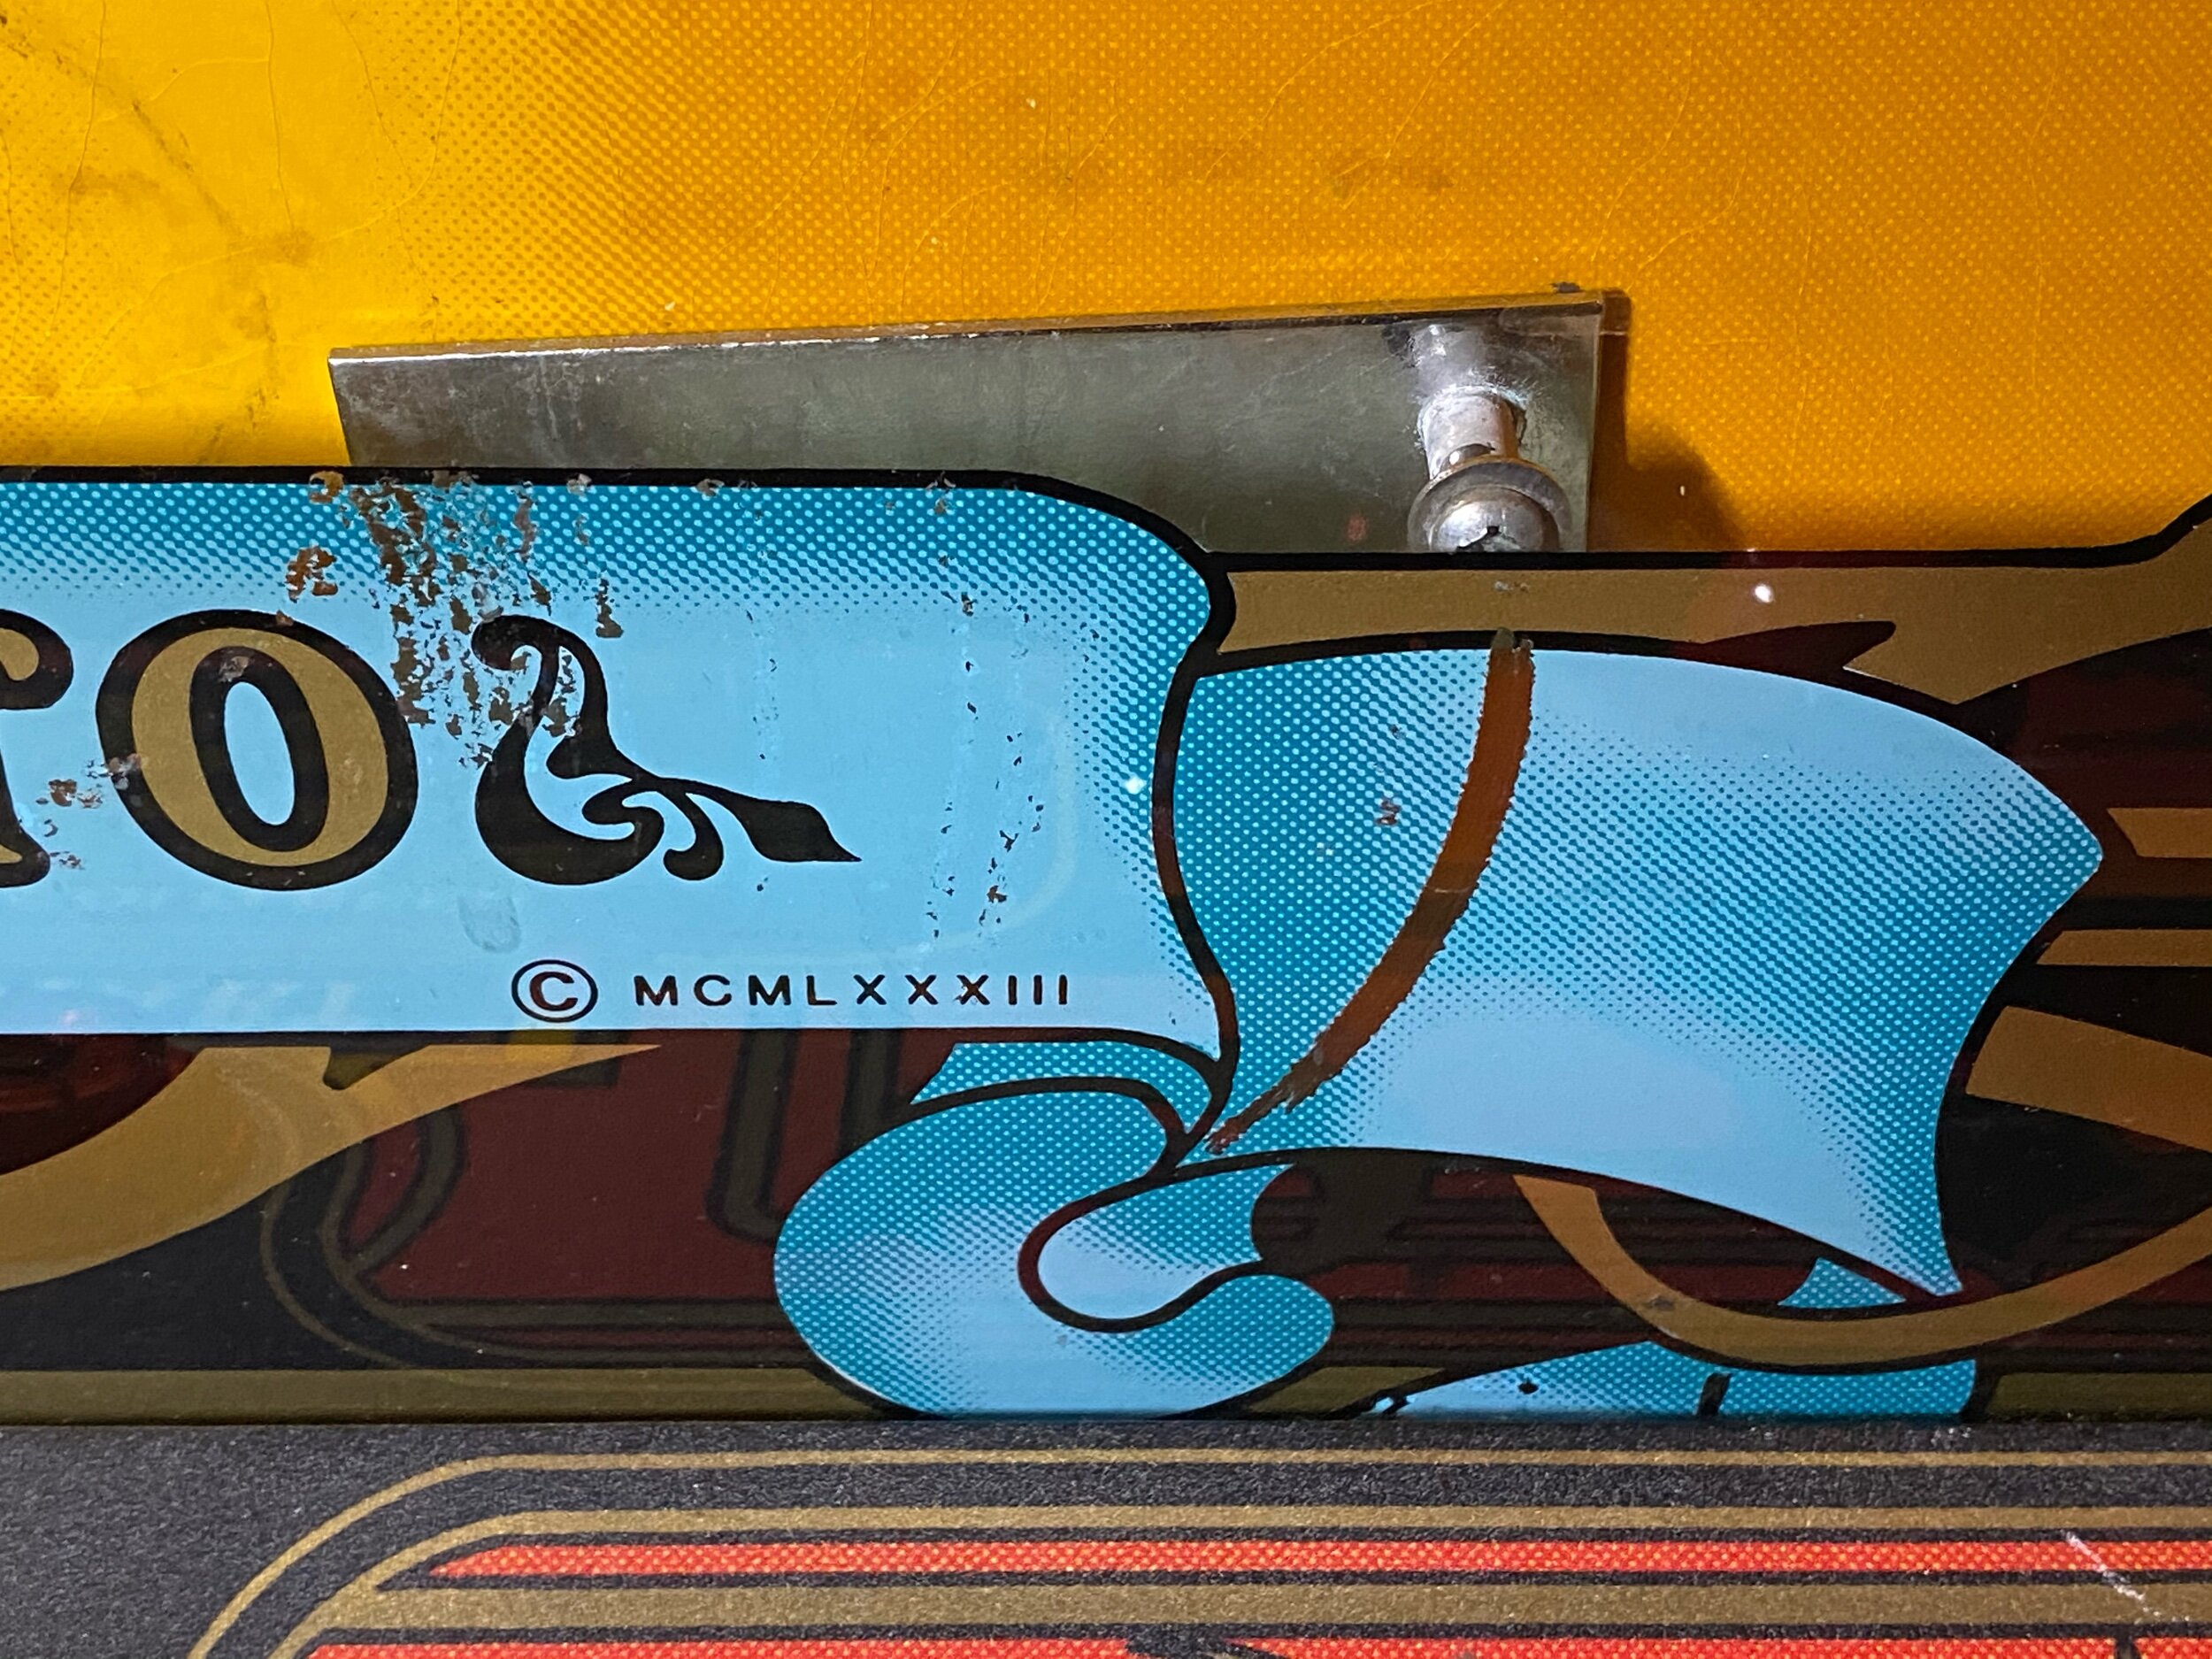
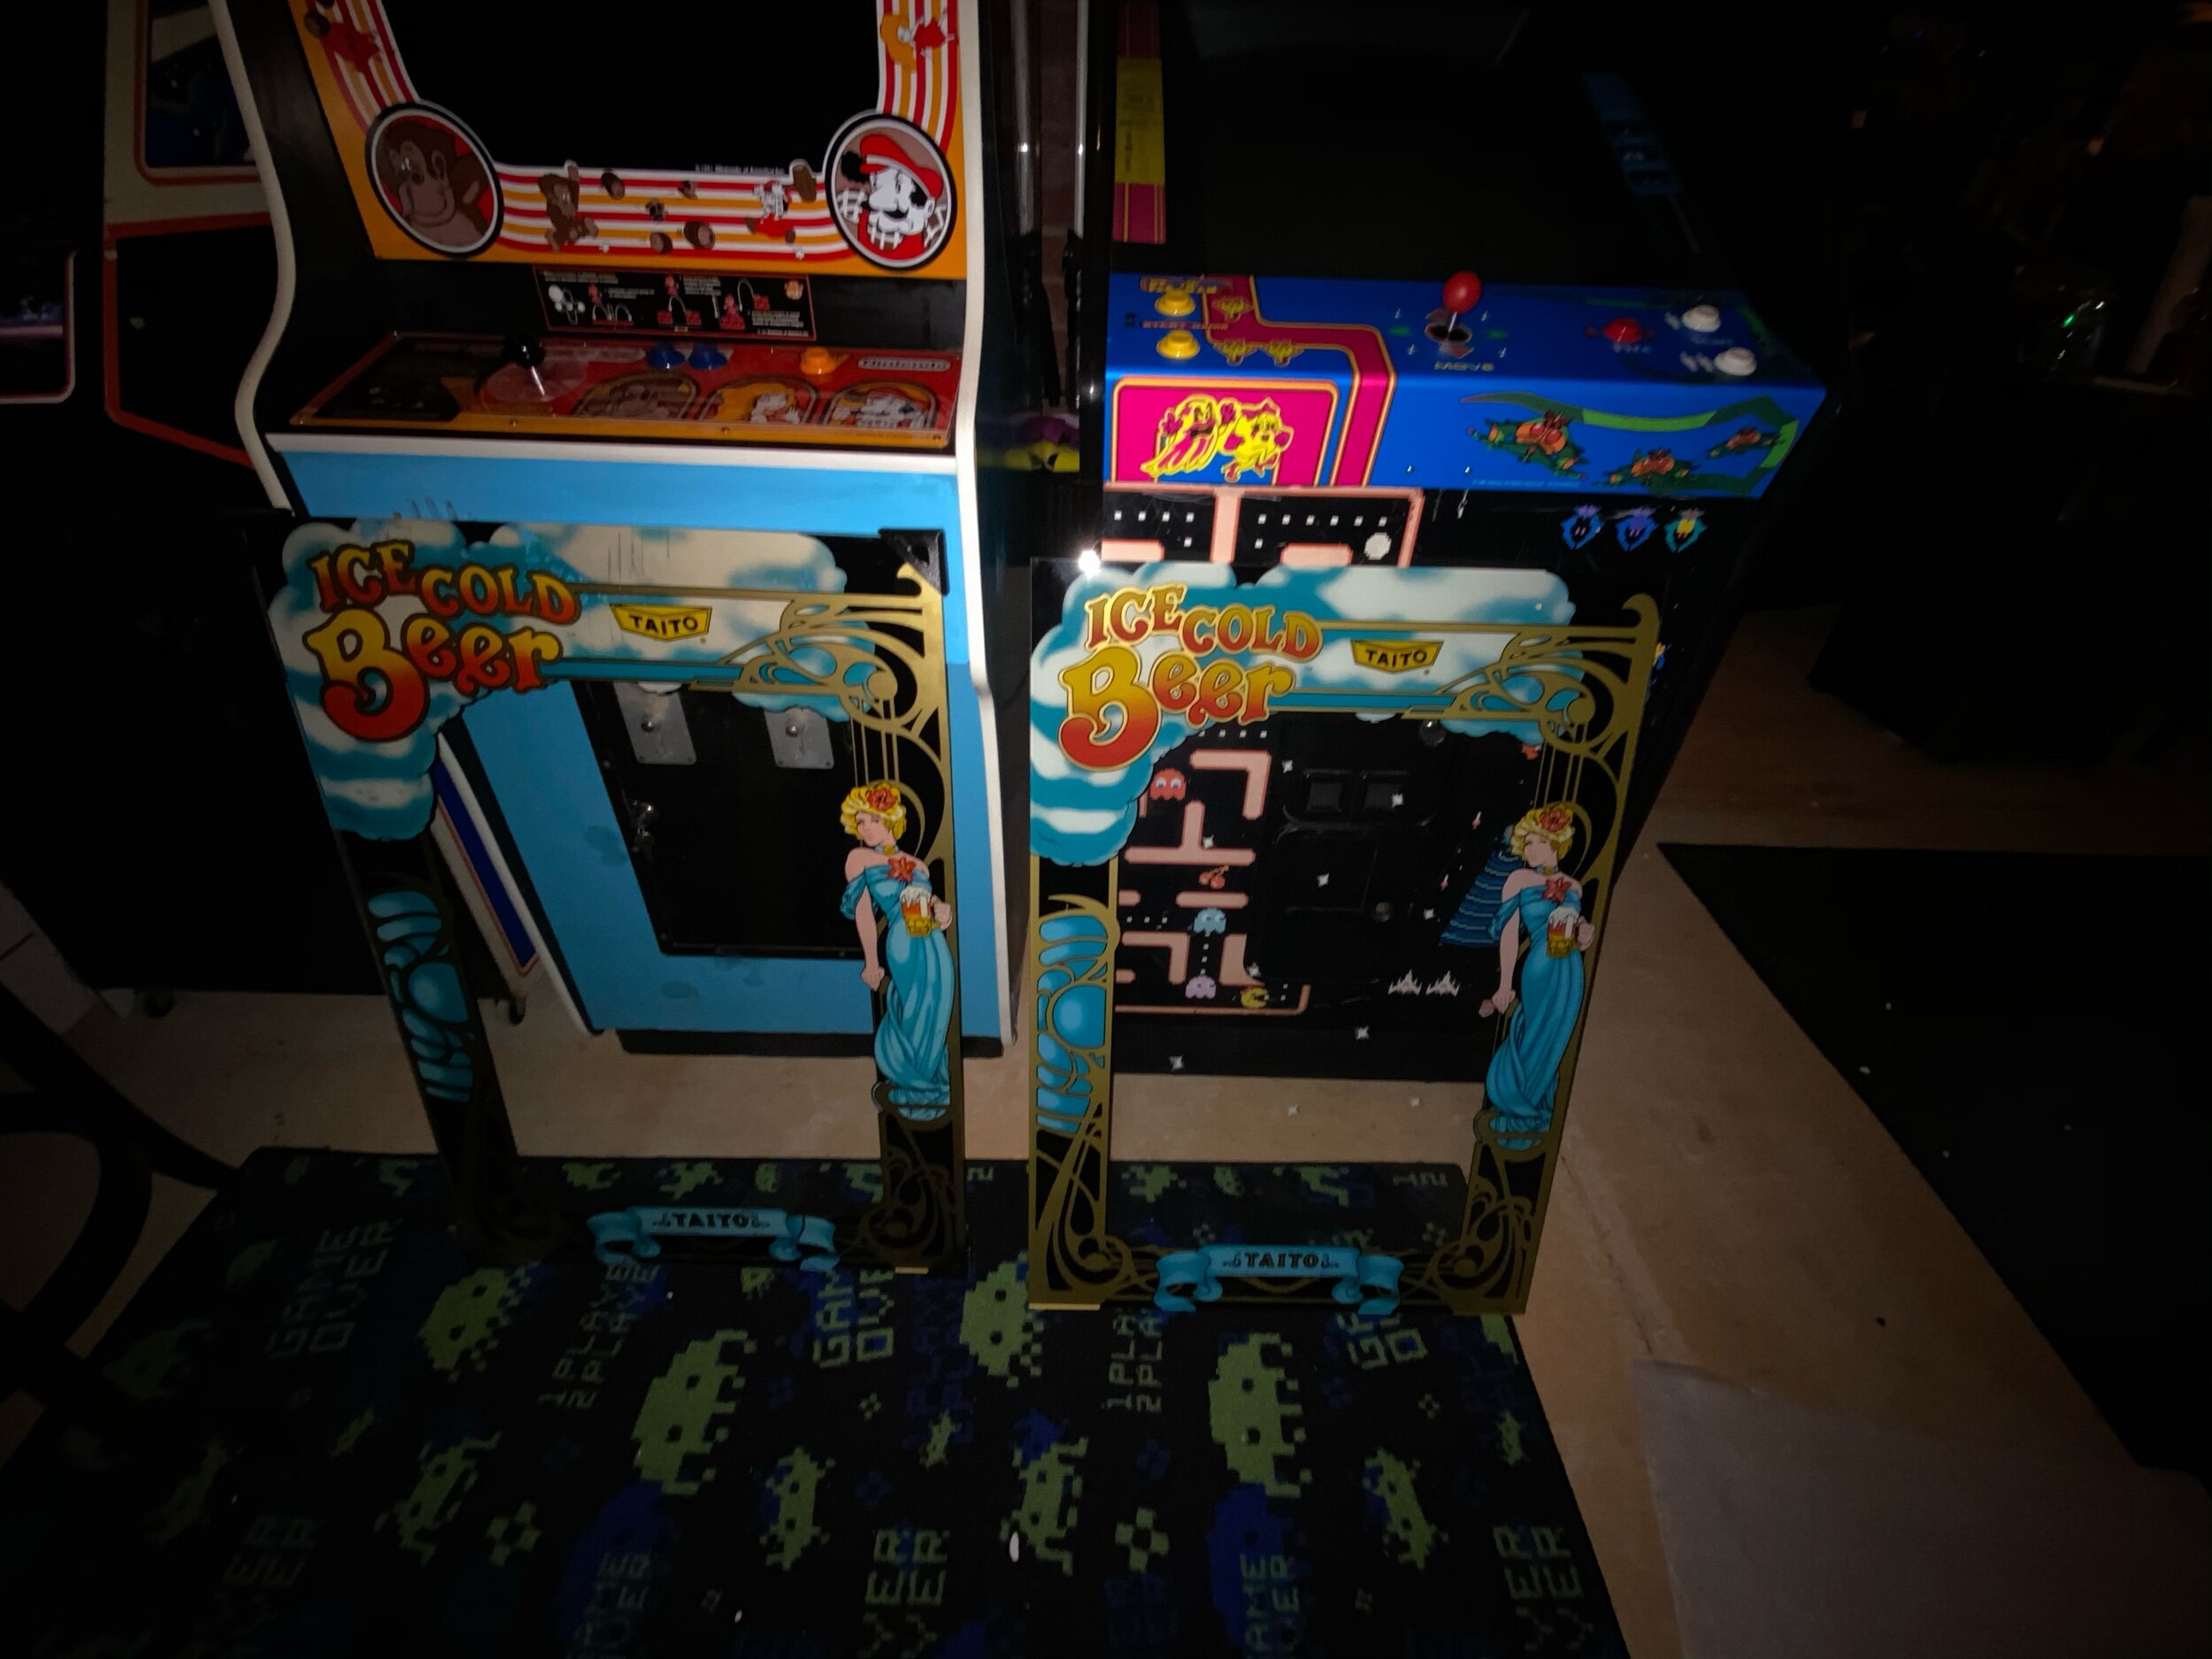
My original glass has some minor but annoying damage to the art at the bottom near the ball release lever and at the top near the light bulb. I wrapped up the old one in packing material and stowed it away for later and ordered a new one from Phoenix Arcade.

IMG_3285.jpeg
 

While I waited on the new glass, I spent some time tumbling some of the remaining parts and polishing the ball-bar. For the life of me, I don’t understand the rust / oxidation on this game. Many screw heads were perfectly clean but the portions of the threads that were engaged in wood were rusty. Moisture in the wood? If so, odd that it didn’t seem swollen anywhere.

 
IMG_3320.jpeg

I installed new felt in the channels (used this stuff) and I polished out the ball bar as much as I could without removing the plating. The ball bar parts are hard to come by. People sell 3D printed copies of the plastics but the brass bar itself seldom becomes available.

IMG_3322.jpeg

Looking better!

IMG_3334.jpeg

It isn’t perfect but definitely coming along nicely.. For me, it is time to take a break from fixing this game and move on to something else for awhile!

ICB Restarts (Conclusion)

In this earlier post, I drove myself partially insane while poorly troubleshooting a consistent restart issue with a new to me ICB PCB board. I went down all sorts of side quests that were adjacent to a (known at the time to possibly be wrong) assumption that the issue was related to ROM / EPROM problems. It seemed logic related, damnit!

While the 2nd PCB was off being worked on and tested, I decided it was prudent to re-do my edge connectors. I noticed occasionally the other PCB would resolve itself based on tension on the edge connectors or that certain problems would come up related to fiddling with the edge connectors.

ICB has three 18/36 edge connectors. I lack the finesse and patient to push each pin out of the edge connector and I planned to re-pin it anyway, so I clipped the old connector and one at a time re-crimped and installed into new connectors. This was tedious / time consuming. I put down a soda flat to catch trimmings and listened to a portion of an audio book in a couple crimp sessions to get the work done.

IMG_3209.jpg
IMG_3208.jpg
 

If this is something you need to do, here are some parts links to save you time..

Gold, leaf pins & AMP Connector:
AMP Leaf Pins
AMP 18/36 Edge Connector

Crimp Tool: Ratcheting Crimp Tool

Another, definitely cheaper and probably faster way to go about it would have been to use an 18/36 solder-based edge connector.
But, this machine had 18/36 gold-leaf populated AMP connectors so that is what I went back with.


Turns out, it was a dip switch.

..

DipSwitchesFFS.jpg
 
 
ref: http://www.arcaderestoration.com/gamedips/4249/Ice+Cold+Beer/Ice+Cold+Beer.aspx

yep.

(sips Whiskey)

..

a…dip.. switch..

So, apparently a machine that isn’t equipped with a ticket-dispenser will trigger a CPU watchguard restart at the ticket-dispense thresholds.


¯\(°_o)/¯


So, my game actually works now. I only feel Level-8 stupid for spending countless hours down a ROM burning rabbit hole over a problem that ended up being a dip switch setting / game power bug. At least now I know I have solid power, good connectivity and a working PCB. It will be nice to actually get some game play in.. :) John at El Dorado did me a solid by selling me an un-obtanium board in stellar condition and hand-holding me through troubleshooting of this newly discovered “feature” of these Taito boards. If your game reboot consistently after counting bonuses - make sure don’t have a dip switch accidentally enabled related to a ticket dispenser.

Failed GC Attempts..

Since July of last year, the GC spot on my Scared Stiff has been occupied at a 61 million point epic game by the talented Marshall Youngstrom . 61,nnn,nnn is a seriously high score on a 3-ball Scared Stiff. The game was setup from SFGE with open outlanes and factory rules. When I research IFPA and World Championship games involving Scared Stiff, those games rarely exceed 20 million. Even pinside game-scores which are an unverified big fish stories, puts 61.5 million in the top 25.

So… I’ve been practicing and trying all sorts of various techniques, states of mind, strategies to try to beat Marshall’s epic score. I’ve definitely found a strategy that seems like it will work but each time I get close, my head gets in the way towards the last few million and..womp womp womp.. I’ve attempted over 20 times per week for the last 2 months to beat his score. That’s how good he is! :)

Yesterday evening, wanting to test out some new noise cancelling headphones (Sony WH-1000xm3’s are on sale, clearing inventory to make room for the next model), I decided to put on some Jams and give it a shot. I’ve listened to everything from Sean Carroll’s recent book on Quantum Mechanics, favored Soundtrack composers, through favorites from Pink Floyd, trance-y glow party drug high stuff from Enigma, old favorites from Rage Against the Machine and Tool, newer stuff from Eminem and Run the Jewels, classical remixes from Vanessa Mae and even some of the bull-crap my teenager listens to. Last night, it was Public Enemy, Apocalypse 91. Ironically, of all of these varied attempts, I’ve found that deep discussions on weeds-y P-topics like Physics, Philosophies, Public Policy all tend to encourage a flow-like state for doing consistently better.

Ultimately though, on this attempt I missed the opportunity to stretch my 2nd Monster MultiBall across the finish line and I missed the opportunity to ring that final Extra Ball shot to give myself another attempt to earn it traditionally.

Bonus, previous attempt….

ICB EPROM Troubleshooting Shenanigans

Chained, incidental failures and complications.

When you go out to cut the grass but you realize you need to sharpen the blades first. While sharpening the blades, you trip the garage GFI and end up at the hardware store buying breakers and new outlets to totally rewire your garage. Leaving the hardware store you get a flat and realize you loaned your floor-jack out to Tim, down the street. Before you know it, you are coming in after a 16 hour day covered in dirt, grime with cuts on your hands and knees and receipts for $250 worth of receipts in your wallet.

You never did get around to cutting the grass.

My latest adventures in Ice Cold Beer, have spiraled into one of these scenarios. My game PCB is back in the capable hands of Mr. Chris Hibler. He’s busy and might not get to it until sometime around September. Thing is, the PCB has plenty of repairs on it already, plenty of oxidation & hot-cold strains on the board, it may not be salvageable. So I’ve had my ear to the ground for a replacement (better) PCB.

Finally, the heavens opened to reveal a $400 opportunity to get a “tested, with warranty” Ice Cold Beer board from a reputable source. I jumped on it. Seemed a lot for one board but I saw it as a shortcut to finally get my game going.

A couple of weeks later, proverbial Christmas Morning! The new board arrived in the mail. As part of the purchase I was offered the option for the free play rom and said “yeah, that sounds awesome.”

Unfortunately… my game has a different logic error now and that has set me down another chain of failures and complications.

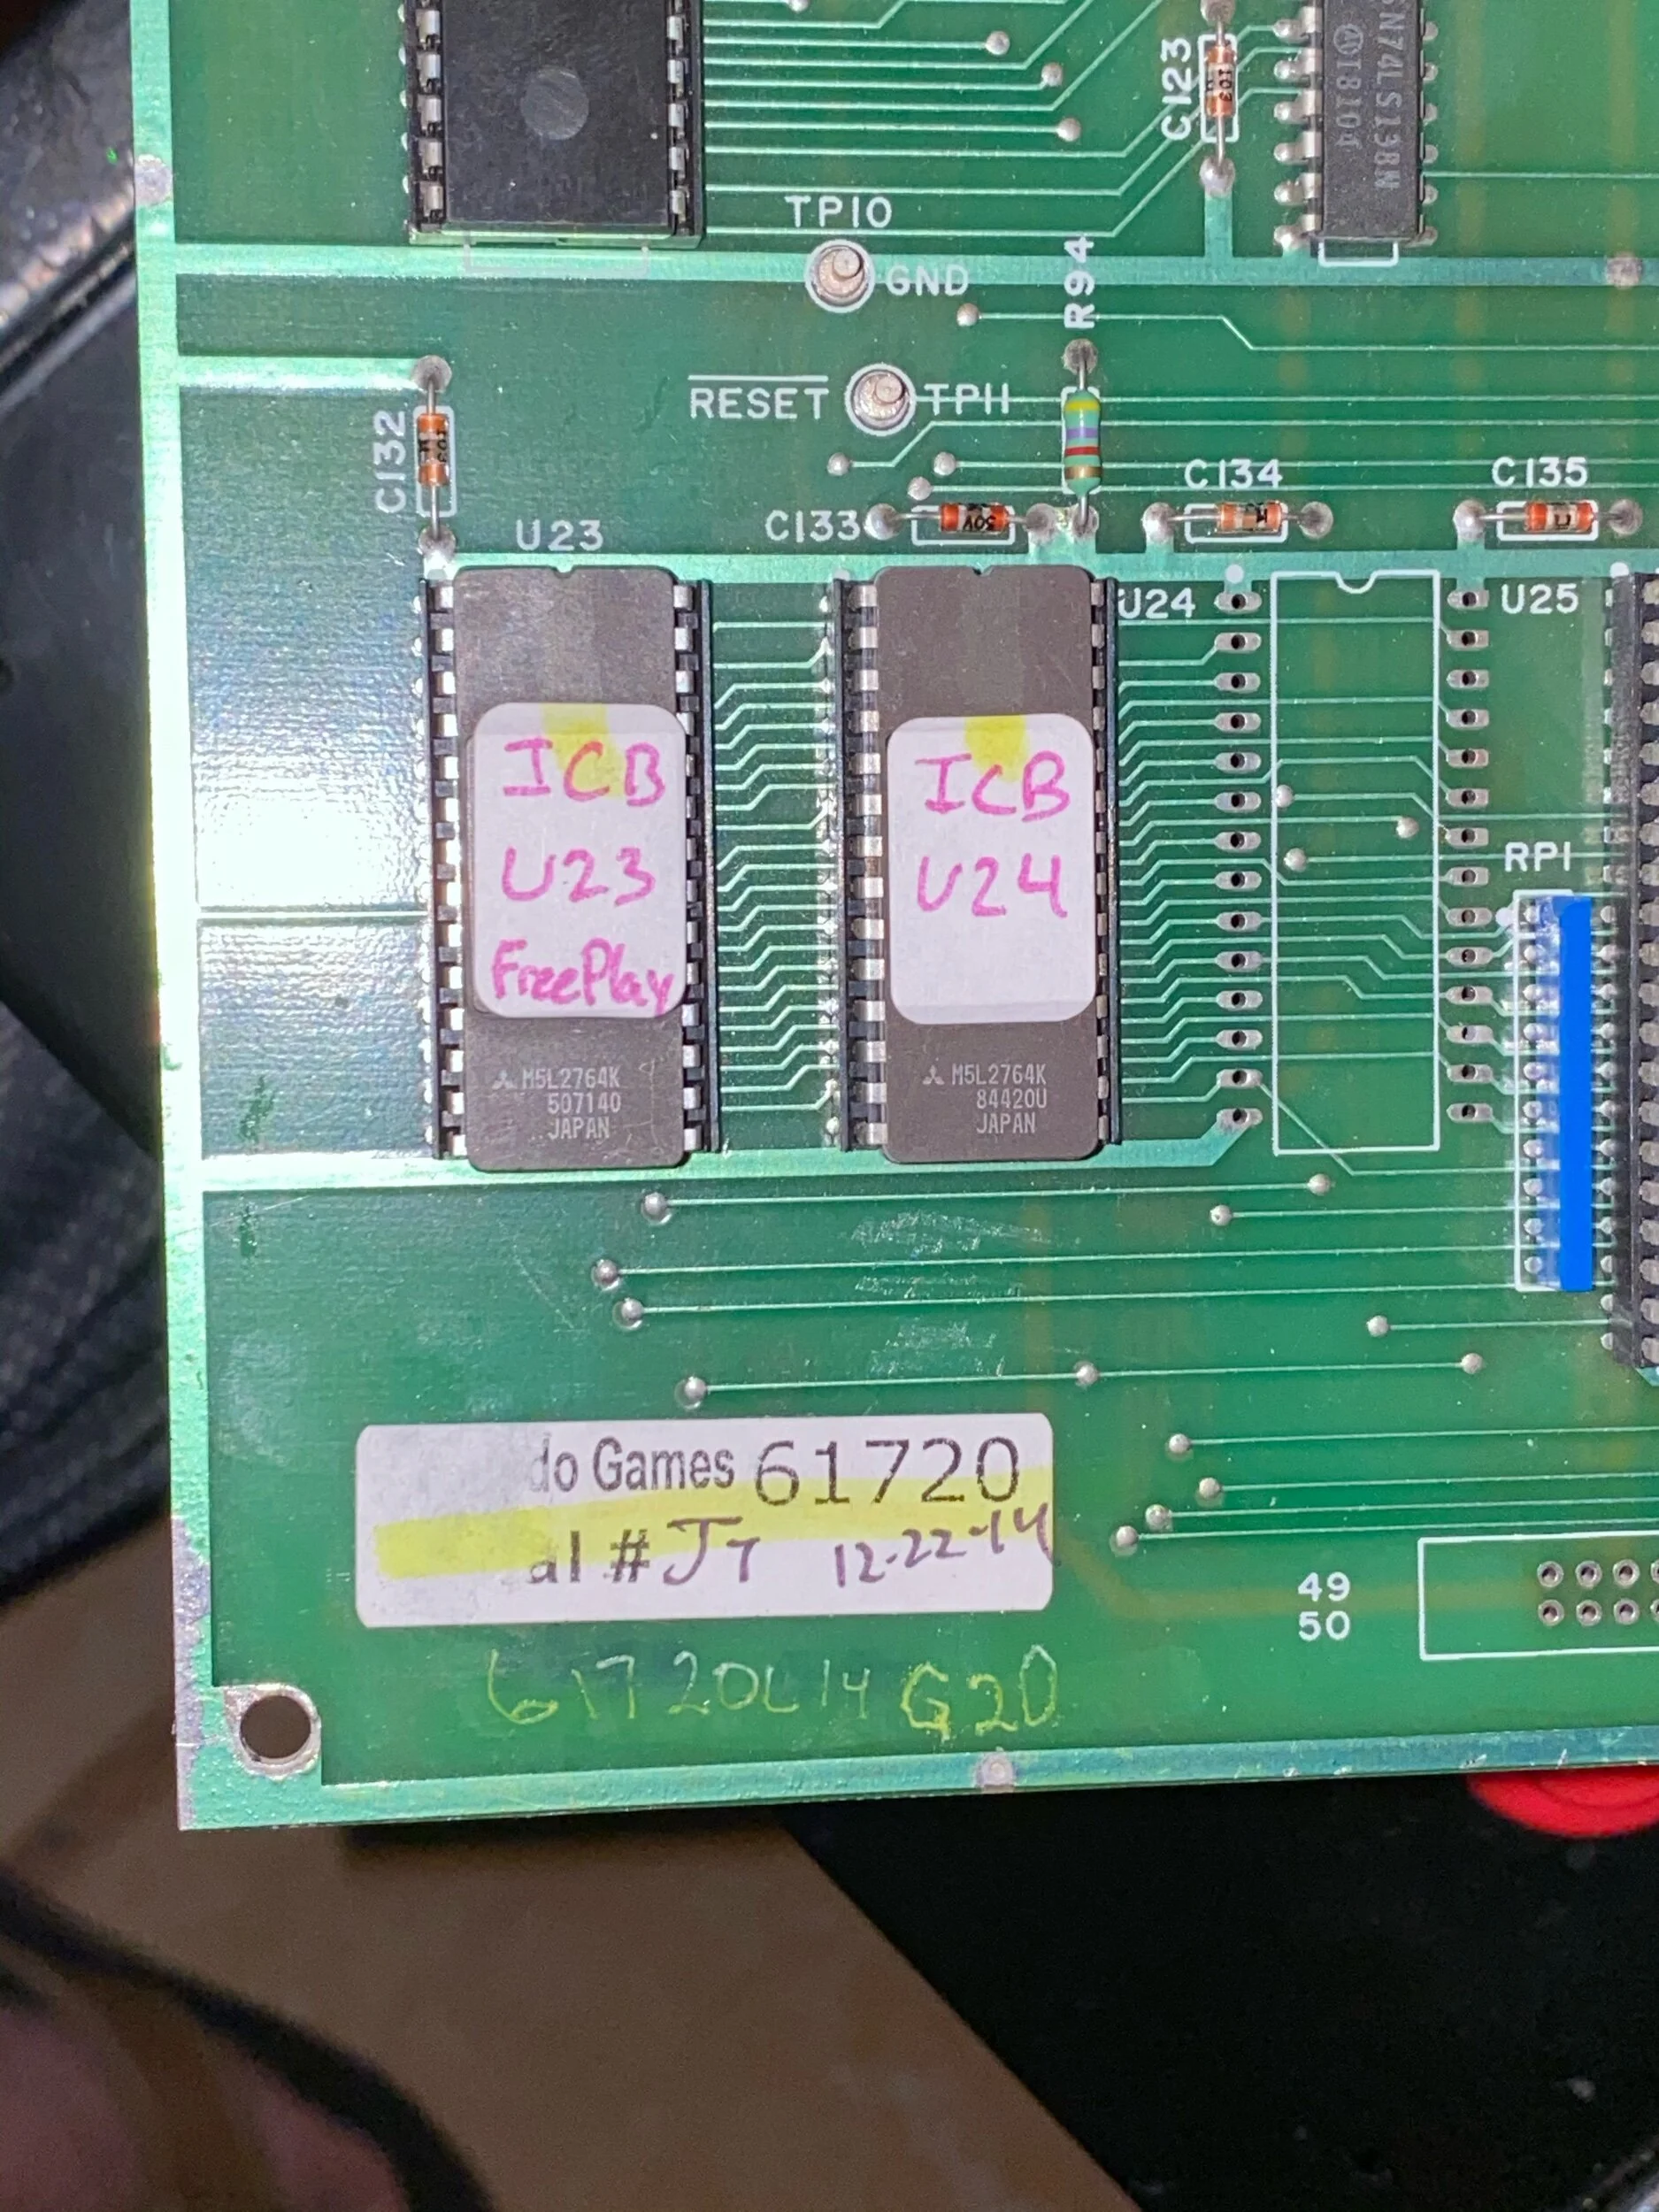
I reached out to the source for the board and he advised that it might be that ROM and that I should do a ROM swap with our loaner PCB to see if it clears it up. Problem is, I don’t have access to any other PCB’s now. But hey, no worries - I have my trusty Pocket Programmer 3.

I got this. :/

IMG_2877.jpeg

At this point in thinking I can foresee two potential EPROM causes for a logic error related to U24 or U23. One would be as simple as a squirrelly hexedit job in the free play rom hack that could be resulting in this reboot. The other, could be stuck bit(s) on the EPROM itself. There are times when you can write to an EPROM and some bits don’t take the new code. Sometimes you can UV-Erase or partially address the buffer around those stuck bits but usually it is a trash-bin situation. Get a new / different chip.

I can also think of a number of non-game-rom related potential causes. A sketchy circuit on one of the scoring digits, a switch problem on the impacted hole, a problem with the controlled-lamp circuit for the next lamp (Hole 7). But for now we are going under the assumption it is game-rom related.

IMG_2878.jpg

I’m no EPROM expert but I do tend to get excited when I find a use for this $269 tool. I’ve written some pinball sound roms and used it to validate some arcade roms in the 2 and half years that I’ve had it. I came to this particular EPROM programmer by recommendation of The Broken Token Pinball & Arcade Podcast.

The EPROMs in U23 and U24 are Mitsubishi 2764’s. I happened to have a couple similar chips on hand in the parts bin. Generally speaking, I’m not a fan of Mitsubishi sillicon, when I can - I try to use EPROMS and ROMS from ST Micro. I find them to be less.. fidgety and bonus points for having the programming voltage etched on them and lower programming voltage requirements. 2764 is a 8x8 (64bit) ROM. It is interchangeable in most applications with 27c64 which is still being manufactured, today.

The stars are lining up…. I have the tools, we have the technology, I have the relative know-how, I have the ROM files - time to go to work!

(DRAMATIC MUSIC SWELL)

WOMP WOMP WOMP

IMG_2962.jpeg

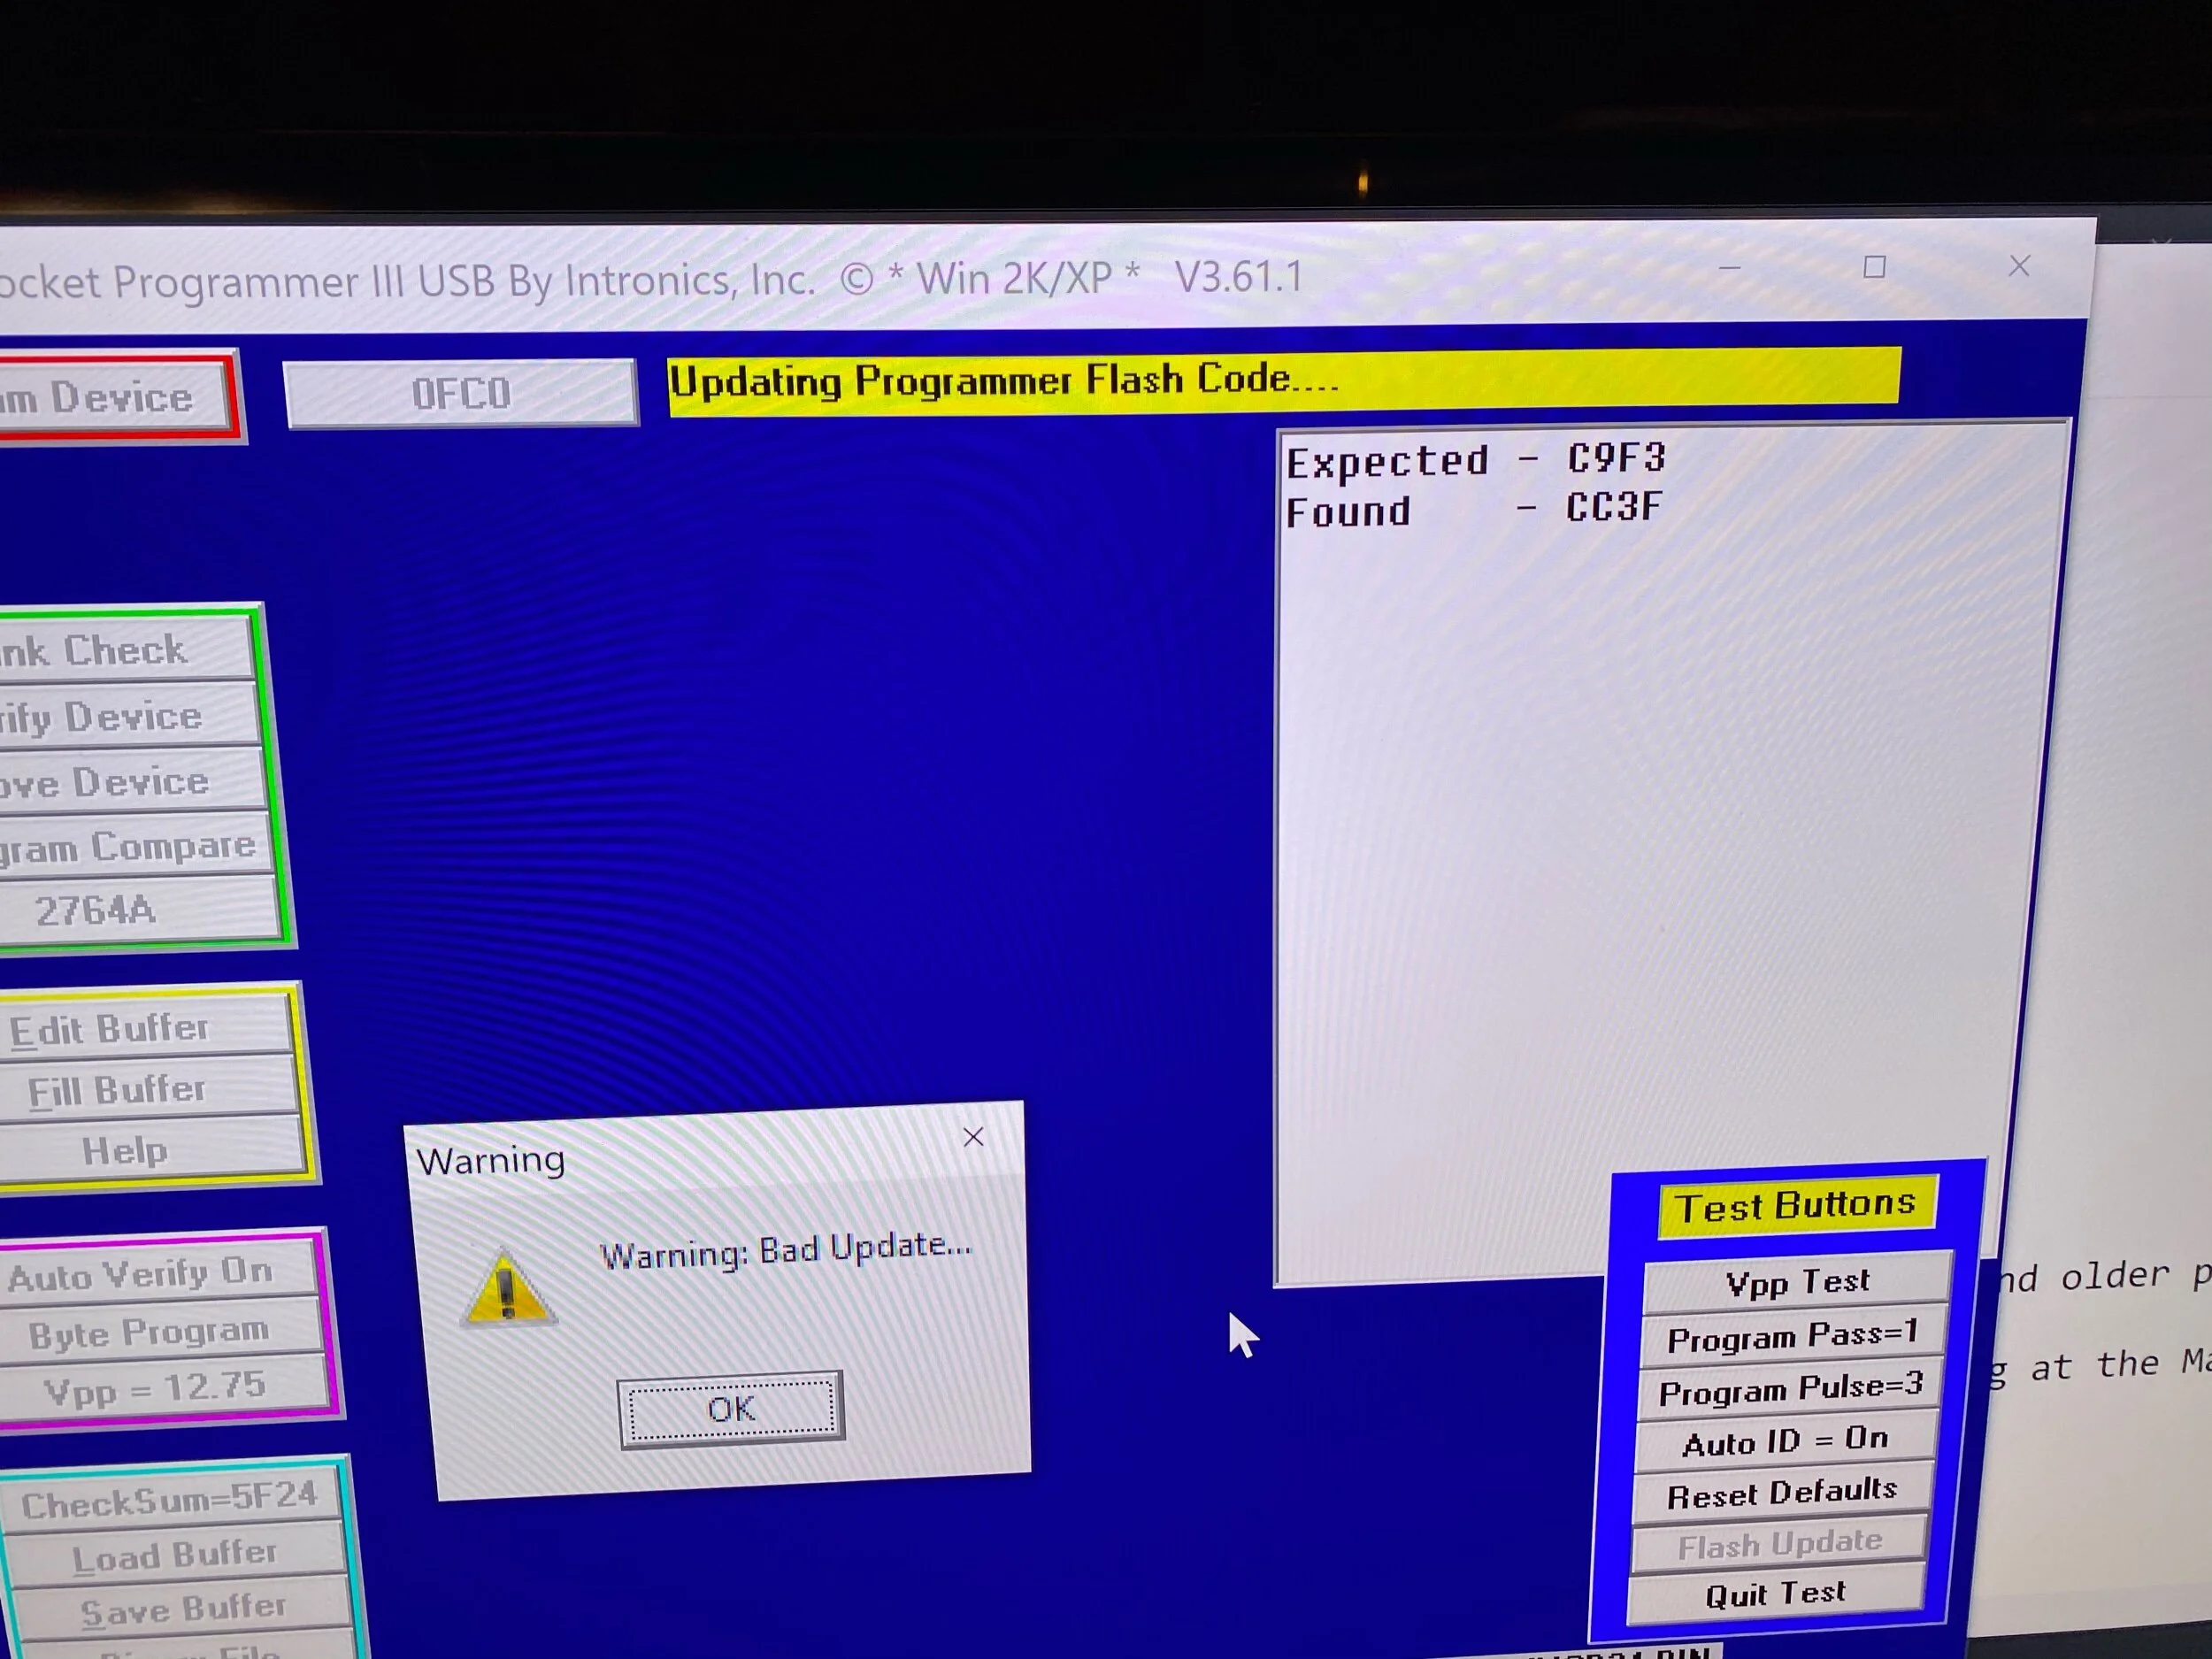
I noticed that the Pocket Programmer software had been updated since I used it last. The update process includes a firmware write to the device, which apparently has failed. Son of a….

 
q*bert.jpg

However, the pocket programmer is still being recognized by the software (and with the updated firmware version) so I thought I would be clear to proceed. The first problem showed up as I read the buffer from the chip into a file (dumped the rom). That file - was 2k. It should have been 8k.

 
IMG_2967.jpeg

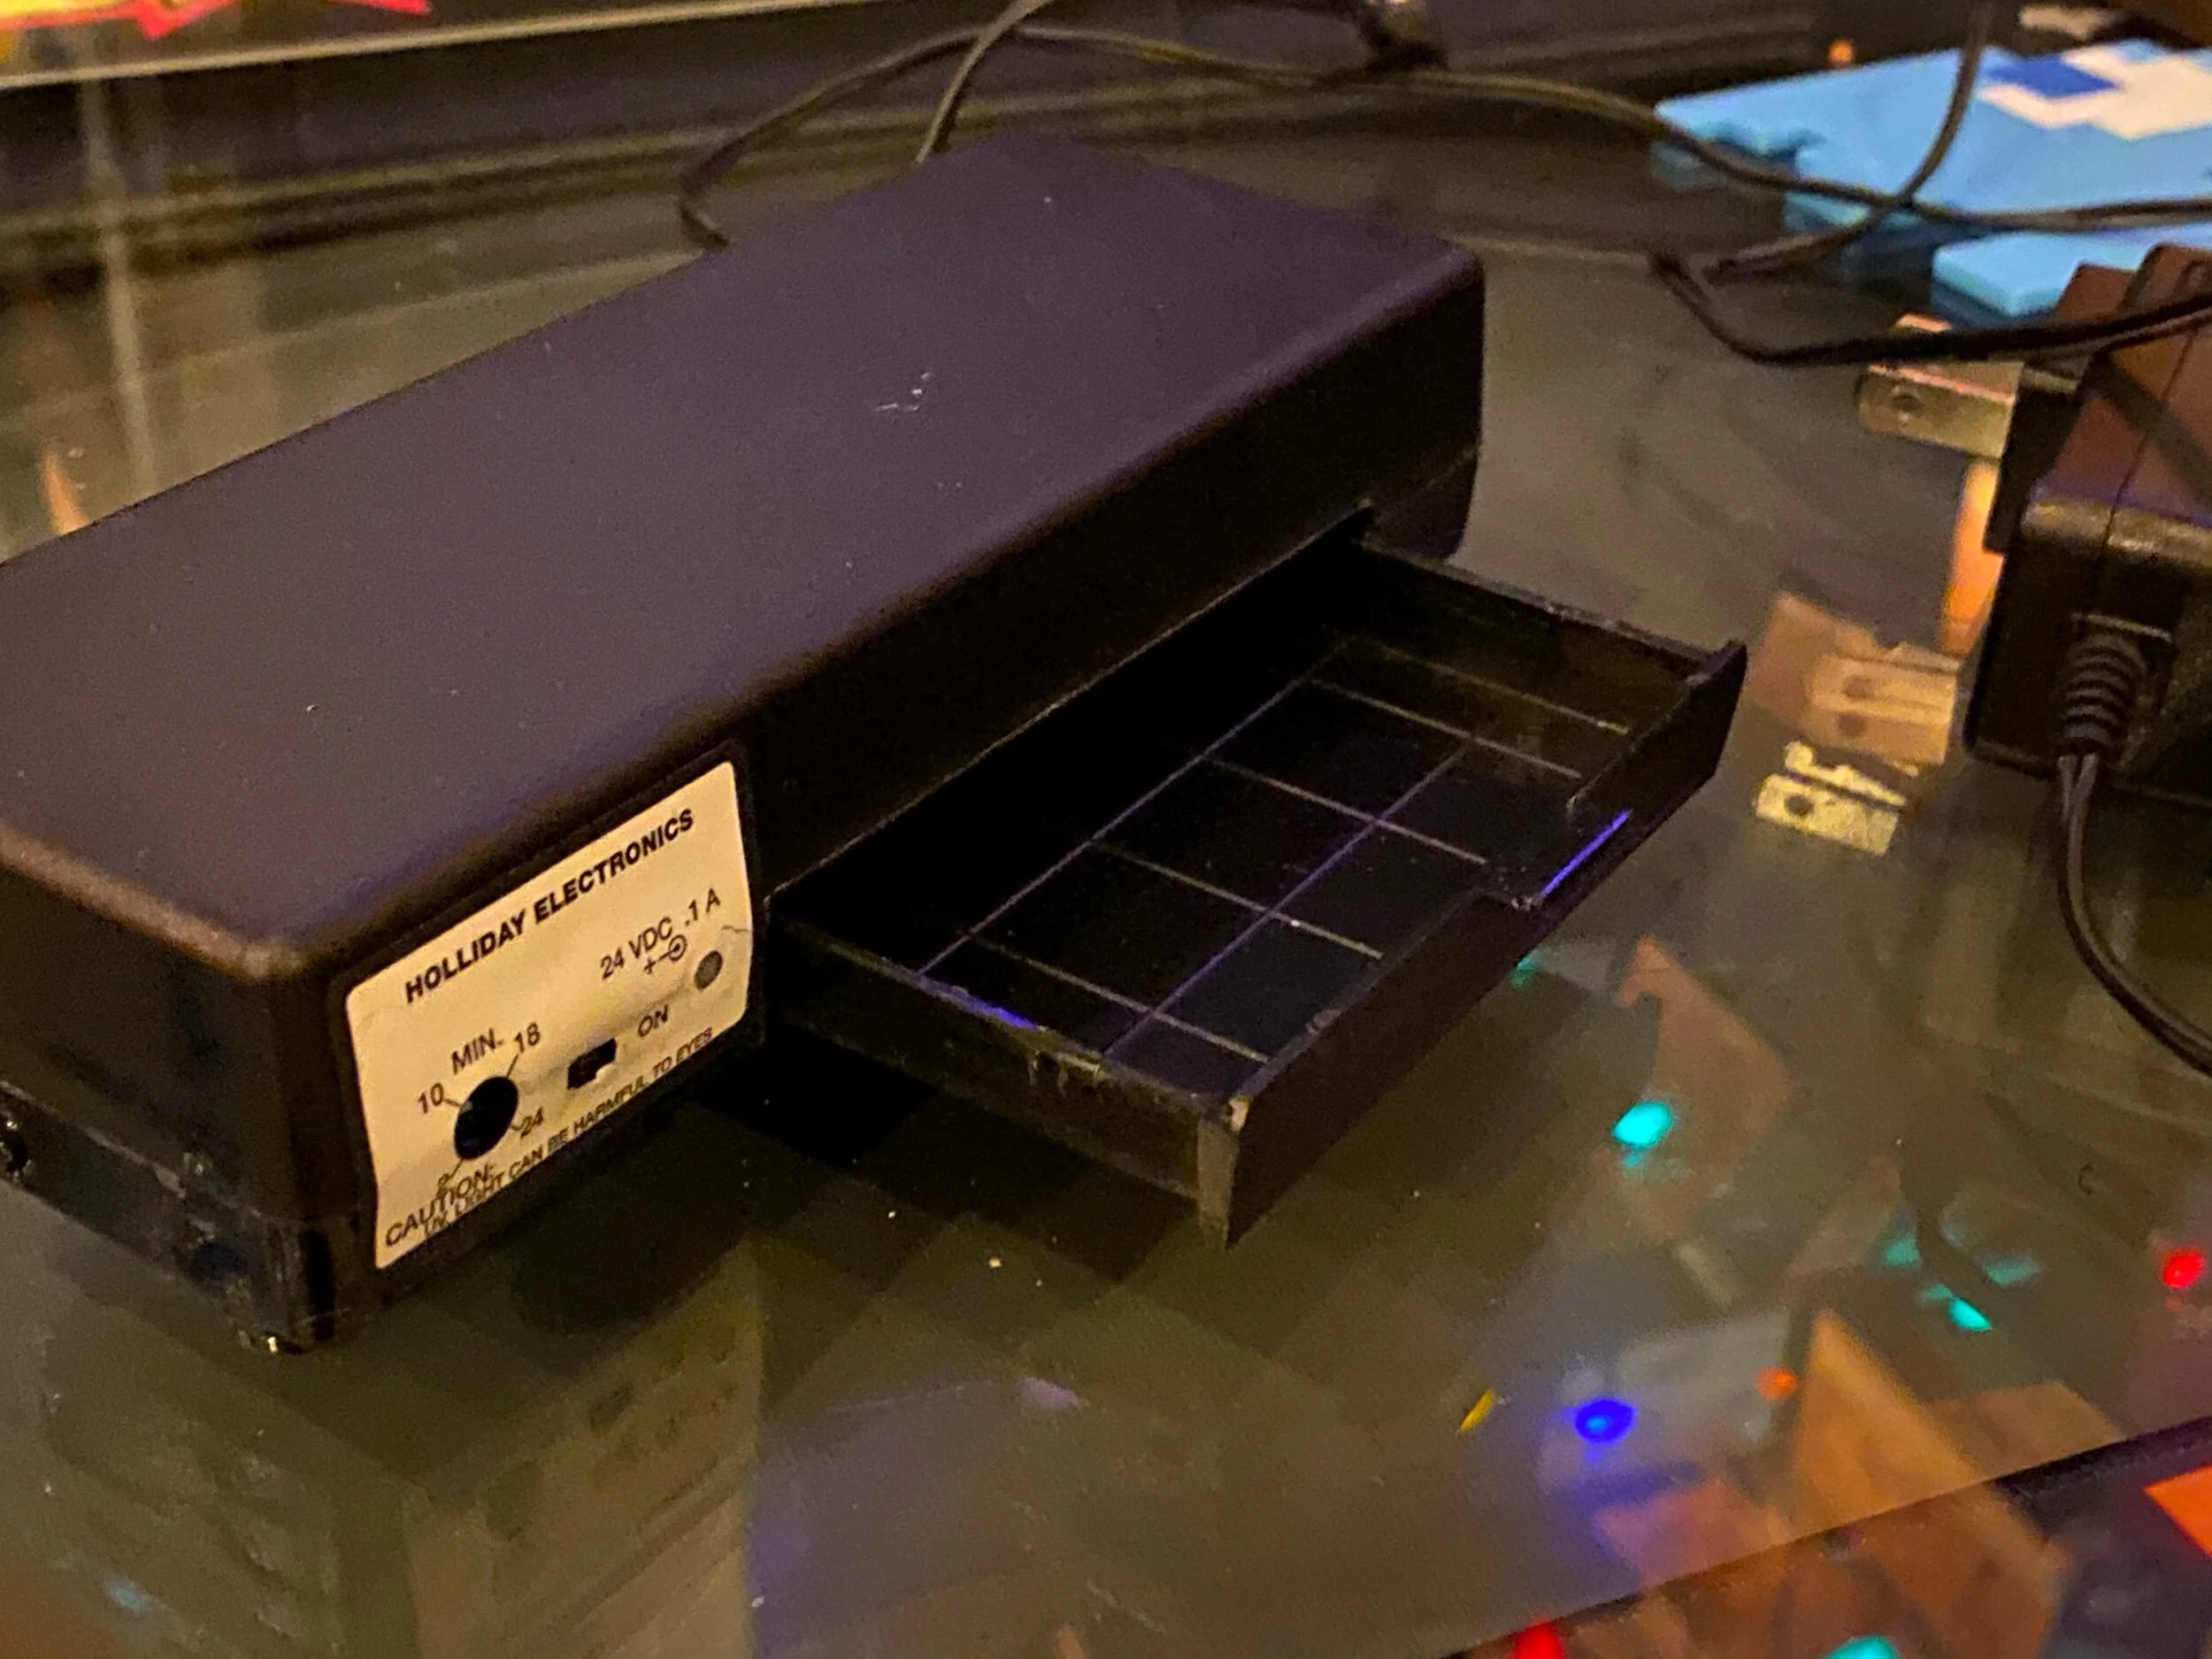
I then dropped the original ROM into my crappy chinese made UV eraser. After multiple attempts, the Chip wasn’t reading as erased… I ASSUMED this meant my crappy UV eraser was too crappy (it does have a fidgety drawer interlock). Time for better tools, I tell myself..


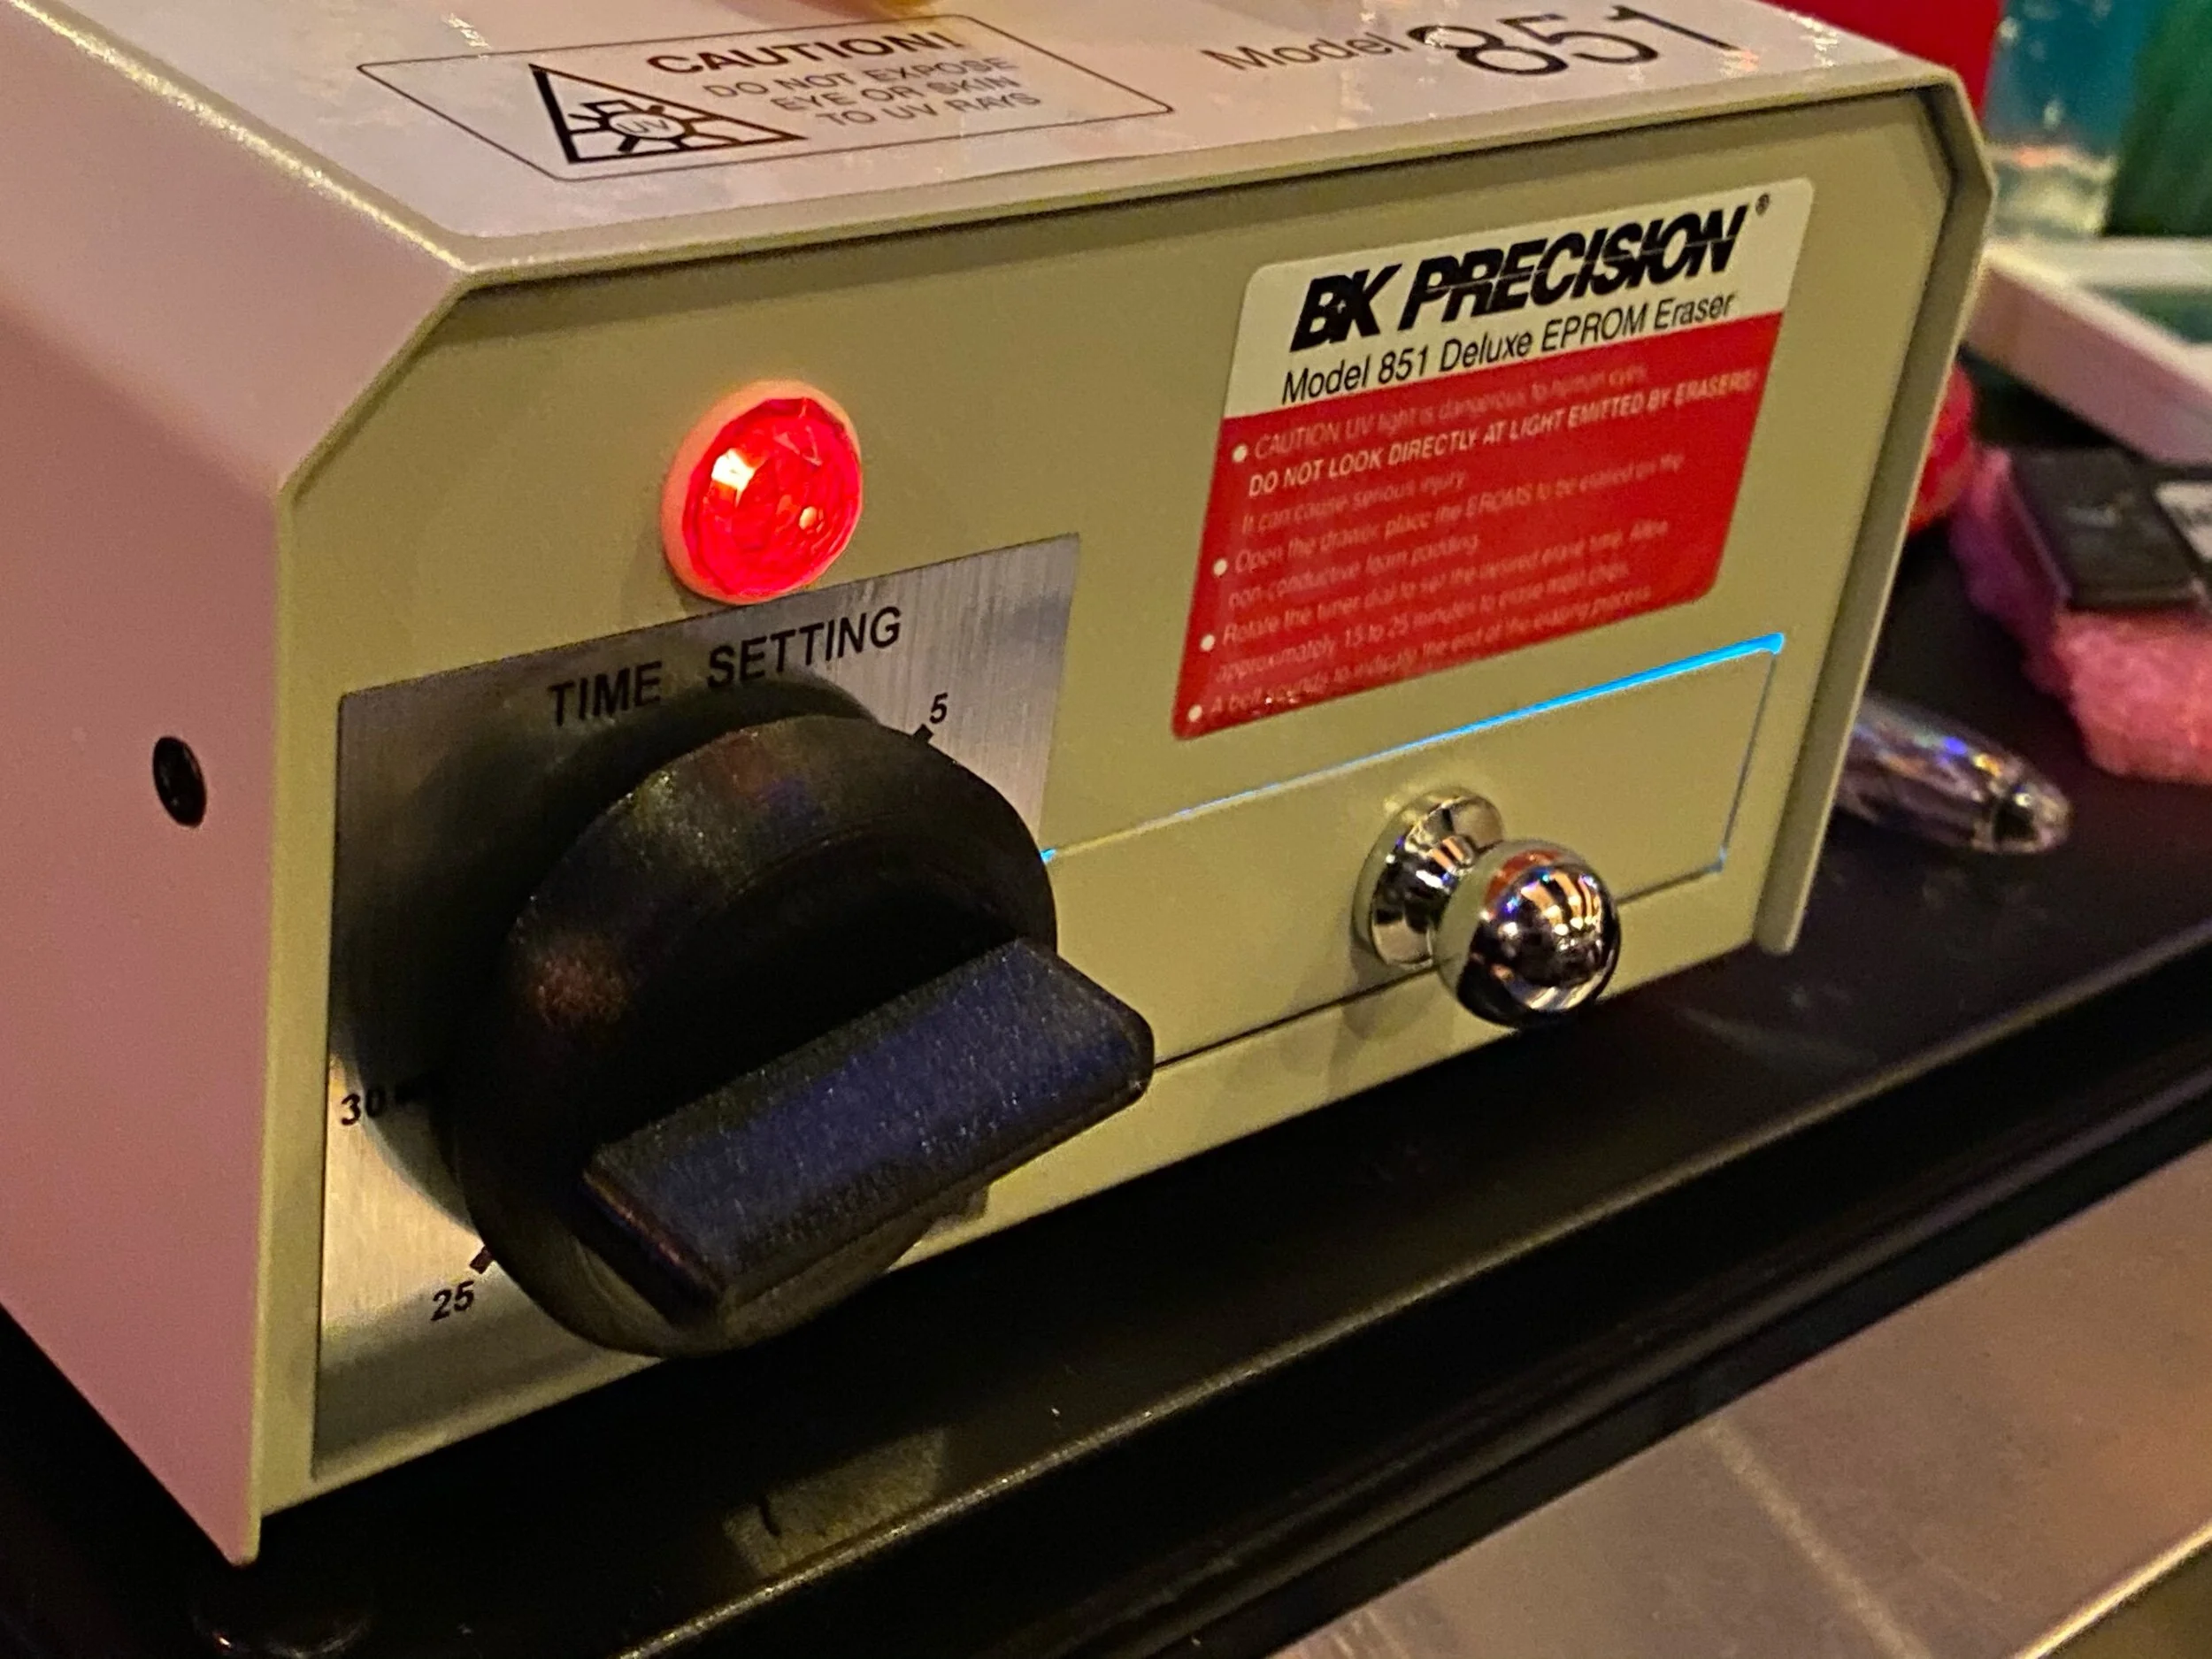
I find a BK Precision Model 851 EPROM eraser as an open-box deal for $120 off regular price and jump on it.

homer-computer-woohoo.jpg

“MAIL CALL!” - It arrives… and the first time I use it the control knob (which it turns out did not match this device) breaks off.

homer-computer-doh.jpg

I will not be beaten by plastic.

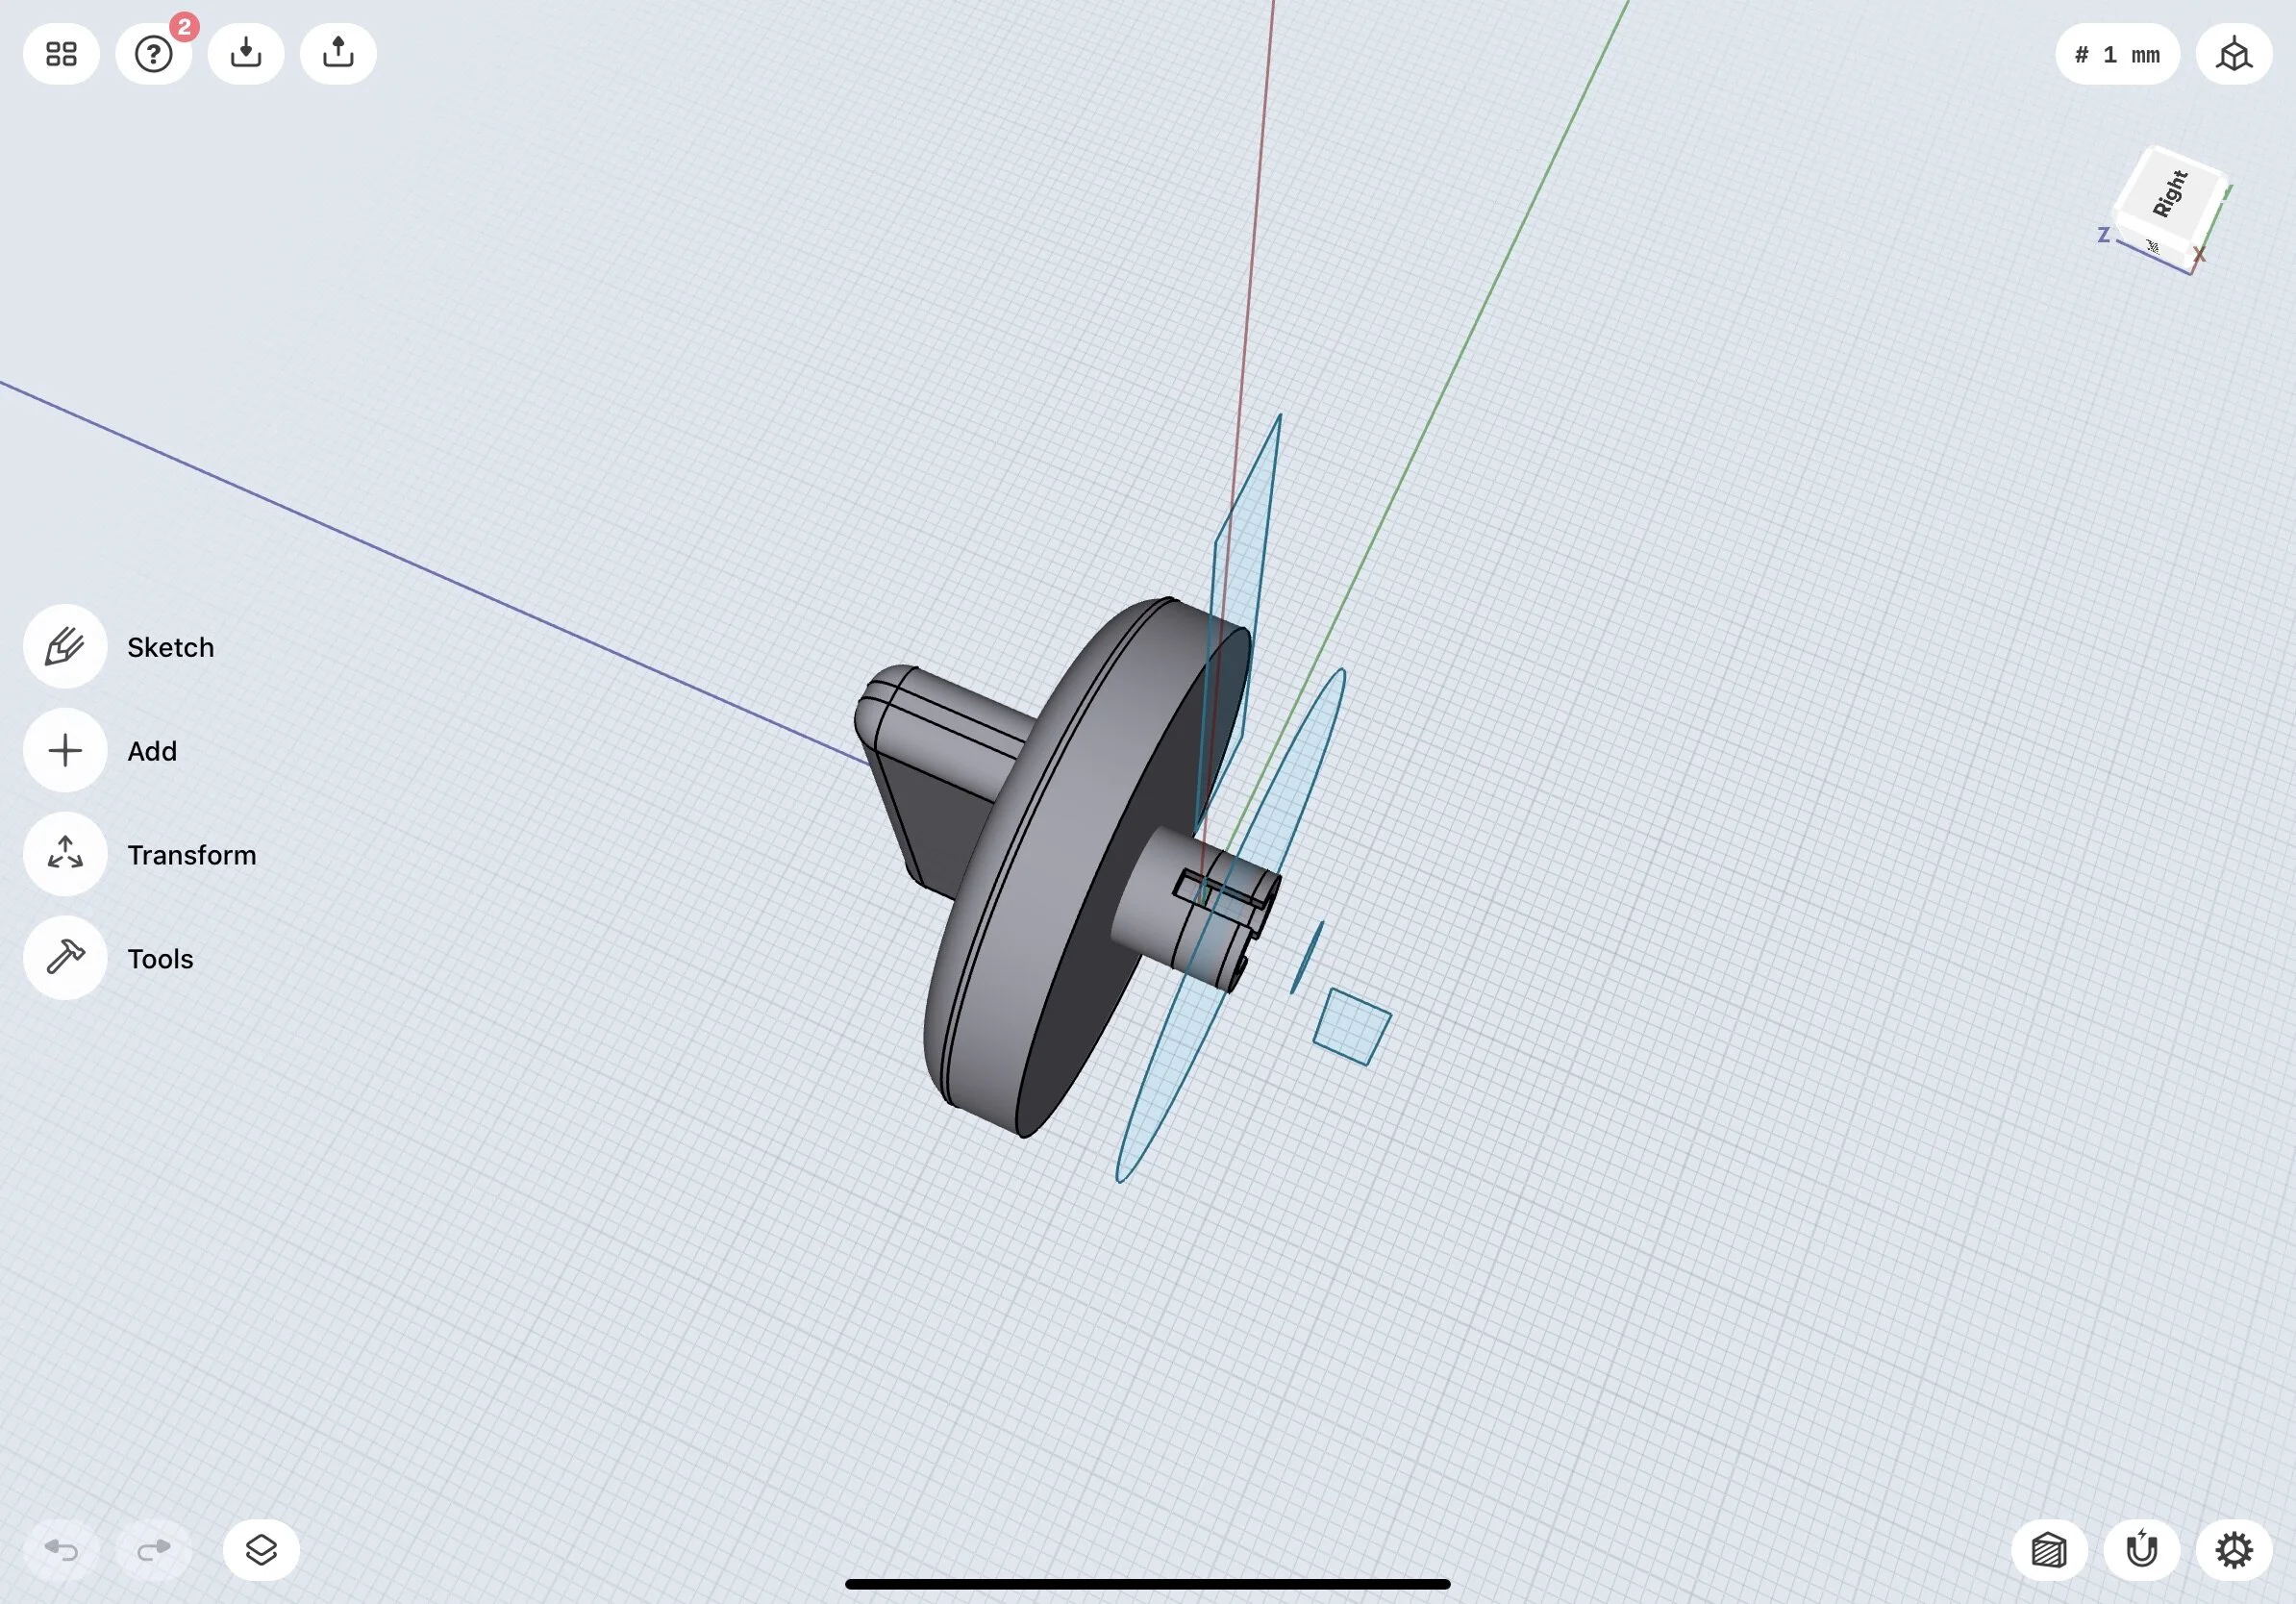
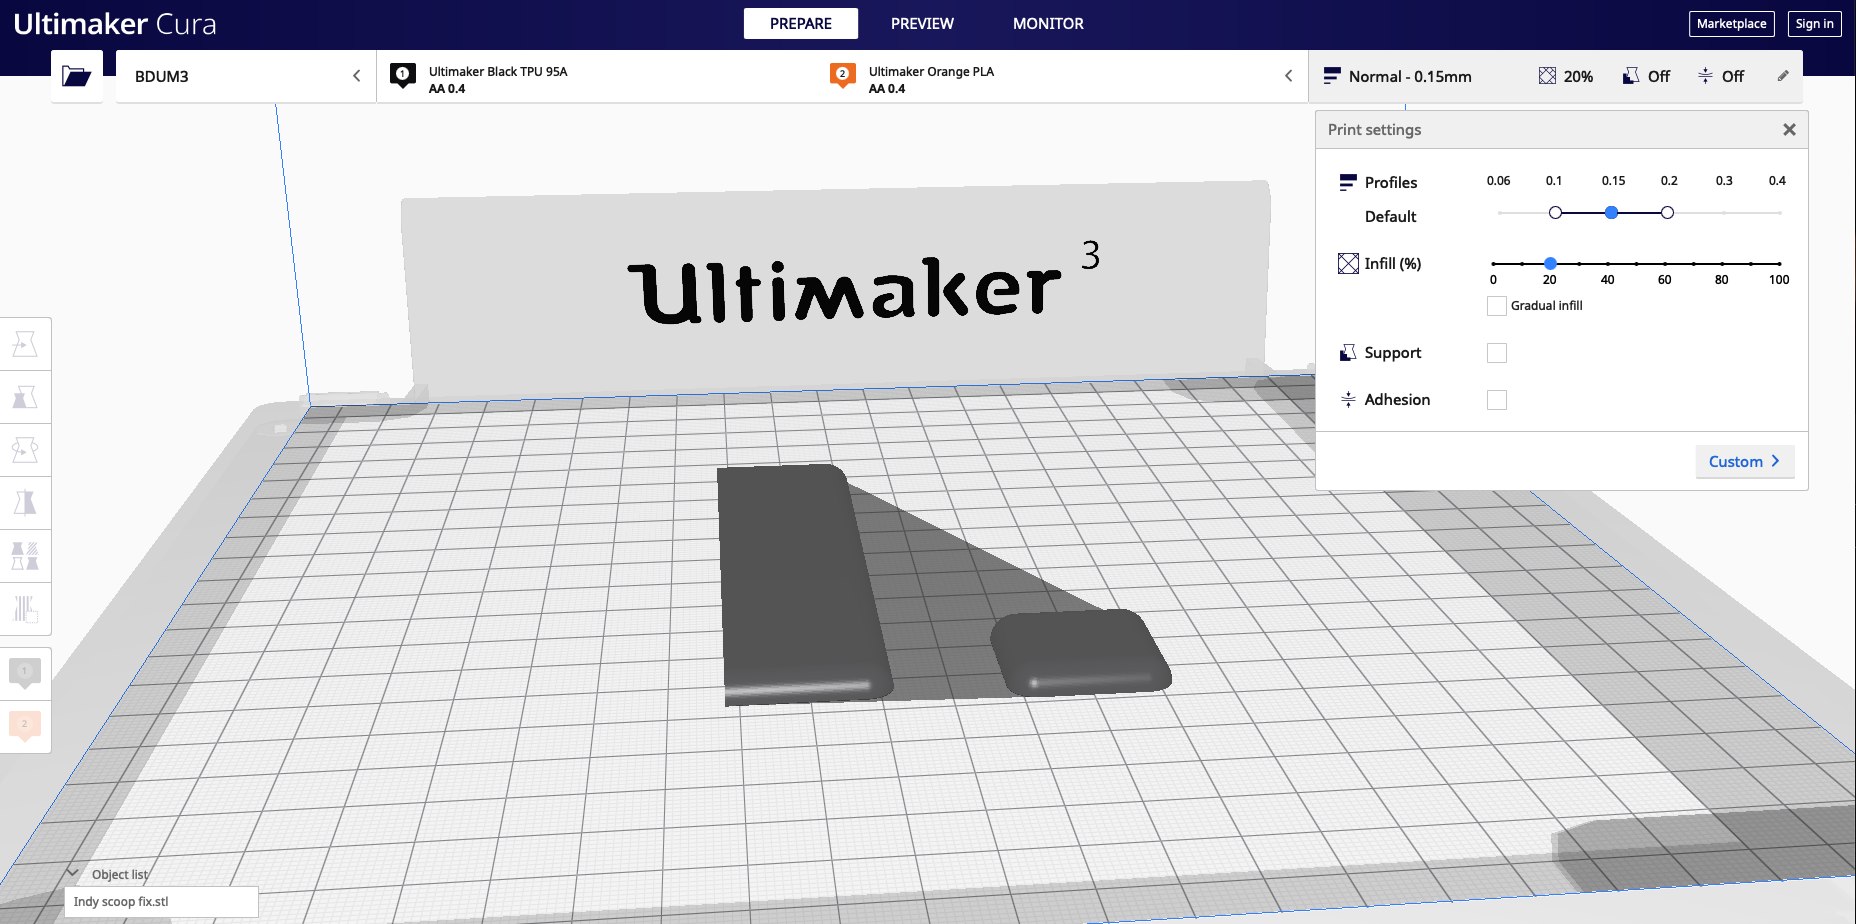
So, I designed a better knob and 3d printed it on nearly indestructible nylon.

IMG_0047.jpeg
IMG_2956.jpeg

So, now I can erase the ever-lovin’ crap out of a metric butt-ton EPROMS. Unfortunately, I’m still not able to get a clean programming or erasure cycle out of a couple of these Mitsu 2764’s. After experimenting with some known good 27c64’s and ST Micro 2764a’s, I land on the conclusion that my little Pocket Programmer 3 is indeed Fubar’d.

 
… and their email is no longer valid. Are we having fun yet?

… and their email is no longer valid. Are we having fun yet?

As one does, I reach out to their support with a well detailed email, offering to pay for replacement or repair assistance..


Just to Recap

calculator.gif

So, my ICB PCB has spent more time in the mail or in repair queues than in my game, working. I bought a umm….. replacement PCB w/ a 1 year warranty to act as a shortcut for $400ish. It crashes the game after counting the bonus on hole 6. At suggestion of the PCB repair / warranty holder, I attempted to replace my game rom. The EPROM programmer software bricked my EPROM programmer with a failed firmware update. The half-bricked EPROM programmer in turn has bricked (3) 2764 EPROMS. There was a small UV eraser ordeal. My $269 EPROM programmer is in the mail for a $120 repair job to a company that I’m not even sure is still in business.


If you’ve made it this far, I know what you are probably thinking:

Dude, just get some game ROMS preprogrammed from someone already.

Well…. that IS a good idea. So, that’s why weeks ago before any of this I reached out to my usual trusted source for quality pinball game ROMS. Unfortunately, he thought Ice Cold Beer was a video game. No help there.

Also, ordered 2 ROM sets from a seller on eBay weeks ago. I guess that they are coming to Alabama by way of Shangri-La on the back of a mule. Estimated delivery date is August 11th & no tracking is available.

Asked about ICB Roms, got this back.  No help there.

Asked about ICB Roms, got this back. No help there.

Ice Cold Beer game roms from an eBay source.

Ice Cold Beer game roms from an eBay source.


All of these ROM/ EPROM shenanigans and there is a definite non-zero chance that the situation that is tripping the WatchDog timer and bouncing the machine is related to power transfer somewhere else on the PCB. Scoring digit circuit, hole flasher, etc..

Next up and because there is apparently no limit on my AMEX when juxtaposed with my impatience, I ordered a GQ-4X because I’m relatively certain it will be weeks (or more) before I hear anything about my PP3. I’m hopeful once it arrives I’ll be able to get the game ROM settled…. but this is 2020…

8/6/2020 Update - The stars sort of aligned on 8/5. The eBay acquired EPROMS, the GQ-4x AND the loaner / test ICB PCB all landed in my lap to help to do some troubleshooting.

Gq-4X FTW

IMG_3066.jpg

First up a nod to the GQ-4x4. It arrived on time (though shipping to the US from Canada is really expensive right now). Have used both the Pocket Programmer 3 and the GQ-4x4 I have to say I much prefer the GQ-4x. The software on the PP3 is a bit more barebones, minimal and feels like a DOS app that is running in a Window through some compatibility layers. Because, well - it is. I had gotten used to the PP3 software and it was familiar to me having grown up in tech through the DOS/BBS days, Pascal and ASM programming, etc.

But… the GQ-4x software seems to be a bit more Windows-native. It still doesn’t look like a modern app but it will be more familiar to some folks that grew up in the Win95/98/2k Reich. It installed easily and worked immediately, for the most part. It seems like the GQ-4x had a more comprehensive or at least more helpful device list. It has a favorites-list which I think is a nice touch.

One caveat, though.

The GC-4X didn't include the power adapter and even though the documentation implies you don't need it if you are using a powered USB hub - you probably do need it for some chips. Some of these 2764's take 21v for programming. Hard to get that out of a USB hub. 

Specs for that are: 9V output, Center Positive, Anything over 400mah
- (Incidentally it is the same power brick as a Sega Genesis if you have any retro consoles laying around.)

So on one hand I wasted a ton of time on EPROM stuff with this game but on the other hand, I have the capacity to erase the EPROMs for an entire village at one time if the need every arises and I shored up my toolset a bit, so I guess some of this is tuition, right? right..?

Back to the task at hand

Armed with a known good EPROM reader / writer, some known good chips and a loaner PCB I was able to do more troubleshooting and situational inventory. I found that my PP3 was really borked. Many of the chips that didn’t read as erased, were in fact erased and reusable. I got verified Erase-Write cycles out of all but one. I found that of the 2 sets of ROMS I ordered from the eBayer above - one of the sound ROMS arrived blank. The chip was fine, though I was able to restore a sound rom dump for ICB back to it.

More importantly and perhaps depressingly, I was able to determine that my ICB PCB’s hole-6 restart was not related directly to logic in the Free-Play ROM. The 6th hole restart persisted on this board between the factory ROM and the ROMS from the loaner PCB. Further, the loaner PCB let me run through ten holes without a restart. I sent back the ICB PCB for further testing and investigation.
My suspicion is that the U39 WatchDog Timer is tripping following the bonus counter on hole 6. At first I thought it might be related to the playfield display board and voltage required to light an additional digit but watching the video, I didn’t go from 800 to 1200 on hole six, the thousand digit was already lit by hole five. With a little less frustration and clarity, I’m guessing the problem exists in the circuit for hole 7, specifically it is a controlled-lamps power issue… maybe….?

IMG_0051.png

Looking at that schematic, assuming I’m reading it correctly, maybe there is a D7 that could cause. it. But I honestly can barely make this out / don’t remember what it looks like.

IMG_0050.png

Looking at that schematic, I guess it could be U15 or a bad leg (2 or 15) on U15. Could also be C80 or C19, I suppose. The Ferrite Bead wouldn’t be bad I wouldn’t think but maybe a disturbed trace along the way. I’m not seeing a resistor in that schematic but I suspect the blinking action occurs as the result of a 1/4watt resistor paired with one of those caps and maybe a drive transistor somewhere. Hopefully it will be something simple and repeatable and not a “in this cabinet only” sort of bug. At any rate, it is headed back to the hands of a capable professional and I have faith he will find and settle the 6/7 restart.

In the meantime

While I’m board-less I’m going to spend some time redoing the edge connectors with fresh leaf pins, so I can eliminate any edge-to-card connector voltage shenanigans for future problems. I’ve noticed some issues with engagement that seems to change depending on the orientation of the PCB in the cabinet. Might as well eliminate those potential future problems while I wait..

TBC.jpg

The Importance of Setup: Indy Adjustments

I’ve noticed lately that my Indy gameplay has been a bit of a struggle. This is weird because for over a year I played Indy every morning, almost as if it were a ritual. Get up - > do hygiene thing -> take the kids to school -> get coffee-> Play Indy -> get more coffee -> Log in / go to work.

Now, I can’t hit anything and worse, I can start a mode if my life depended on it. Whiskey Tango Foxtrot?

Pinside has the usual ratio of buttholes suggesting you Google before posting a question, mixed with a potential fix that involves yet-another-$5 thing that isn’t in stock anywhere.

(Also, I found that via Google, so… good job internet forum snake for eating your own figurative tail.)

I event went so far as to design a rail and ball-stop brake pad to be printed on TPU95.


I event went so far as to design a rail and ball-stop brake pad to be printed on TPU95.

3D print file here, if you want it.

INdyCLiffy.png

I have a playfield protector and a Cliffy but the mode-scoop start issues didn’t start until recently and both have been installed for awhile. Once I got the POA off, you can see in the pic above what was happening. Over time, the Cliffy had actually moved. Which.. kinda / shouldn’t happen with the adhesive on it - but it did. So, the ball would hit the ball stop and deflect back down but the front edge of the scoop was partially obstructed by the Cliffy.

The solution was to pull the Cliffy, re-flatten it on a vice. I slotted the screw holes in the Cliffy to allow more forward placement, put new adhesive on it (3m spray adhesive on a paper plate, then brush on), re-center and re-install it.

I also re-leveled the game while the glass was off, it was leaning a smidge to the right.

Huge difference right?

Do the Flynn Thing

This was done with Alexa Routines but there are similar features on Google Home (Routines) and HomeKit (Shortcuts).

A large prerequisite to this is the presence of SmartPlugs to handle the power on for your machines.

IMG_2312.png
IMG_2379.png

I’ve got an older post on smart plug, you can check it out, here:
http://arcadeshenanigans.com/blog/2018/2/13/smart-plugs-a-year-later

The obvious downside to the smart plug approach used here is expensive and network population, having 36 Wemo plugs means 36 IP addresses to allocate, 36 Netbios names to configure, if Siri integration is wanted, 36 HomeKit setups to complete. Wemo plugs can have setup and support frustrations, as do their competitors.

One incidental upshot to this approach is that it is a solve for the breaker instant-load issue you might get from flipping a physical master switch. If you flip a giant red ghostbusters containment unit looking power handle, electricity is flowing out at nearly the speed of light, in an instant. That could be a lot of load to introduce on a breaker panel all at once.

By comparison, each cloud-connected smart switch is going to take at least 120ms of roundtrip network traffic before it closes the circuit and passes power. Everything isn’t turning on at once. It seems like it is but the delay is enough to provide a curve to the load application.

Anyway… Been spending some time in the evening during the quarantine getting the games squared away and making tweaks to the automation. The Alexa routines provided a nice way to move management of the plugs away from the Wemo Rules engine and into the Alexa voice services where we are already pretty well invested as a household.

Stay safe, be smart, don’t trust everything you read.. oh and um… thanks for reading. :)

Monster Bash (again)

This pattern of re-buying games I once had continues…

I never really find the excellent deals but I’ve been pretty fortunate to have found some good ones here and there. Back in February 2020 I was following a couple posts on Facebook and a Discord chat about one of those dream-warehouses that you sometimes hear about in this hobby. It had all of the usual elements, “Operator trove on private property, mostly unmolested. The property owner is one of those guys that only opens it up every now and then to let a small number of people in with a limit on what they can carry out. He only does it when he needs cash for something.”

..or so the legend goes, anyway.

In the course of my research I didn’t find the National Treasure like-map to get me into this fabled lost city of abandoned amusements.

But I did find a pretty darned fair deal on a Monster Bash along Florida’s Sun Coast.

The seller was reasonable and easy to work with and no complaints whatsoever on his description of the game. The logistics of getting the game to me, was somewhat of an adventure thanks to COVID shutdowns but everyone involved did everything in their power to make it work out.

On May 3rd, the game landed safely in Spanish Fort by way of Bob C’s capable hands.

IMG_2117.jpeg
So begins another pin restoration..

So begins another pin restoration..

IMG_2138.jpg

The initial condition is honestly better than I had expected. Considering my last Monster Bash cost nearly twice what this one did, my expectations were tuned in the “rough player’s” range. Really, though there was nothing major wrong with the game.

A couple minor playfield flaws that will be relatively easy to fix:

A small ding in the playfield, through the clear and into the wood. Maybe a dropped screwdriver or corner of something sharp

Ball eject dings from the scoop kickout.

It looks as though someone repaired the cabinet at some point but they did an excellent job. The only reason it stands out is that the back of the cabinet is too clean by comparison to the rest.

I added an LED ColorDMD, new balls and Titan rubbers. Always a good practice because you will discover broken or missing plastics along the way. One pop bumper body needs to be replaced and a couple minor, easy to acquire plastic workarounds were in place.

The first thing I ever 3D printed for myself..

The first thing I ever 3D printed for myself..

Favoring BallBaron.com Ninja Chrome lately

During initial play testing, the right orbit was particularly frustrating to make. I kept getting bounces and thought at first that it might be the right orbit switch gate interfering with travel. Recording a slow motion flip from the left flipper, revealed something unexpected, though.

It looks like there is a lip at the drac track where the play field has a light sag or warp.

I ran across this pinside post, it looks like some early Monster Bash games didn’t include a bracket. I don’t know if they increased the ply of the play field or just bracketed later releases, I’m guessing they probably just included the bracket on later runs.

The bracket needed to fix this is here:

https://www.marcospecialties.com/pinball-parts/01-15202

Thing is, I really didn’t want to wait four or five days and not be able to play so I drew a temporary bracket up in Shapr3D and 3D printed a prototype. I also didn’t want to be wandering around Lowes aimlessly during the COVID stuff looking for a comparable generic Hillman bracket.

IMG_2282.jpeg

I drew a measurement across the existing play field posts to use as the mounting hole and used them to reconstruct a rough approximation of the bracket. My angle was a little sloppier with regard to not being parallel with the play field edge but for a 15 minute design and 1 hr print, it turned out workable.

IMG_2239.jpeg

The result was better but not perfect, at least the game was playable until the real bracket came in. If you have the need, you can get the print and design files for this, here:


https://www.dropbox.com/sh/zpv9piturosdl3c/AACfUkVbhDMFmnN2Pmg_ReaSa?dl=0

IMG_2283.jpeg

The real thing is of course considerably better, being made of steel and much more rigid. I went back and slightly modified my original design to make it a bit more stiff when printed on PLA or TPLA.

I’m definitely not condoning the printed version as an alternative to the awesome metal bracket, I just personally was too impatient to wait and had 3D filament burning a hole in my pocket.

Next up, lit flipper buttons and mirror blades..