As Stranger Things final season wrapped, I recently went through a full rewatch.
Growing up in Rural Indiana in the 80’s-90’s, Stranger Things is the sort of show that feels like It could have been made in a secret DOE lab aimed specifically at my inner 9 year old. Living in the southern Indiana boonies in the time frame where this show was set, I guess 9 year old me would have fallen somewhere between Mike & Derek’s cohort. My tiny friend group was more focused around adventures in the woods and building forts out of small stacks of discarded semi trailer tires than playing D&D.
The kids living within bike ride of one another and the corner store really seemed like they had charmed lives. I did get to nerd out in my own way but more through BBSs, electronics and chemistry sets. That Spielberg-ian or Goonies-essque vision of kid-adventures powered by bike rides to the friends’ houses and nearby town were always just out of reach.
I follow a lot of film and tv review content. Over the holidays, the overwhelmingly negative response the S5 midpoint and finale have been turning over in my head and need to be vented before I move on. Here are my thoughts on Stranger Things as a whole, the ending and the nature of discourse around fandom collapse. Stream of consciousness; Spoilers, probably.
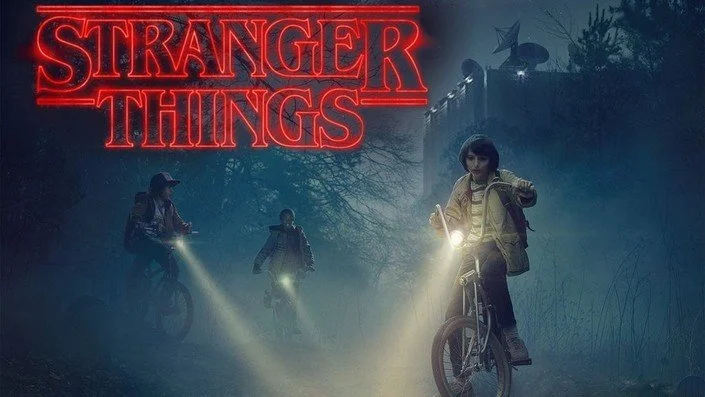
I see Season One as a near perfect outing of Television; a storytelling Fabergé egg.
Expertly capturing the environment of small-town Indiana, establishing the friend group of characters and the central premise, everything just hits. Less is more. The realization from Jaws that the unseen shark is scarier than when seen drives the brilliance of the horror tension around the Demogorgon. The more of a monster that you leave just off screen, the more you encourage the viewers’ imaginations to craft individualized tailor-made feelings of dread. The monster in the walls is the monster from your developing psyche. The monster under your bed, in the shadows; a monster without a face. The sound design, environmental design, lighting, jump-cuts and auditory slam-cuts are very effective in putting you into the story. Strong character archetypes portrayed by charismatic actors navigating a compelling story with real stakes and an engaging mystery.
El puts our her hand and screams, vanquishing the monster, saving the day and saving her friends but with personal cost.
What Worked for Me:
All of it. RIP Benny and Barb
It is pretty clear to me this was the original story and always the inevitable conclusion for the series.
But: streamers’ gonna stream. The content assembly line demands more!
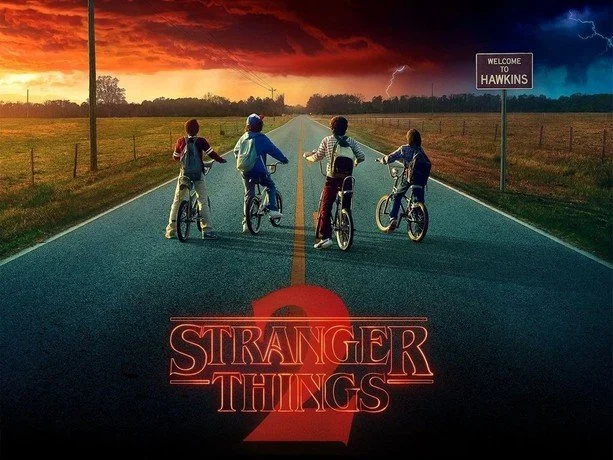
As an arcade enthusiast in the Southeast, I heard through collector friends in the Atlanta area as the production sought arcade machines for Season 2. I enjoyed season two but started to see the narrative cracks. Max was a great addition to the party.
I felt Billy was written to be over the top in a caricature’d 80’s bully way.; an MTV music video encapsulated into a fictional character. He is apparently a fan of attempted vehicular homicide on normal days, he’s an underage smoker and drinker with a dose of implied racial bigotry. He is that person we all have in our lives that seems to get away with shitty behavior because their cosmic roll for charisma or physical traits turned up with a 20.
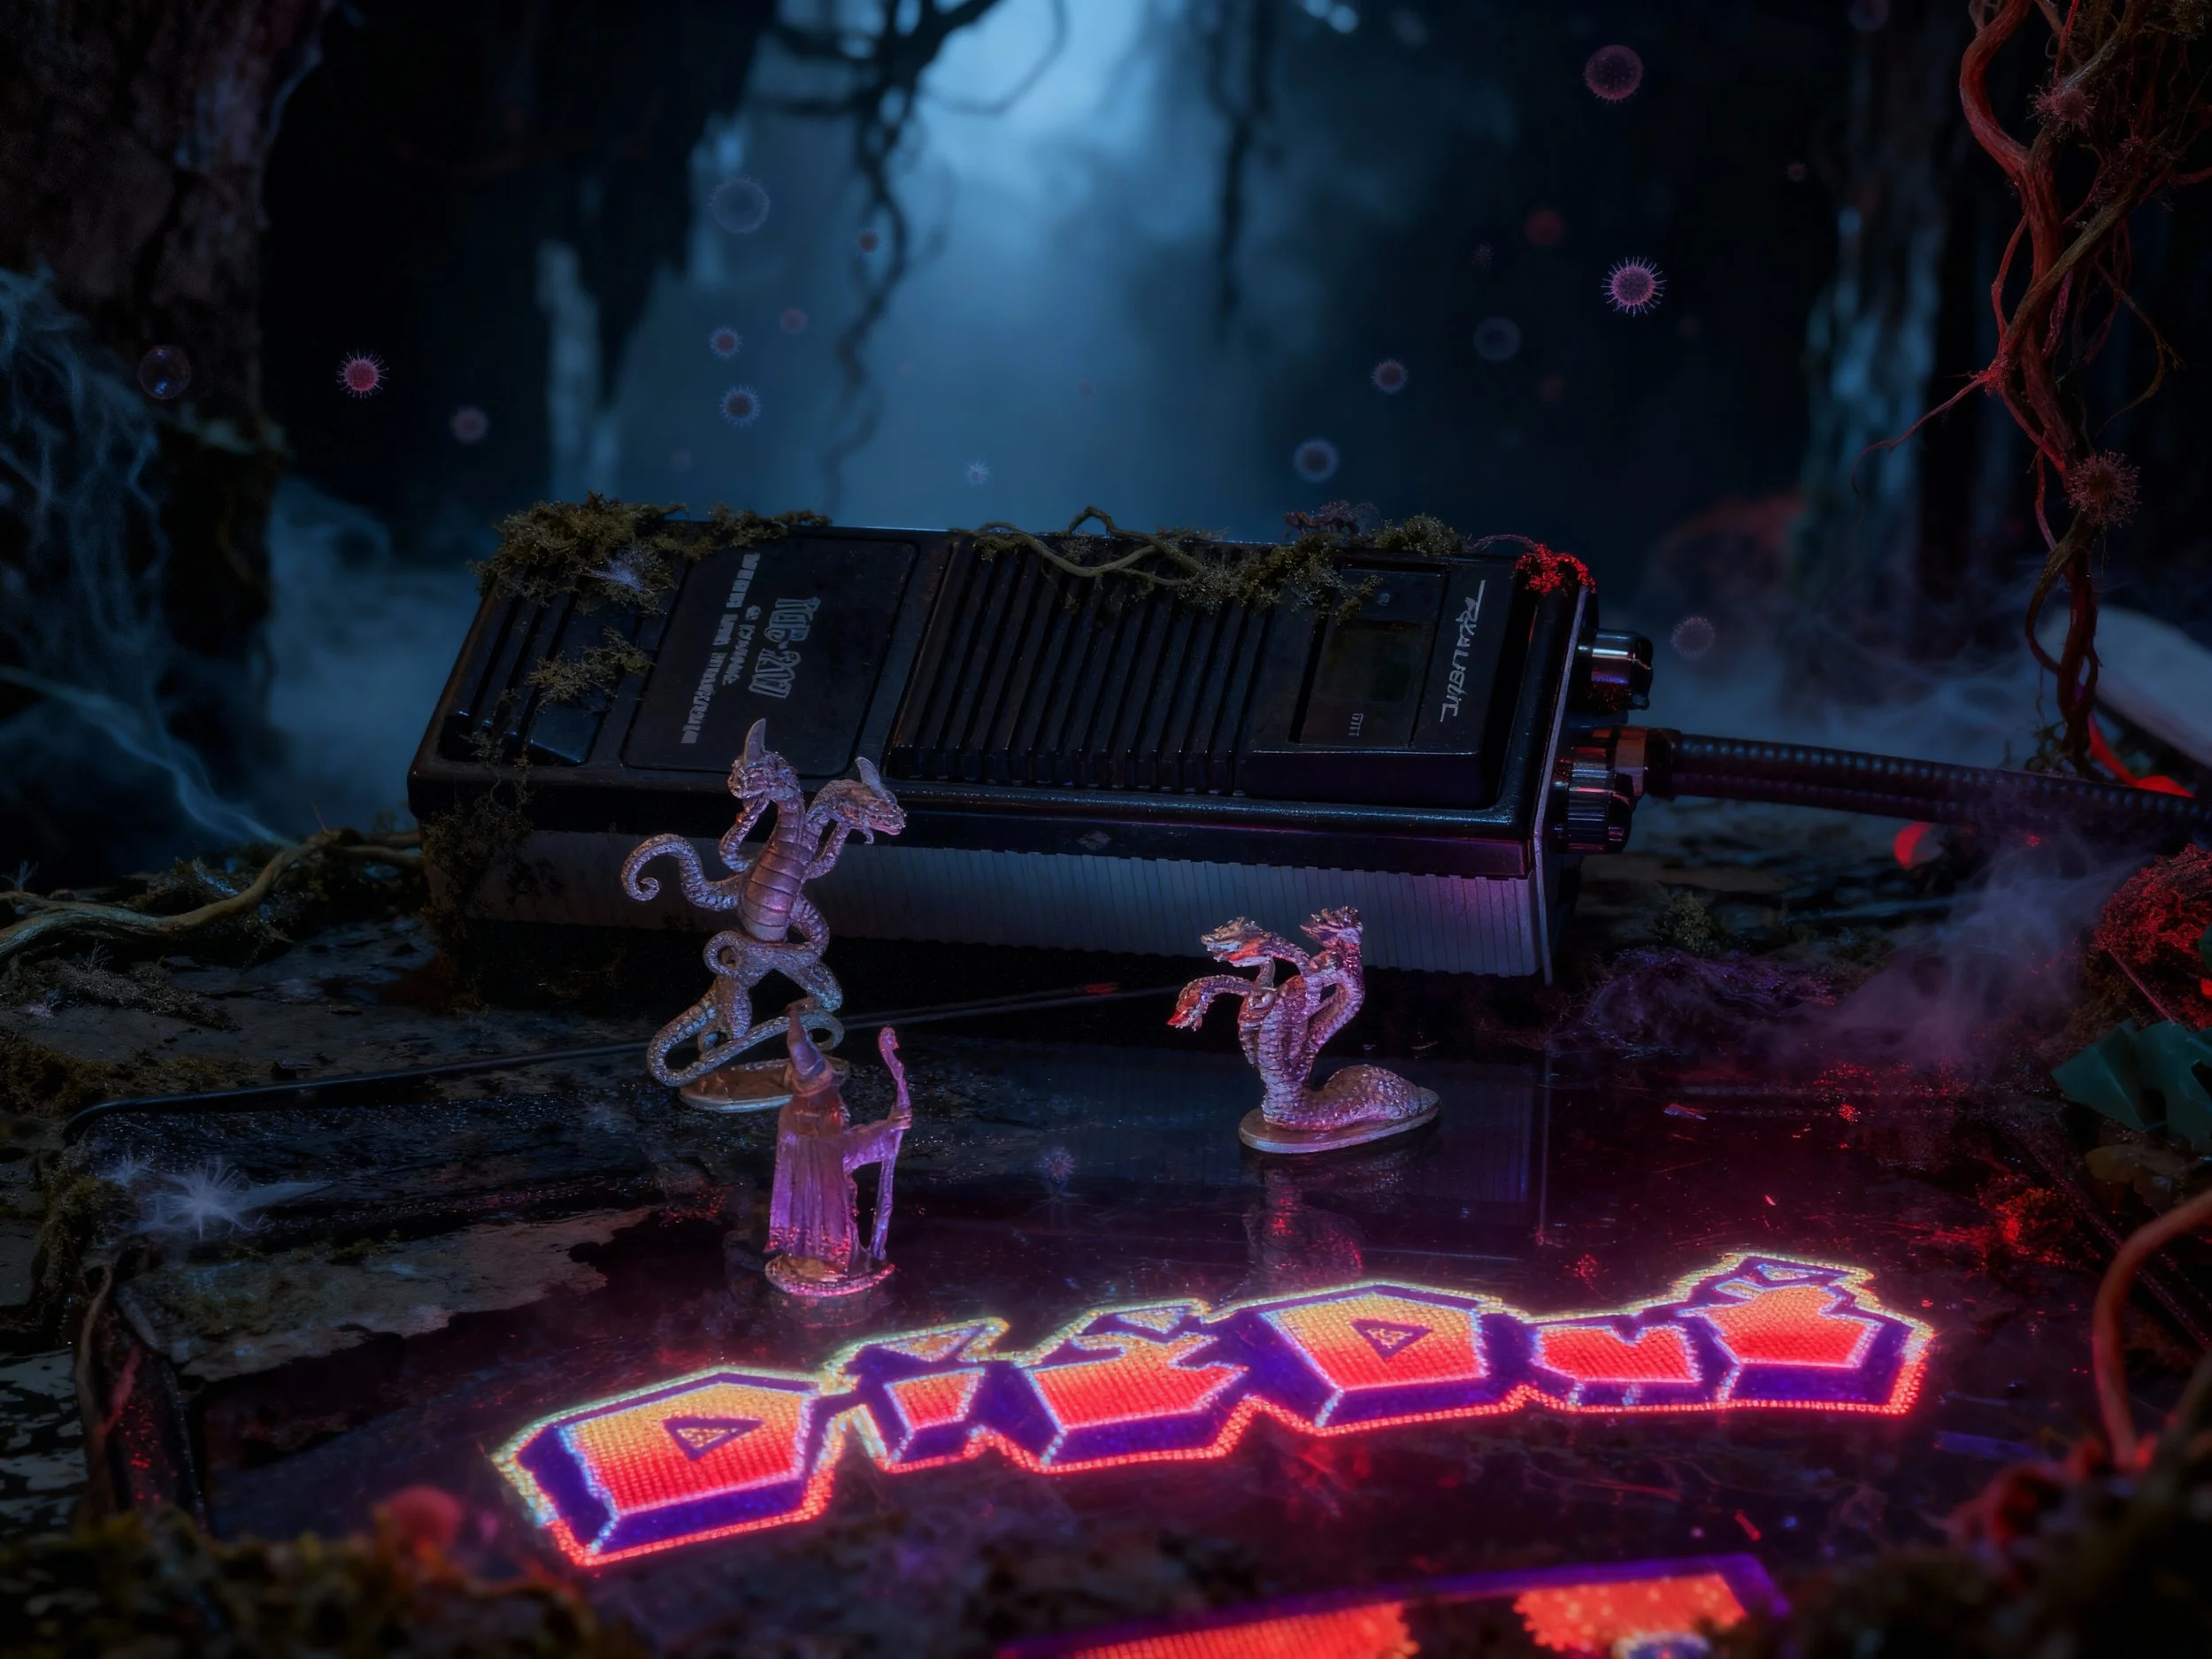
The halloween setting is great. Thematic integration of Dig Dug into the plot is fun. The Mindflayer cloud is legit spooky. Sean Astin’s Bob the Brain will always be the Samwise to our emotional Frodo because we want nice things for this little family. This season solidifies the formula for the remainder of the series.
Divide the Characters
Introduce new Character Pairings
Mine these situations for levity and Character development
Characters work towards harmonic outcomes through parallel efforts
Re-Combine the Characters plus new Character Pairings
Mine the recombined group for emotion (levity, sadness)
El puts our her hand and screams, vanquishing the monster, saving the day and saving her friends but with personal cost.
What worked for me:
Bob and Max were great character additions to drive other character motivations. Noah’s portrayal of Will’s possession is haunting.
What didn’t:
Kali’s found family of freaks and miscreants were poorly placed in the series lineup, bled tension from events at the lab.
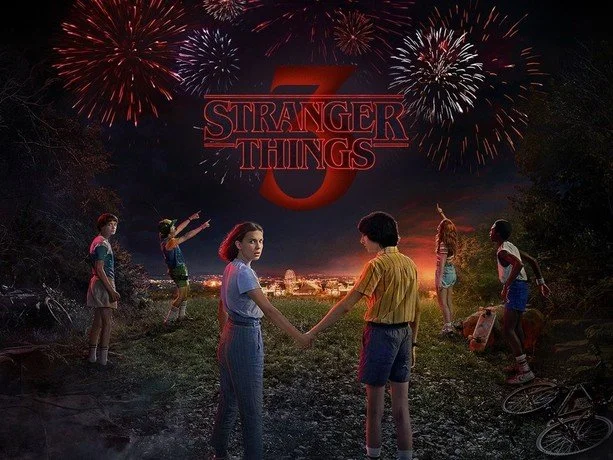
Season 3 abandoned the cold dark months for bright summer days at the mall. The mall nostalgia fuels a more spy-kids like tone in the day and the Thing-inspired gore of the meat-flayer is a different kind of horrific. Hopper is unrecognizable, seemingly pulled from a sit-com. Max and El’s girl time provide essential character development. We are all Hopper in our discomfort with teenage romance.
What worked for me:
Dustin and Steve; the broader Babysitter Steve shtick.
Alexi and Murray was a fun pairing. Billy’s possession is well done. The Door, 3-inches Hopper monologue is great emotional extraction.
What didn’t:
Hopper’s cheesy Magnum PI analog, Weird Tonal Shifts
Season 4 was a return to form, blending scenes aped from Nighmare on Elm Street with genuine body horror and character tension. Vecna / Henry / One (VH-One) personifies the horror. Unraveling the mystery of this personified Villain with horrific capabilities brings real stakes for central characters. Every time a VH-One victim levitates, bones snap, their eyes are imploded and faces horrifically distorted I was mortified. The J-Horror blend of Psychological and Supernatural curses really works.
The bullies are relatable, as are the particular blend of freaks and geeks represented by Eddie. The pretty-boy jock douchebag with a plastic smile covered in false virtue versus the leather-and-stud clad counterculture types is a solid well from which to draw conflict and tension. [Hypocrite] + [Cosmic wood chipper] = [Chefs Kiss]
What worked for me:
The D&D Campaign Finale juxtaposed against the Championship Game is brilliantly done.
Everything Max.
The Murray and Joyce Roadshow.
The arm-up and off-to-war bike ride scene to a great Separate Ways remix.
The Hopper and Eleven Reunion. Epic visuals. Epic needle drop.
What didn’t:
The manner in which Hopper survived S3 and the Soviet contingent escaped Indiana was executed with the Soap-Opera level storytelling.
The writers’ room for Season 5 started to break the season in August 2022 and production was scheduled to start in May 2023 but was delayed by the WGA and SAG-AFTRA strikes. Production started in January 2024 and wrapped filming in December 2024. The year of shooting included any necessary reshoots. The show underwent additional adjustments after release like CGI airbrushing of an Under Armour logo.
In an attempt to recover some of the reported $480,000,000 production cost Netflix slated the release of Season 5 to be smeared over the 2025 holiday season. I guess the thought here is that if you weren’t already a Netflix subscriber, they’d get you for at least 3 months by spreading the release of Volume One on Thanksgiving Eve, Volume 2 on Christmas and the finale on New Years Eve.
Season Five has generated a lot of discourse and the internet speculation hive mind has been busy over the last 3.5 years theory-crafting on these characters and plots. The internet mobs sort themselves into various camps because the algorithms turn everything into shirts vs skins.
Some are looking for Kardashian-esque relationship dramas. The Jancy and Stancy camps can bore you to tears with their takes on who Nancy should end up with while others are engaged by the second-screen identity classes of the characters.
Some of us just wanted one-last Goonies-like adventure and a send off for these characters.
.. I think that is what they delivered but not much more.
Season Five had an uphill climb worthy of a Kate Bush single.
A stretched story that was originally set to conclude at the first season.
(It was originally envisioned as an X-Files like anthology with the first season centered around the Montauk Monster)
An over-engaged fandom precious about their own pet theories, obsessed over identity topics and relational pairings.
A streaming juggernaut with studio notes focused onprotecting the crown jewel of its intellectual property portfolio.
Show runners, directors and performers that recognize the career risk of pulling a GoT-level ending.
A Thessalhydra of content reviewers fueled by engagement and fed by underwear ads, supplemental vitamins and Patreon subs.
What worked for me:
The characters you love are still here, though you make have to squint to find them
A lot of fan service
The Turnbow Trap Episode was fun
Mr Clark is back and integrates into the party
Henry’s Whatsit Persona allowed Jamie Campbell Bower to give great performances without the Grinch/CGI Groot suit
The new kids were charming additions, grounding parts of the story back in kid-logic
A satisfactory conclusion for the main kids characters and central story
A pretty effective passing of the torch, coming of age epilogue with healthy themes around maintaining connection
What I didn’t like:
Uncanny Valley character CGI in the season prologue.
Internet discourse, especially around Will -don’t feed the trolls.
Chump-bait character death fake outs
Bad / repetitive / inconsistent / overly expositive dialog
The second half is unevenly paced with some odd storyboard and editing choices
The military characters were badly written NPCs.
Lore plot holes large enough to drive a Bradley’s Big Buy truck through
A few actor appearances took me out of their character roles completely
- 20-somethings that look like 30-somethings, playing 15-year olds. I get it, aging out of kid roles is inevitable. The makeup trailer can only do so much to cover up inter-season lifestyle and cosmetic choices.
I didn’t like the flow of the final boss battle.
I’m uncomfortable with “Suicide as Escape” story beats.
Considering this season cost more than Avengers Endgame, I don’t think the fandom is unreasonable for expecting more than we got.
Concluding Thoughts
Season One of Stranger things effectively transports you to a small Indiana town in the 80’s. You can smell the cigarettes, an aroma of 3 day old Schlitz and polyester clothes. From the Tupperware to the Christmas decorations, it is 80s as f&ck. Everyone in the production is on program to bring this environment to life. You believe these kids play D&D and ride their bikes everywhere instead of playing Angry Birds on iPads.
The intervening seasons add great new characters that and it becomes an exploration of adolescence and unfolding of a compelling mystery. The love letter to Spielberg moves to include elements and styles of John Carpenter (via the adults), John Hughes (via the teens) and others.
Eventually, the lore of the shot is stretched beyond the original scope. Season two with its Exorcist themes, Season three riffs on The Thing and Season four with Freddy Krueger. The antagonist is retconned from an otherworldly Eldritch horror to a supernatural serial killer.
By season five, the setting is still set in the 80s but less so than other seasons. By this point, the modern sensibilities have crept into the lore, the monsters are visible in full light and some of the actors and writers appear to be phoning in their parts. Still, some of the core party get moments to deliver solid performances and hopefully have plenty of A-list opportunities in front of them.
The character focused conclusion is a great send off for the party and rewards the Stranger Things fan for the time spent in this universe. It’s time to close the campaign binder and put it on the shelf for awhile but I’m sure the content vampires back at HQ have other plans.