


Stranger Things Season 3 Trailer
Not..exactly.. arcade related but because I have so much affection for the franchise.. Stranger Things Season 3 Trailer dropped today!
This makes me wish they'd take the next Star Wars Trilogy away from Rian Johnson and give it to the Duffer Brothers... They have fun making these films and it comes through in the watching experience..
Namco 20yr Reunion

I saw this Namco 20 year come across the As Found / For Sale Arcade Group on Facebook
..and decided to take the plunge. Bob Cunningham is awesome and knows how to handle and grade game condition. Lots of pictures, arrived exactly as described.


The FryBack
Unfortunately in this hobby, stuff happens. After leaving the game on for a couple hours one night a friend looked at me quizzically : “What’s that smell?”
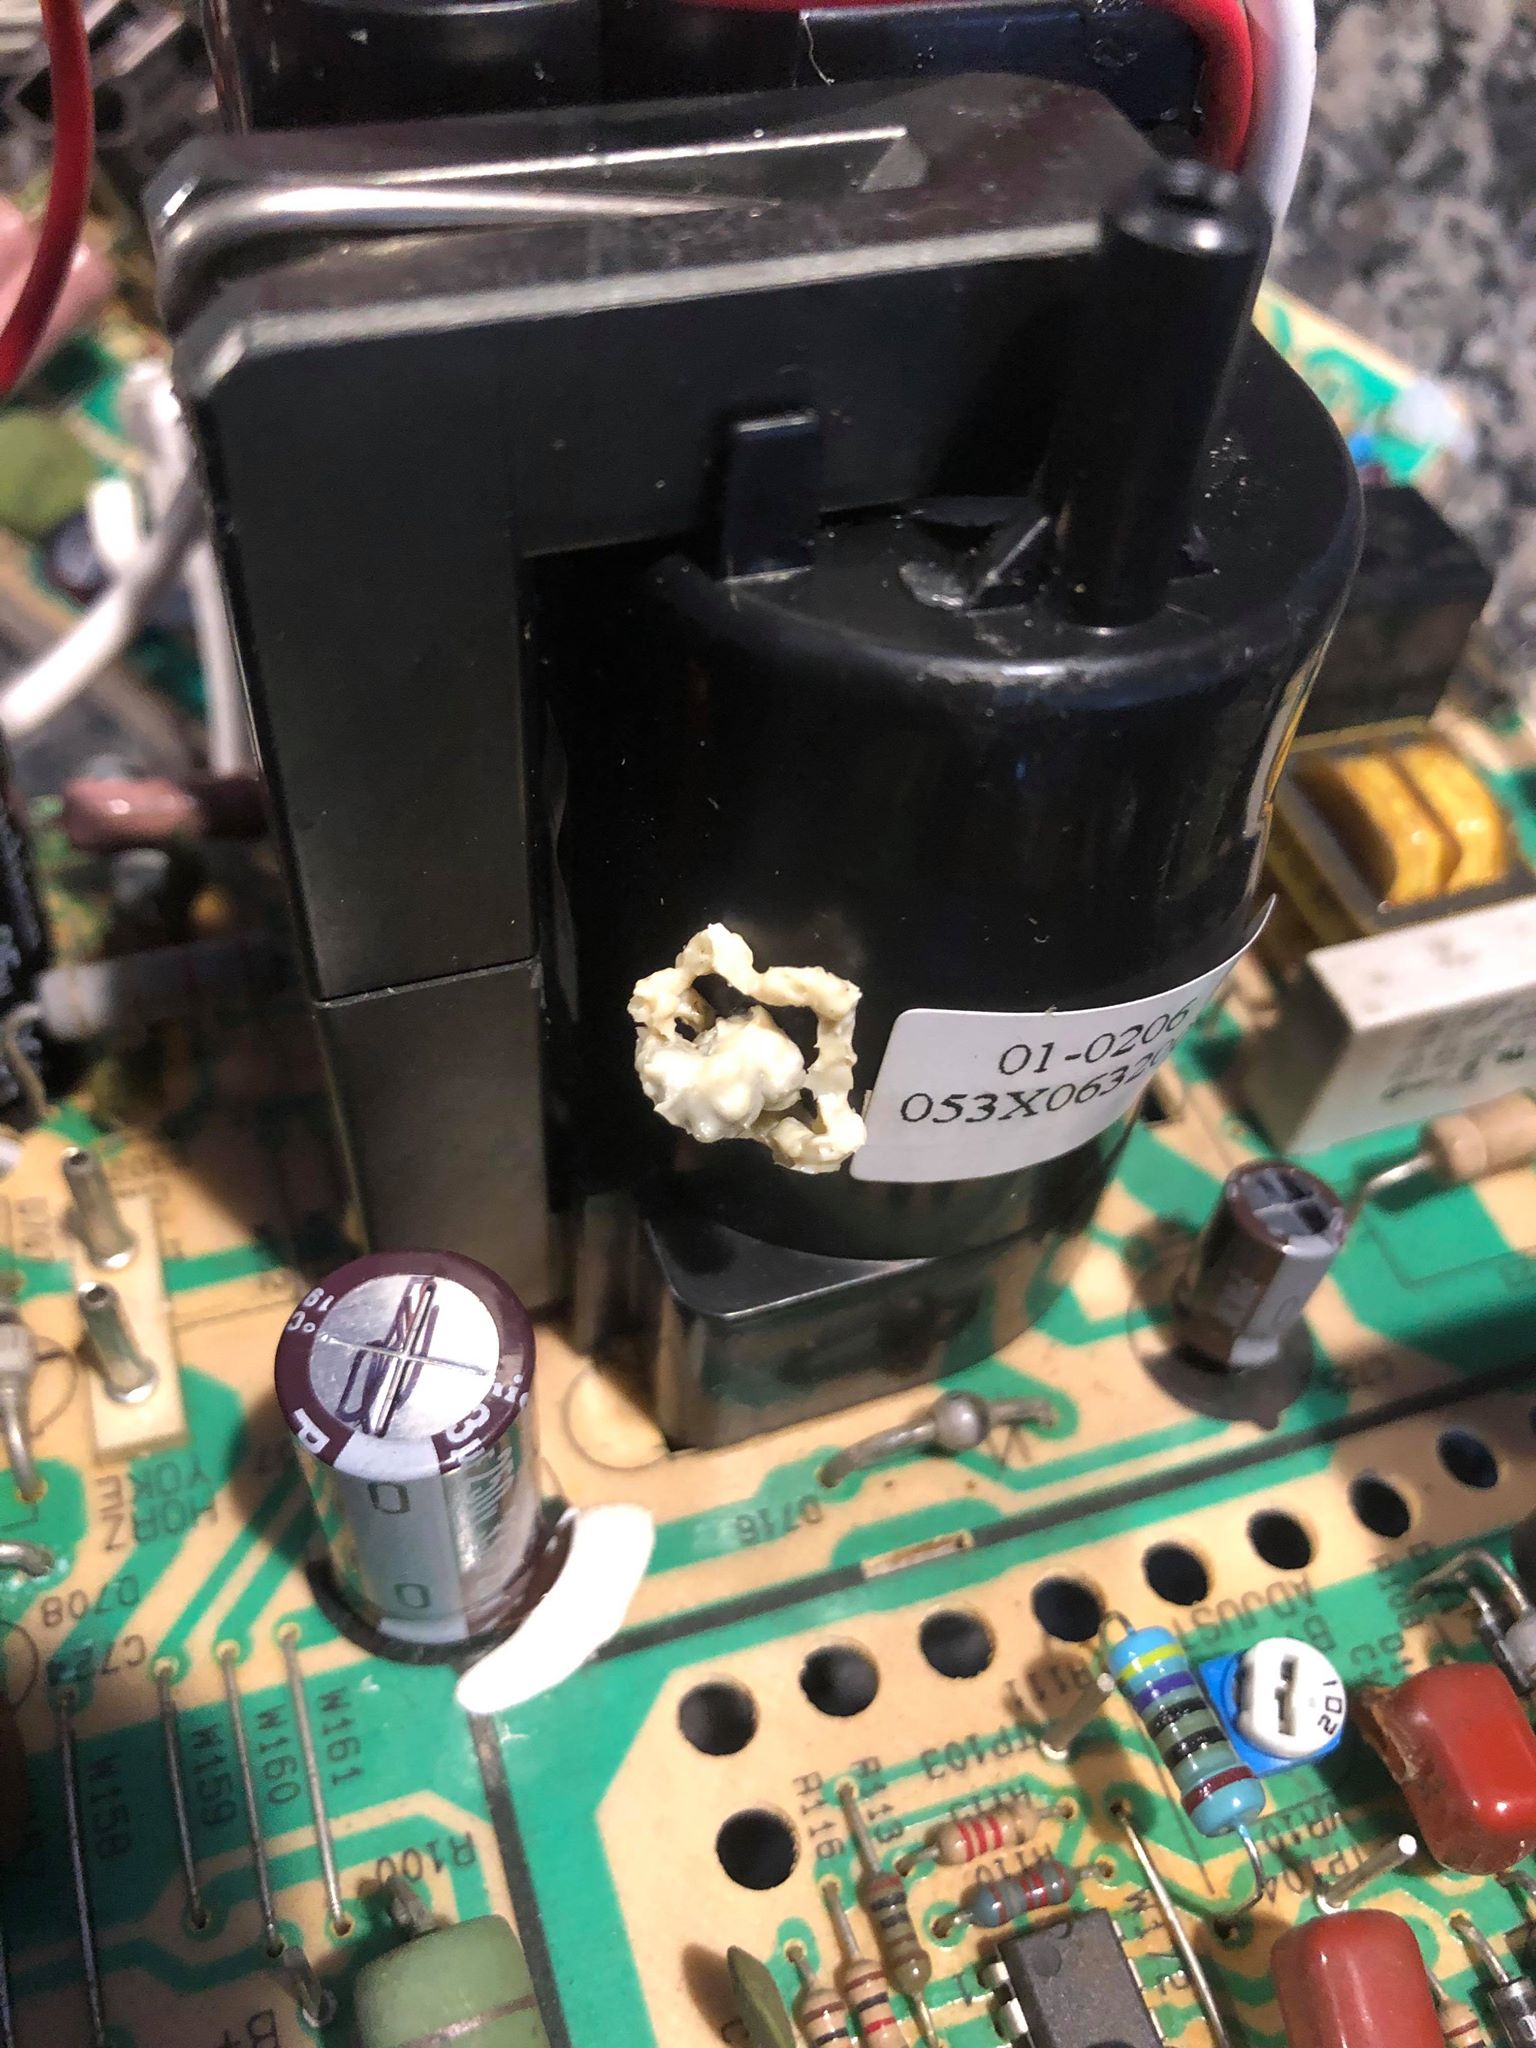
The Flyback became a FryBack. What was odd was it was a brand new Flyback (clear date code on it) but it certainly melted down.
I mentioned on a different Facebook group when asked how it was going that “the monitor needs a little love but it’ll be fine” and Bob reached out to the person that had recently rebuilt the chassis. They were both super cool about it and replaced the flyback, I was only out shipping and a little time. Honestly, I wasn’t expecting anything - this stuff happens. But there you go, solid people people solid. :)
Other Clean-up Items
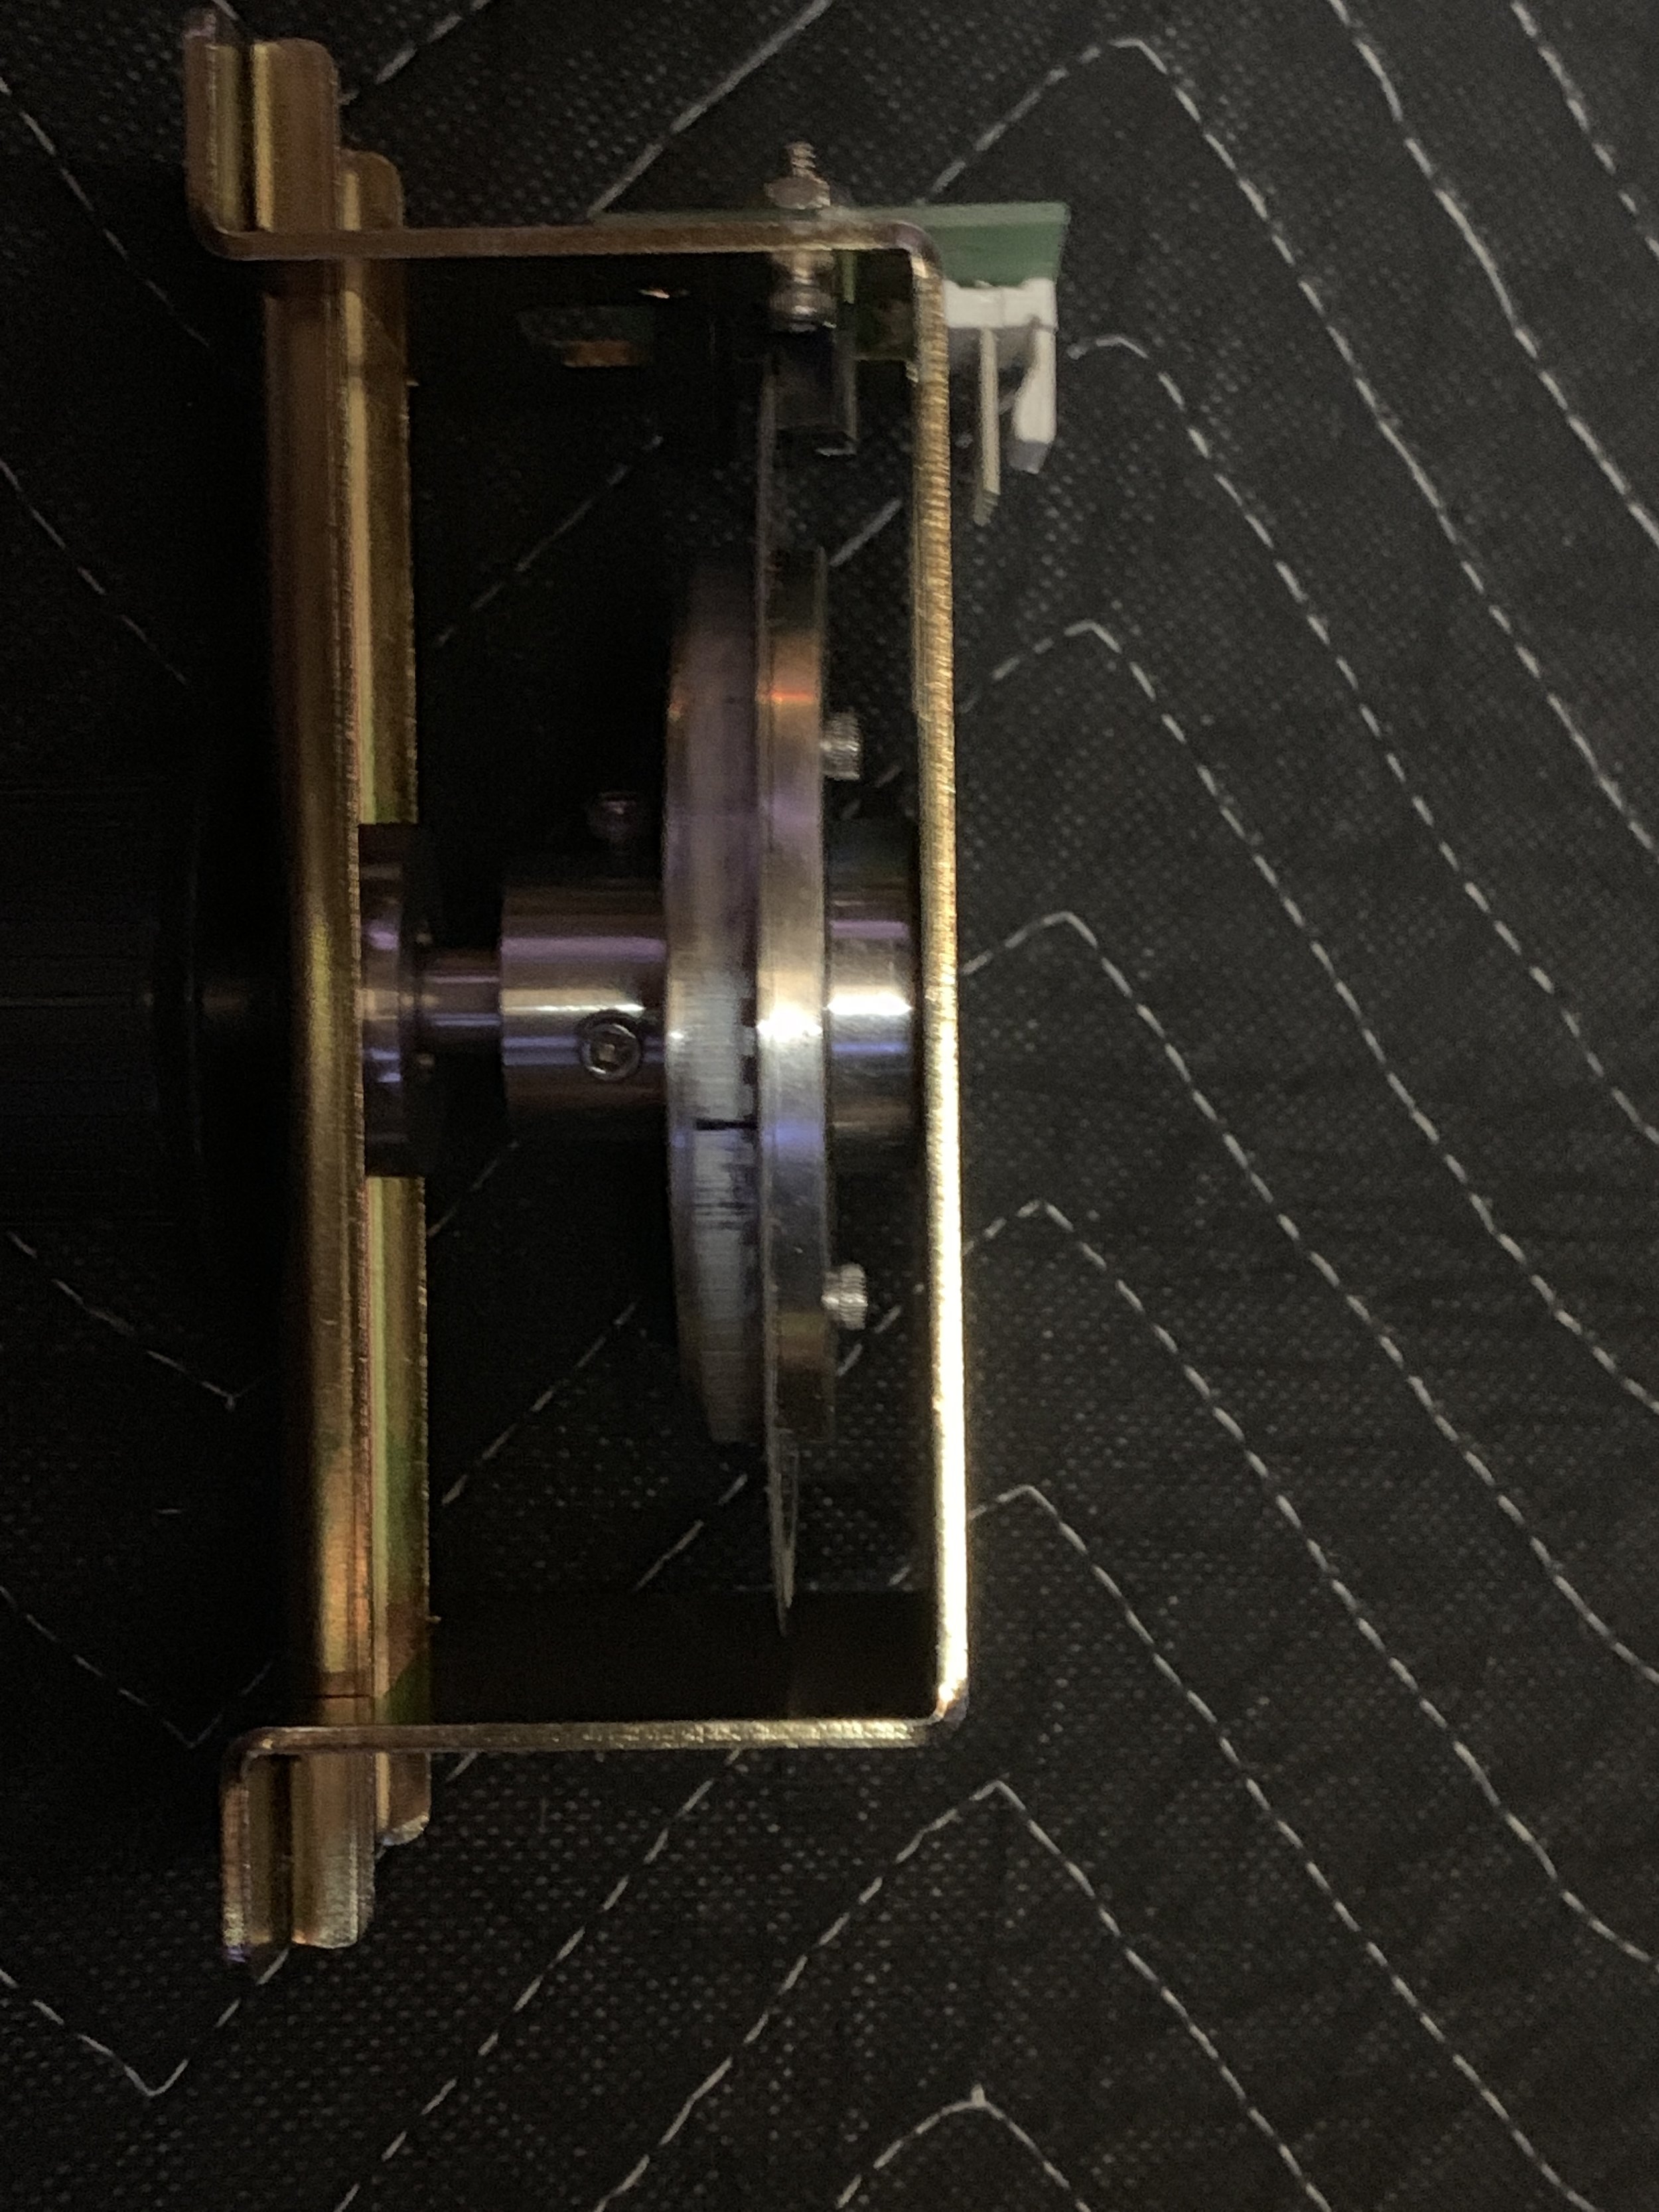
While the chassis was away I took the opportunity to correct some other things w/ the monitor and other parts of the game. There was a ground issue coming into the chassis from primary A/C and some floppiness in the purity / convergence rings.
The rings were just floating on the neck and not really locked in place. I believe some plastic likely got brittle and cracked that was used to create circular tension around the neck glass. Hot Glue & High Temp Silicon to the rescue..
I also took the mail-off time to redo the control panel with a new CPO from Rich @ This Old Game. It turned out awesome as his stuff always does..


Also went back with a Pac-Pro 4-Way Leaf from Groovy Game Gear.
..Putting it back together..


Rebuilt chassis, re-adhered and adjusted purity / convergence rings and fixed chassis ground..

With the help of a little Wifi Endoscope and a cellphone, I got tack-sharp focus out of the monitor.
(Thanks to Nathan for useful tools as gifts!)


Done for now..

Just have to install the coin lock, replace the mech bulb and adjust out the controller some and we’ll call this one done, for now. :)
Atari Star Wars Finds a New Home

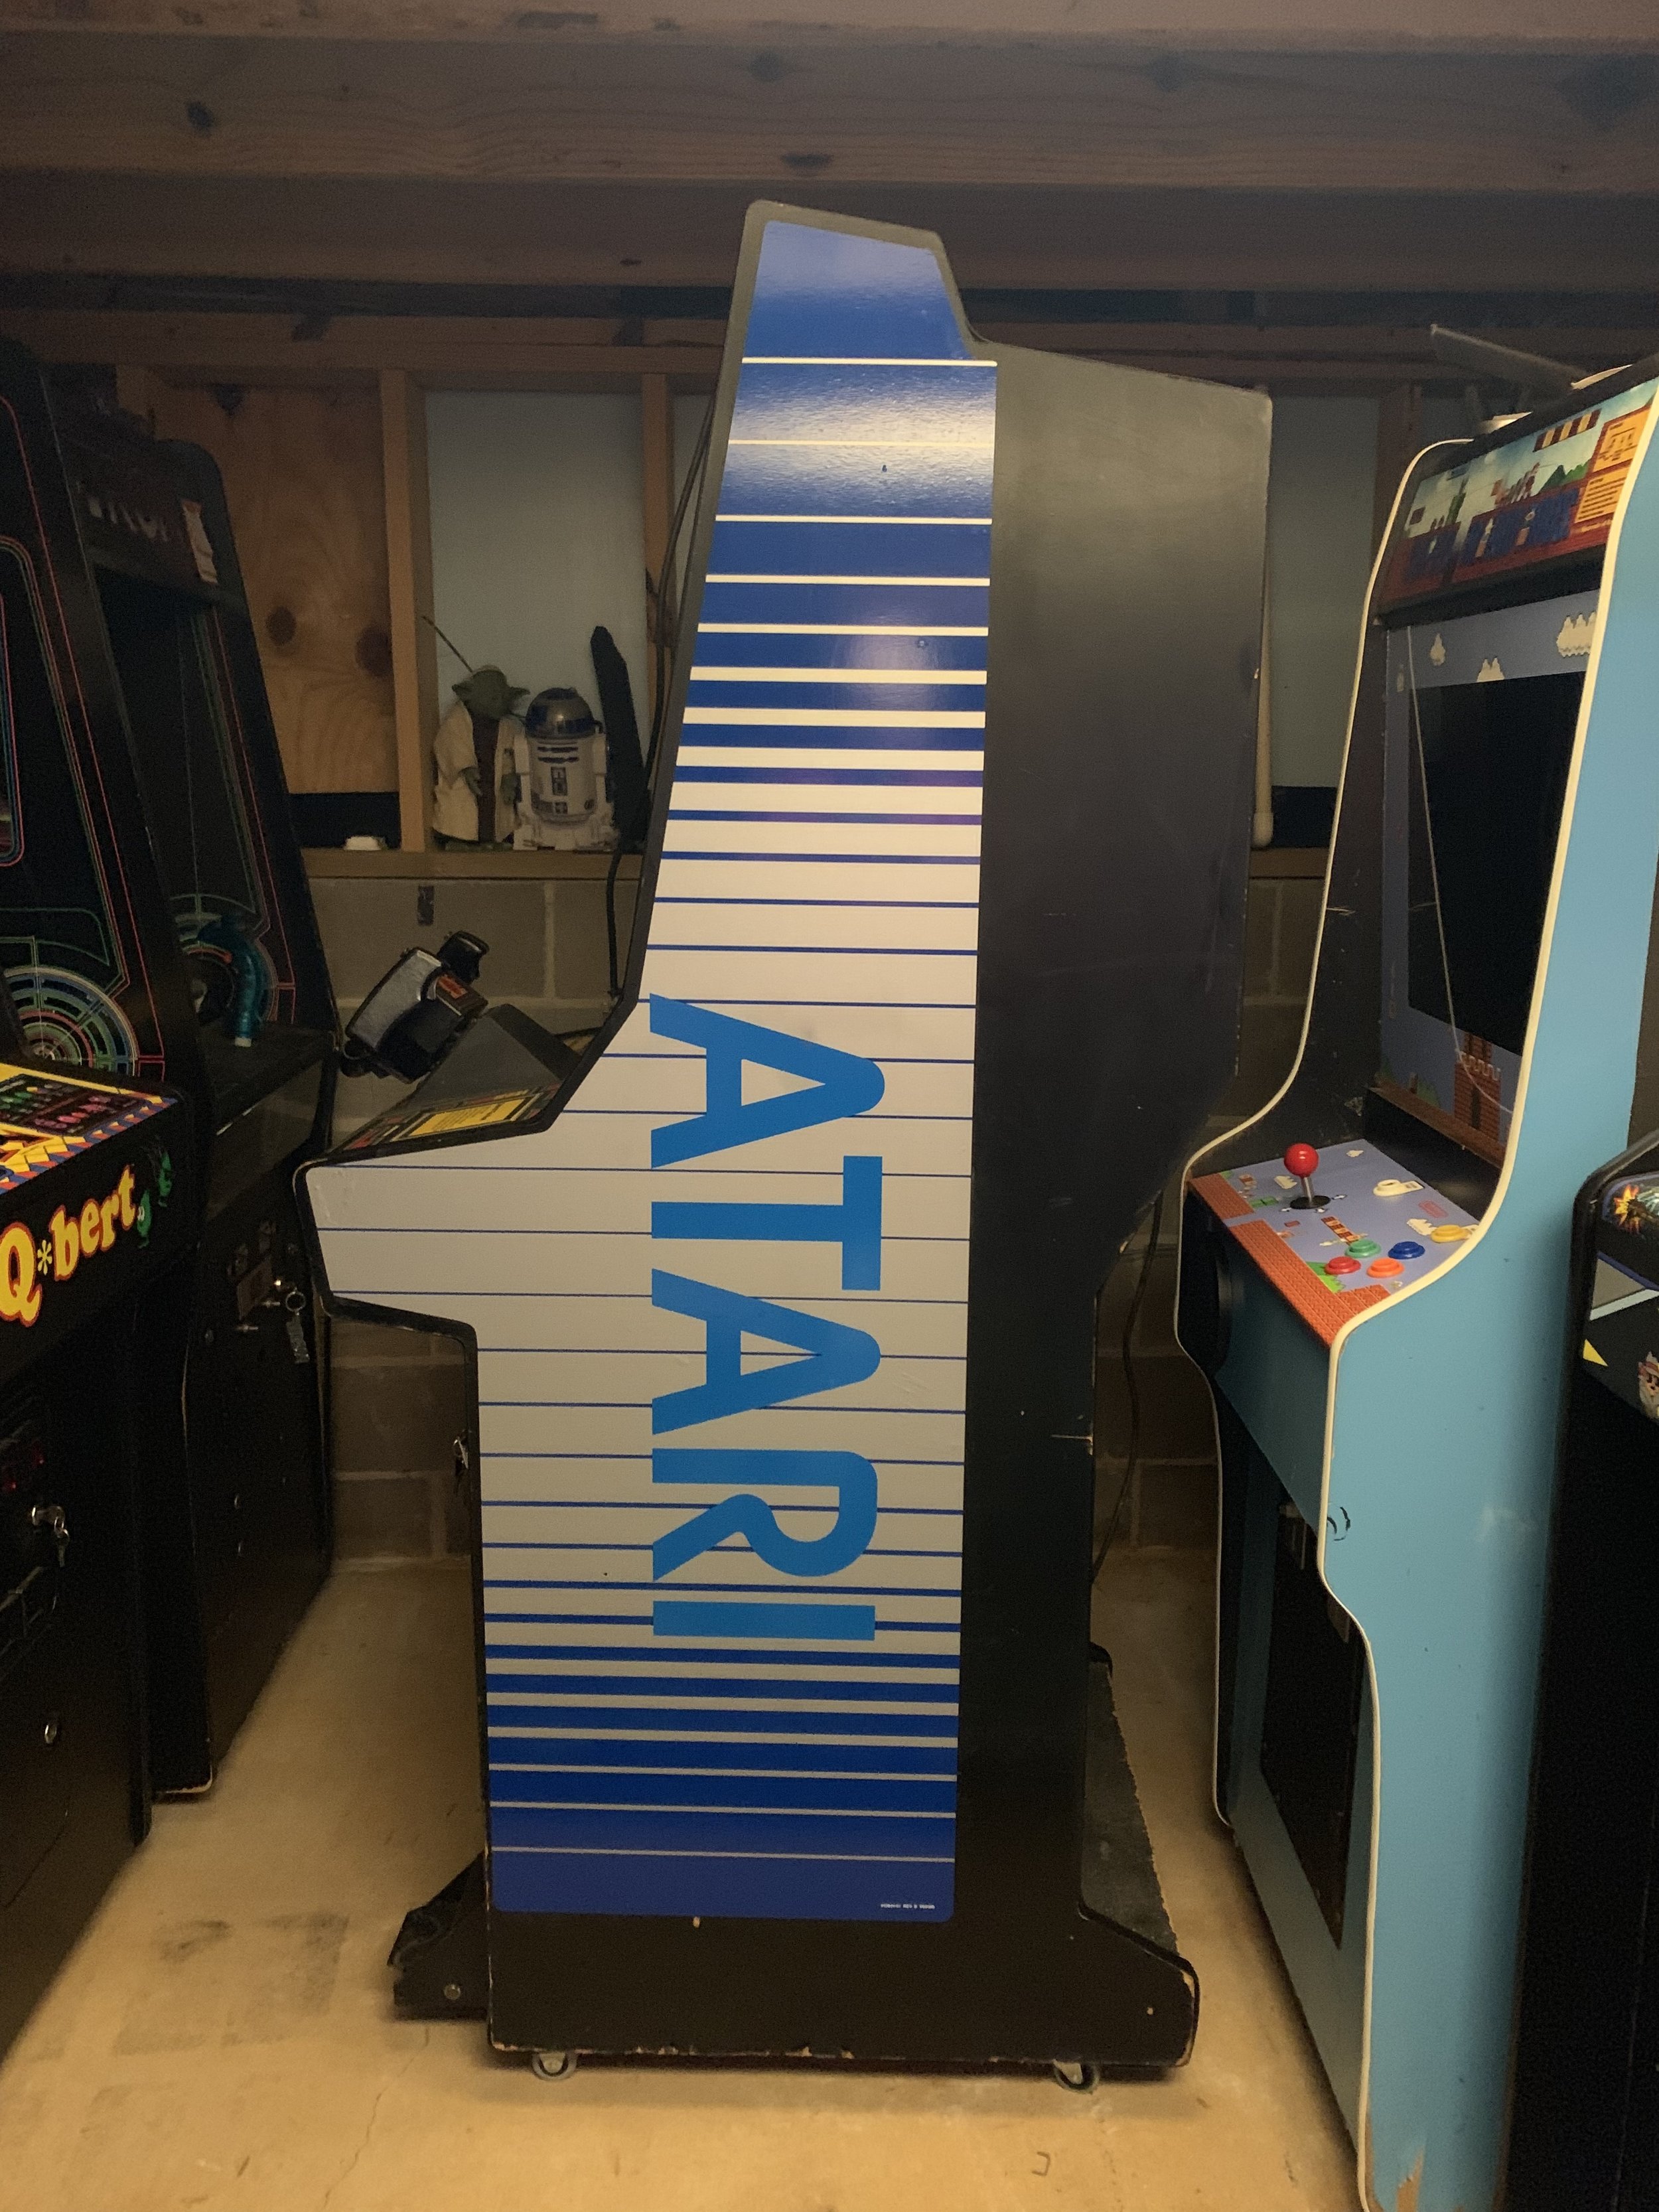
After about a year of ownership, I listed and sold my Atari Star Wars Arcade. It was part of what was my “Star Wars Shrine” in the back of the room, comprised of an arcade, a pin and my home-made battle pod.
To determine which games needed to go I just looked at their play frequency over the last year, took into account their size. etc. In SQL Developer terms:
SELECT TOP 2 NAME
FROM GAMES
ORDER BY ACTIVITY ASC
I listed it on Facebook Marketplace and a few Arcade groups with the following pictures, highlighting areas of the game that have been fixed or should be fixed in the future.


Cabinet Sides


Video Walkthrough of Condition
Video Walkthrough of Game Operation
A buyer in Birmingham reached out and bought if. We met in person, went over the game condition and arranged delivery through Bob Cunningham on his way through here, heading North.

Getting the game pretty for its short trip North.
It was really cool to meet the game’s new owner and hear his story regarding seeking this title out. He is someone entering the hobby after looking for this game for over 20 years. His first game! Honestly, being exposed to the enthusiasm and excitement of someone entering the hobby a-new was a nice shot in the arm for my own hobby morale. Always awesome to meet cool people in this hobby.
RoadBlasters Hits the Road
I abandoned the idea of turning Roadblasters into an Indiana Jones after seeing the cost and rarity of the control panel and PCBs (and optional side art).
I figured I’d be about twice the asking price for a RoadBlasters into the conversion. Also, playing it in MAME - it seemed “Consoley” to me, so … Roadblasters went up for sale to make a hole..
It sold in about an hour on Facebook Marketplace.


The buyer went with Fastenal 3PL, so I palleted it up and brought it to depot. I’d.. forgotten just how heavy Atari cabinets were. Loading it on the trailer by myself was… strenuous.


Was really concerned the game might turn into a lawn dart if someone stopped in front of me. In addition to 1200lb tie straps, the pallet got screwed into the decking of my trailer.

It made it.. (woot!)
Robotron in the House
Robotron is one of these games that I've only recently discovered a love for through the recommendation and good-advice of friends. It is a slightly older title than I would have normally identified with as an arcade-dweller kid but wow - what a fun game!
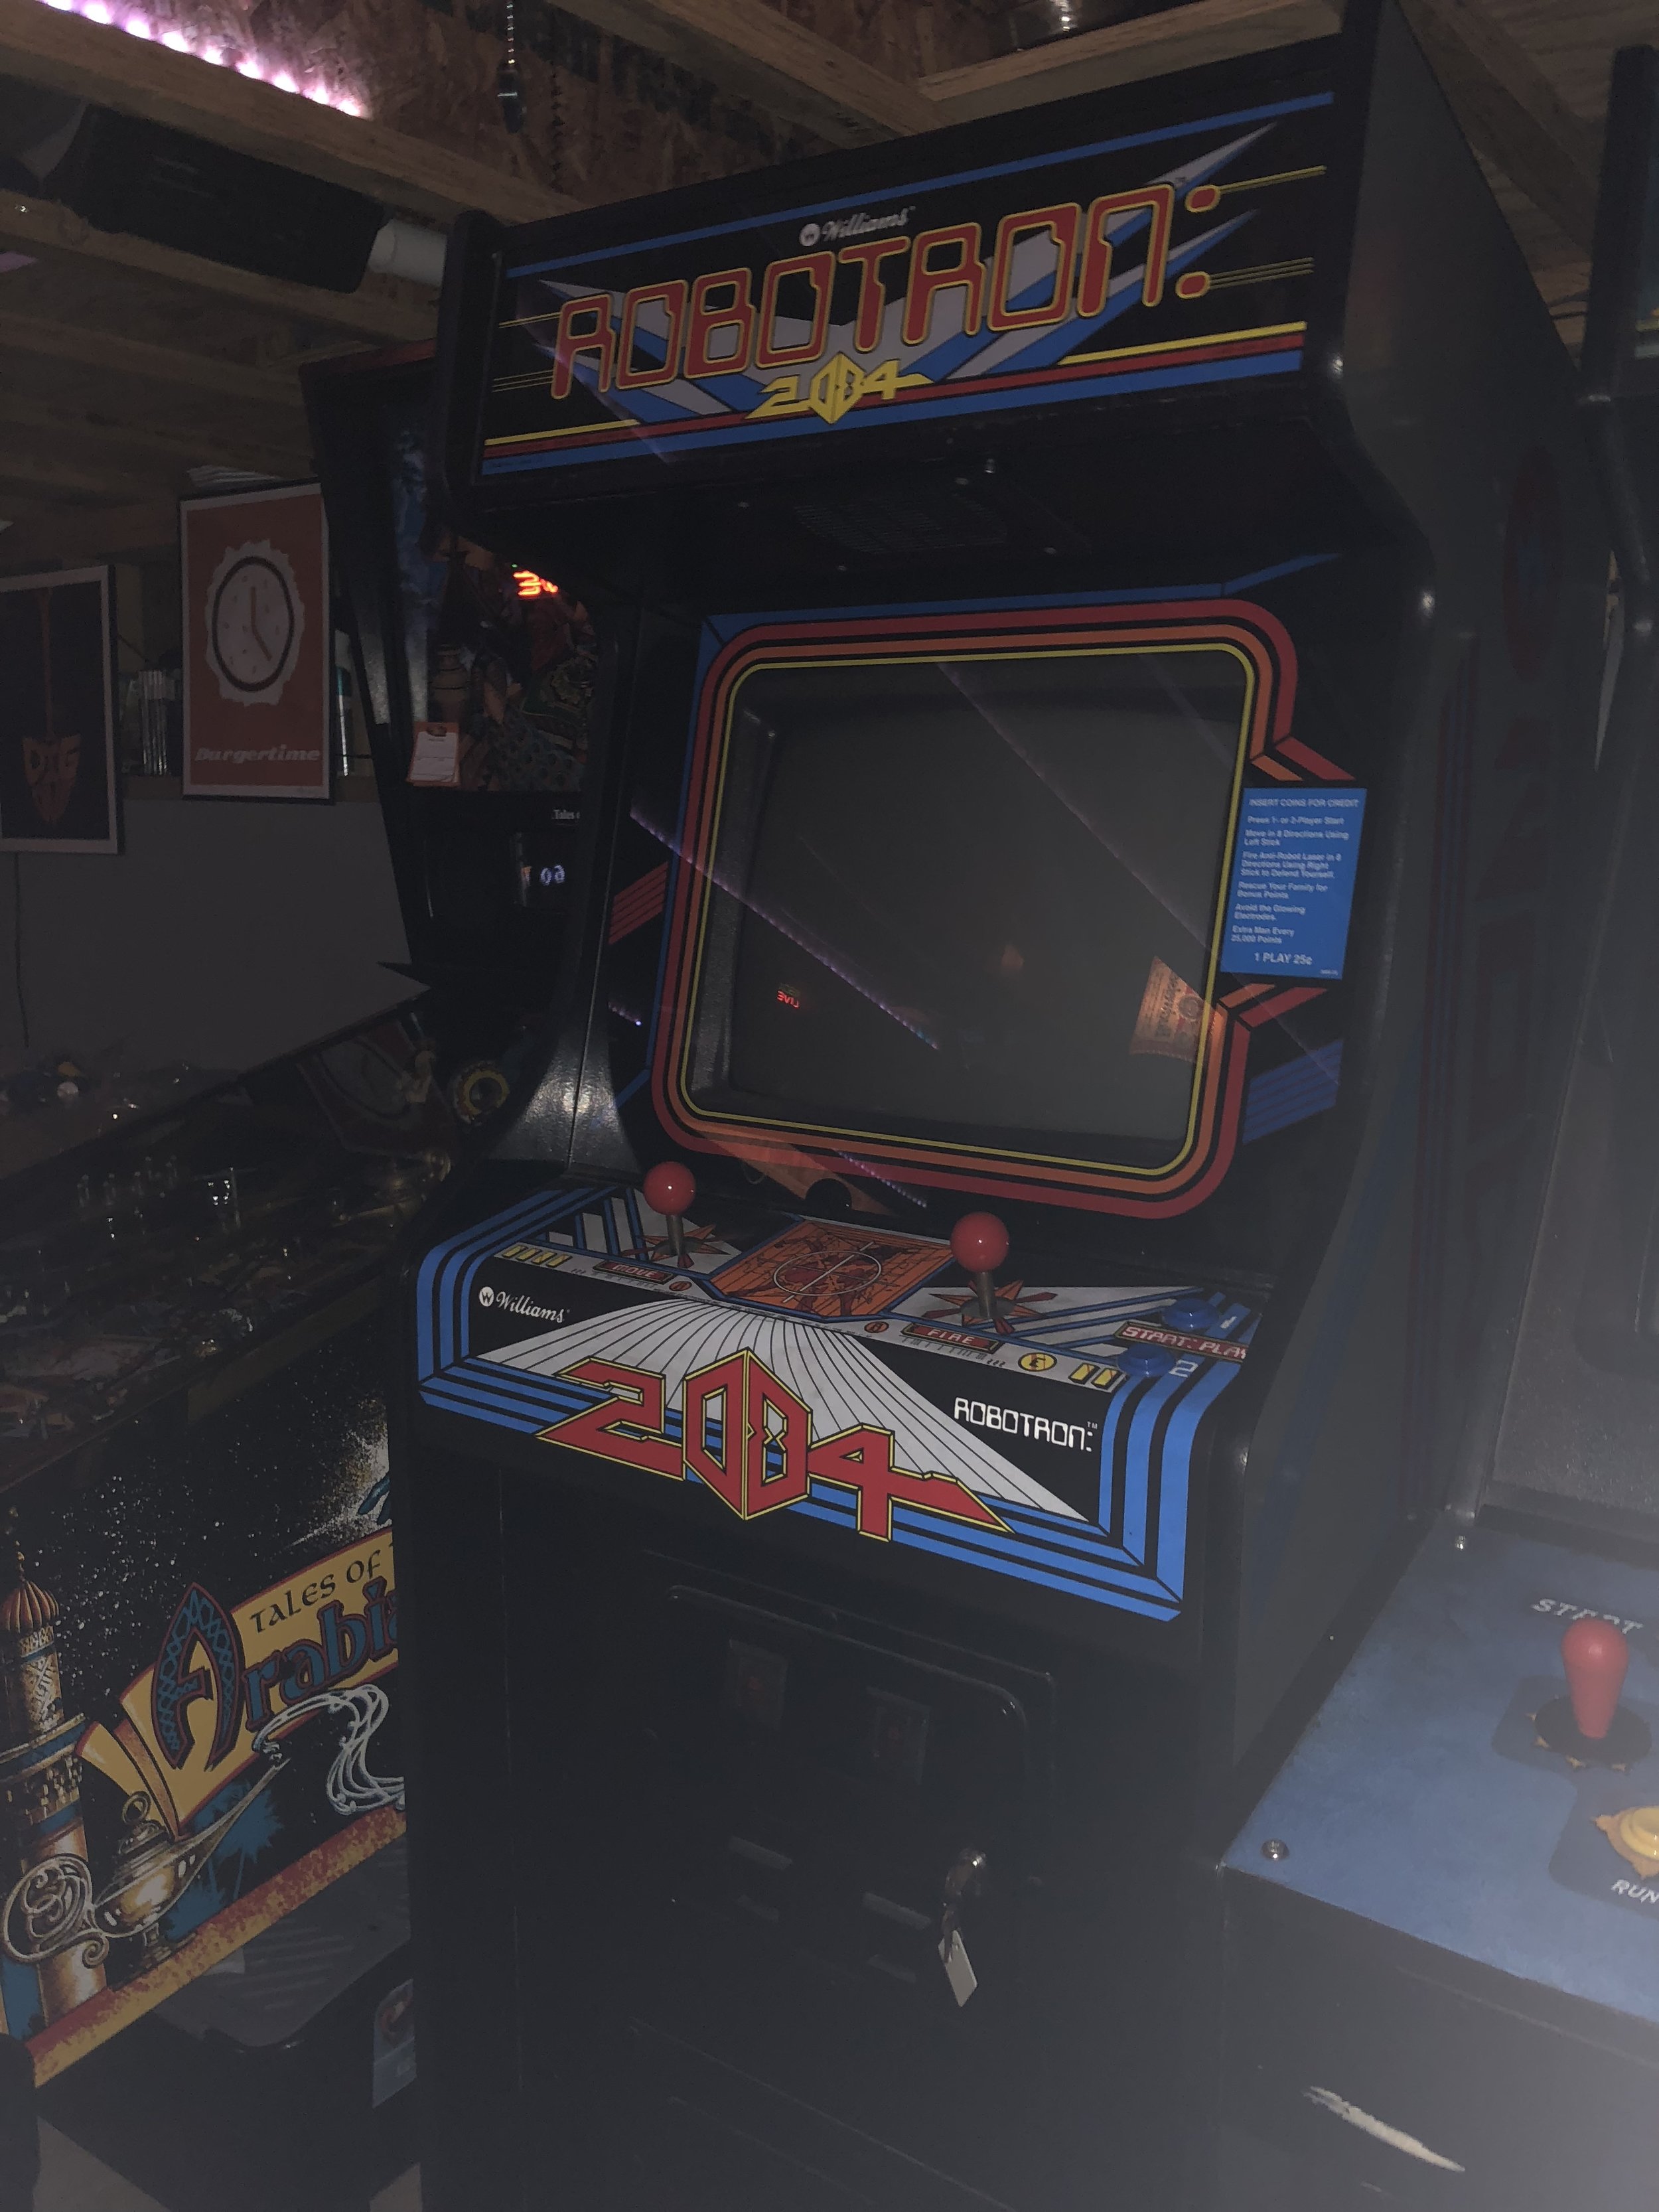
After spending some time with it on a friend's MAME setup and on my ArpiCade card I decided that it was the next arcade cabinet for my gameroom. I recalled having seen one locally in a local basement a few years ago helping a friend pick up a game. I figured it would already have sold but was surprised to find it was still available. Not running but still available.
After some light haggling we can to terms and I agreed to buy it. Another good friend and purveyor of arcade goodness, David - even picked it up for me while servicing the seller's Burgertime.
In condition, the game's technical condition had deteriorated a little since a couple of years ago. I recall it booted to a memory error back then, these days it didn't boot at all.

The original power supply apparently had some issues (though was thankfully still in the cabinet.) . This power supply sat atop the coin door. The owner would reach in and power on the game by flipping this PS on and off.
I'm not really judging whomever did this as a fix, more so I'm just really thankful that these days Arcadeshop, highscoresaves, twisty wrist and others provide viable adapted power supply modernization options that allow you to preserve the original game harness and introduce a switching power supply.
This stuff might not have been around when the tech did the fix or maybe the owner opted for quick-and-easy route, "Just get it going."
At any rate, the original interlock switch and cabinet power switches were all bypassed by this inclusion.
When modernizing a power supply situation, I'm a fan of these Power Supplies (pictured below) that I usually get from Arcadeshop. They have a pretty handy, well-diagrammed on/off remote wiring capability, which makes them versatile. If you aren't a purist or working with a modern-or-remade cabinet, you can cut a hole in a cabinet and have it protrude like a PC power supply out the back of a cabinet. No, of course I didn't do that with Robotron.

The 4-pin connector gives you a nice ability to wire into an existing cabinet power switch and wiring loop. I made a couple of connectors and boom the cabinet switch is back in service, as is the safety interlock. Even though they are more annoying than helpful in most cases..
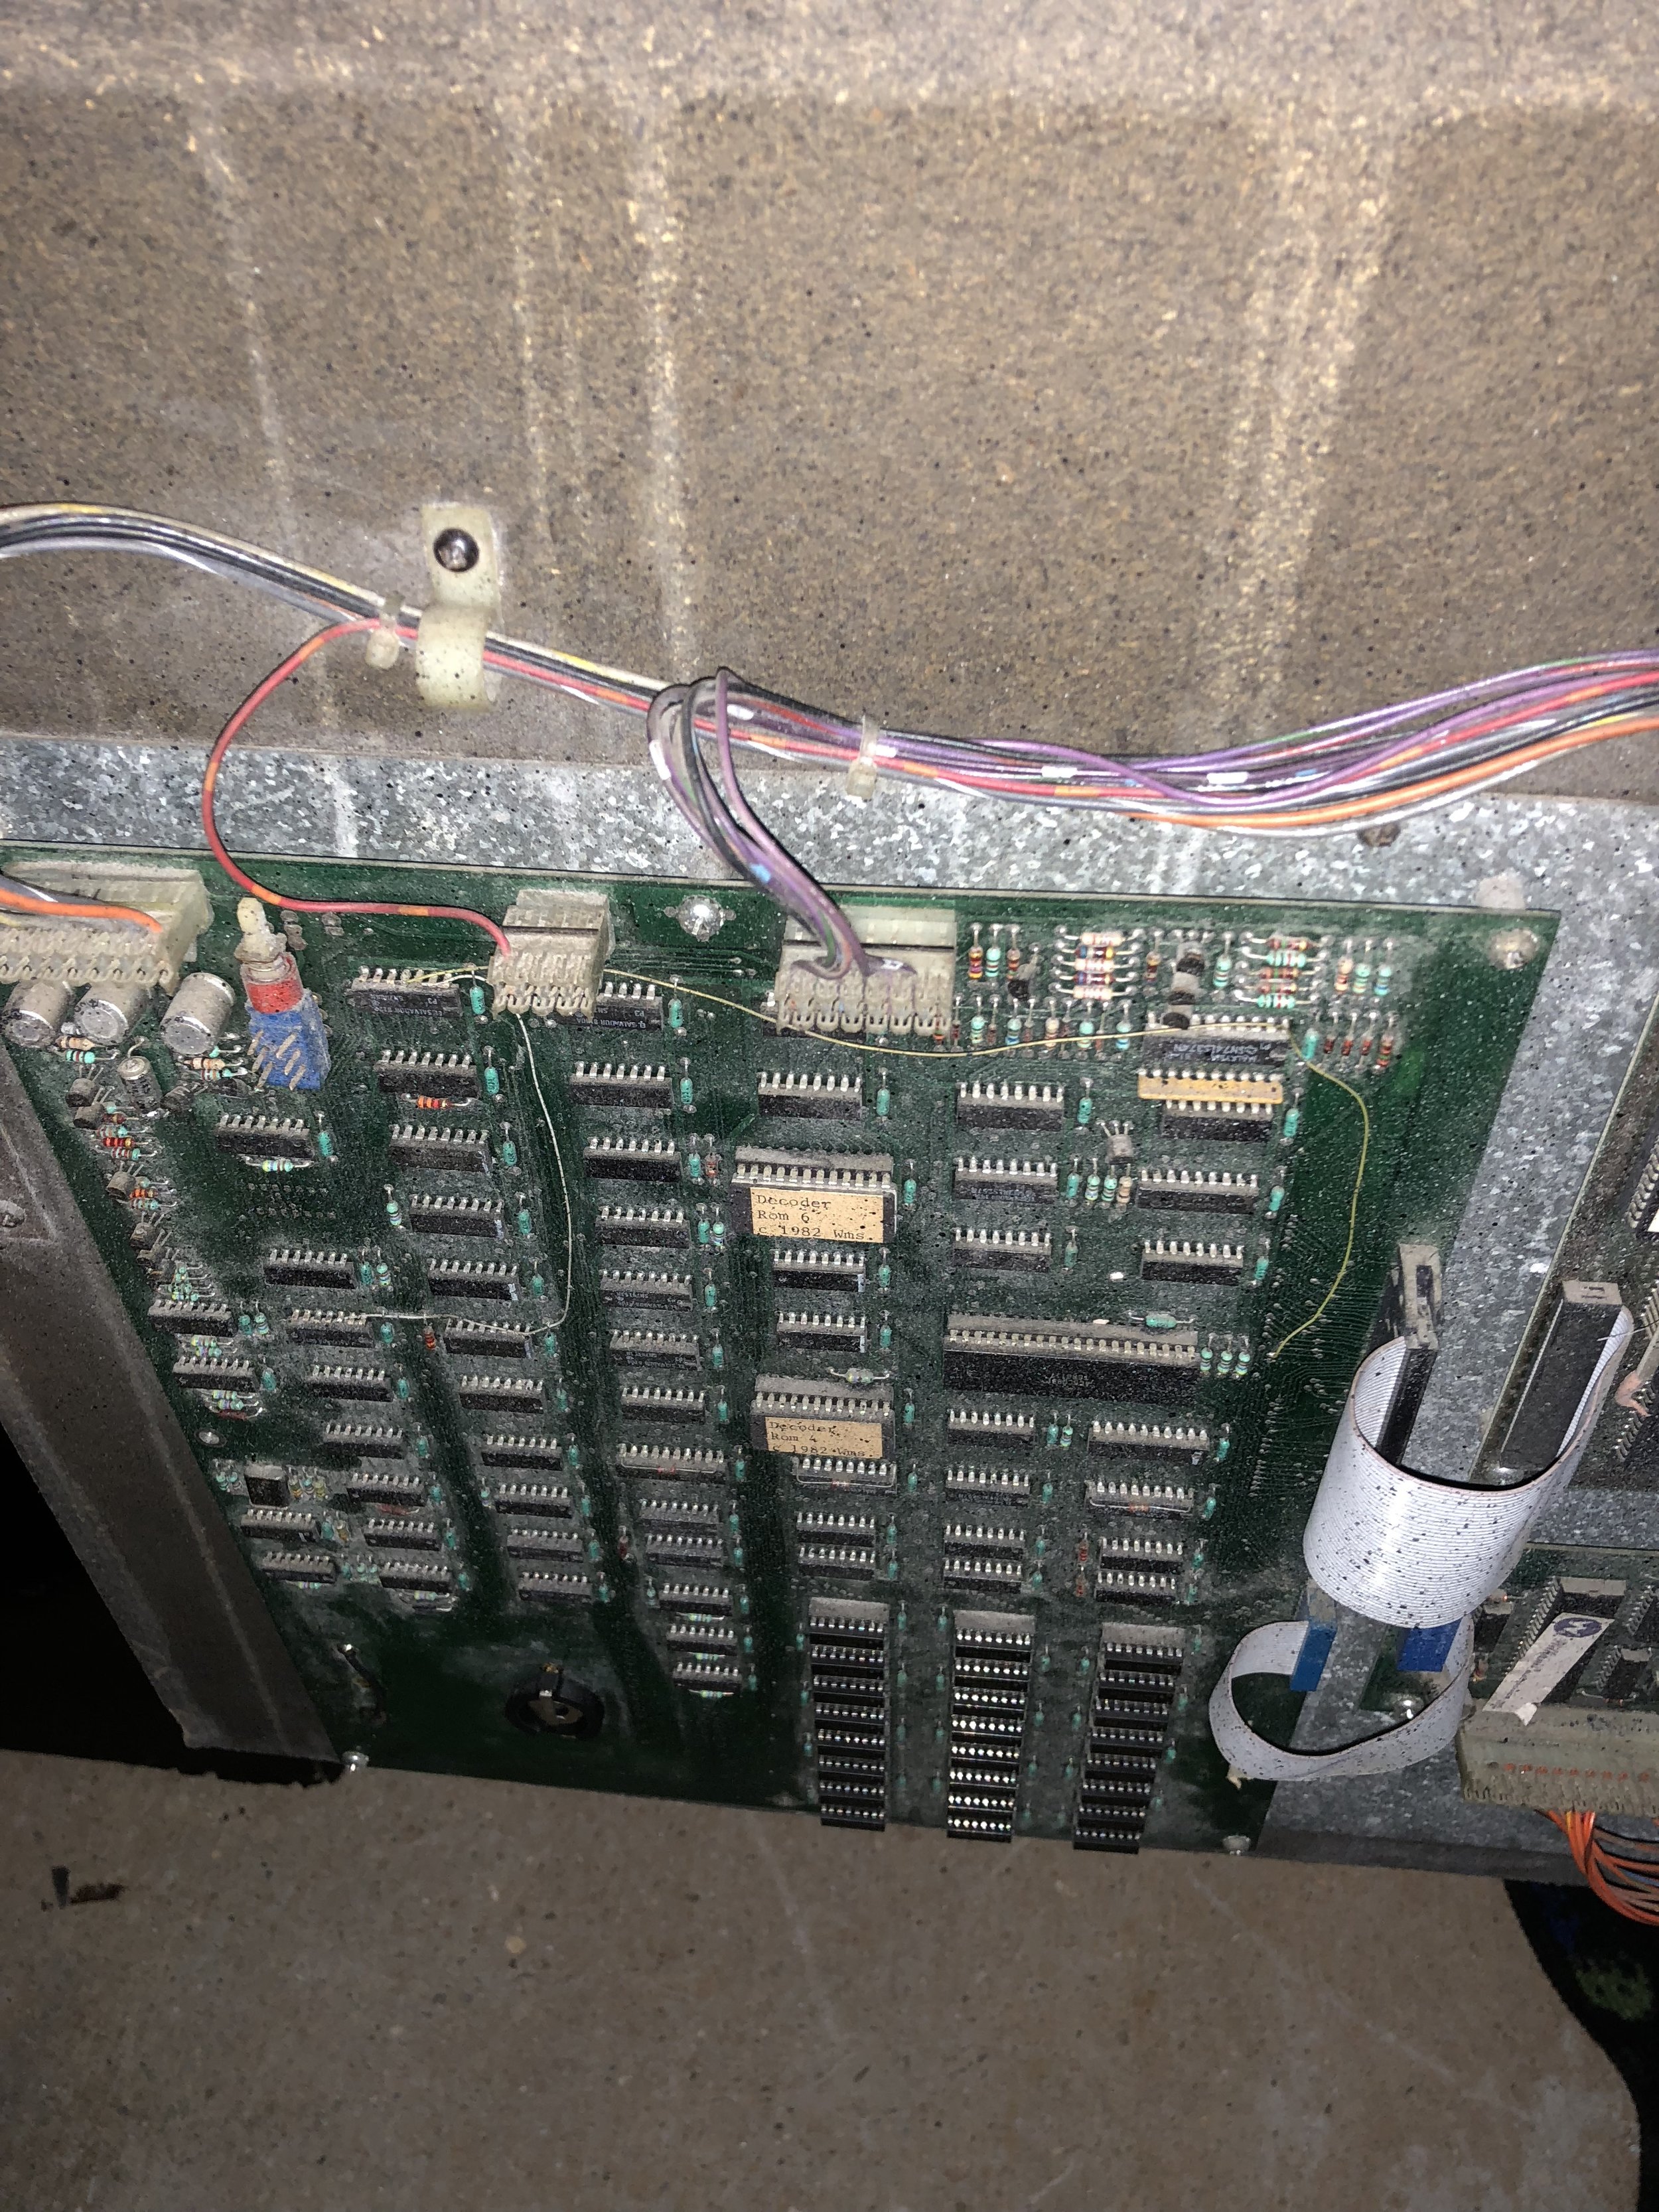

The boards have some head-scratching black paint overspray. The black paint seems more like rhino-lining material than spray paint but who knows. Also a fair number of board repairs and trace workarounds on the mainboard. I spent a few hours troubleshooting voltages and reseating chips before deciding, for now, the original boards are not a priority for me.

There, the game sat. Pulled out from the line up, parts strewn about everywhere as I tried to work in free moments to continue troubleshooting. Kids running in and out of the game room, parts everywhere. As I opened the Nest app one night to set the temperature I saw the B&W footage of the game in the basement and this stirred decision time..
After only a few hours here and there troubleshooting voltages and reseating chips. I decided for now the original boards are not a priority for me. Let's just get it playing..
I could throw hundreds of dollars and dozens of hours at the original board stack and maybe power supply or I could throw hundreds of dollars and a few hours and do a non-permanent Multi-Williams conversion and have not only Robotron but Joust and Defender and Stargate and others..
In what is probably equal parts of impatience and curiosity, justified-after-the-fact: I ordered a bunch of stuff from ArcadeShop. I didn't want to do any permanent conversions to the cabinet or control panel but decided to order a Multi-Williams fPGA board and control panel, related cabling, etc.
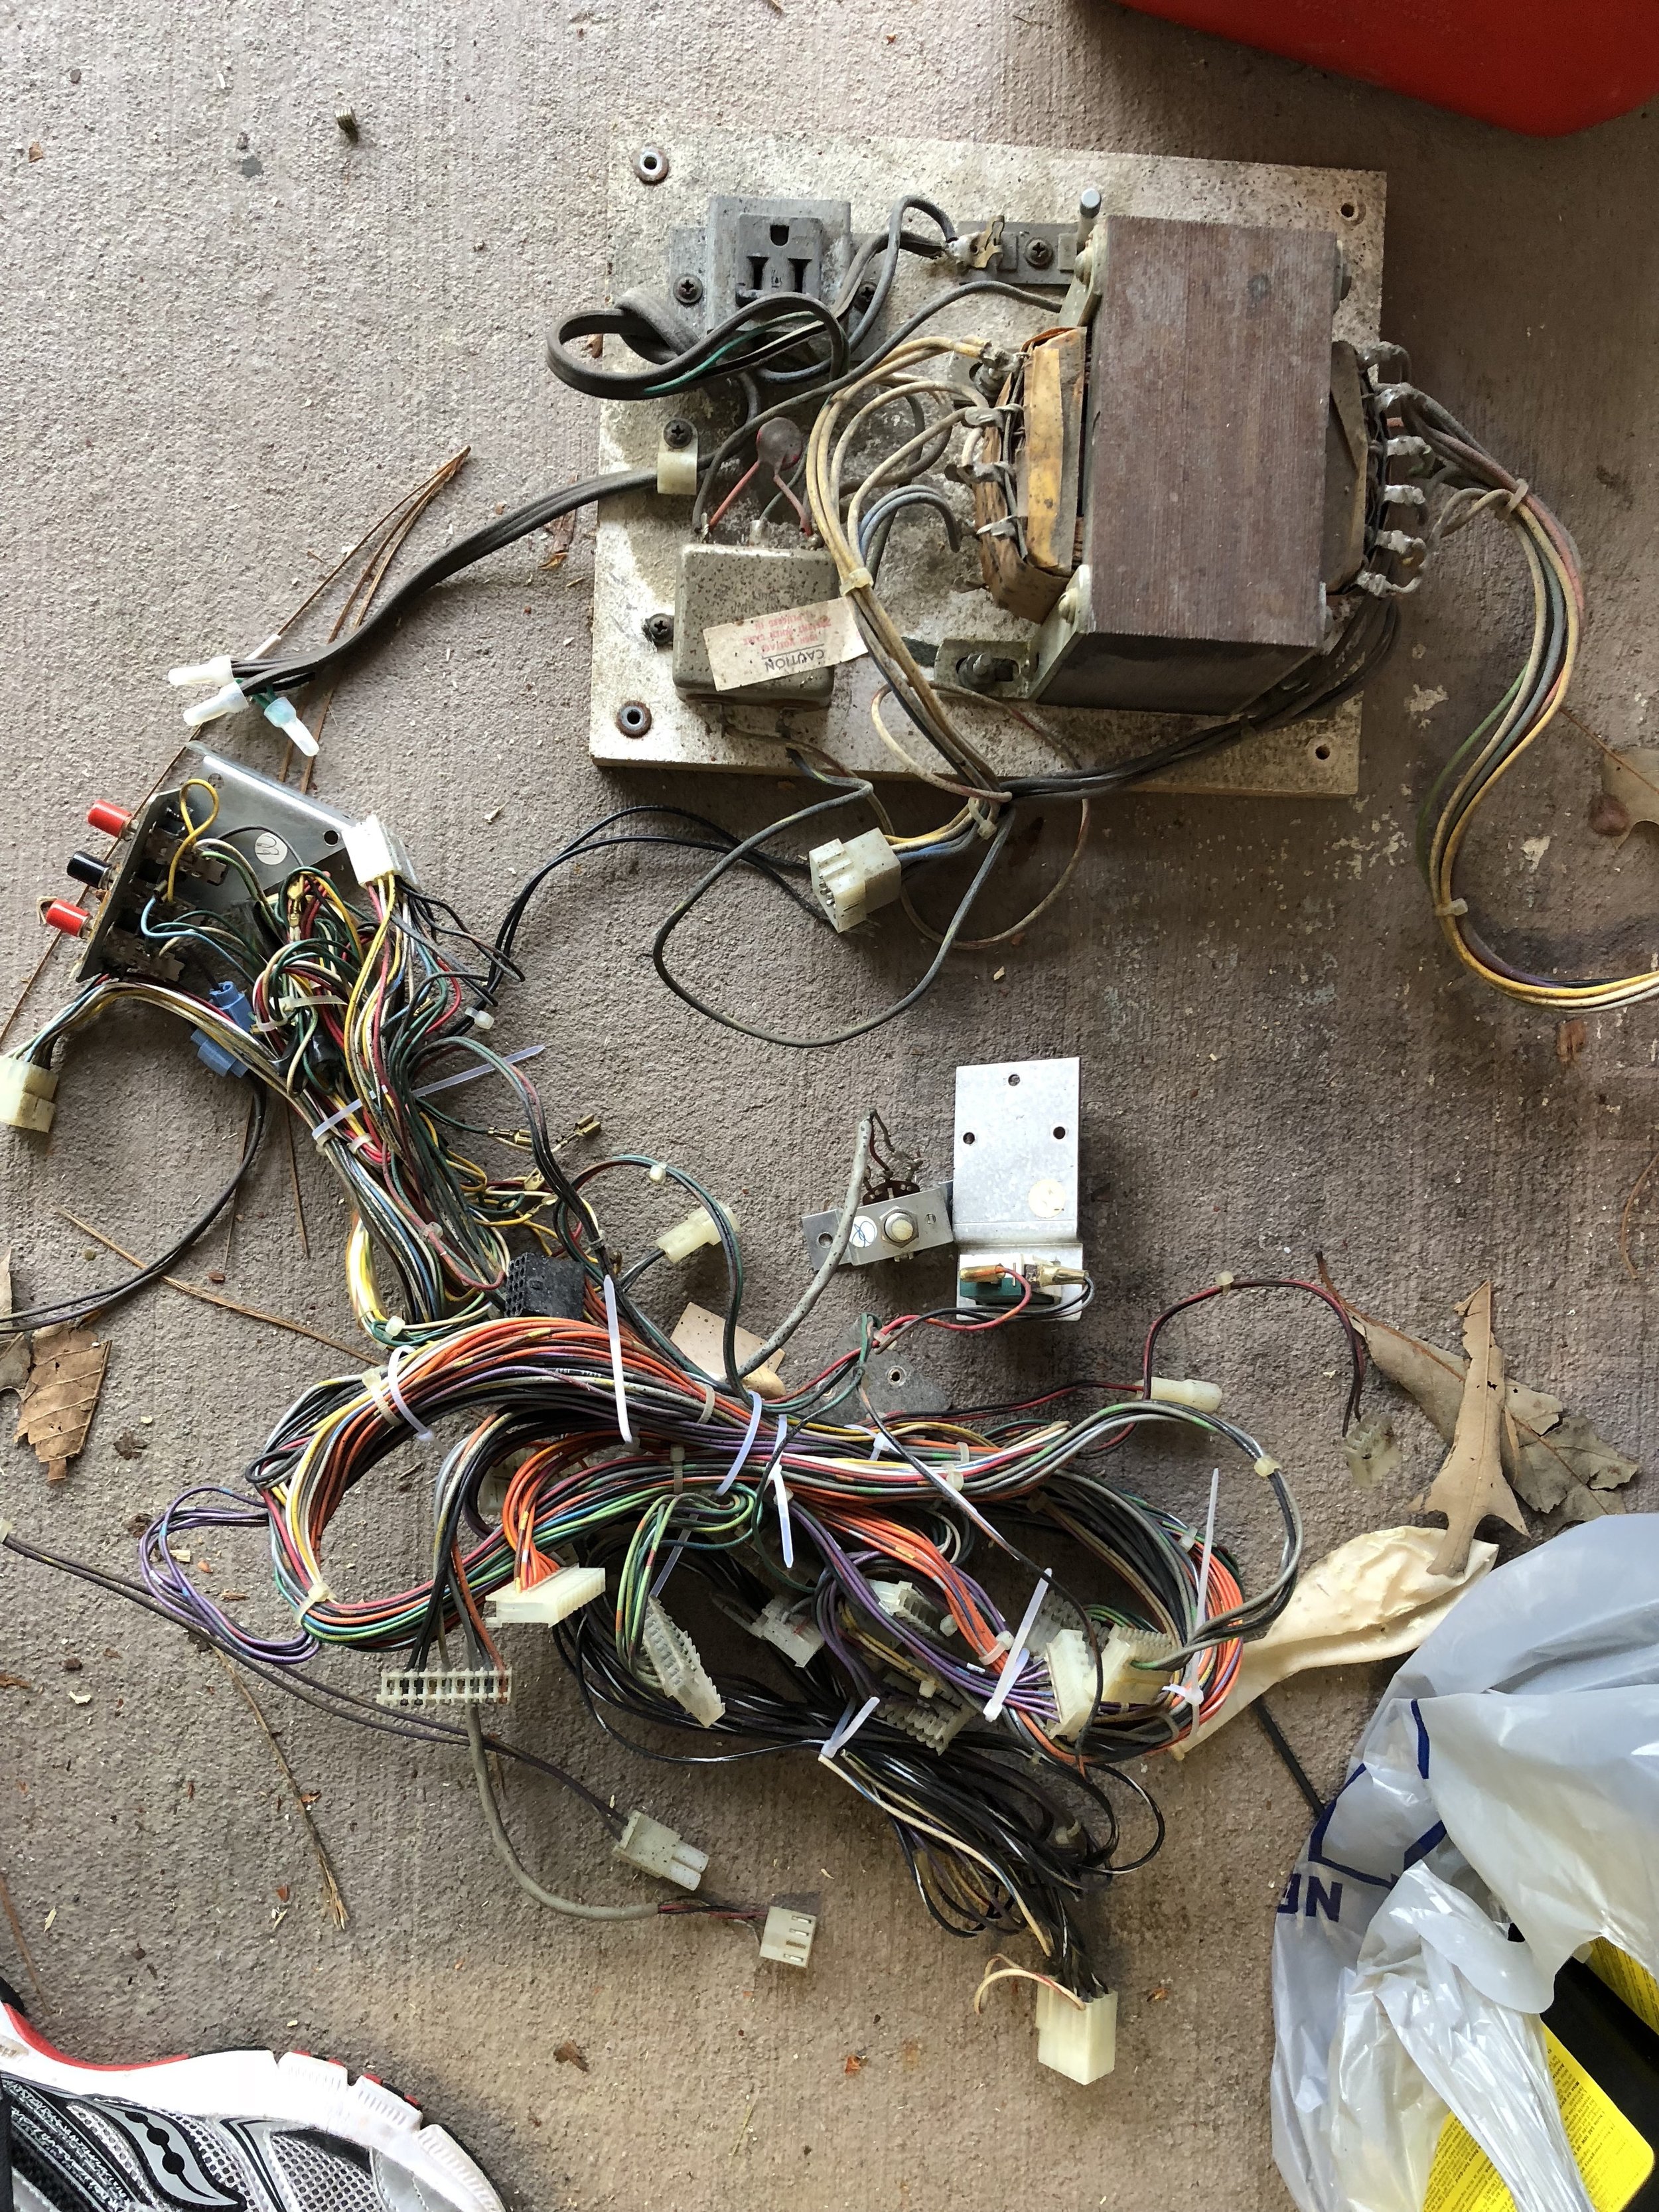
I pulled everything, the original wiring harness, control panel, power supply, boards. I have to admit I felt a little guilty for doing this. I made no additional cuts to cabling, I cleaned it all as best I could, wrapped it all in paper, bubble and pallet wrap plastic and stowed it in the cabinet.
It still felt wrong.. like removing the games' vital organs or something? I guess all of these years of watching KLOV threads and watching people get thrashed for multi game conversions has made me sensitive to this.
I kept.. everything. Documented it all with photos and my thoughts are that one day, I might decide to put the game back into an original state. As the KLOV trolls might put it:
You neutered the unicorn but at least you put the balls in a jar, in formaldehyde.

For now, though - I'm running the Multi-Williams board which is directly booting to Robotron.

I wanted to get my Joust and Defender on, so I added a Multi-Williams control panel from ArcadeShop as well.

The assembled Multi Williams control panel with slightly modified IL-stick joysticks and repro ball, sticks and shafts.
Then, I fell down the WICO leaf-switch hole and got stuck on trying to find a way to get WICO's working in the reproduction control panel.

I borrowed the WICO joysticks from the original control panel. Which, it turns out isn't so original. Looks like a converted Bubbles control panel. I rebuilt the WICO sticks with new shafts, balls, leaf switches, grommets and washers. I crimped on new pinch connectors on the old control panel - and stowed it away for later.
The original control panel being wooden and the repro Multi-Williams being metal creates a height issue with the existing sticks. There isn't a spacer and e-clip configuration that would allow me to get the height in range of being correct, so I came up with something that might be janky but seems to be working well, so far:

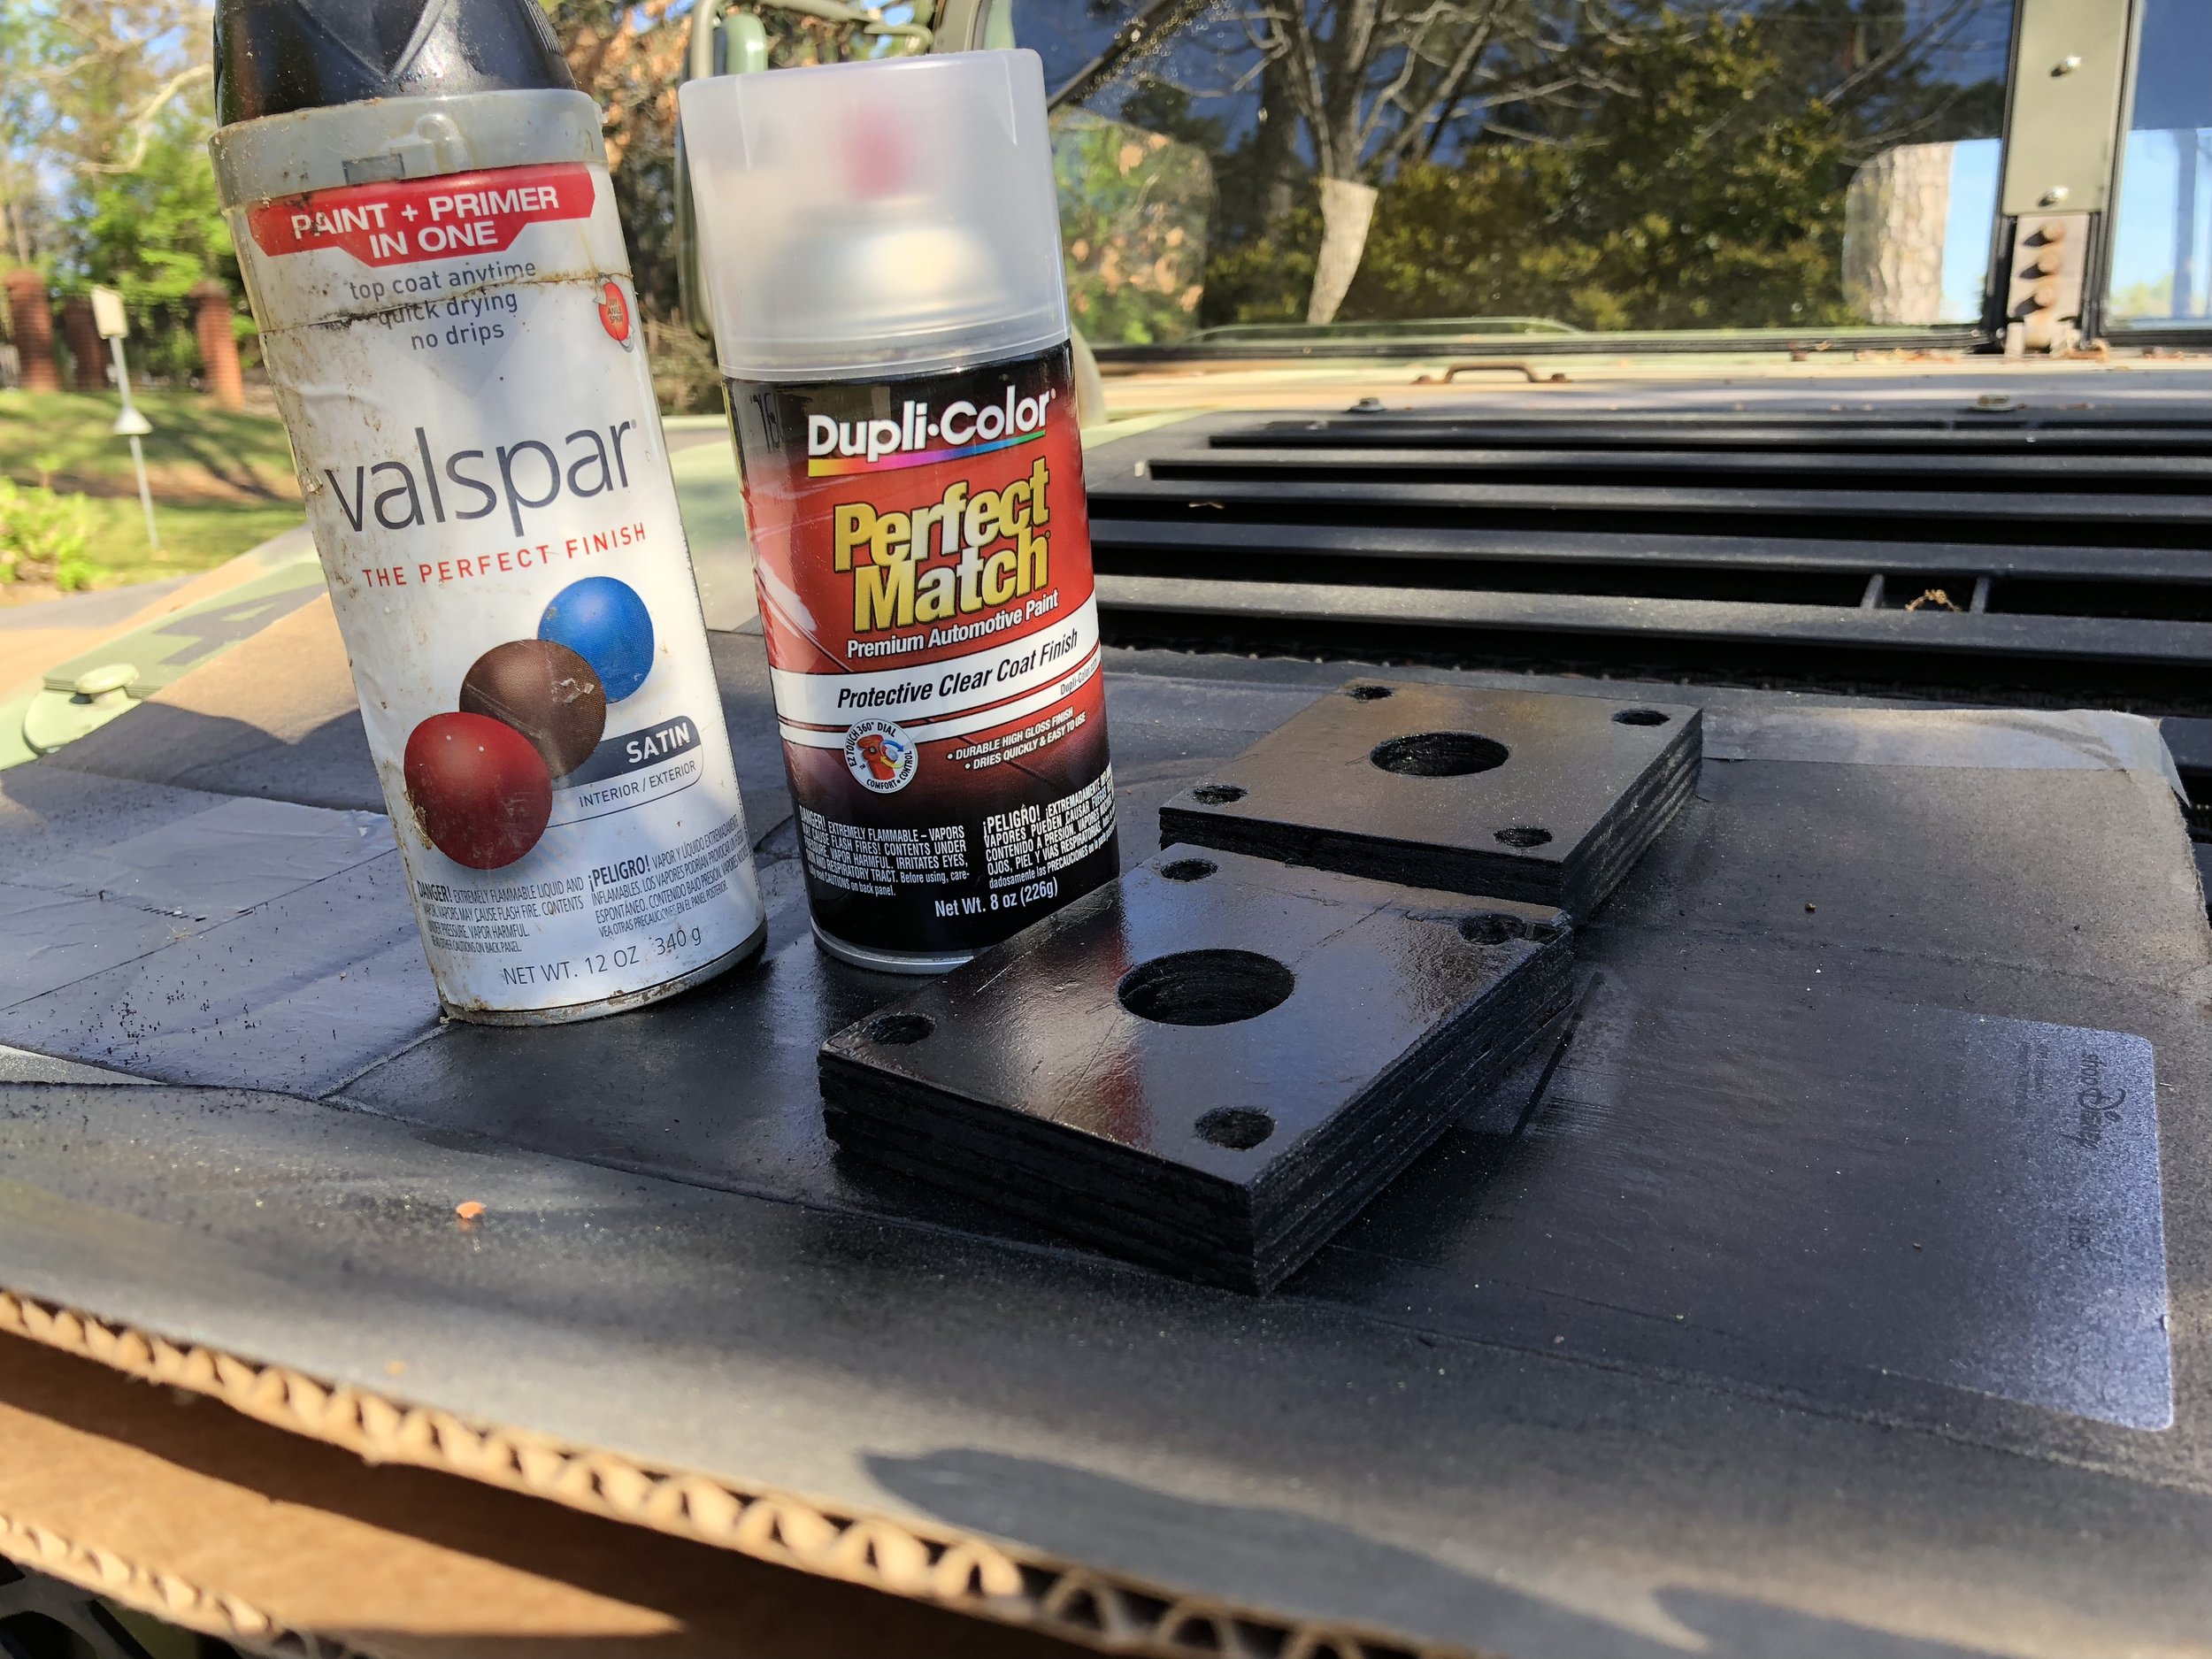
I cut square spacers out in the relative shape of the WICO from some 3/4" nominal cabinet-grade scrap leftover from another around-the-house honey-do project. I shot it with a couple of coats of rattle-can clearcoat to give the dust washer a nice slick surface to glide over.

This gets us a closer-to-accurate height and lets me have dust washers sandwiched between the control panel underside and WICO top. I used standoff's to mount the blocks and WICO's to the repro control panel's existing screws.

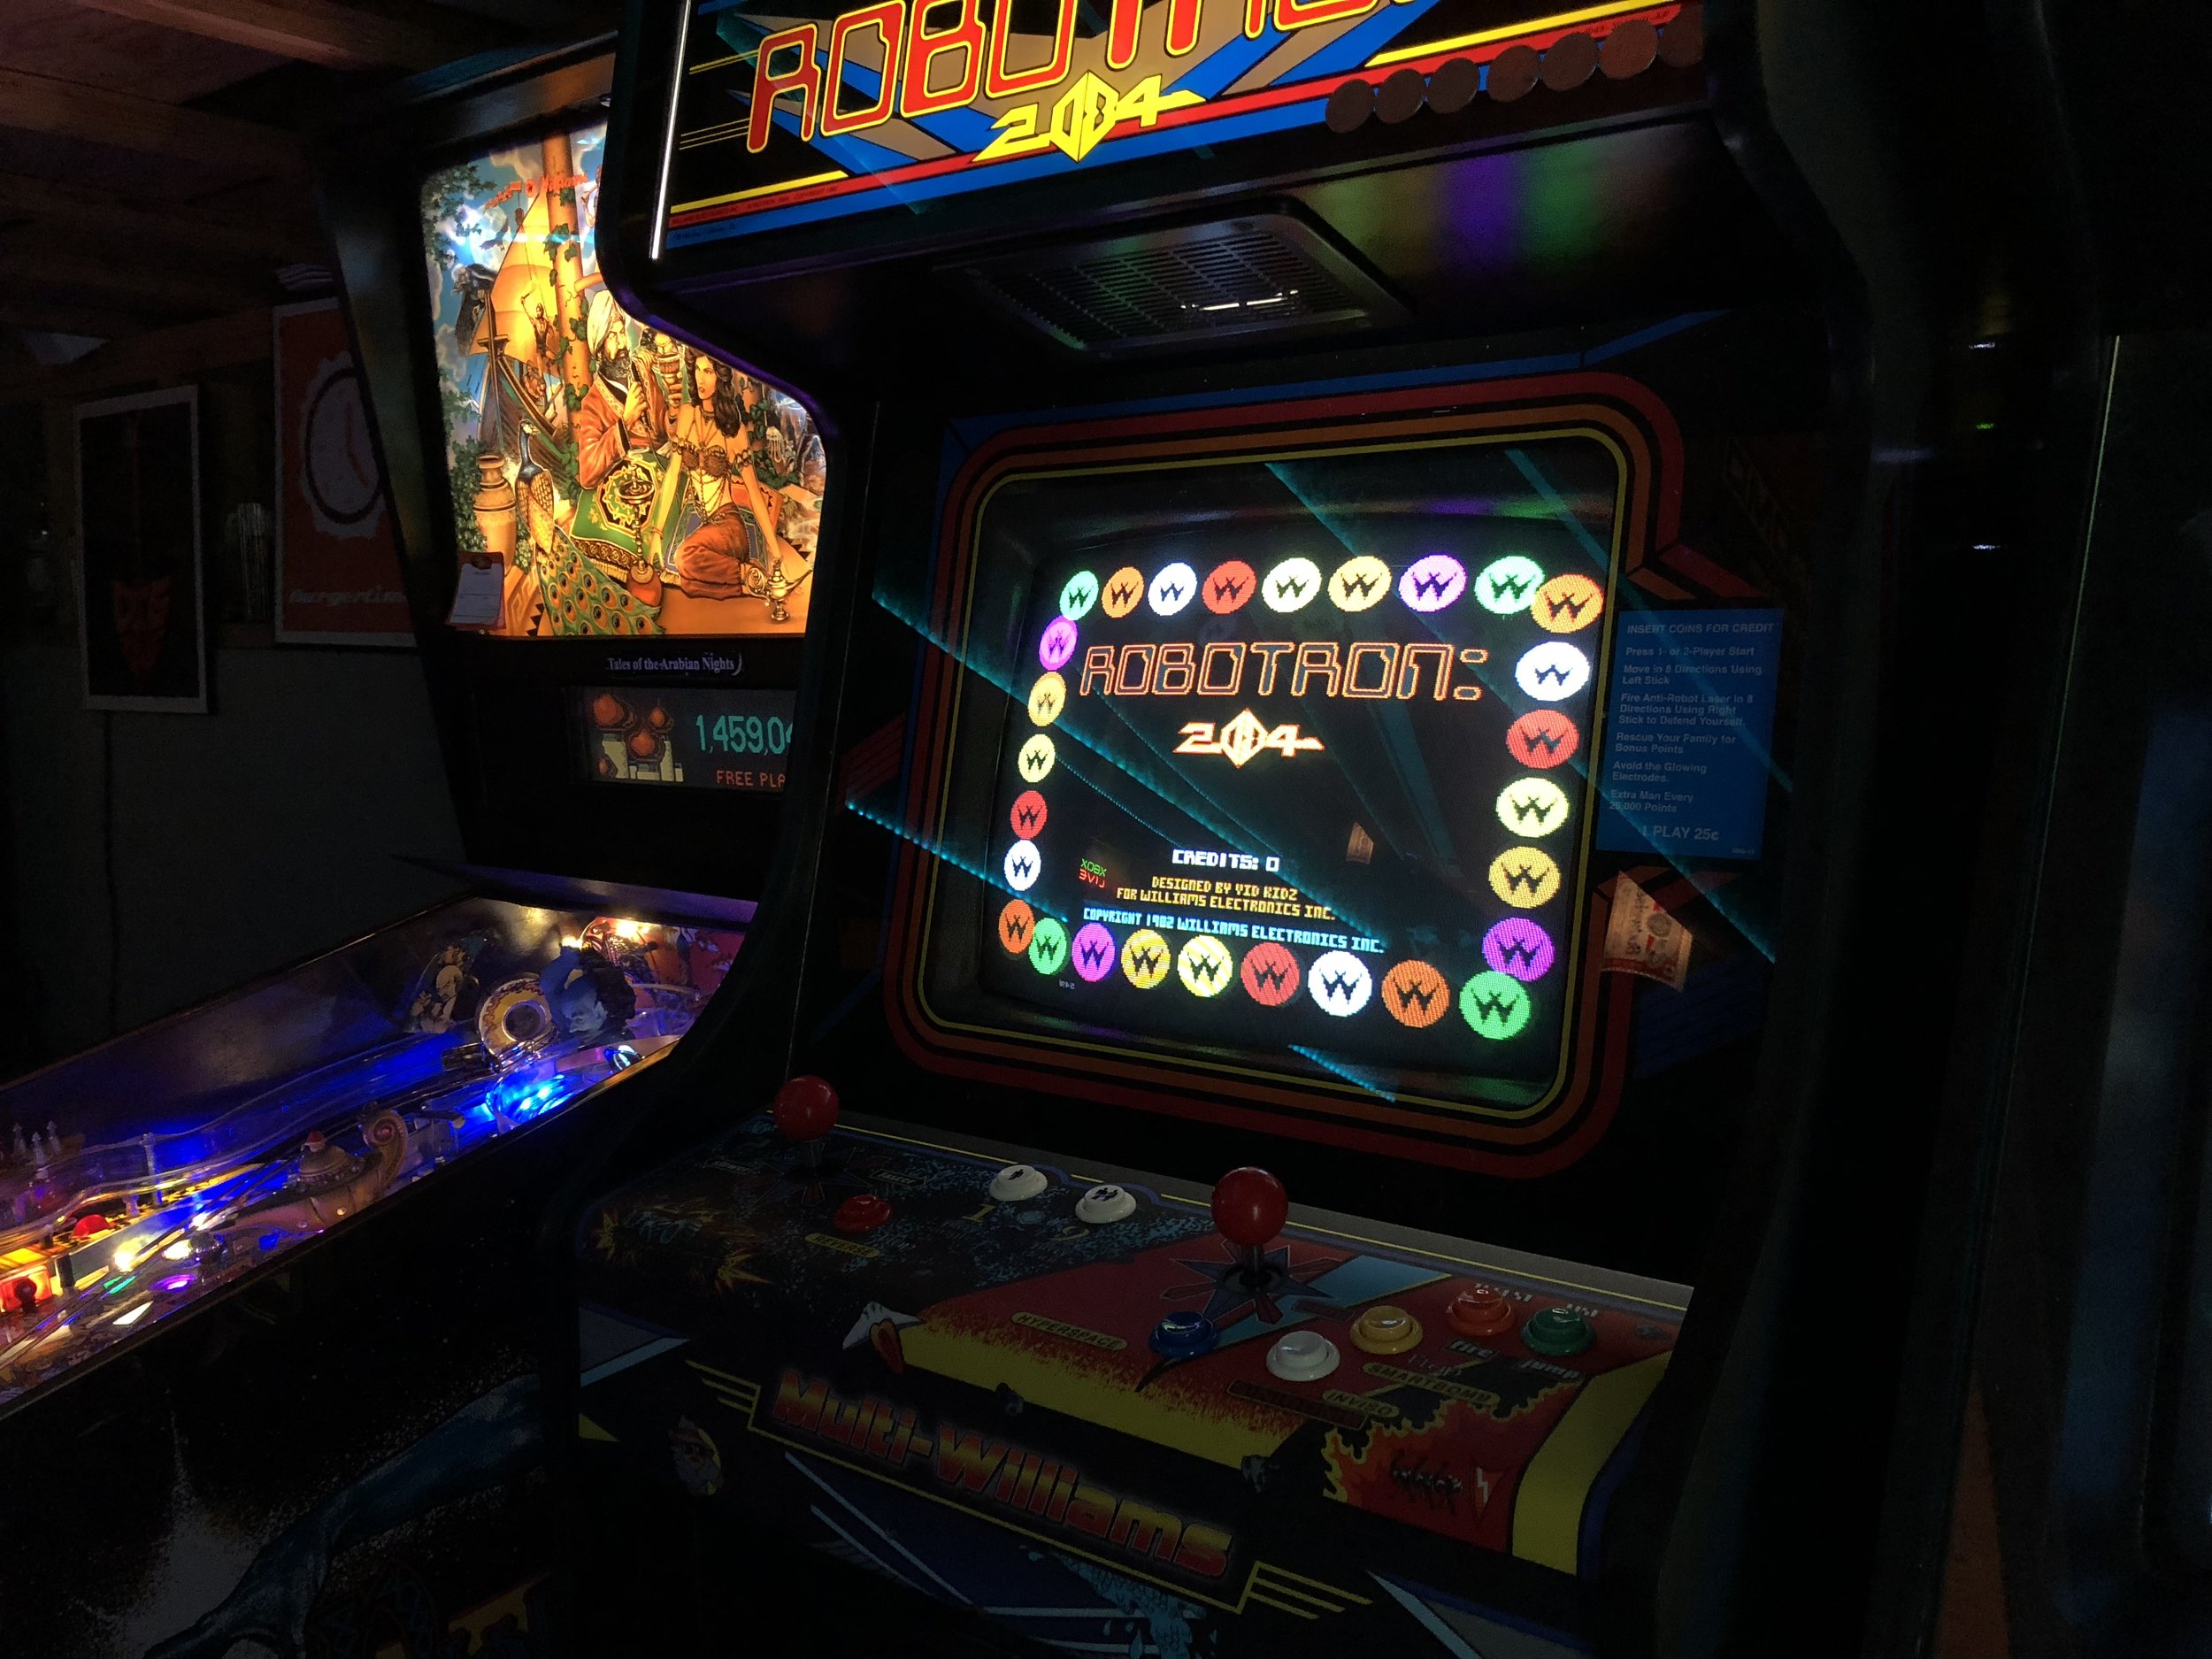
..and... after a night of installing everything and another evening of tweaking.. It lives! Robotron in the house ya'll. The direct-boot option on the J-Rok is pretty awesome. The game boots straight to Robotron and if it were not for the control panel you'd never know it was a Multi-Williams board. P1 Start + P2 Start and you get to the game select menu where you can switch games. A few games included on the board are vertical but all of the horizontals play very well.

Nathan was the first person to get a High Score recorded on the High Score board for Robotron. It is a hotly contested spot, though with Justin currently in the lead. :)