Indiana Jones: The Pinball Adventure is still my favorite pinball after four years of ownership with Medieval Madness coming in at a close second. Probably has as much to do with the fact that my teenager-self played Indiana Jones and The Last Crusade on the VCR enough times to ruin the tape.

Friends often comment on the quality of my games but being their dad I see and know their flaws well. My Indy, for instance has faded cabinet side art, the usual wear smudges between the slings and a few other small playfield issues.
Side art can be addressed, sometimes. Playfields can be touched up or even swapped out with effort.
Replacements for Indy are problematic to find because of licensing and other reasons. I was outbid at $3200 for a Kruzman-restored Indy playfield last year. I think that's about what the game cost me years ago in rough condition. 🤑
I think people delude themselves with mylar and sometimes, in the words of David Hasselhoff: “Waxing isn’t enough.”
(I’ll wait while you get that mental image out of your mind)
When you put mylar down on a playfield you are committing, one-day, to remove it. Odds are that eventually when removing it someone will get hasty and they’ll also remove insert printing or other art along with the mylar adhesive. So, you put down a thing to protect a playfield that will likely damage the playfield when removed later. Madness!
”Siri, make an appointment for 5 years from now to punch myself in the nuts because I put mylar down.”
As Q*bert was once heard saying: @!#?@! Mylar!
Roll the tape, Bob…
The playfield protectors are non-adhesive playfield overlays that sit on your playfield and take the abuse that your clearcoat otherwise would be. They are made of super thin acryllic, PETG or makrolon and are die or laser cut for a specific playfield layout.
They cost about $120 and you get them here: https://www.playfield-protectors.com/22/Playfield-Protectors
General Instructions for Installation are:
Buy One
Unpack It
Take everything off of the playfield that prevents you from laying down the overlay
Put everything back
Result Observations
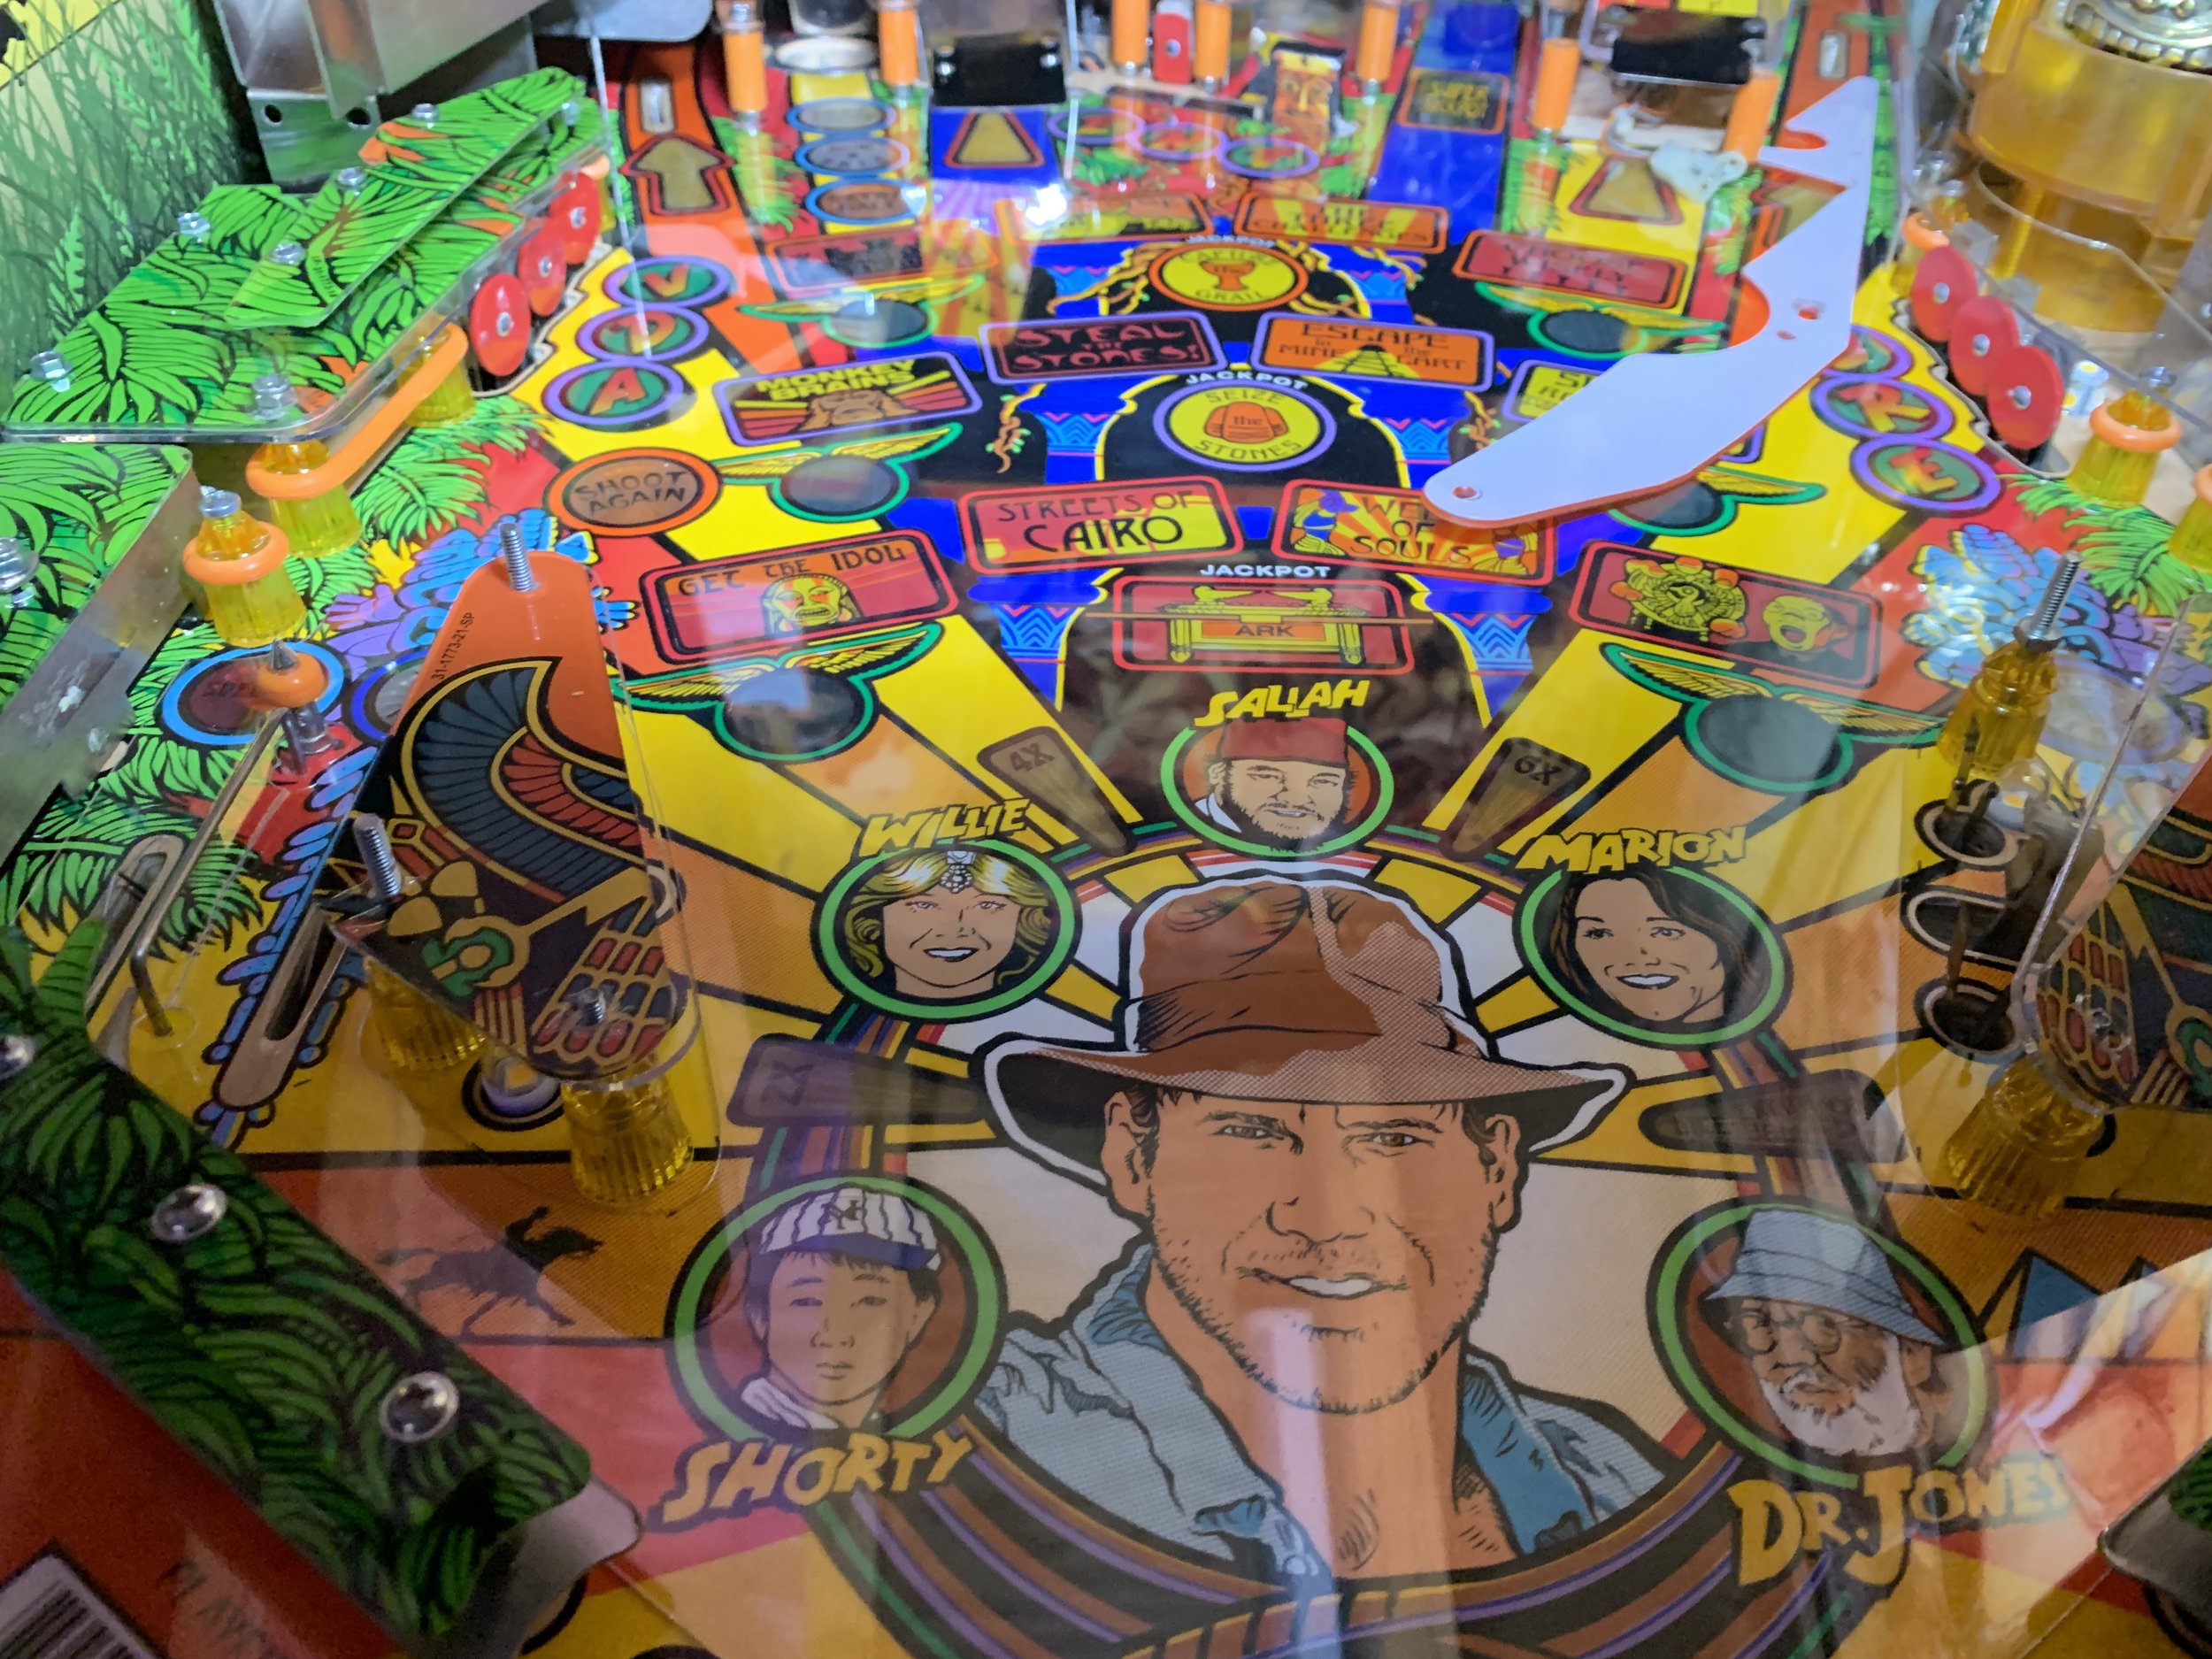
In this photo I tried my best to catch as much glare as possible off of the playfield protector. The photo at the top of the post, is shot from player’s position after the install. (Note: InvisiGlass is also in play in the top image.)
Once installed, the playfield protector more or less looks like fresh clearcoat except in the areas of the cutouts. I’ve observed that gameplay is a bit faster. From the player’s position you typically do not notice the overlay with the exception that you may at times note a (slight) reflection distortion as the ball rolls over the plastic.