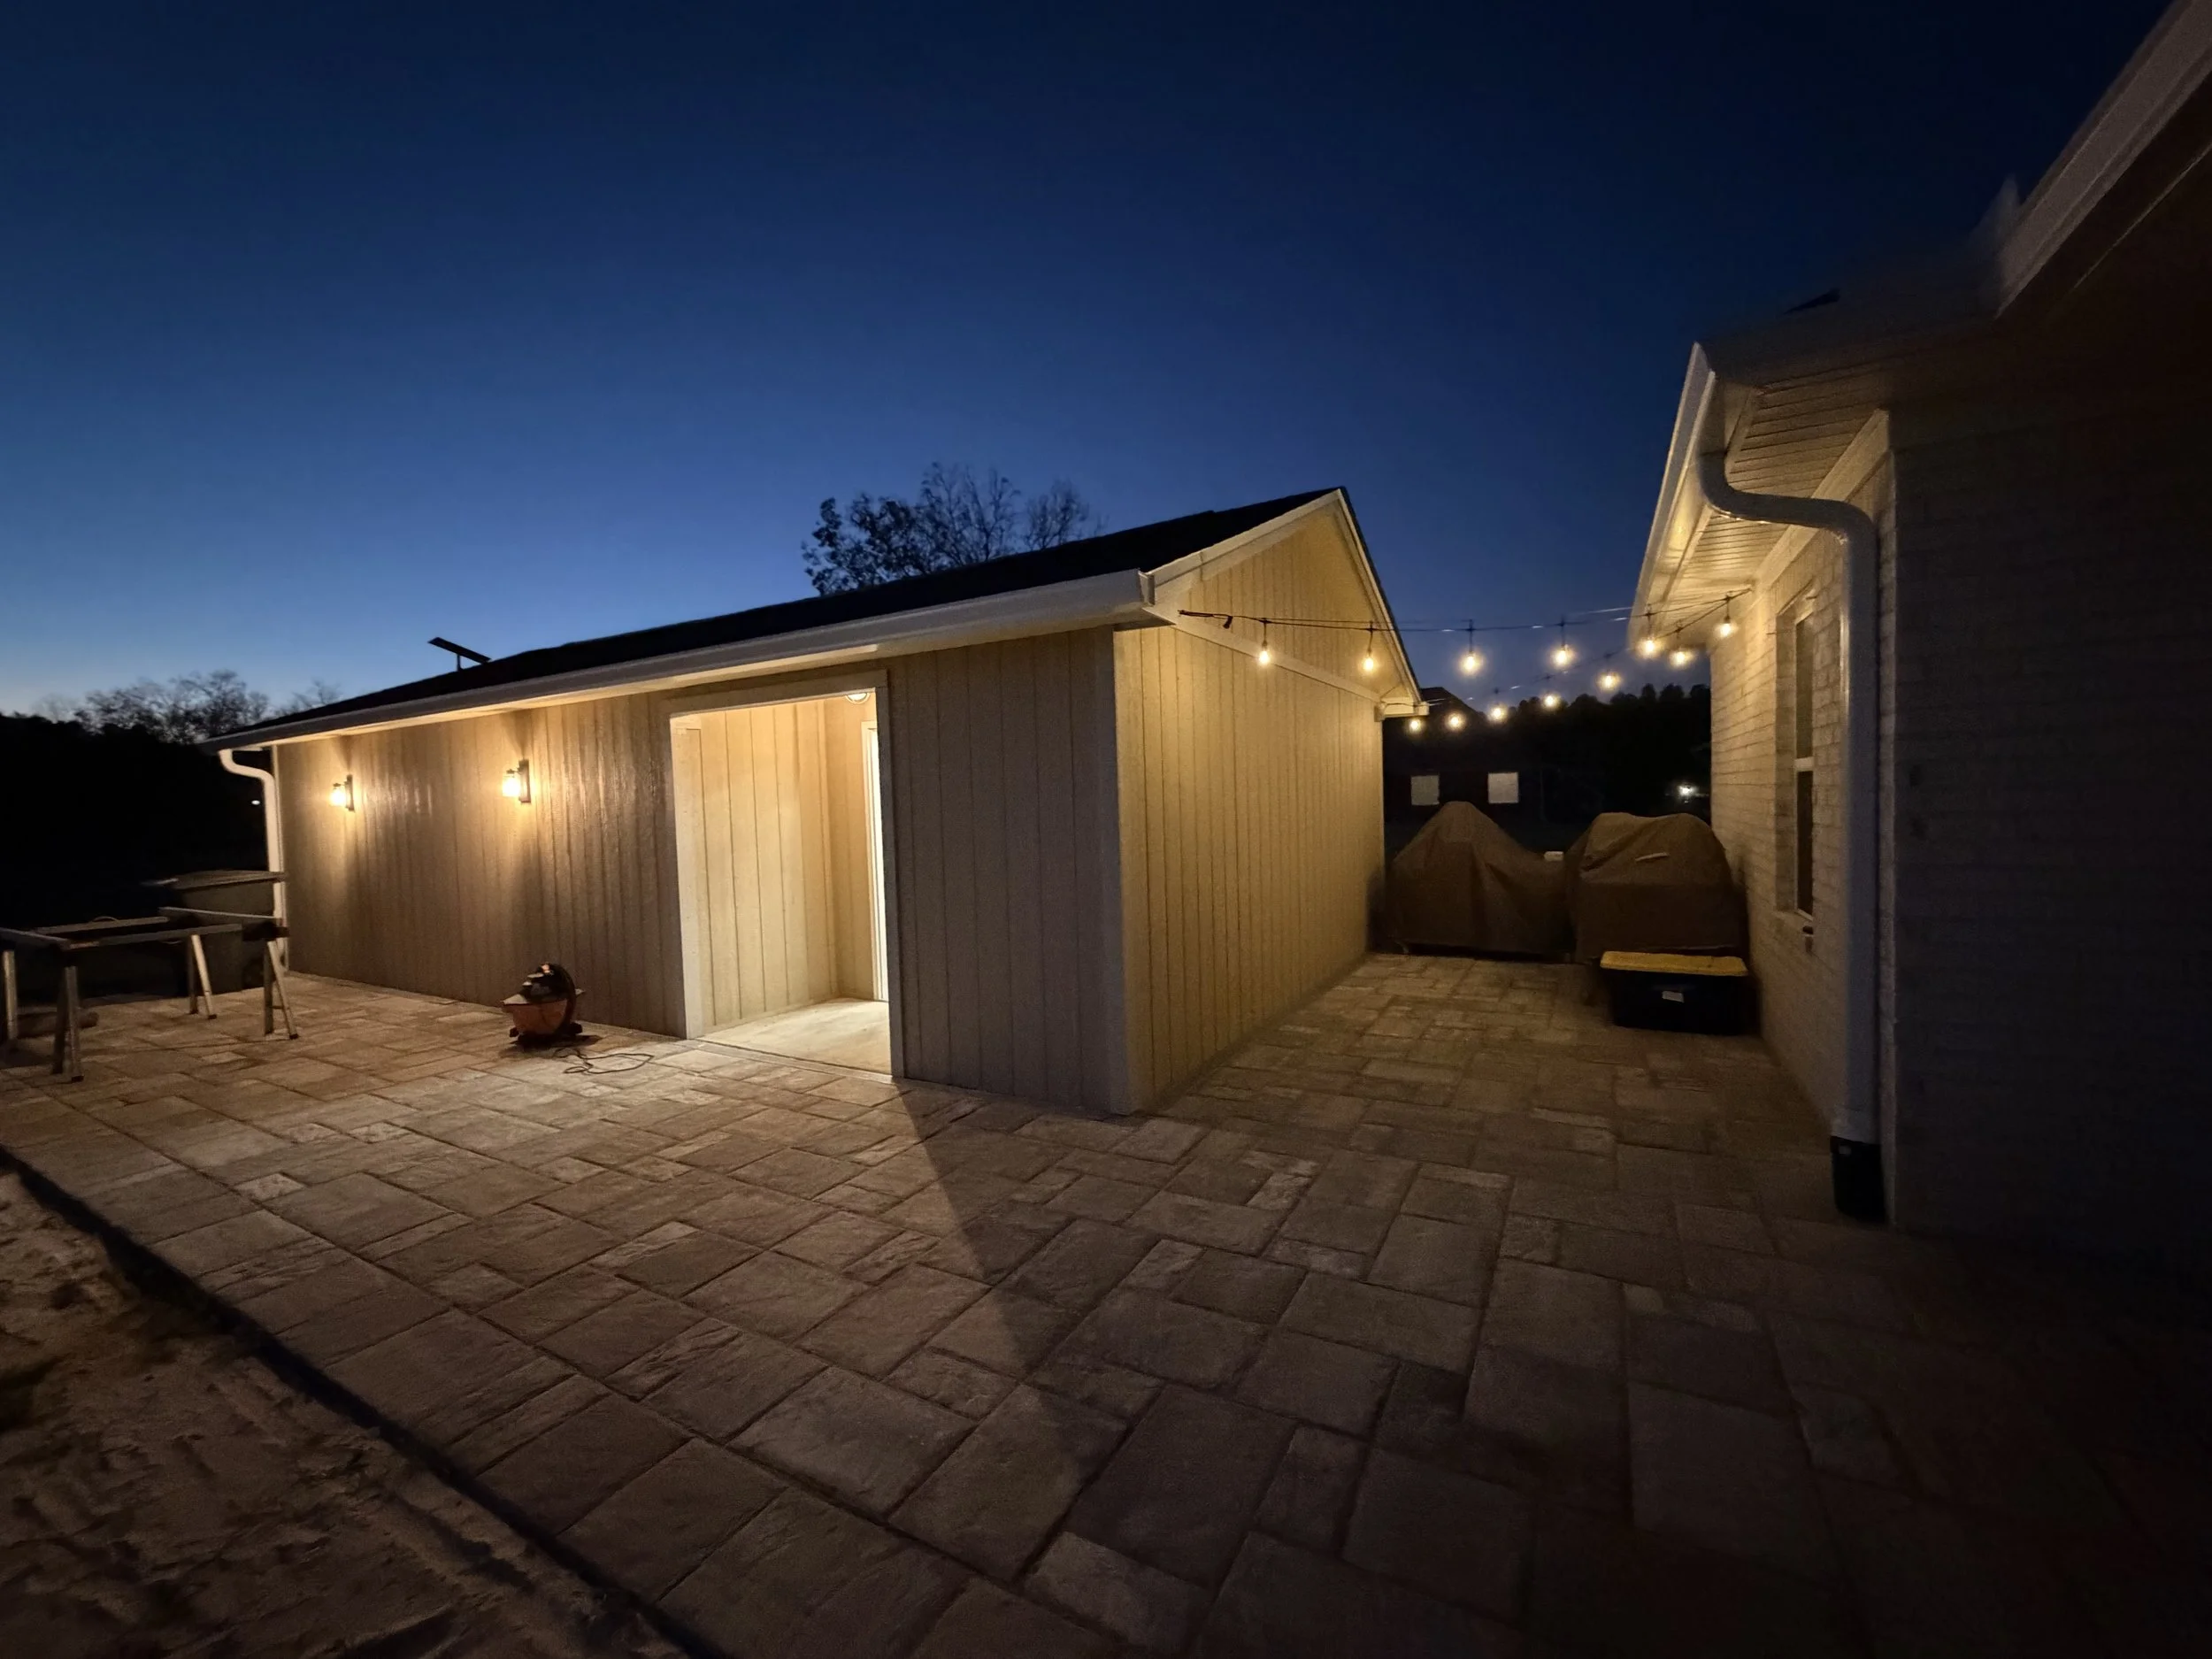
Making a Place to Make Things
(In Dungeon Crawler Carl Announcer Voice)
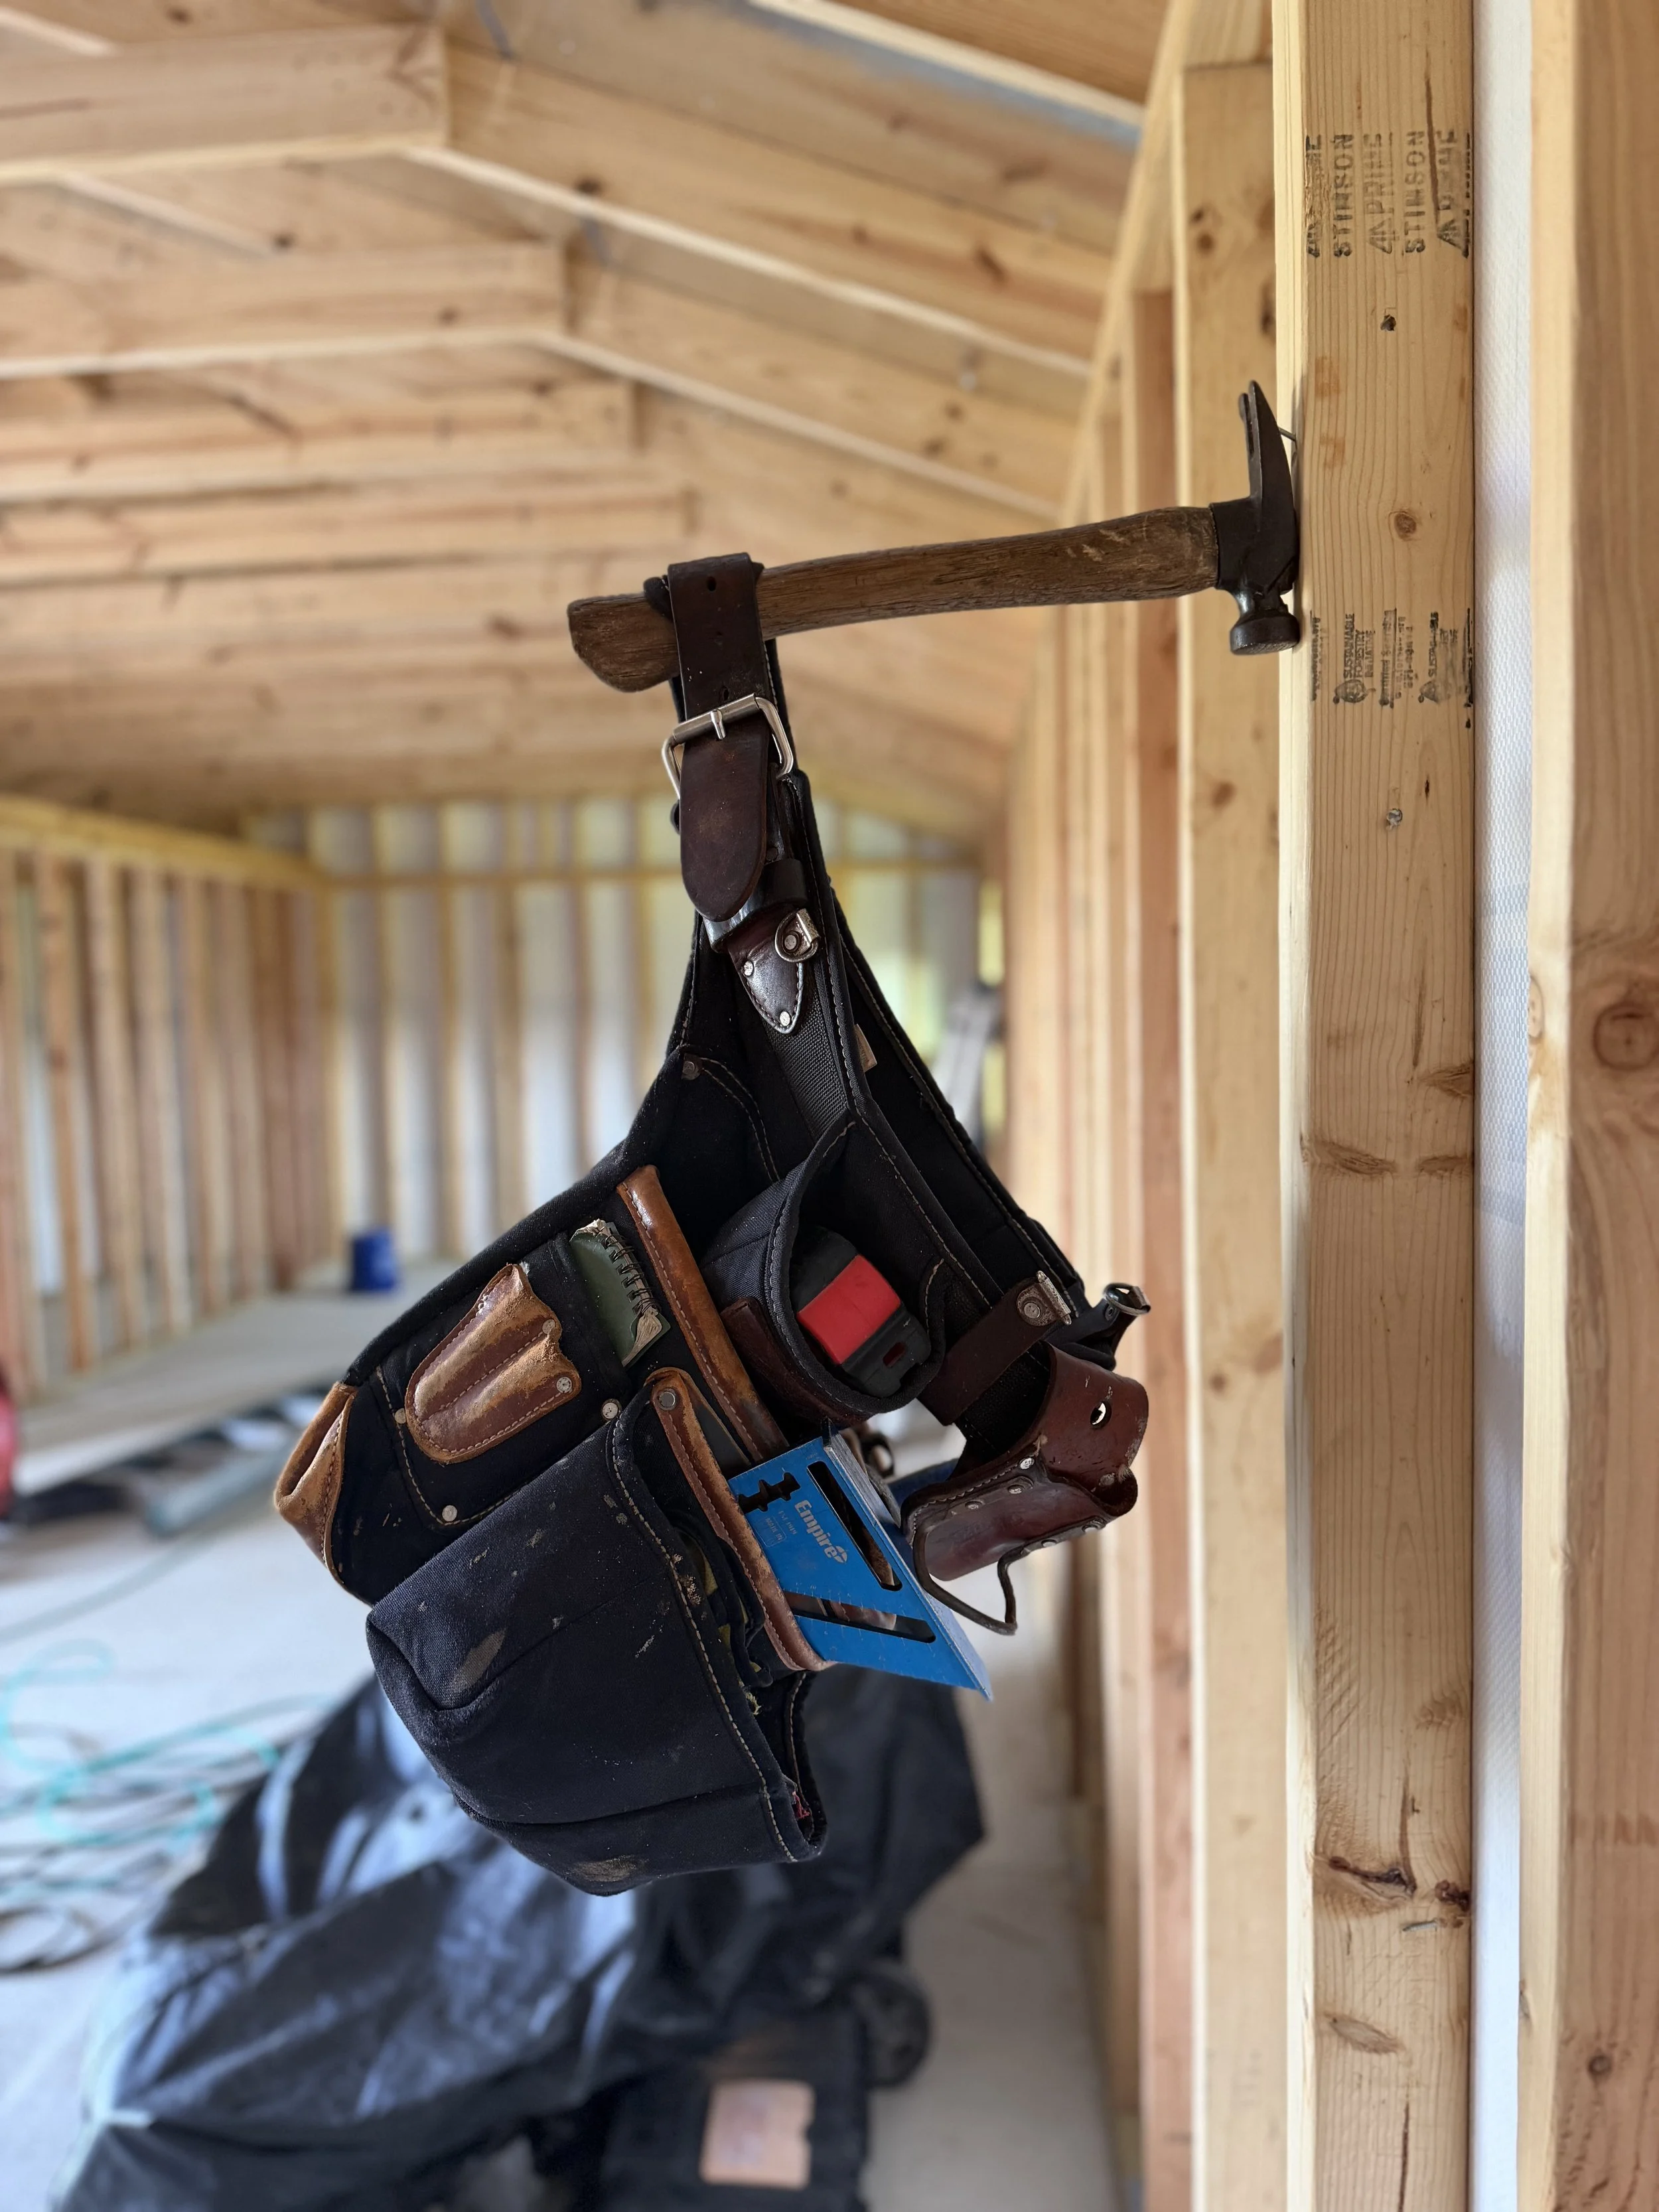
NEW ACHIEVEMENT! Leather Toolbelt of Dewalt
Congratulations, crawler, you have a difficult-to-automate skillset. This perk gives the wearer + 10 Sore Arms and +20 Carpal Tunnel. Should not be wielded with shirt-and-tie unless on date night.
Design Notes
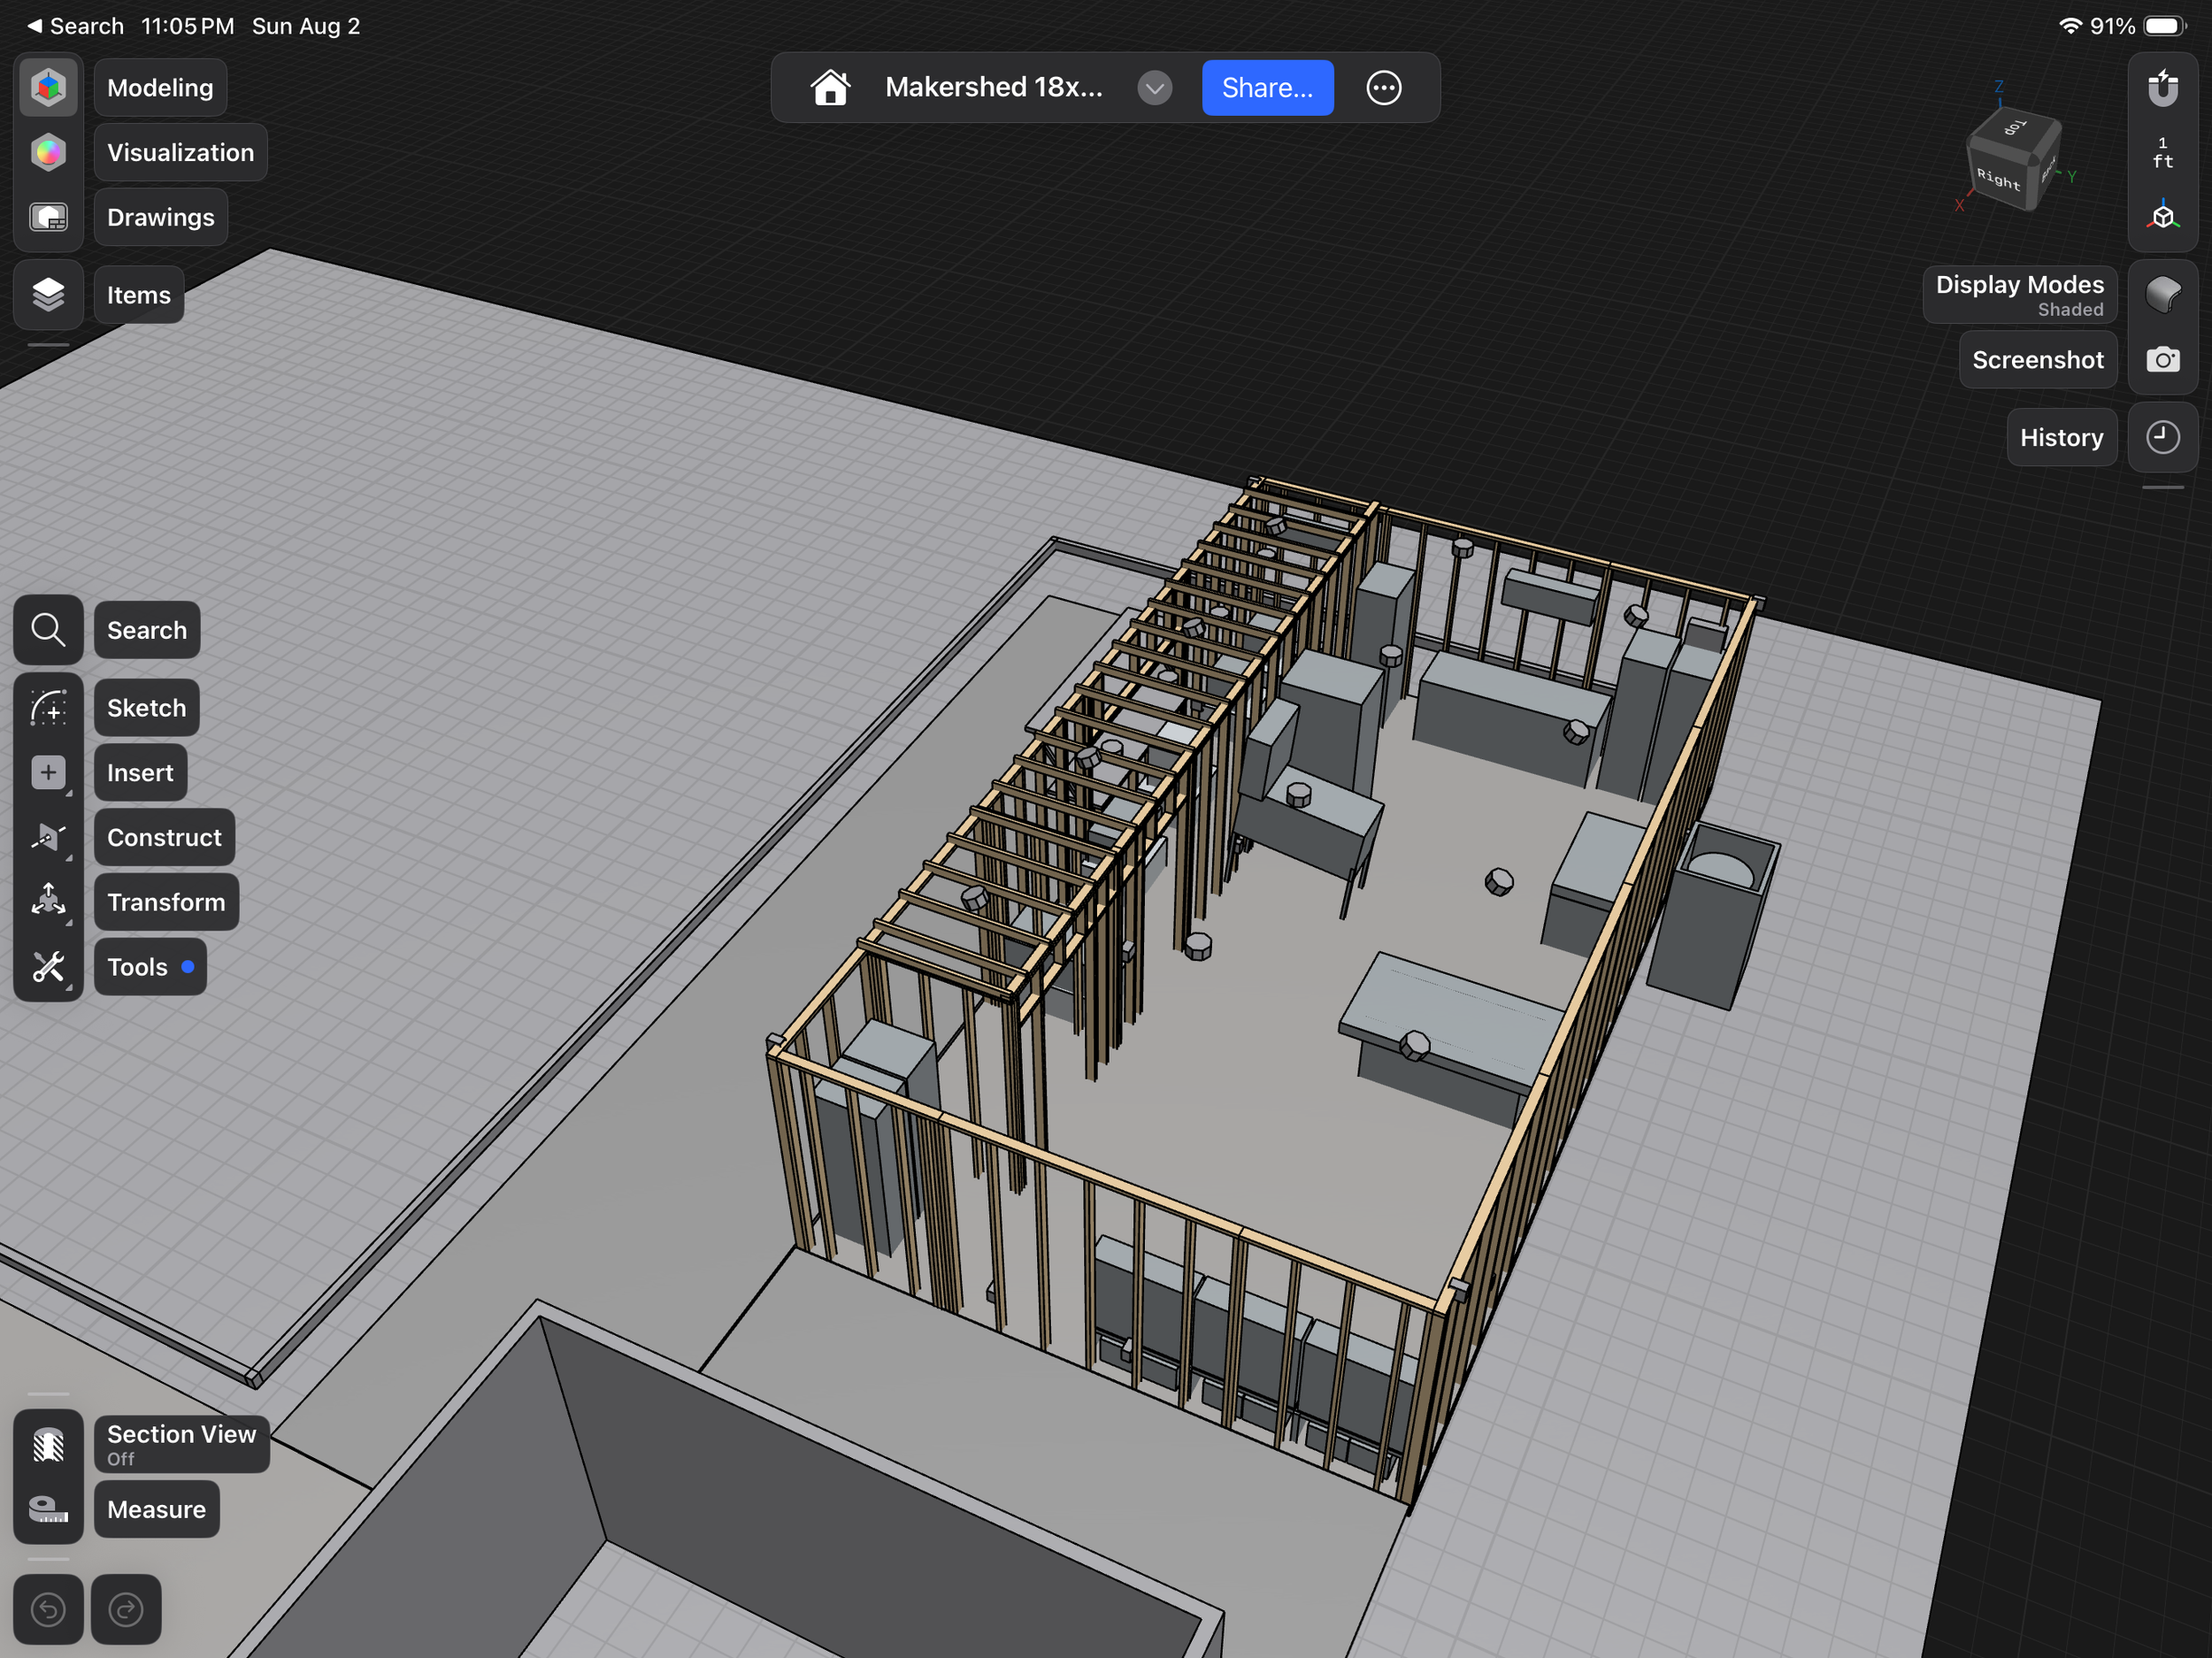
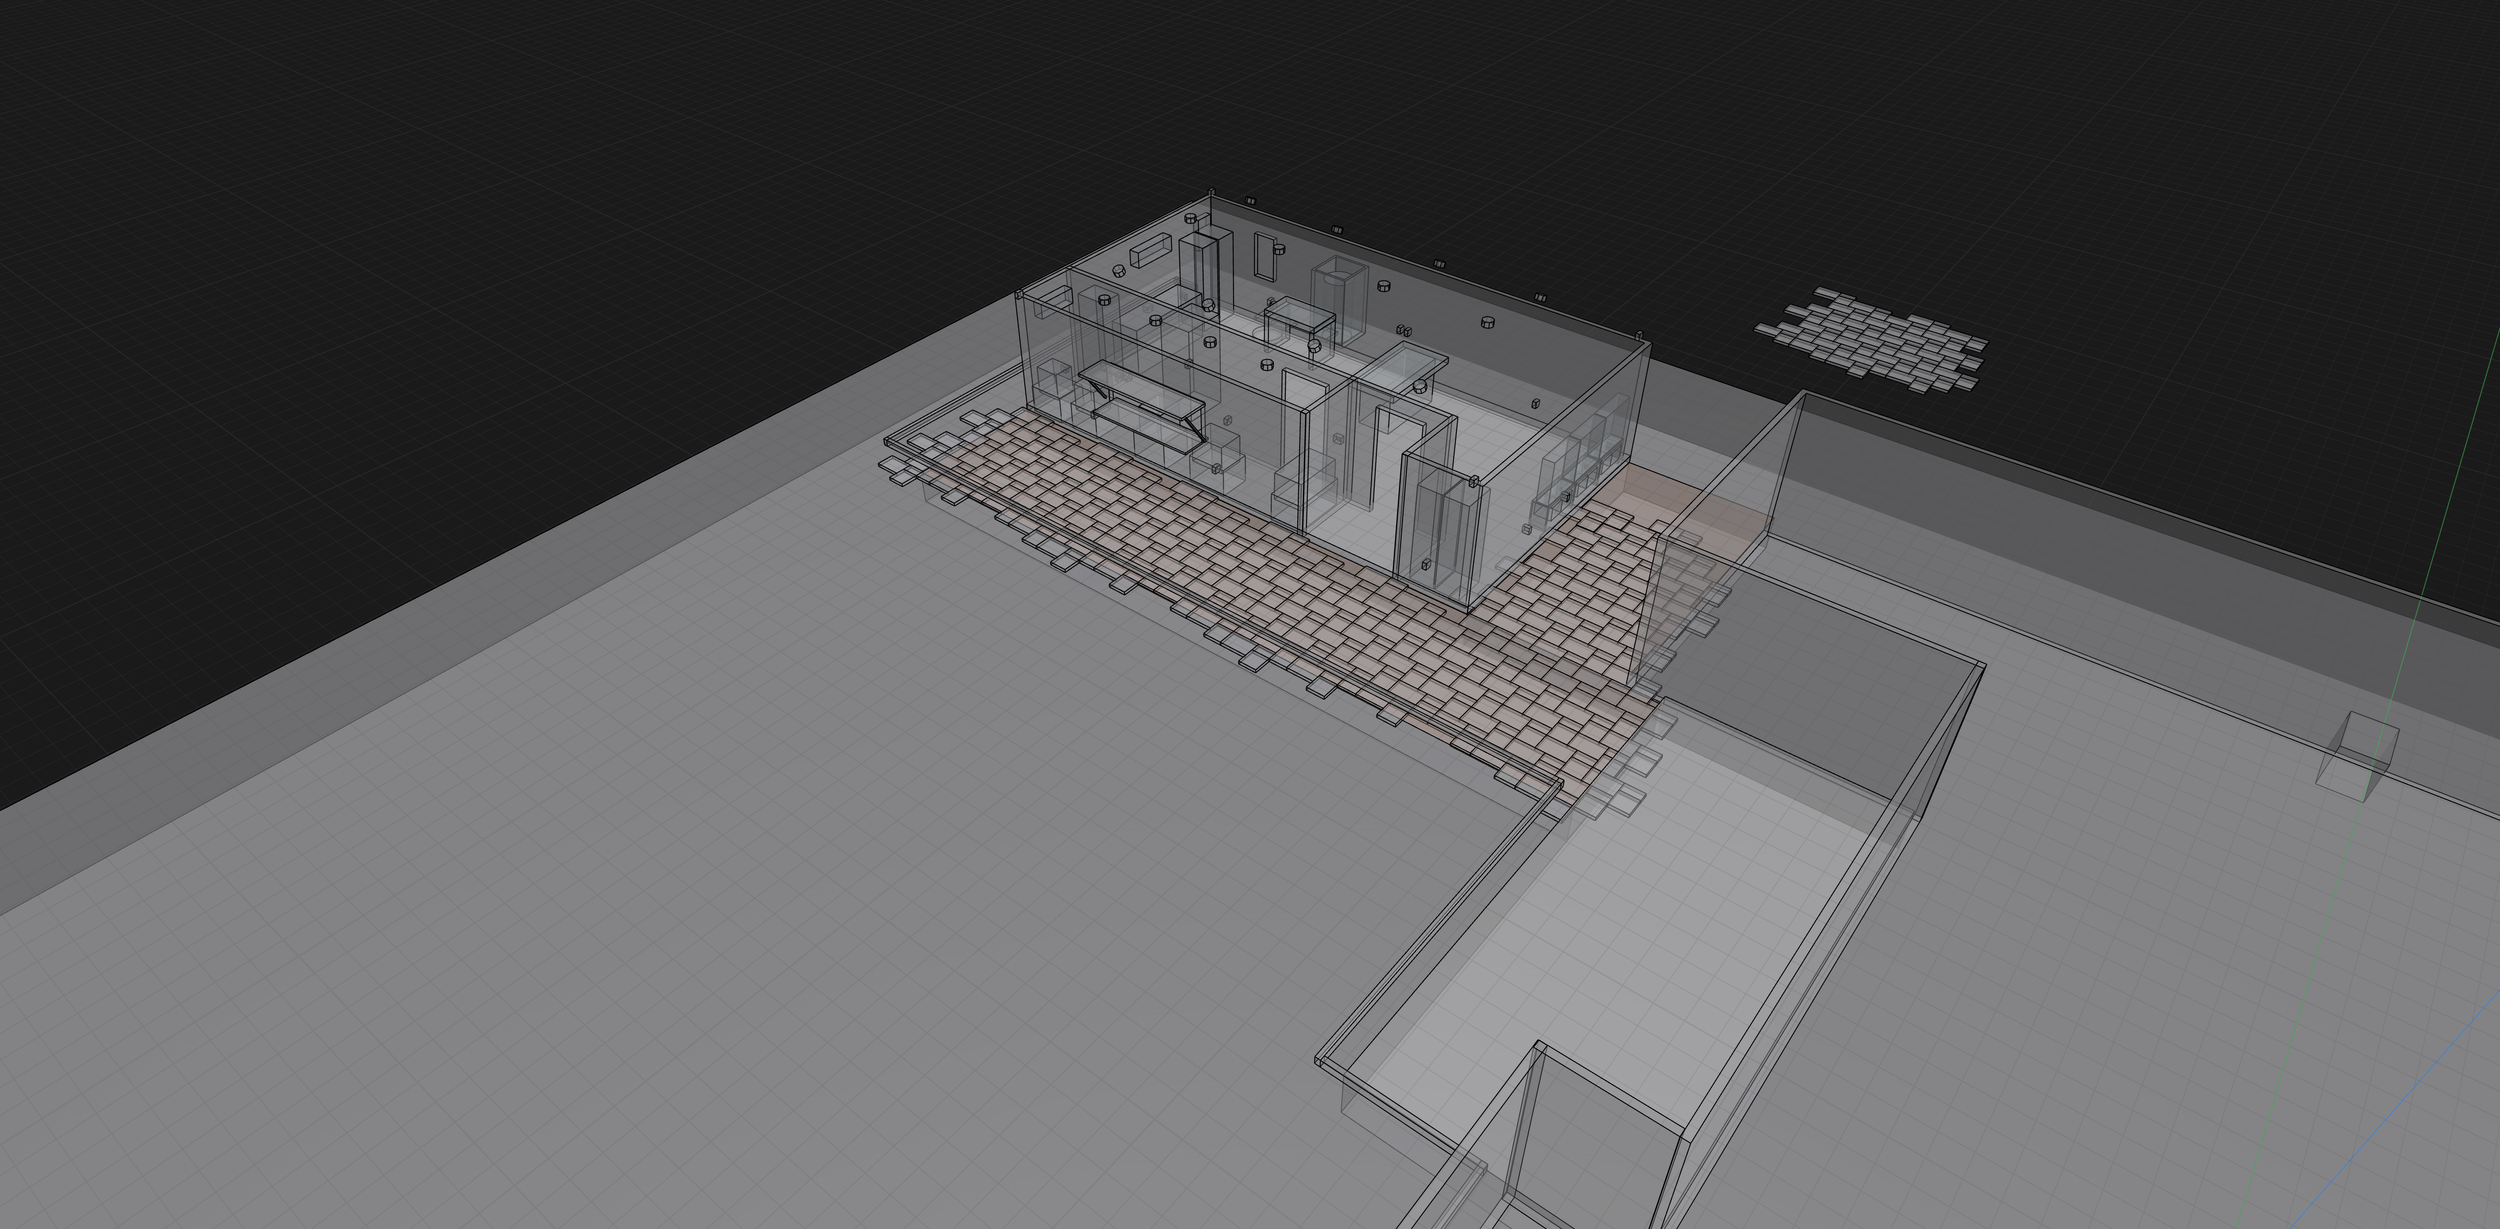
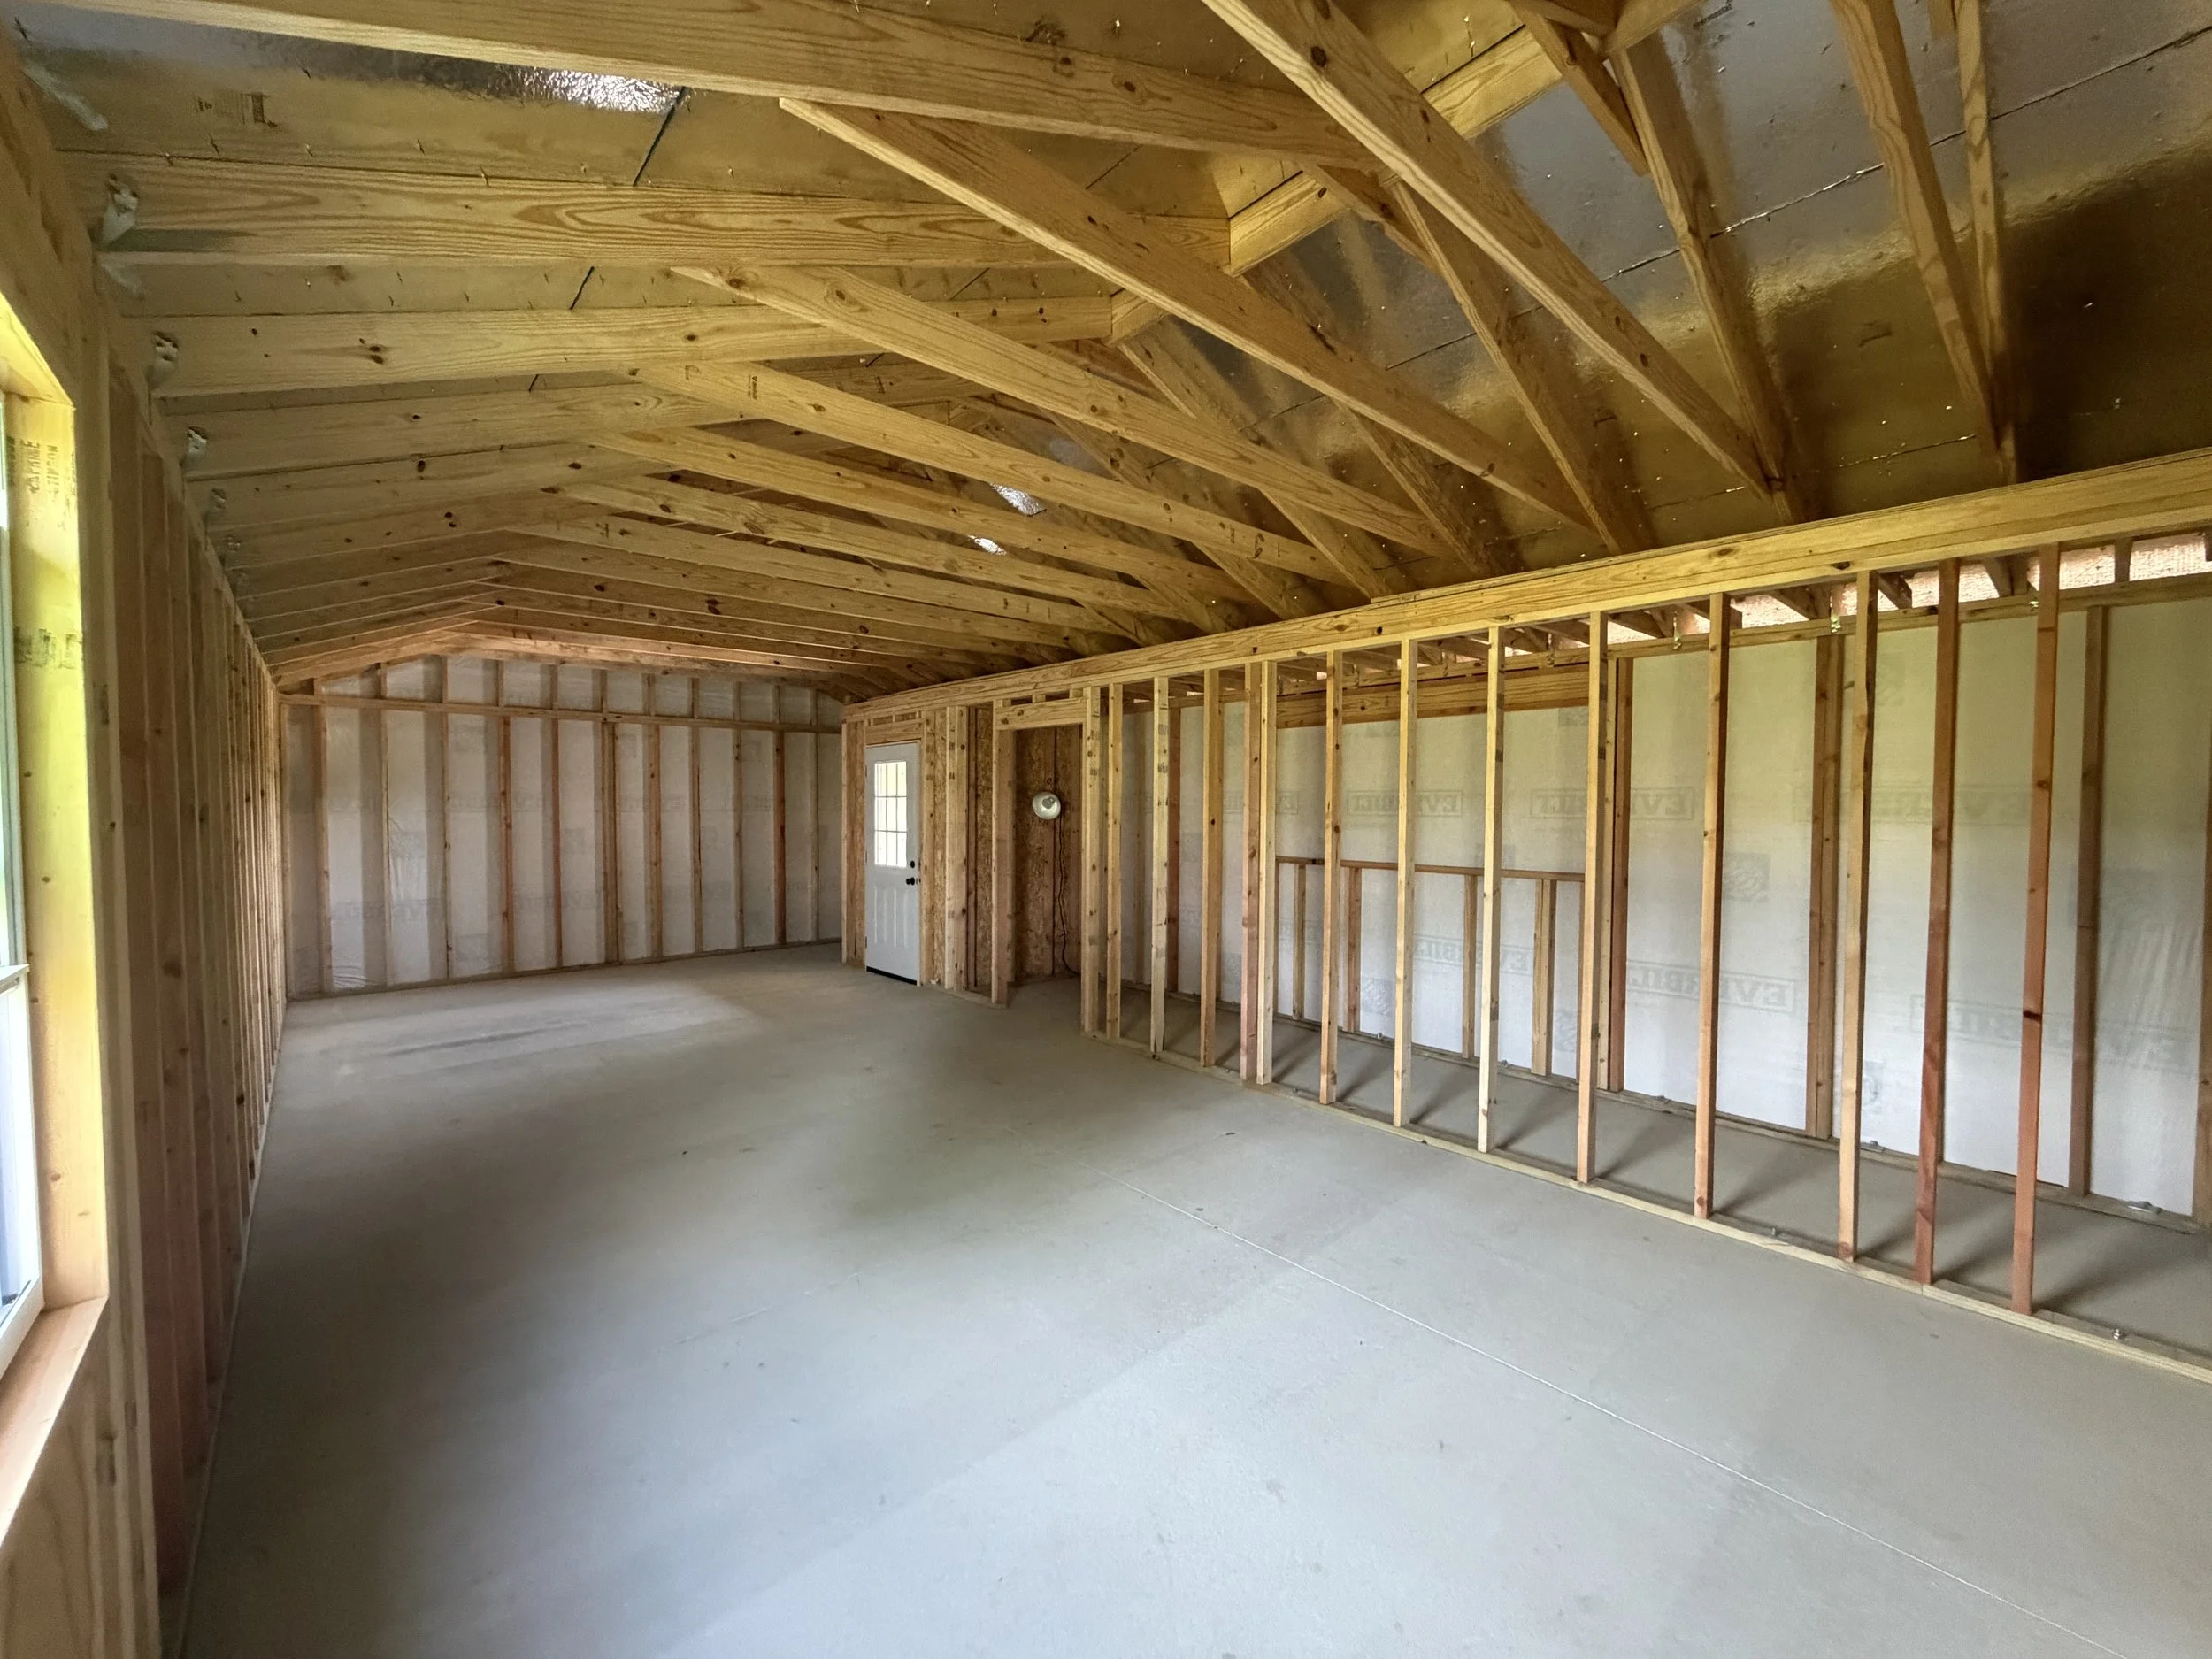
Working within the constraints of budget and a tiny yard, the north star of the project was Adam Savage’s workshop. The tiki bar concept more-or-less helped to sell our last house, so I incorporated a future-state pool house / cantina bar conversion concept into this. This level of detail really helped with the permitting process, which was mostly painless.
Paver Patio
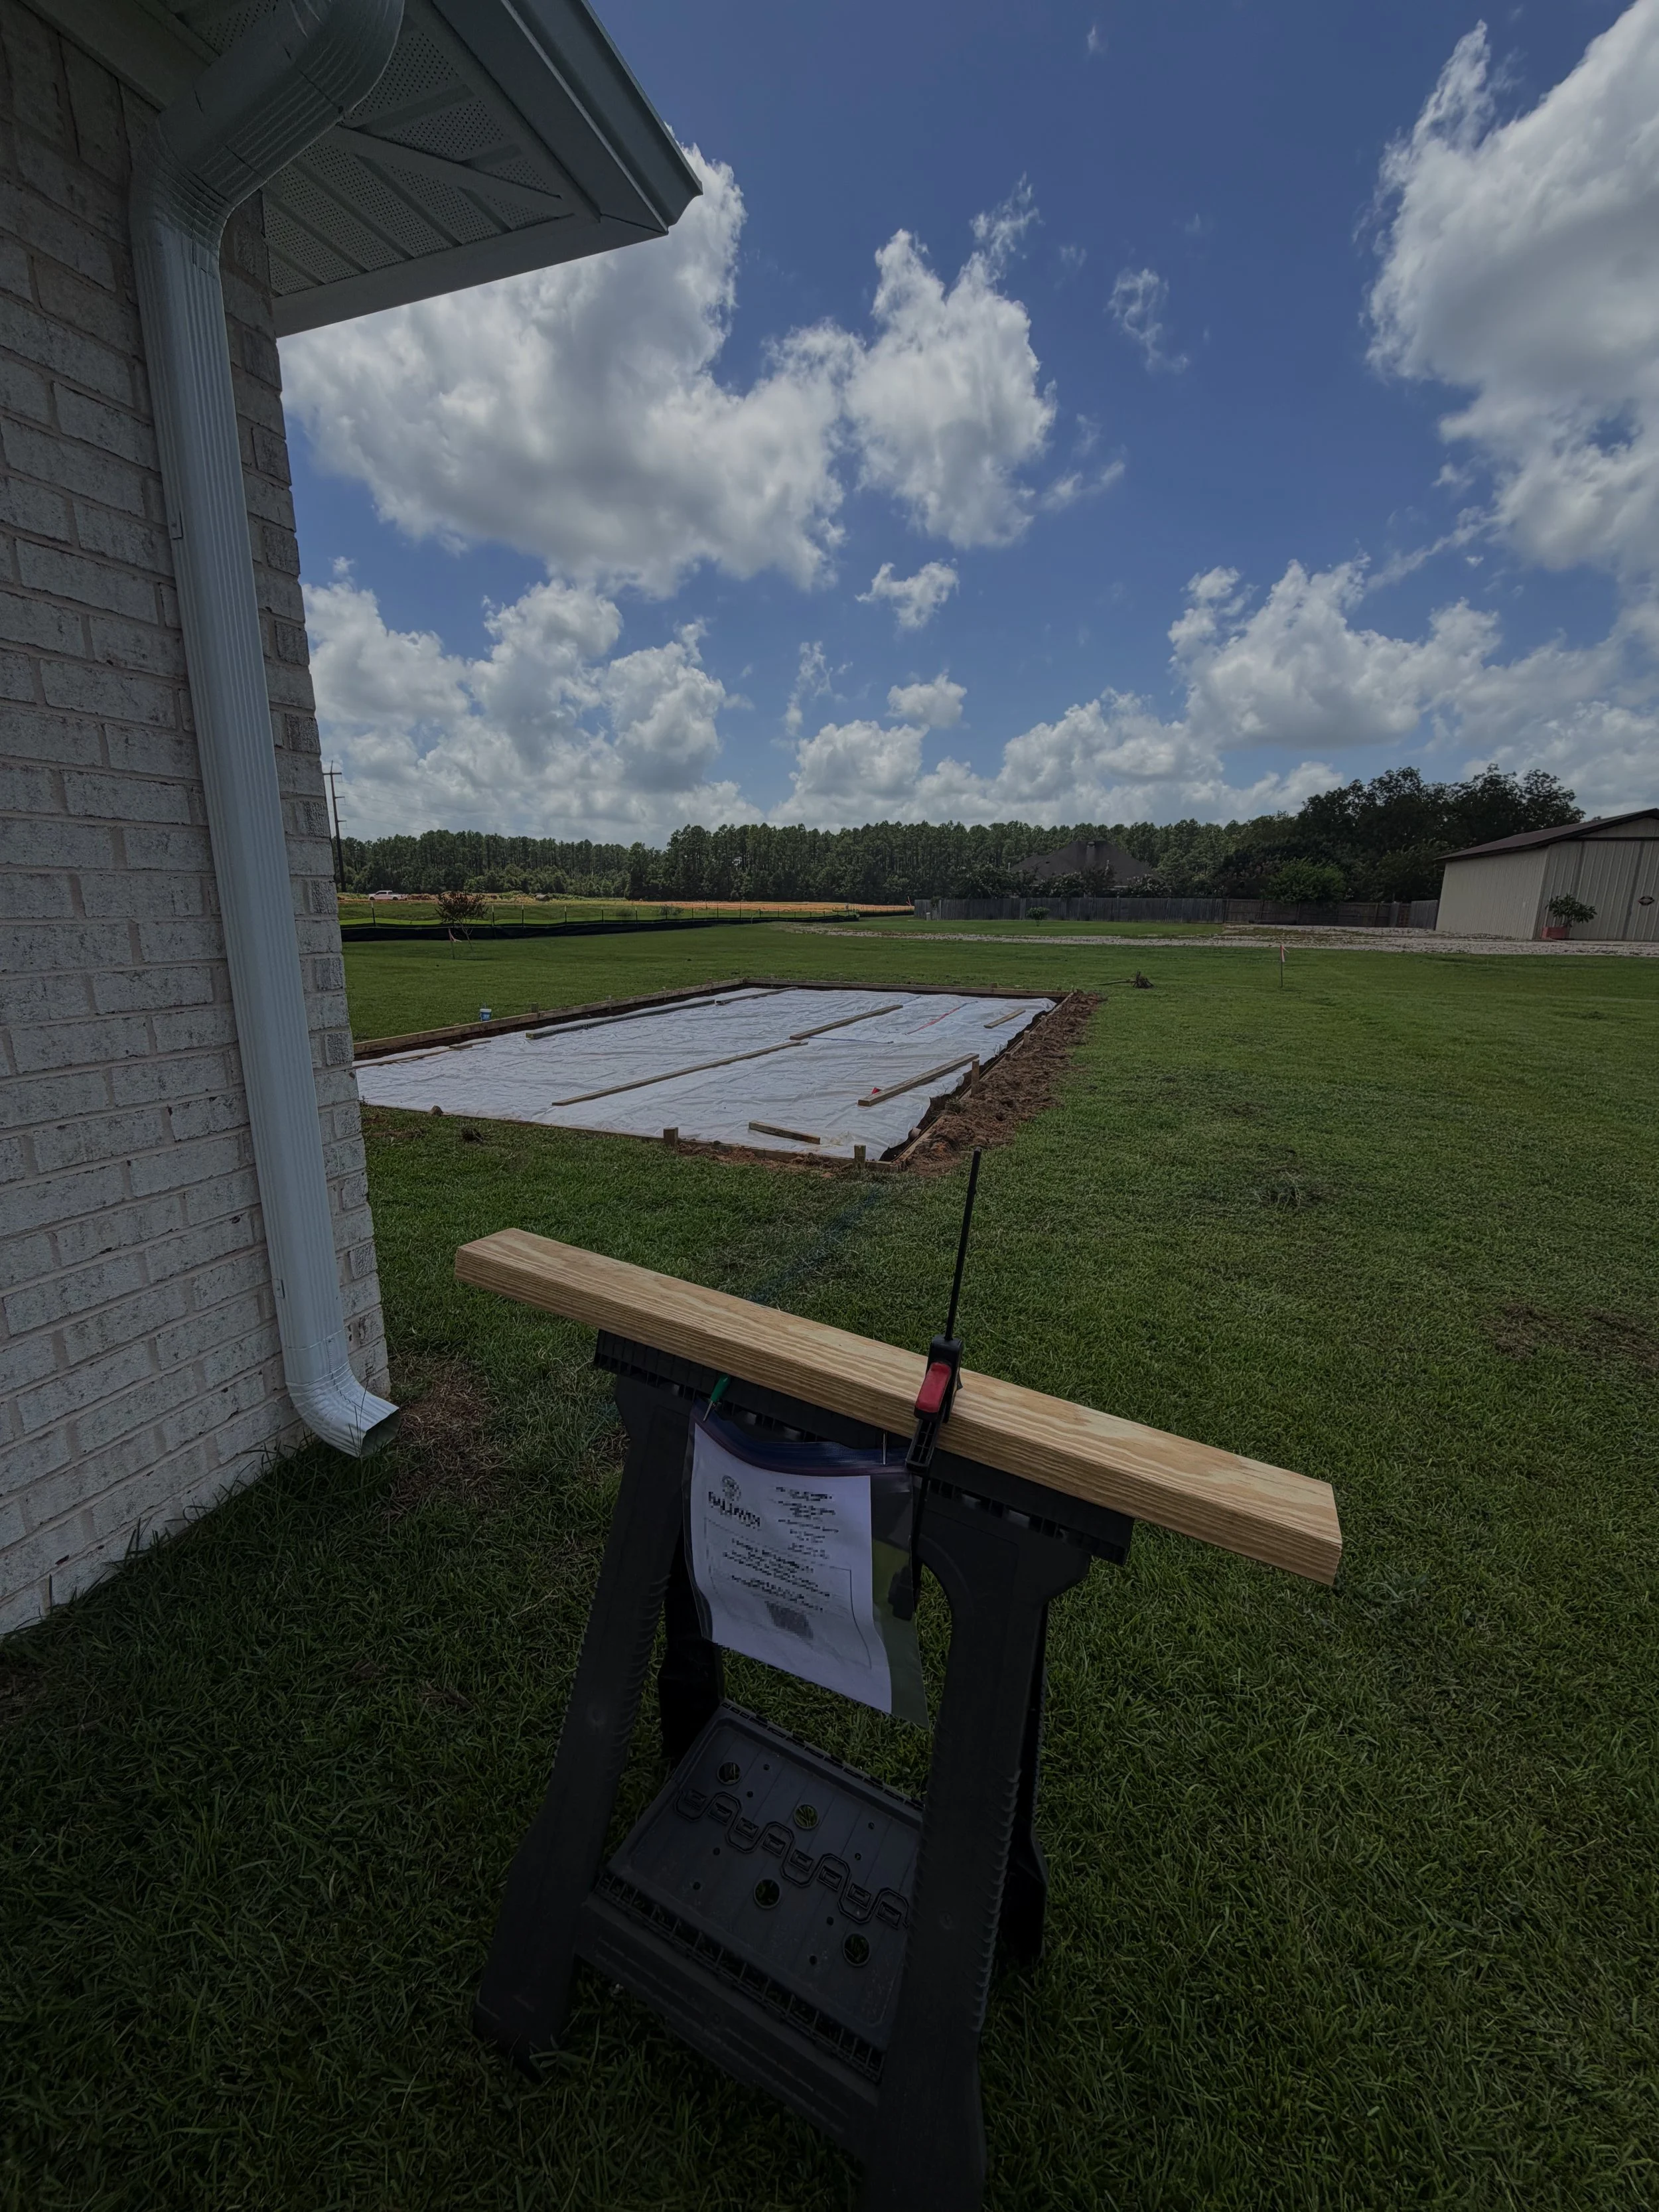
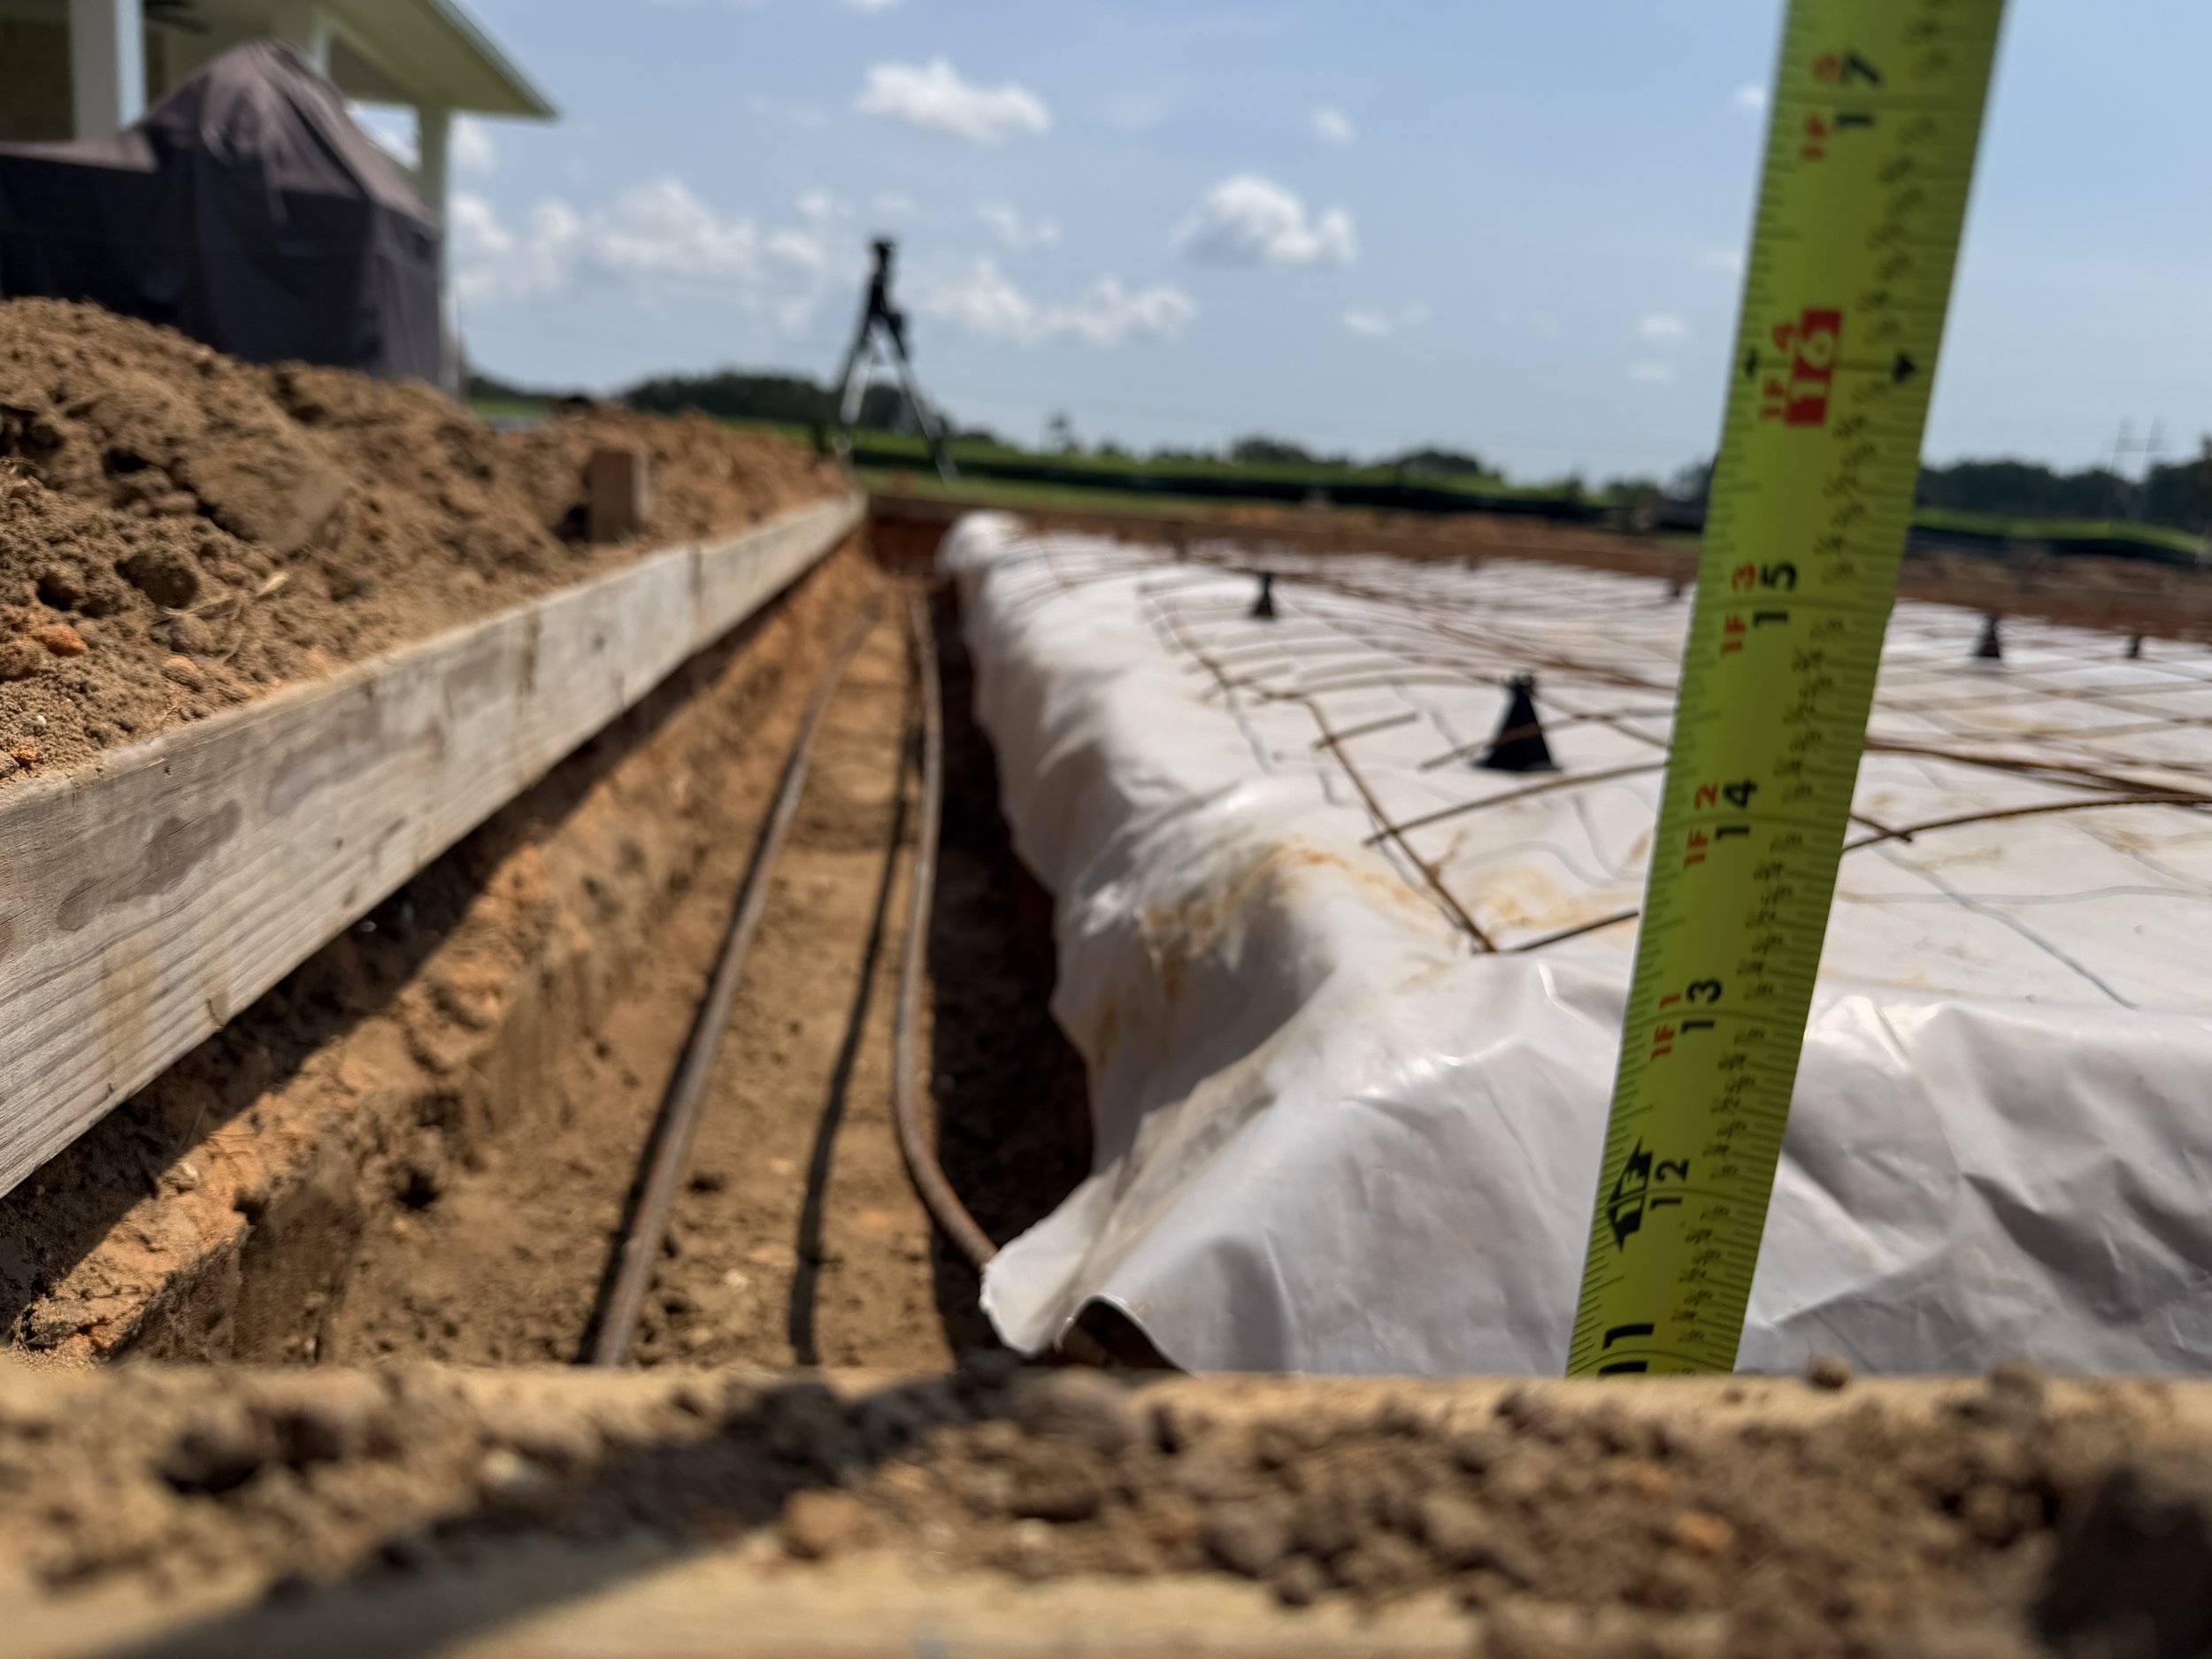
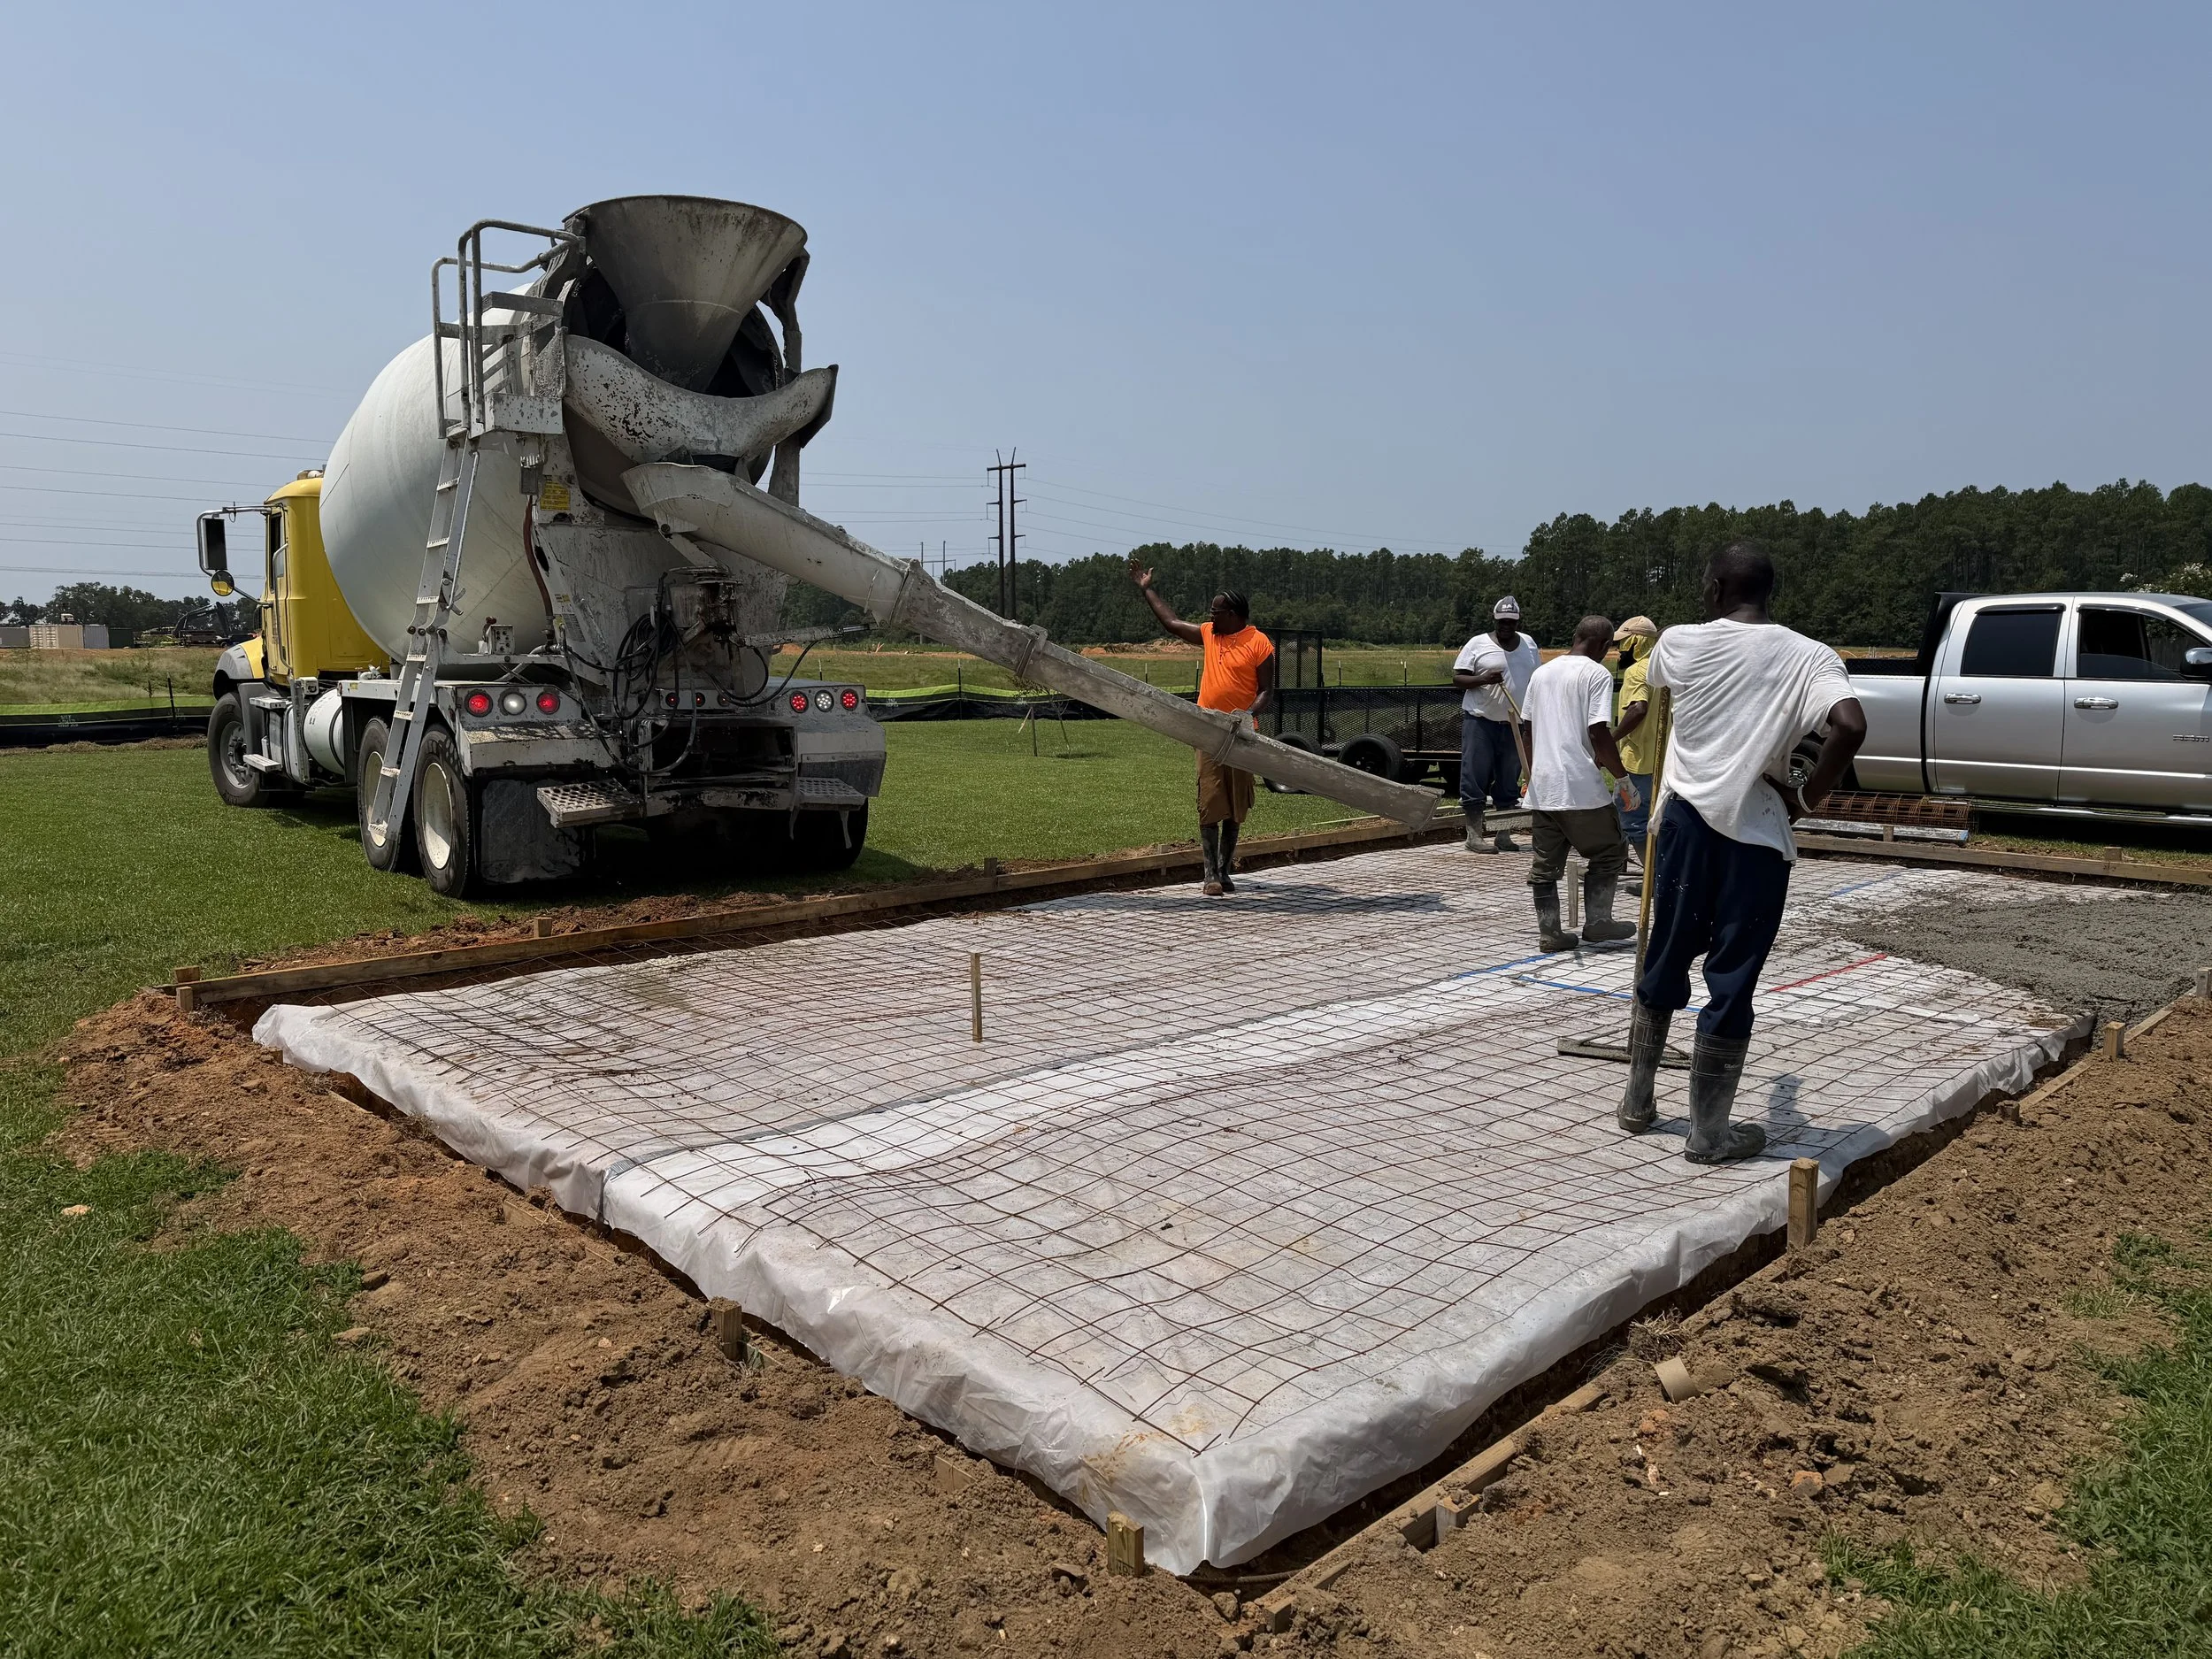
One tradeoff I wanted to make in dedicating 1/3 of our tiny backyard to this project was to establish an entertainment-alley and a hard surface patio connecting the back porch and new building.
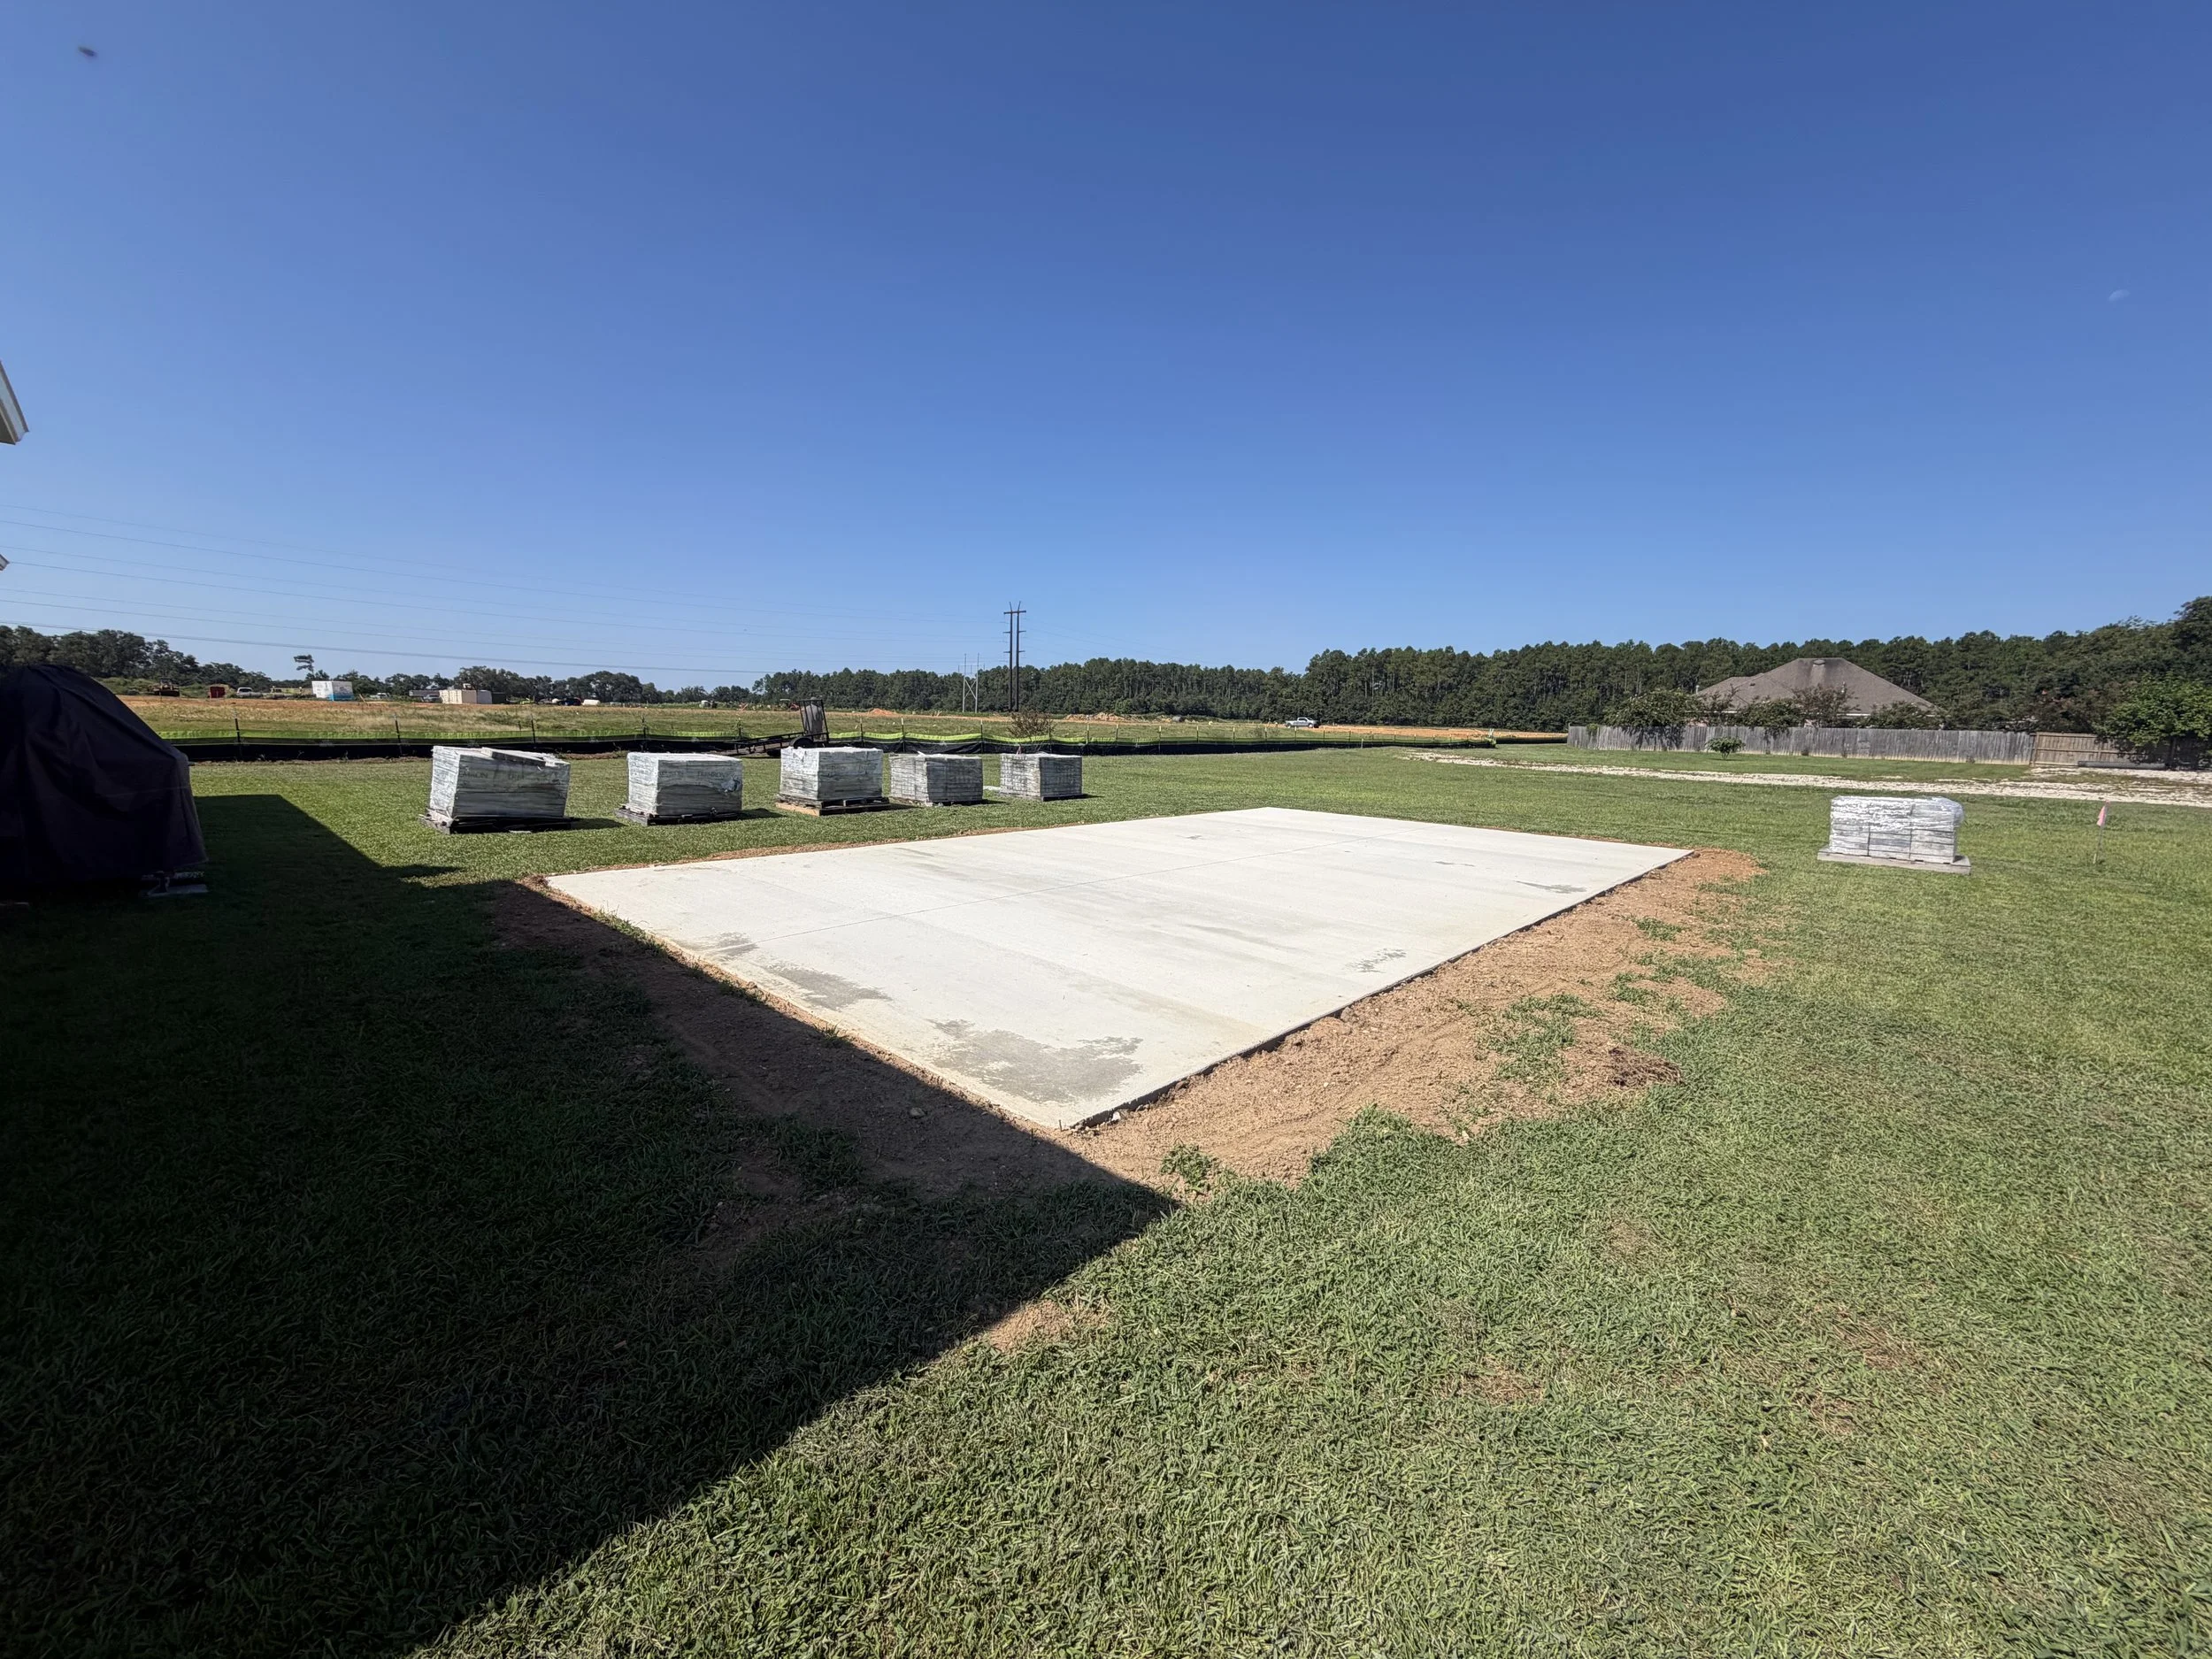
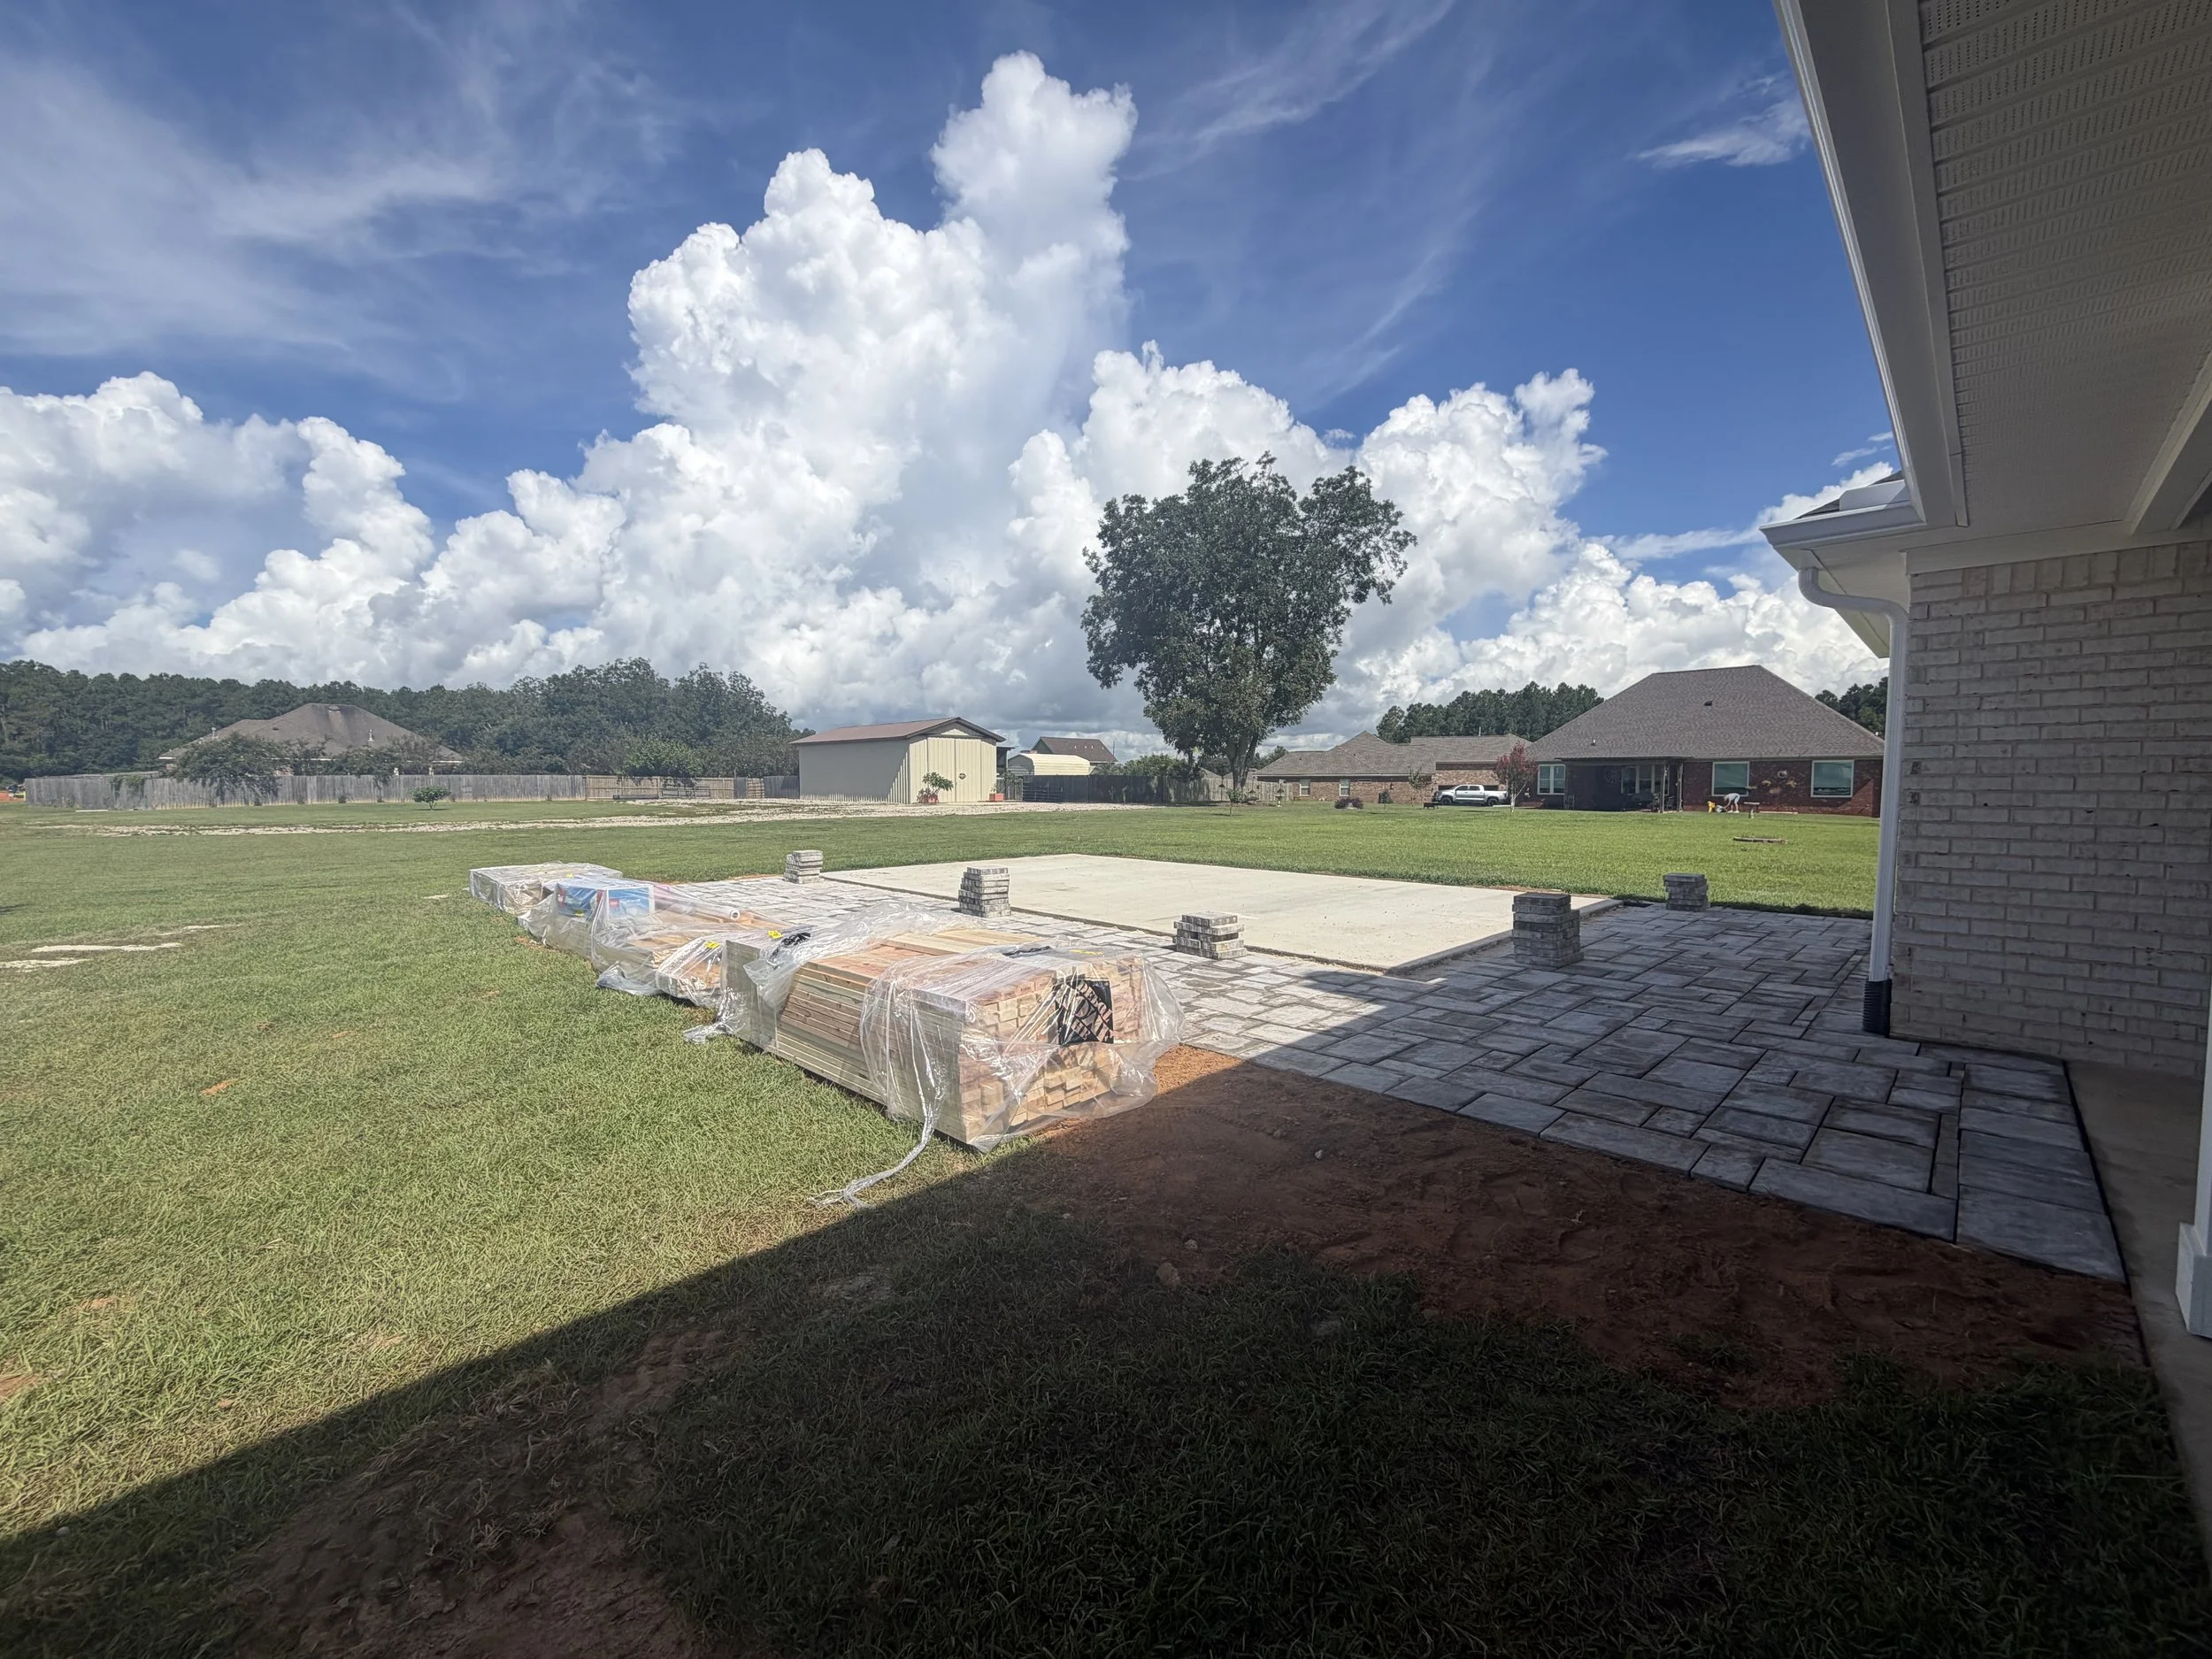
Introduction of hard surface introduces potential water runoff concerns. All of this ground is relatively level but I didn’t want my maker-space shenanigans to create a problem for new neighbors nor do I want to be fighting a flood-prone situation during the next hurricane. I did hire someone for the paver process due to the mini-excavator and haul-away needed to do it right. The guy we hired was bad at water run off engineering and didn’t follow directions very well, even with the aide of a translator. He was a really nice guy that really seemed like this was his first job despite having 15 years of experience. Baffling..
As as result, I’m pretty good at cutting and laying pavers, now. I also got a pretty good workout in the August sun. I still don’t own a mini-ex and while I could rent one, I still have no idea where I’d haul several yards of topsoil and sod. At least he handled that portion of job… ¯\_(ツ)_/¯
Working with a Builder
Could I frame and build this myself? I could.. probably. maybe?
I have done a variety of construction tasks in the distant past. At framing and roofing, I’d be an amateur emulating Youtuber projects that I’ve followed over the years.
By myself, this sounds alot like a recipe for
“it never gets done and I potentially die in the Alabama heat.”
..or.. a recipe to abuse my relationships with willing friends and overstay my welcome while accumulating a lifetime of IOU’s.
After a month of phone calls and emails..
Built offsite and Delivered
This is the Graceland, Stor-Mor, etc approach. They build what you ask for offsite, assisted by a framing machine and all sorts of convenient in-the-shop shortcuts and they deliver the building to you, on skids. Delivered on a trailer and placed on blocks with a specialized forklift called a Shed Mule.
Built onsite by a Contractor
Proverbially, I stood in the middle of a local builder-supply store and asked “Will anyone here build me a building?!” The replies were more or less variations on excuses to justify homebuilder prices for what amounts to a He-Shed.
Tuff Shed Garage
Home Depot partners with Tuff Shed and in addition to sheds they can build detached garages.
Customizations, though - vexed them. I found myself being pinballed between various sales flunkies that “will check and get back to me.” They are also a higher-cost option but some of their reference work that I drove around looking into - looked good. Very good in some cases.
On-site shed and accessory building builders were rather sparse. I considered trying to siphon some workers from nearby DR Horton subdivisions under construction. Recent experience with working with a contractor using a translation app between us had me think better of this.
Finally, I found the guy. THE guy.
Louis Szittai @ Smart Sheds in Pensacola.
A series of texts and calls pretty much went like this:
Me: I want a building.
Him: Okay, lets go.
(begin loop)
Me: I have these odd customizations though.
Him: No worries.
(end loop)
Me: When can you start?!
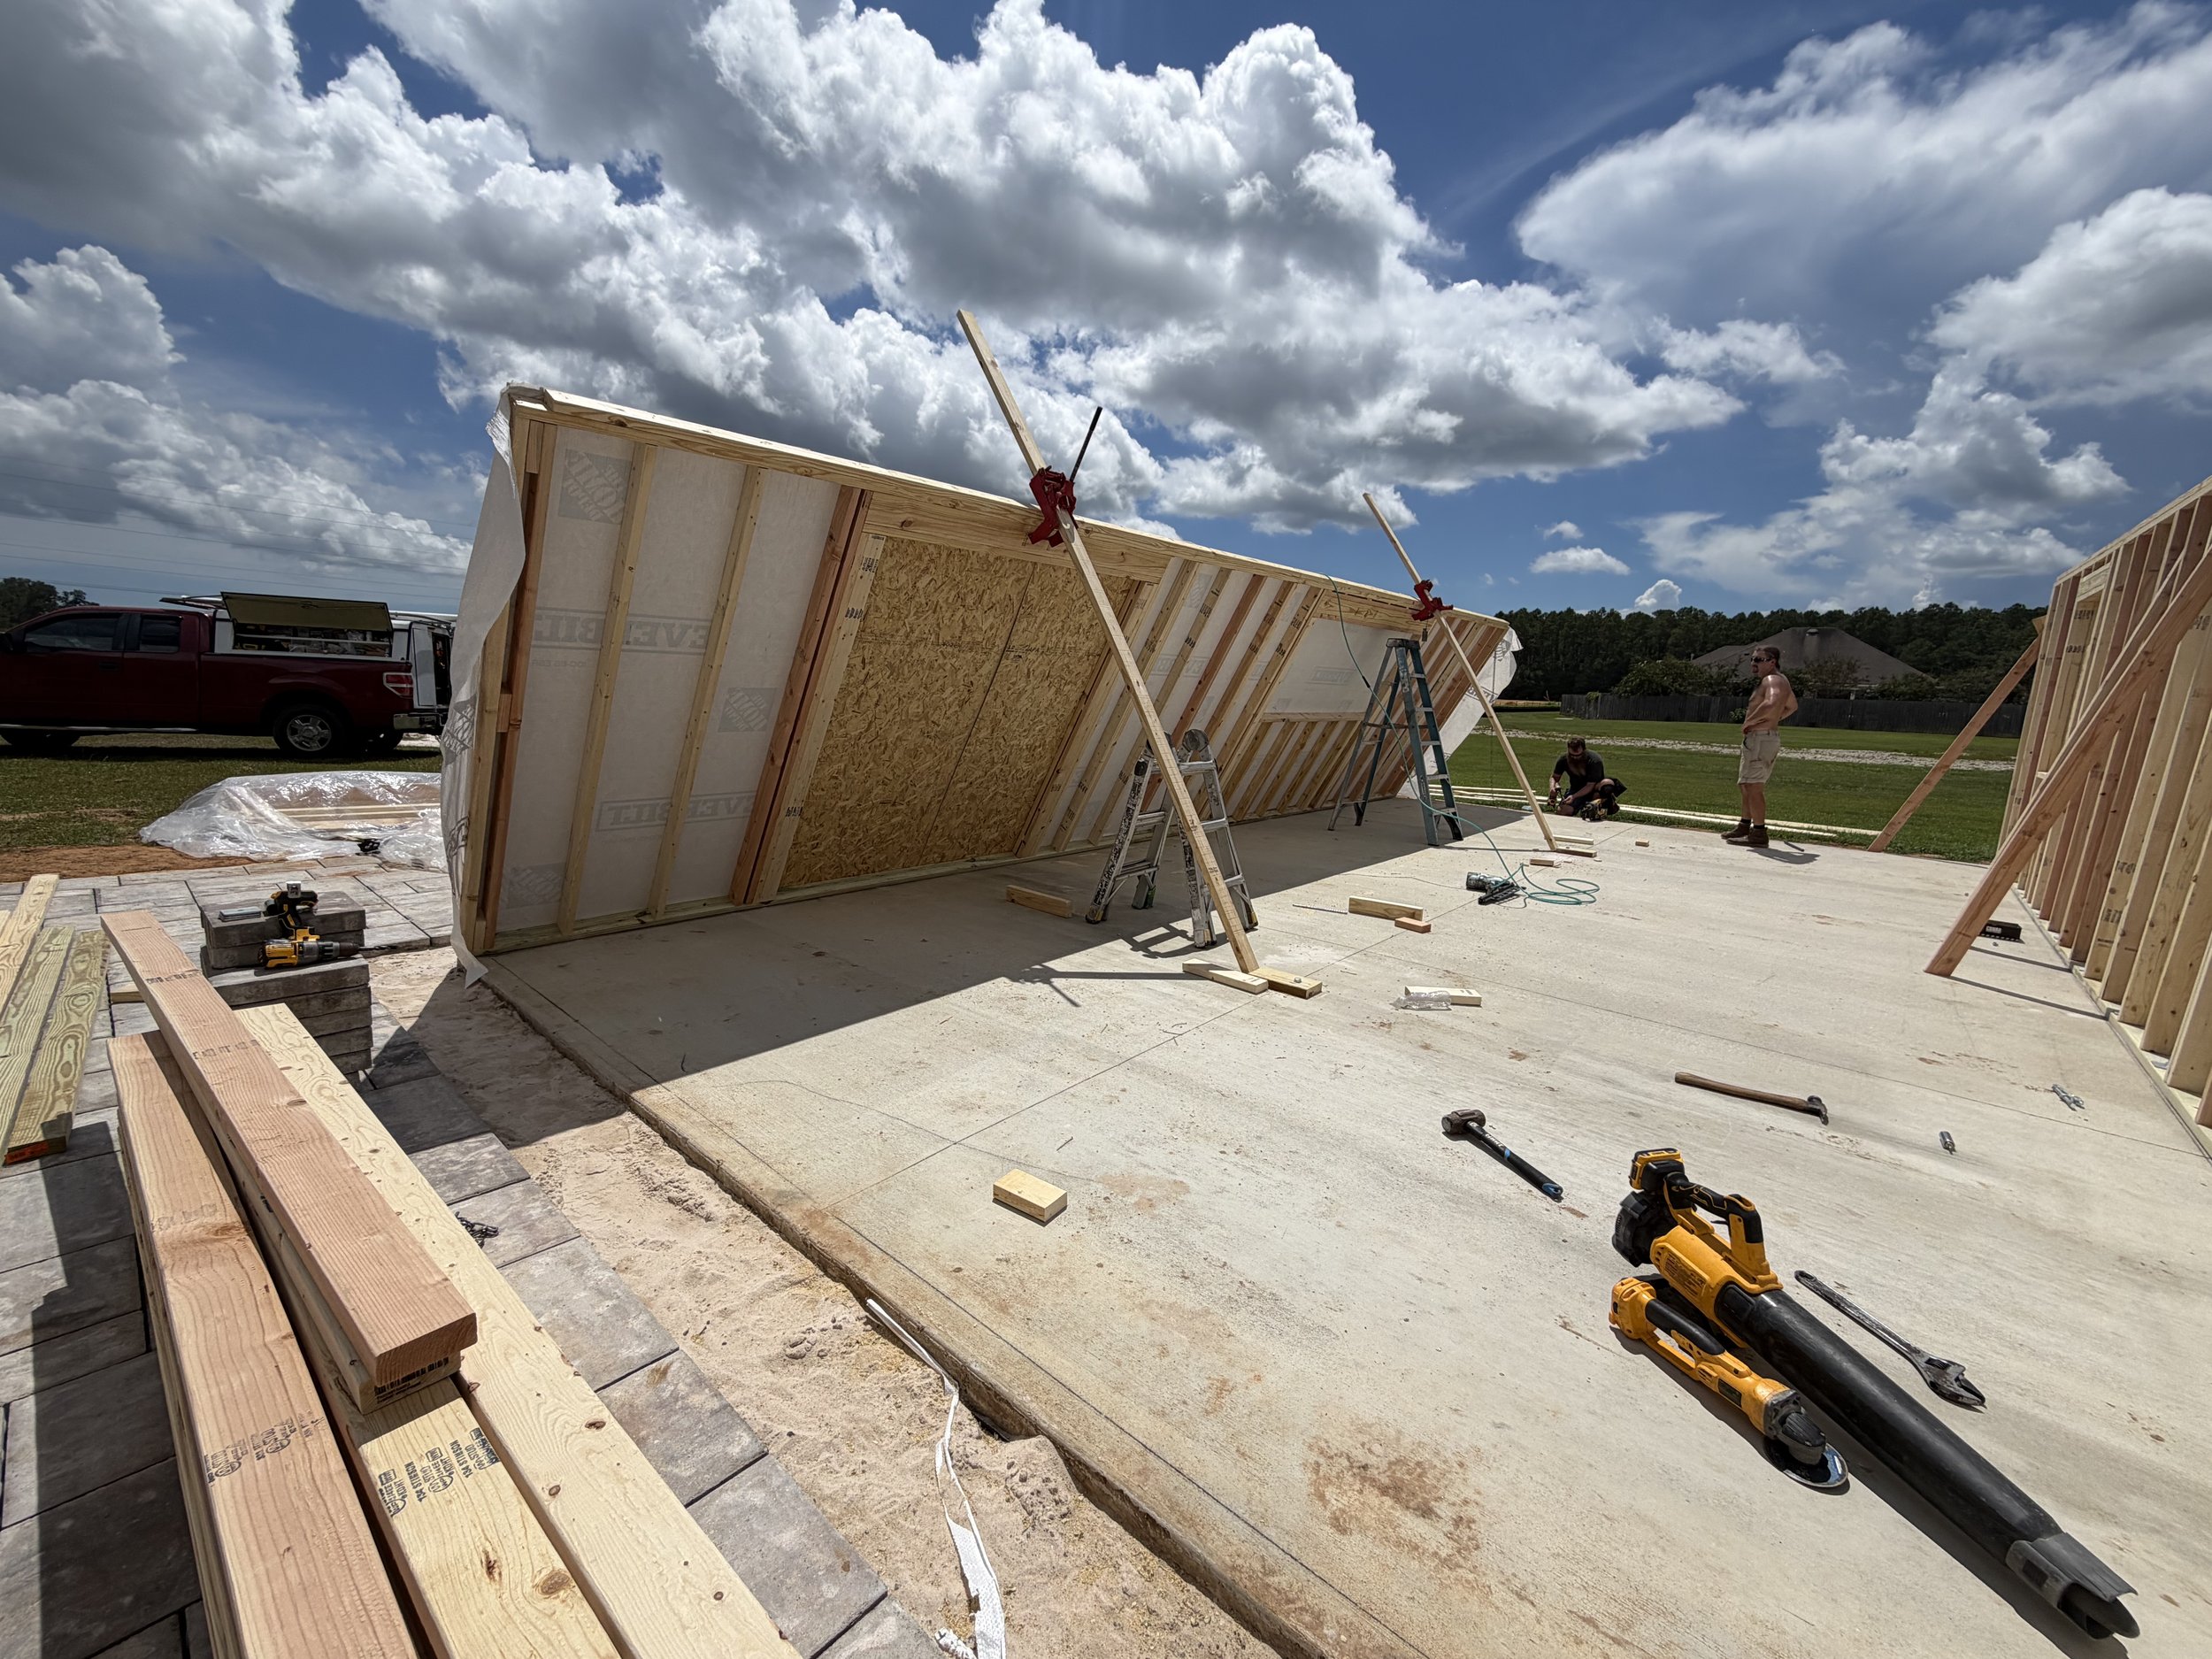
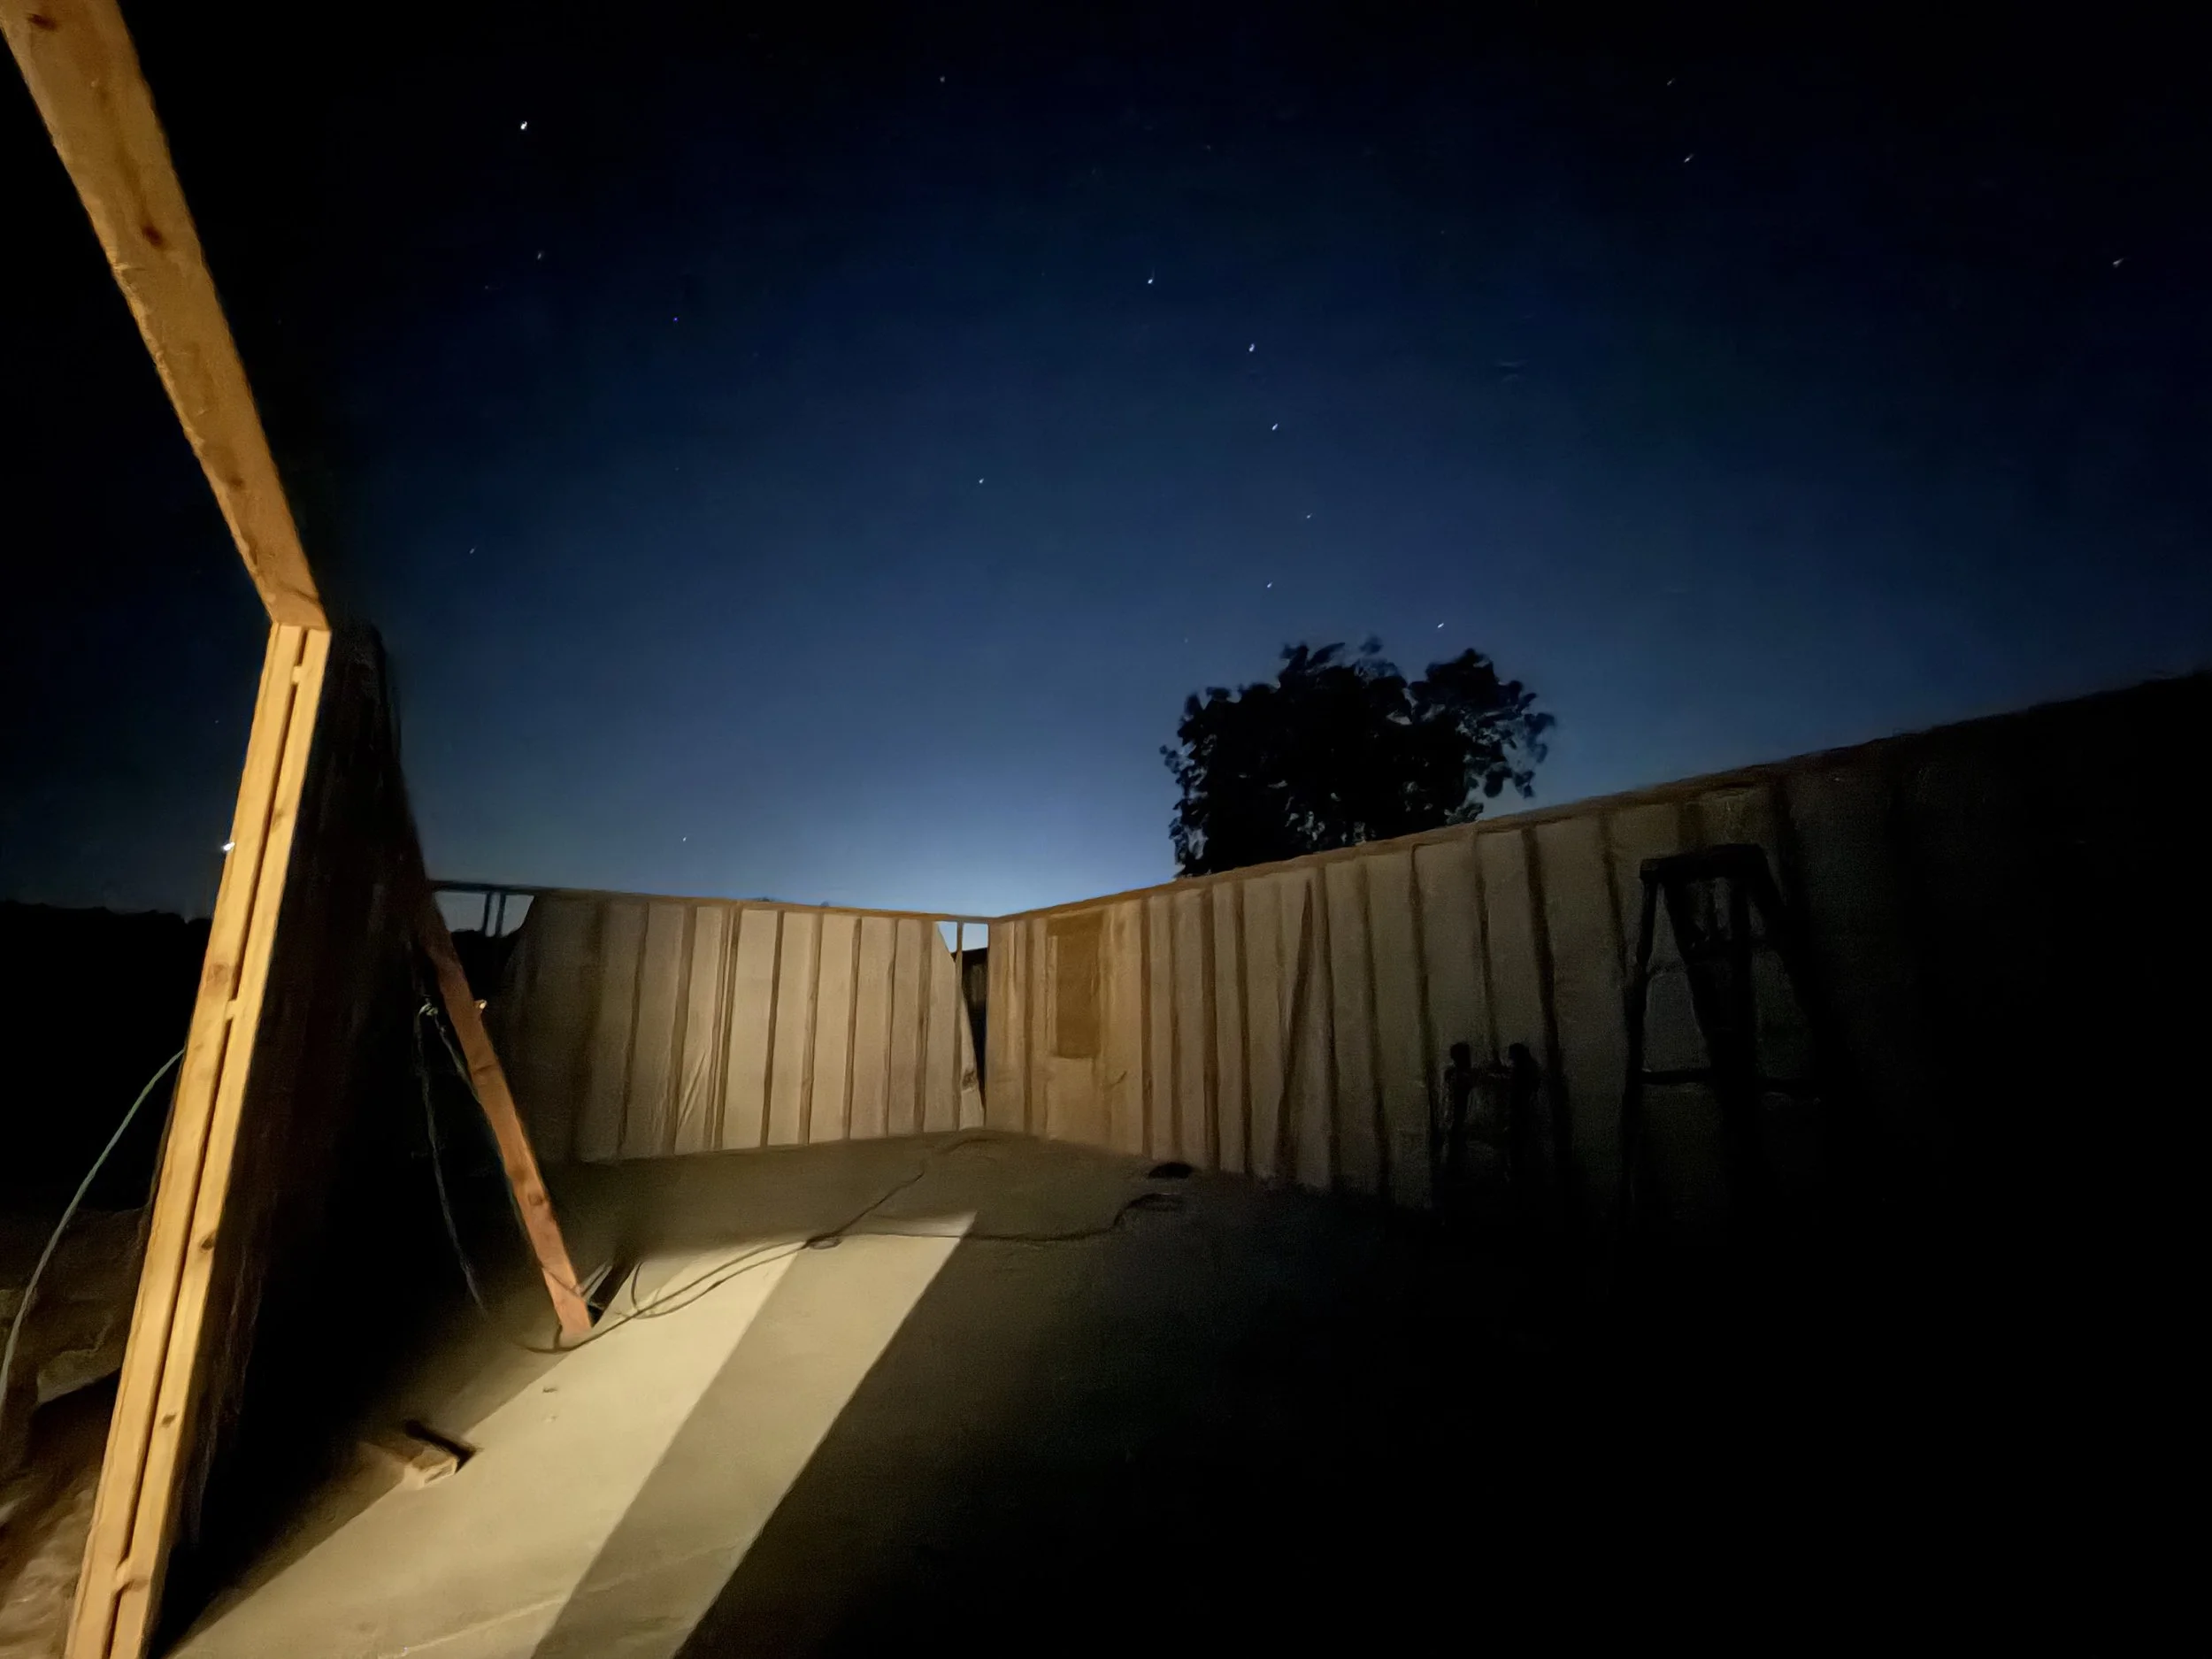
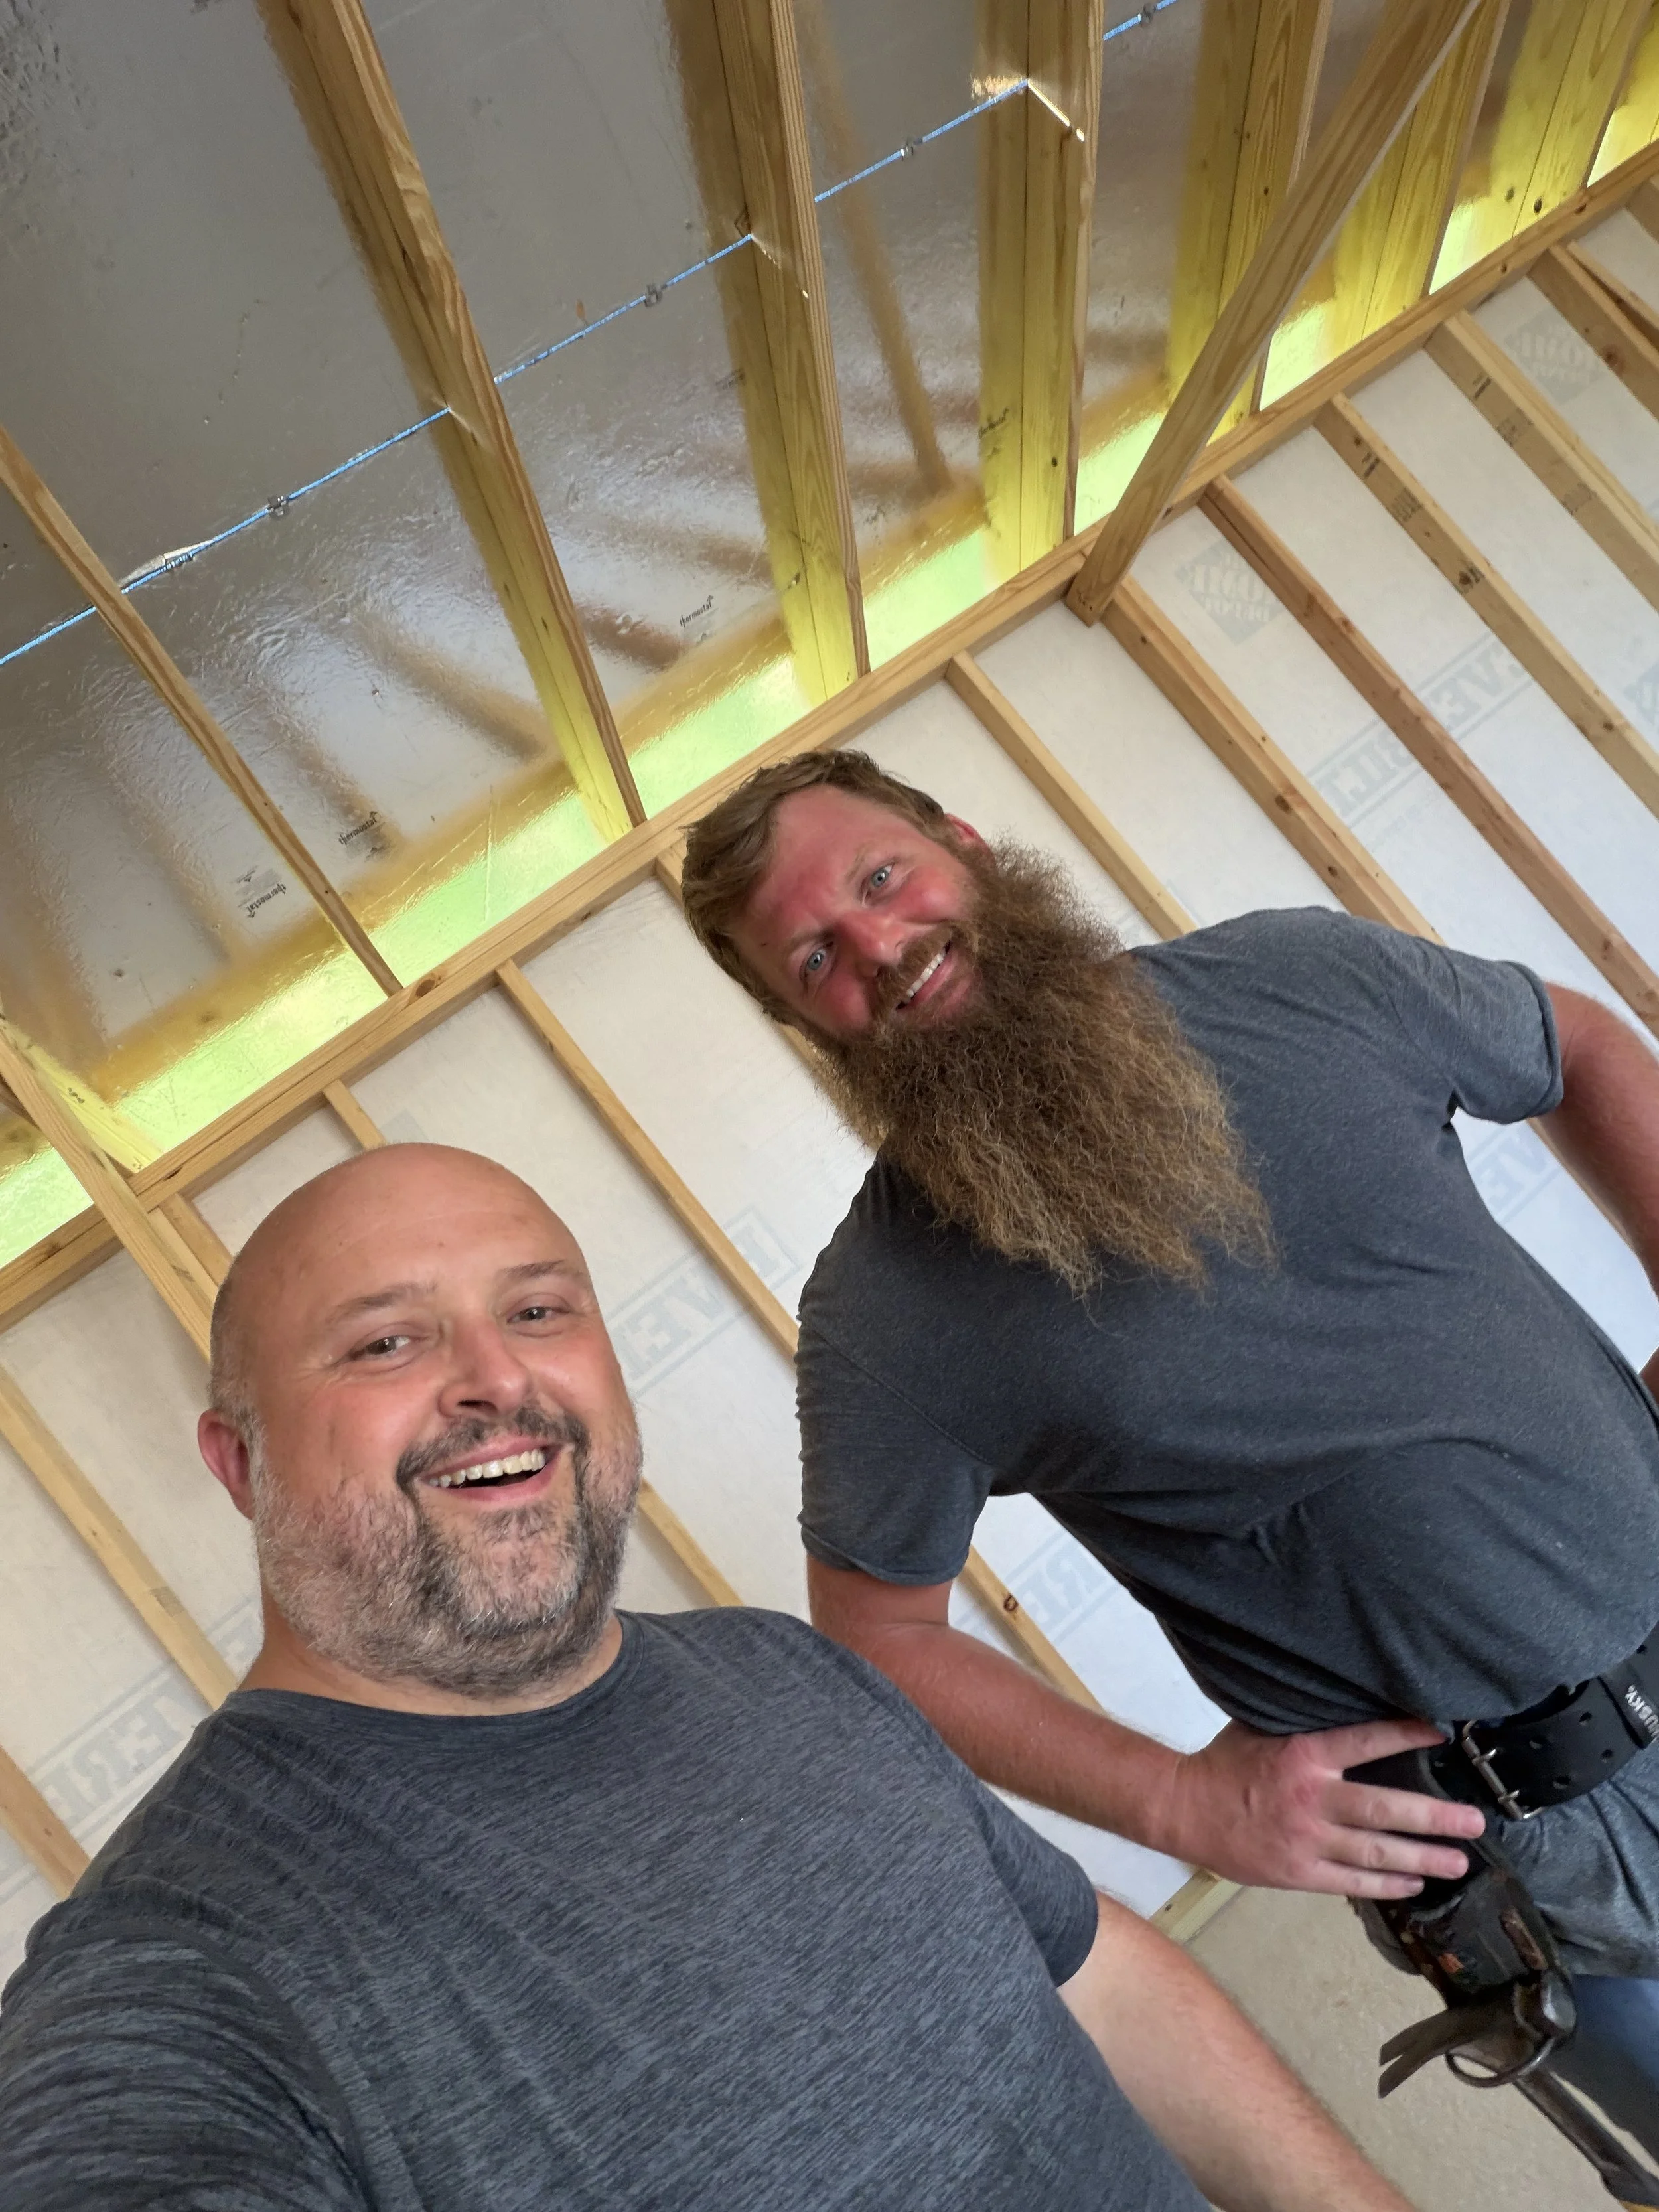
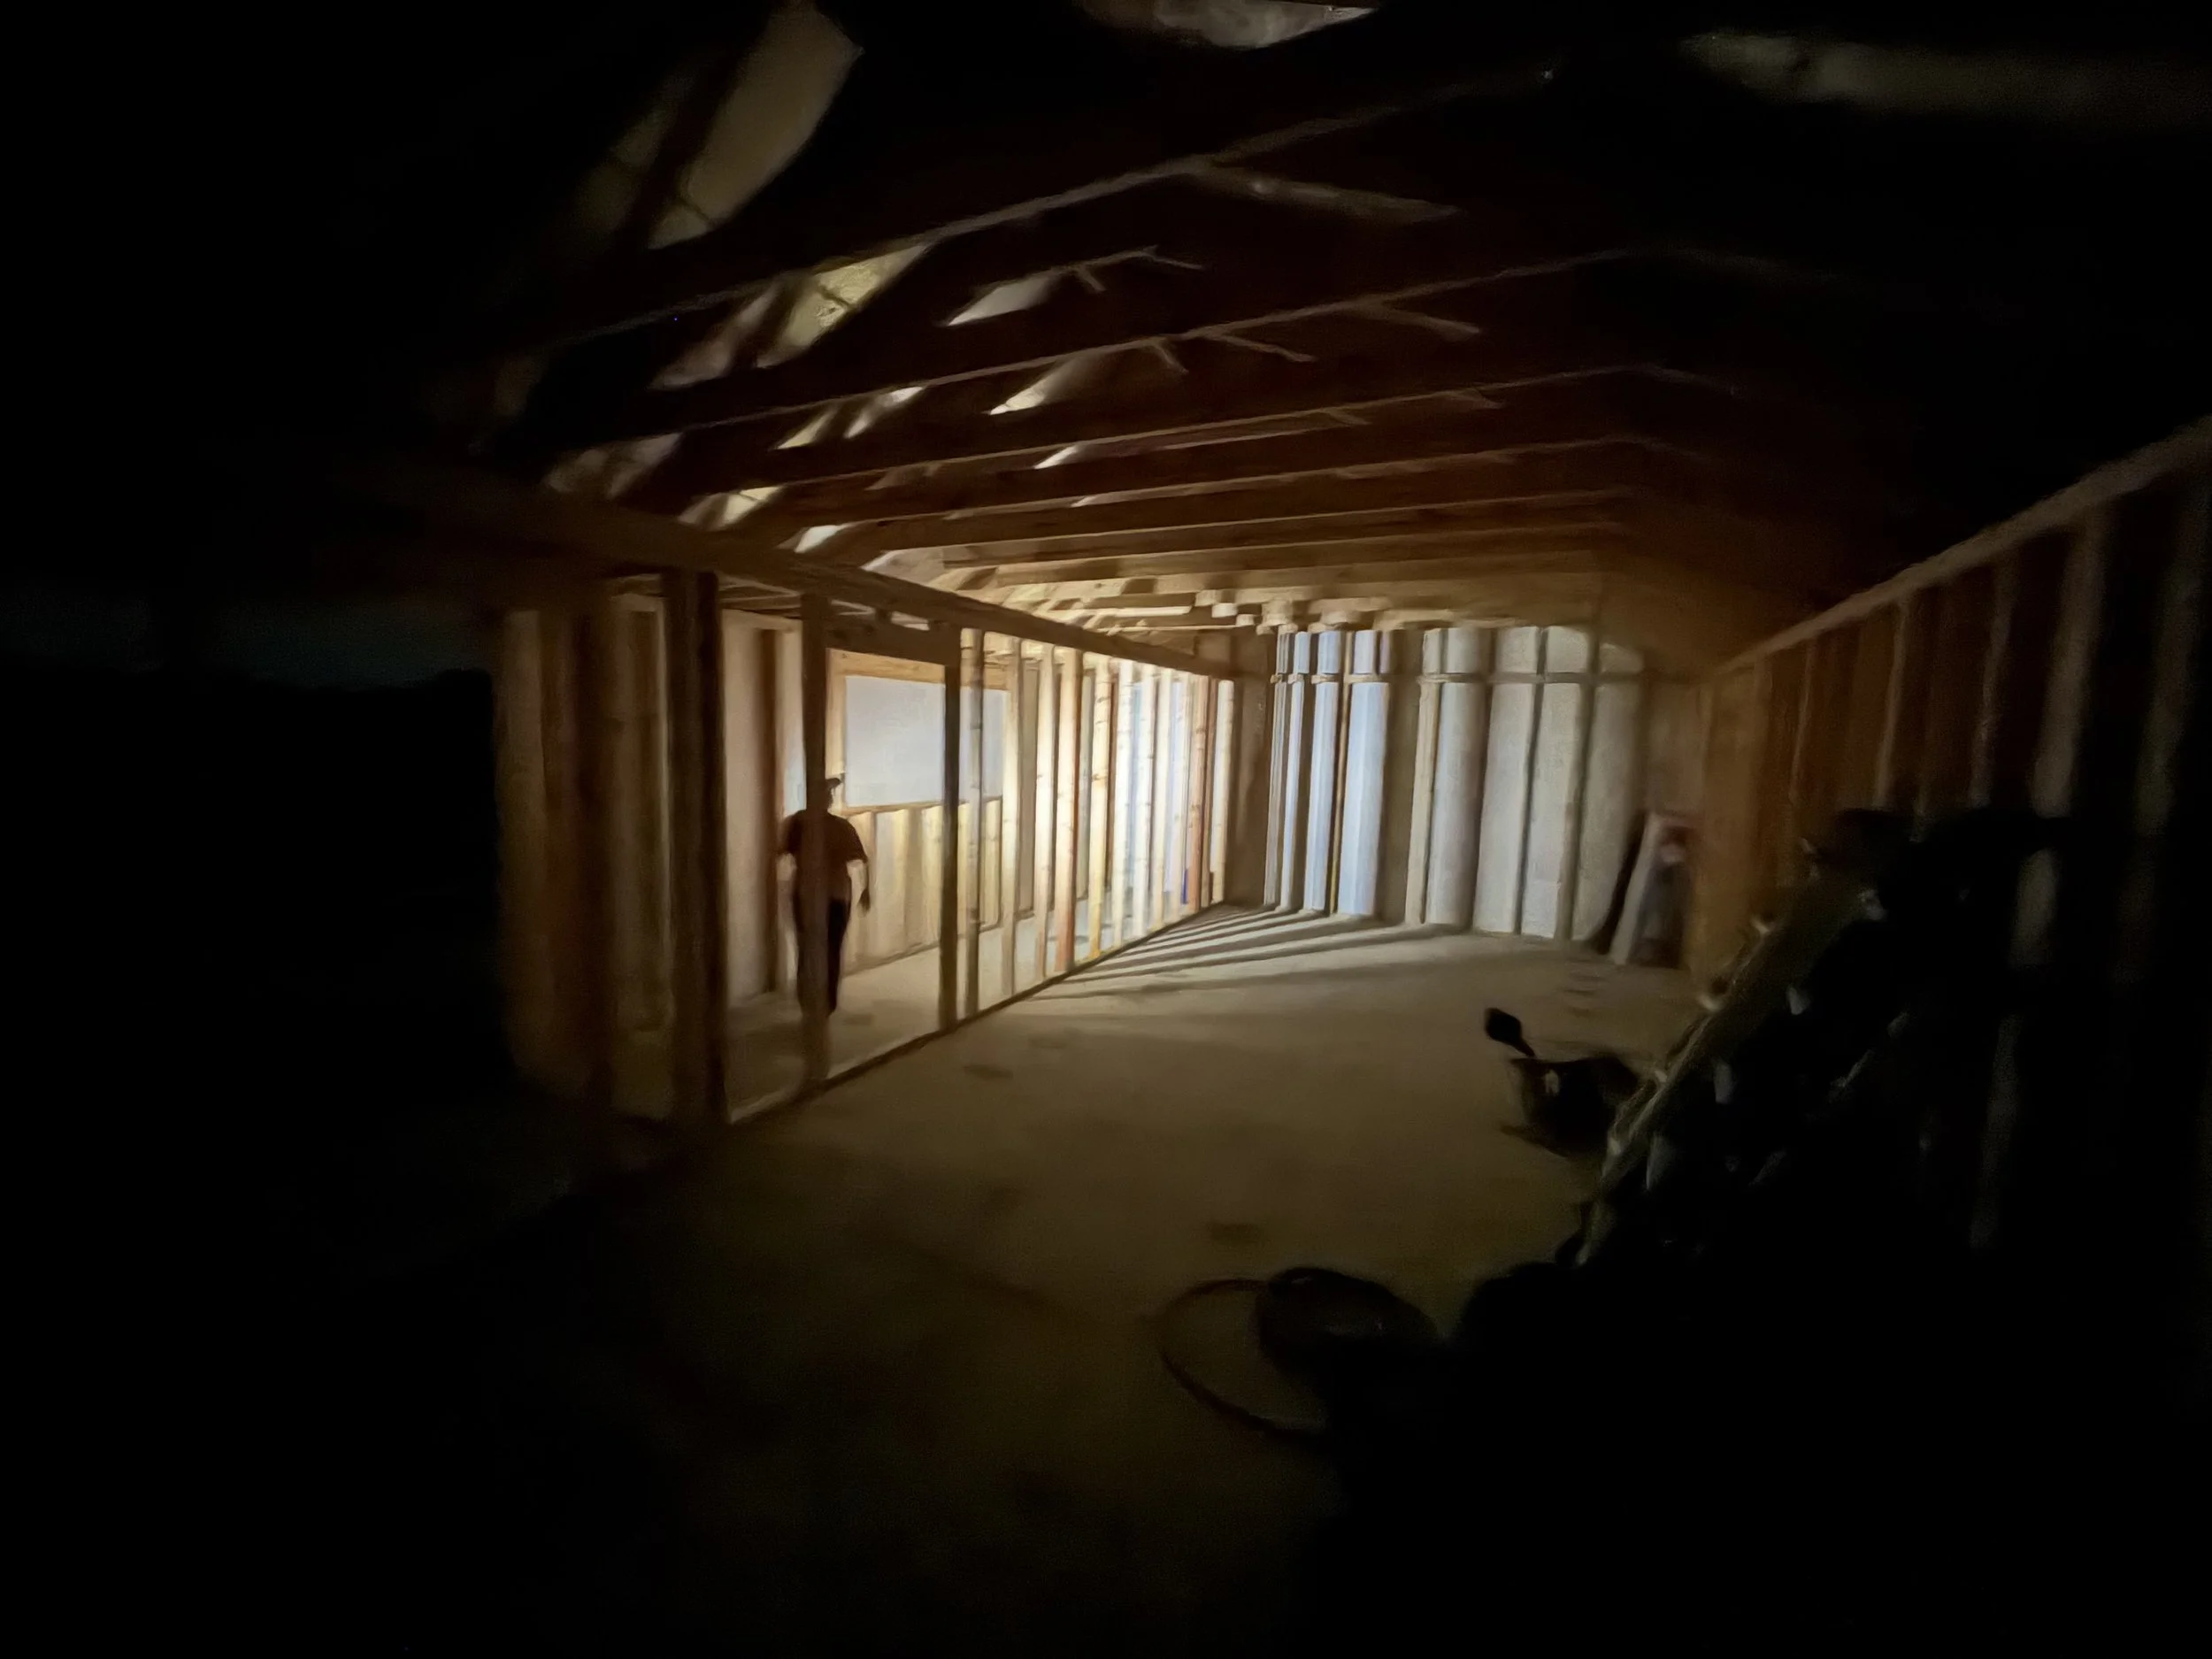
Electrical
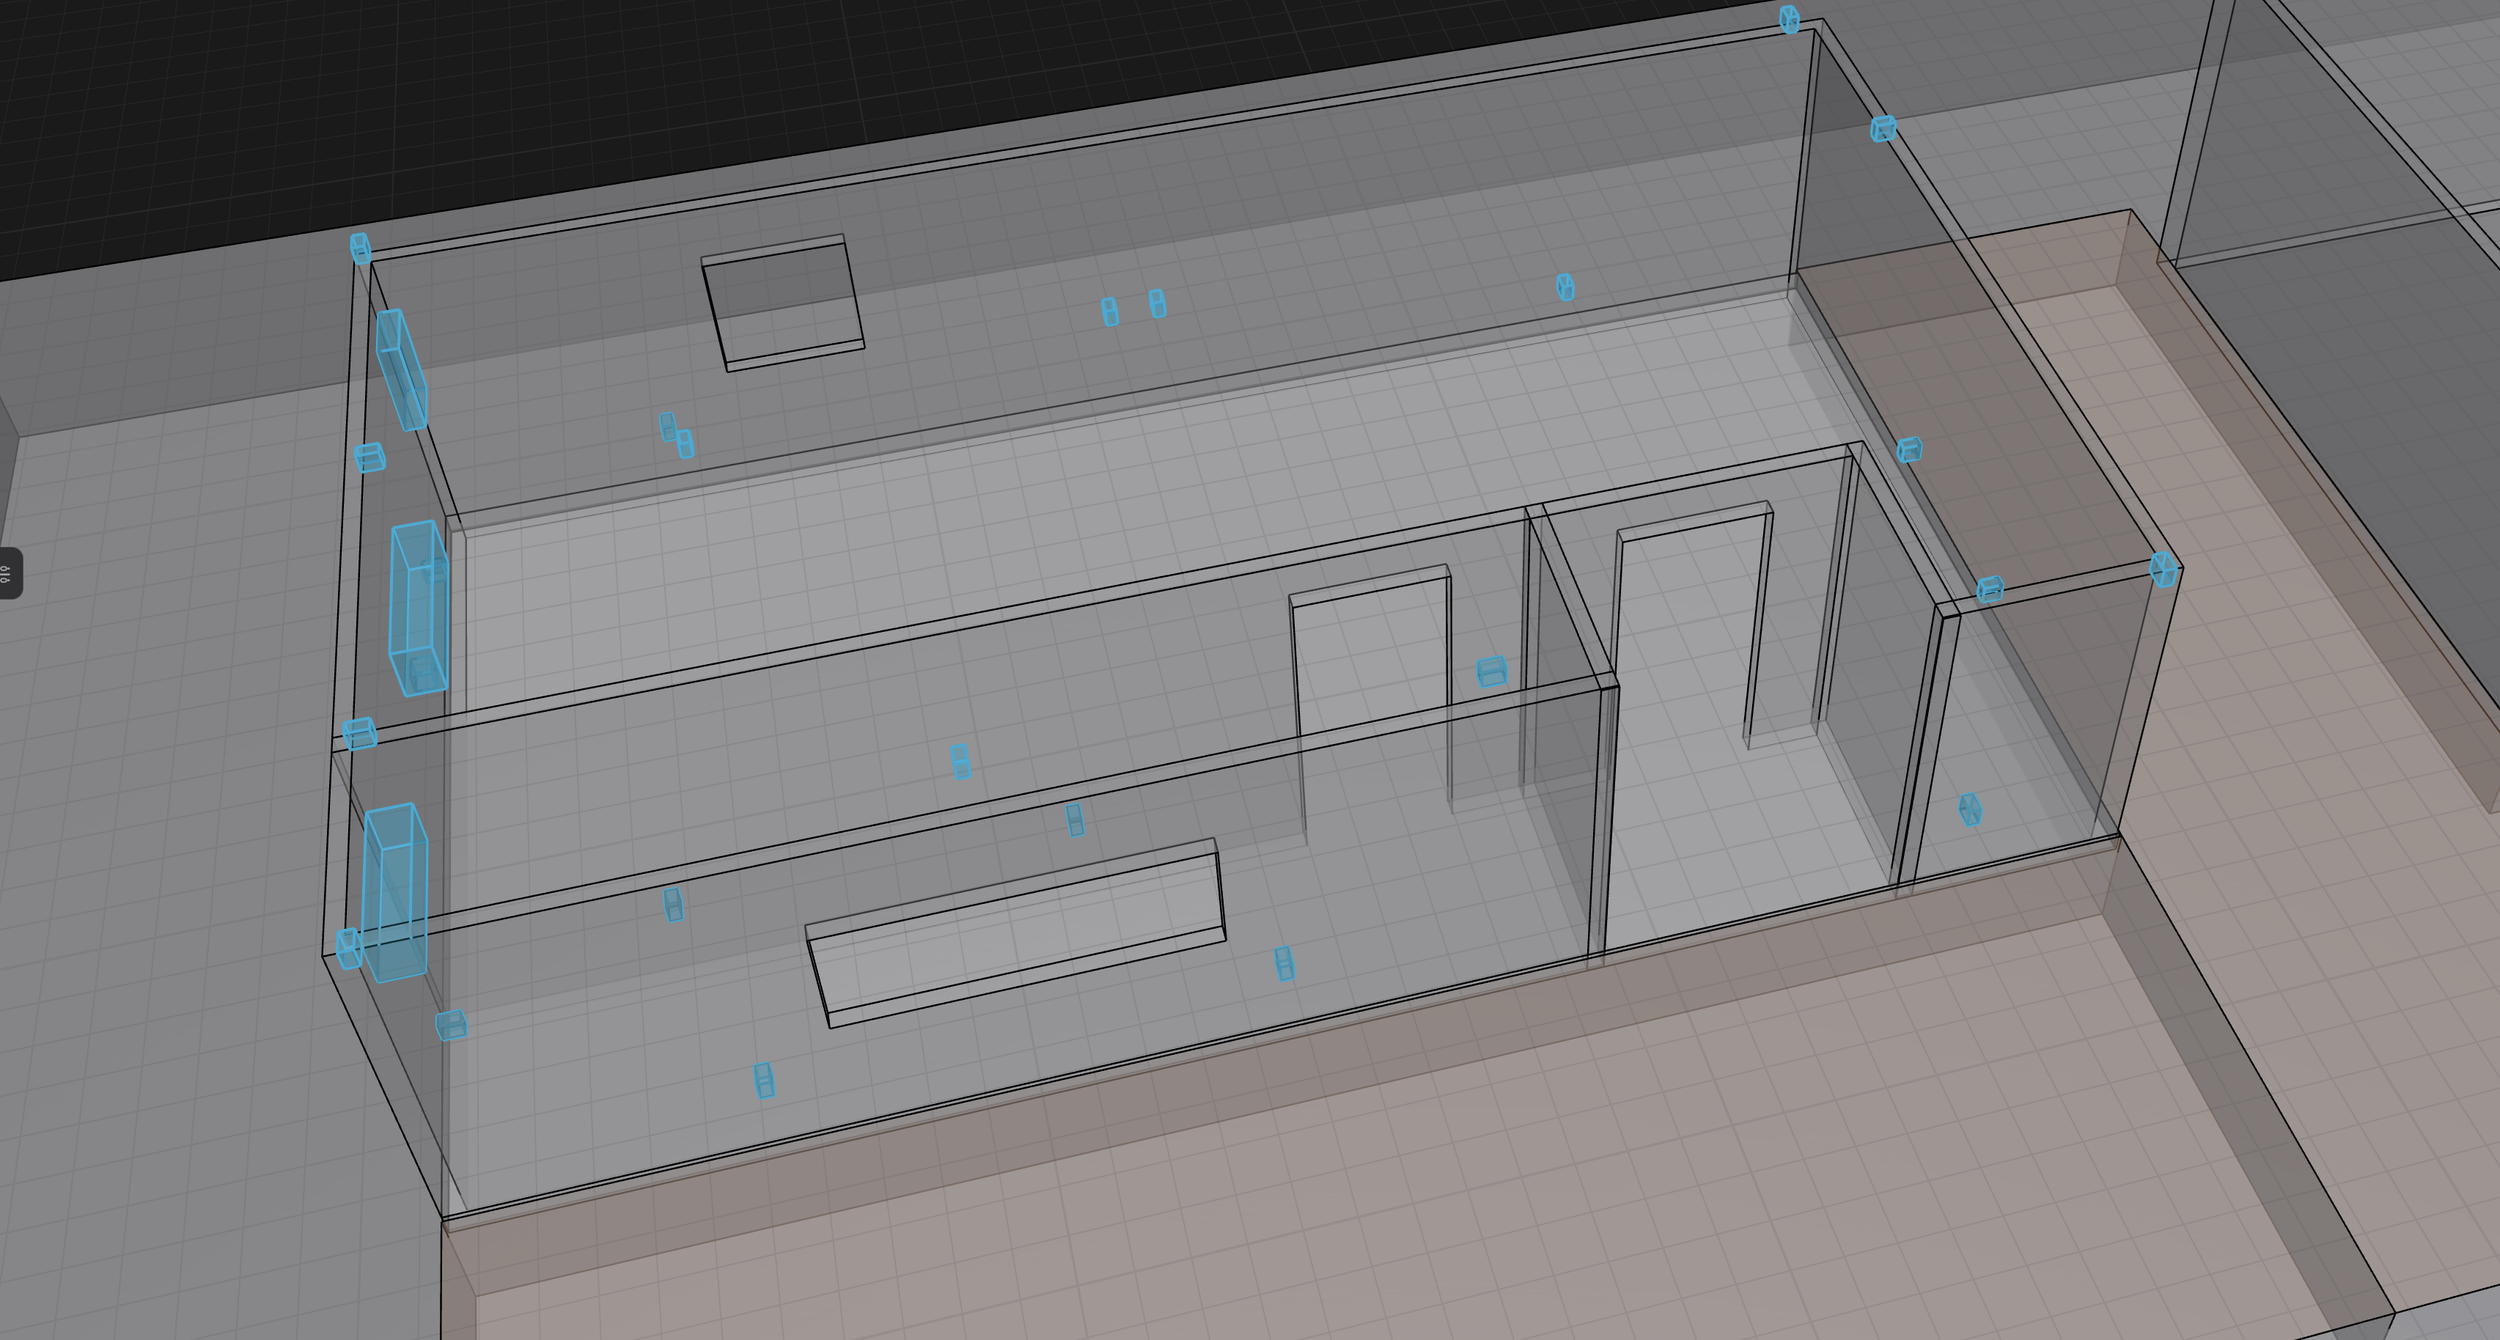
I spent a considerable amount of time on electrical design and distribution and landed on something similar to this. Three zones of standard outlets, a zone of overhead lighting, a zone of exterior lighting and power to drive external features like cafe lights, security devices, etc. A dedicated double-pole breaker feed for a dual zone mini split and another double pole breaker feed for an industrial fab device, cnc mill spindle, welder, etc.
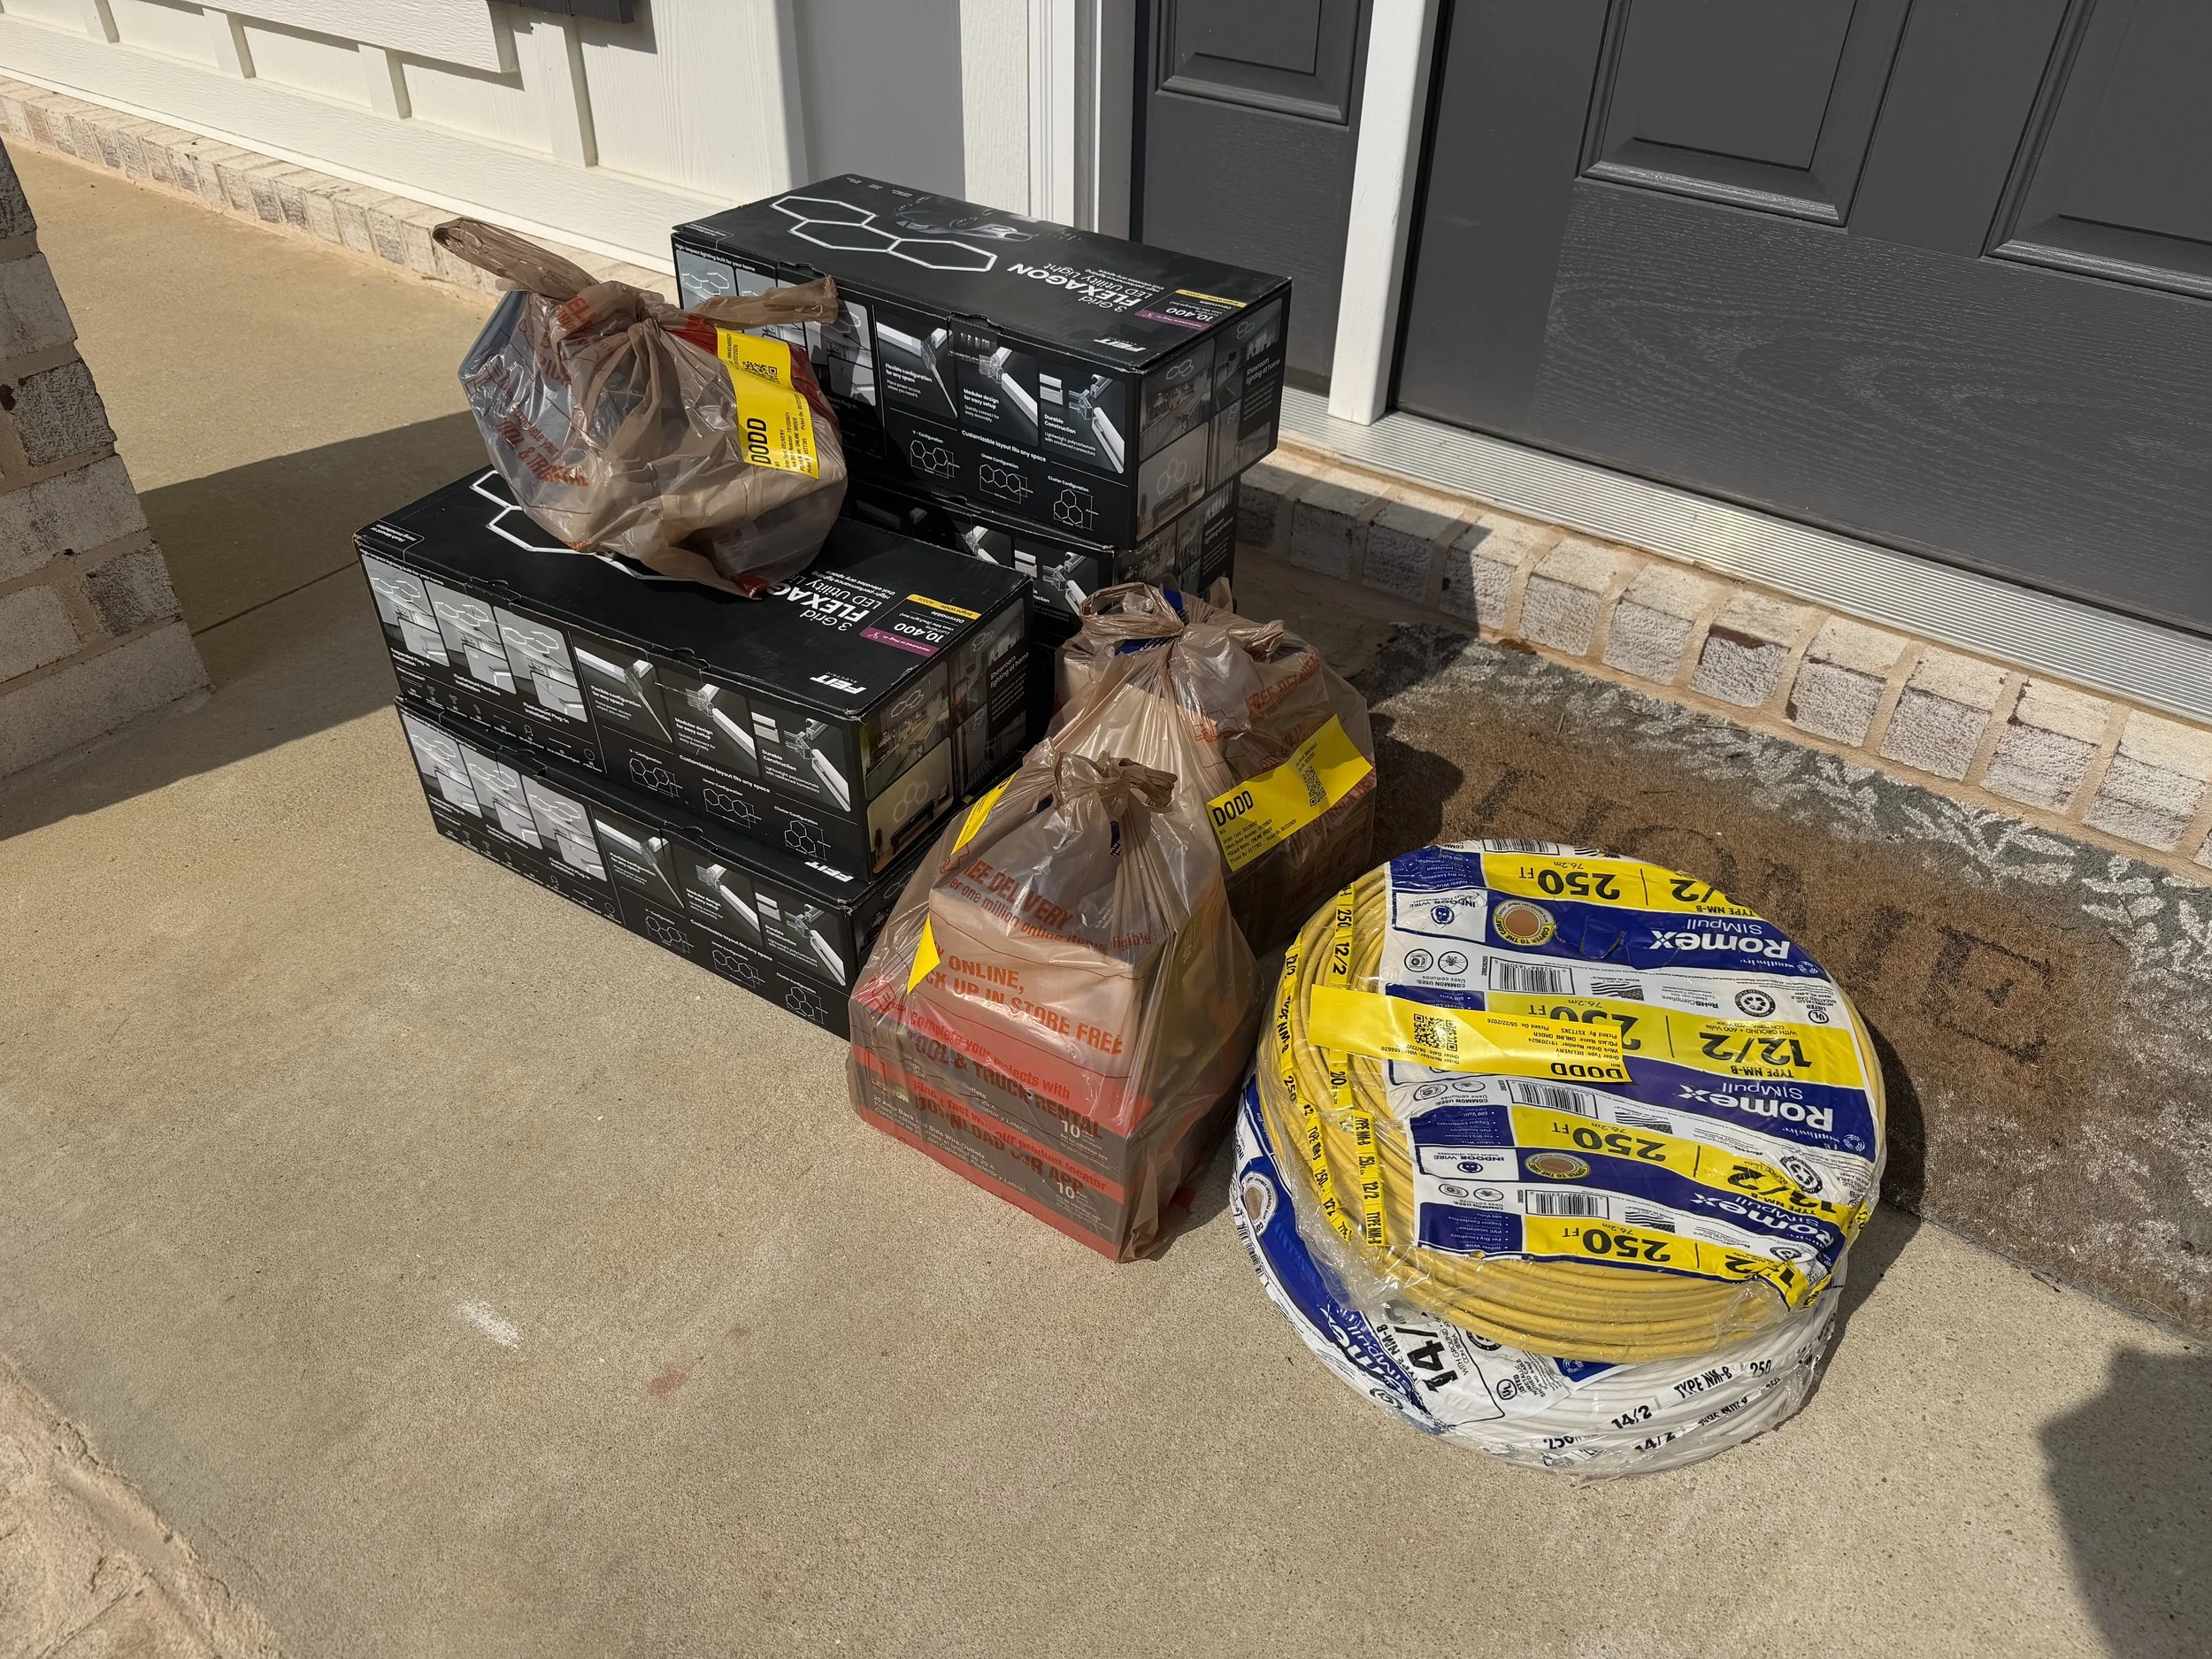
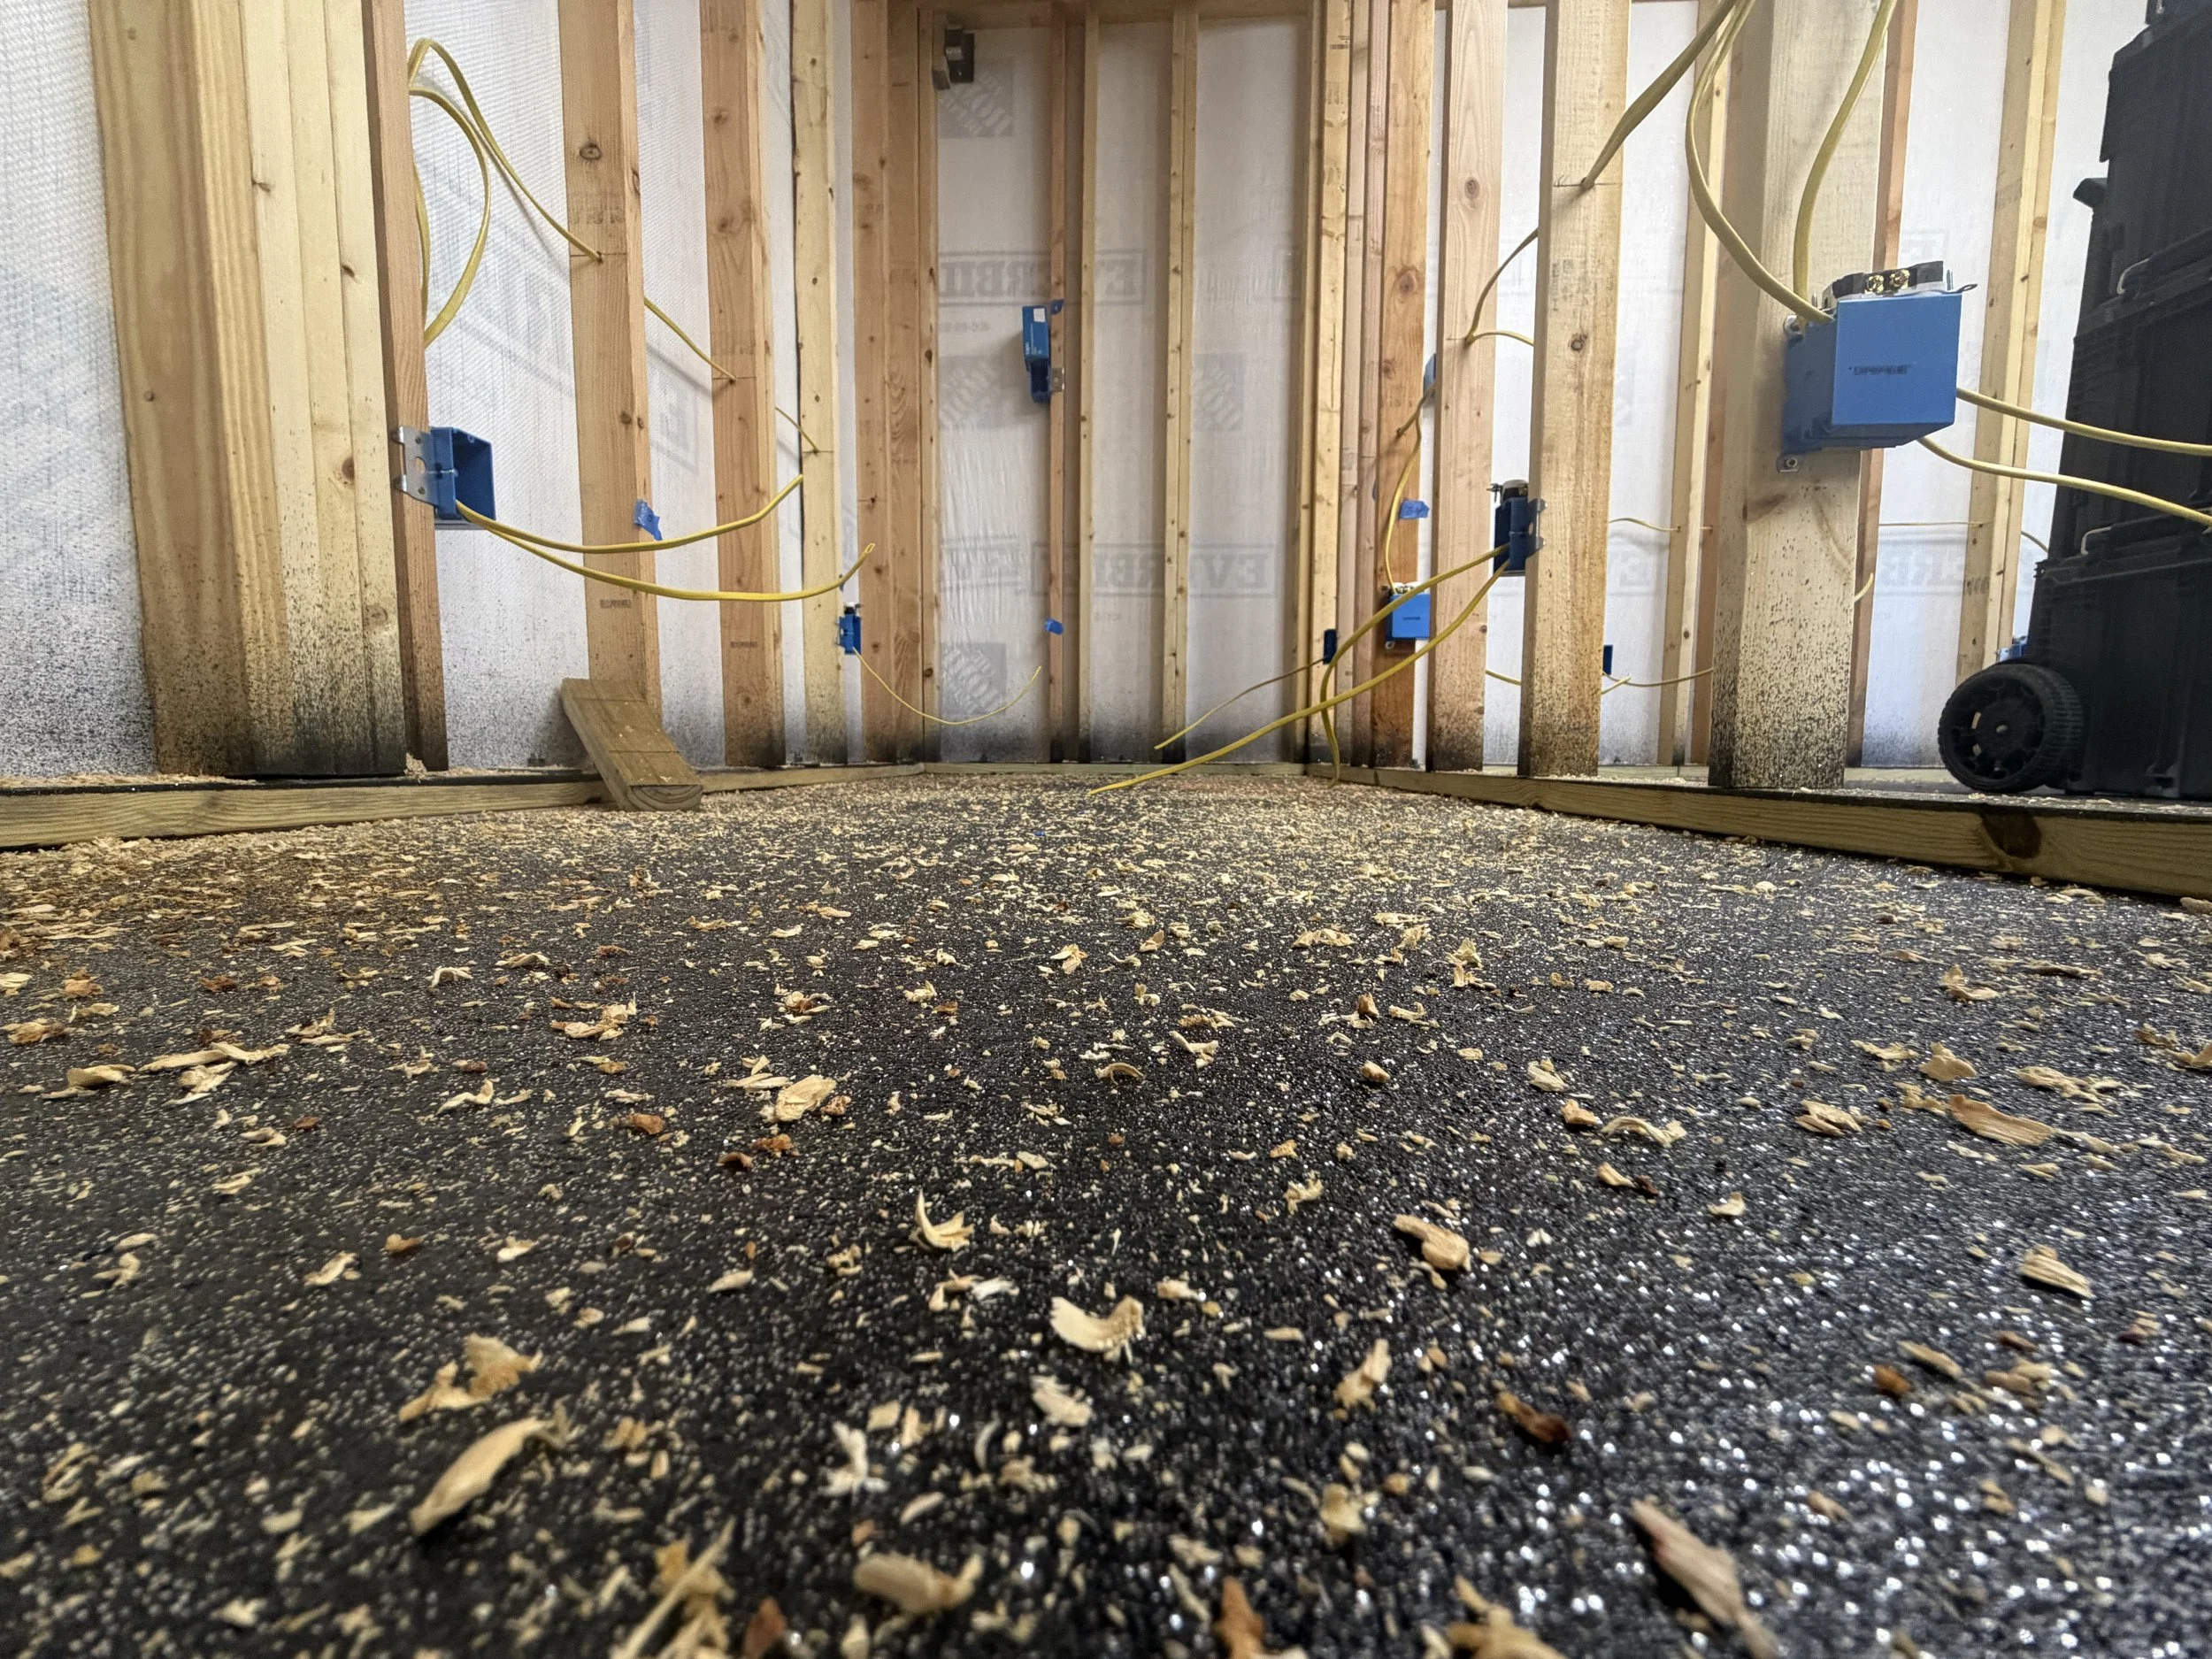
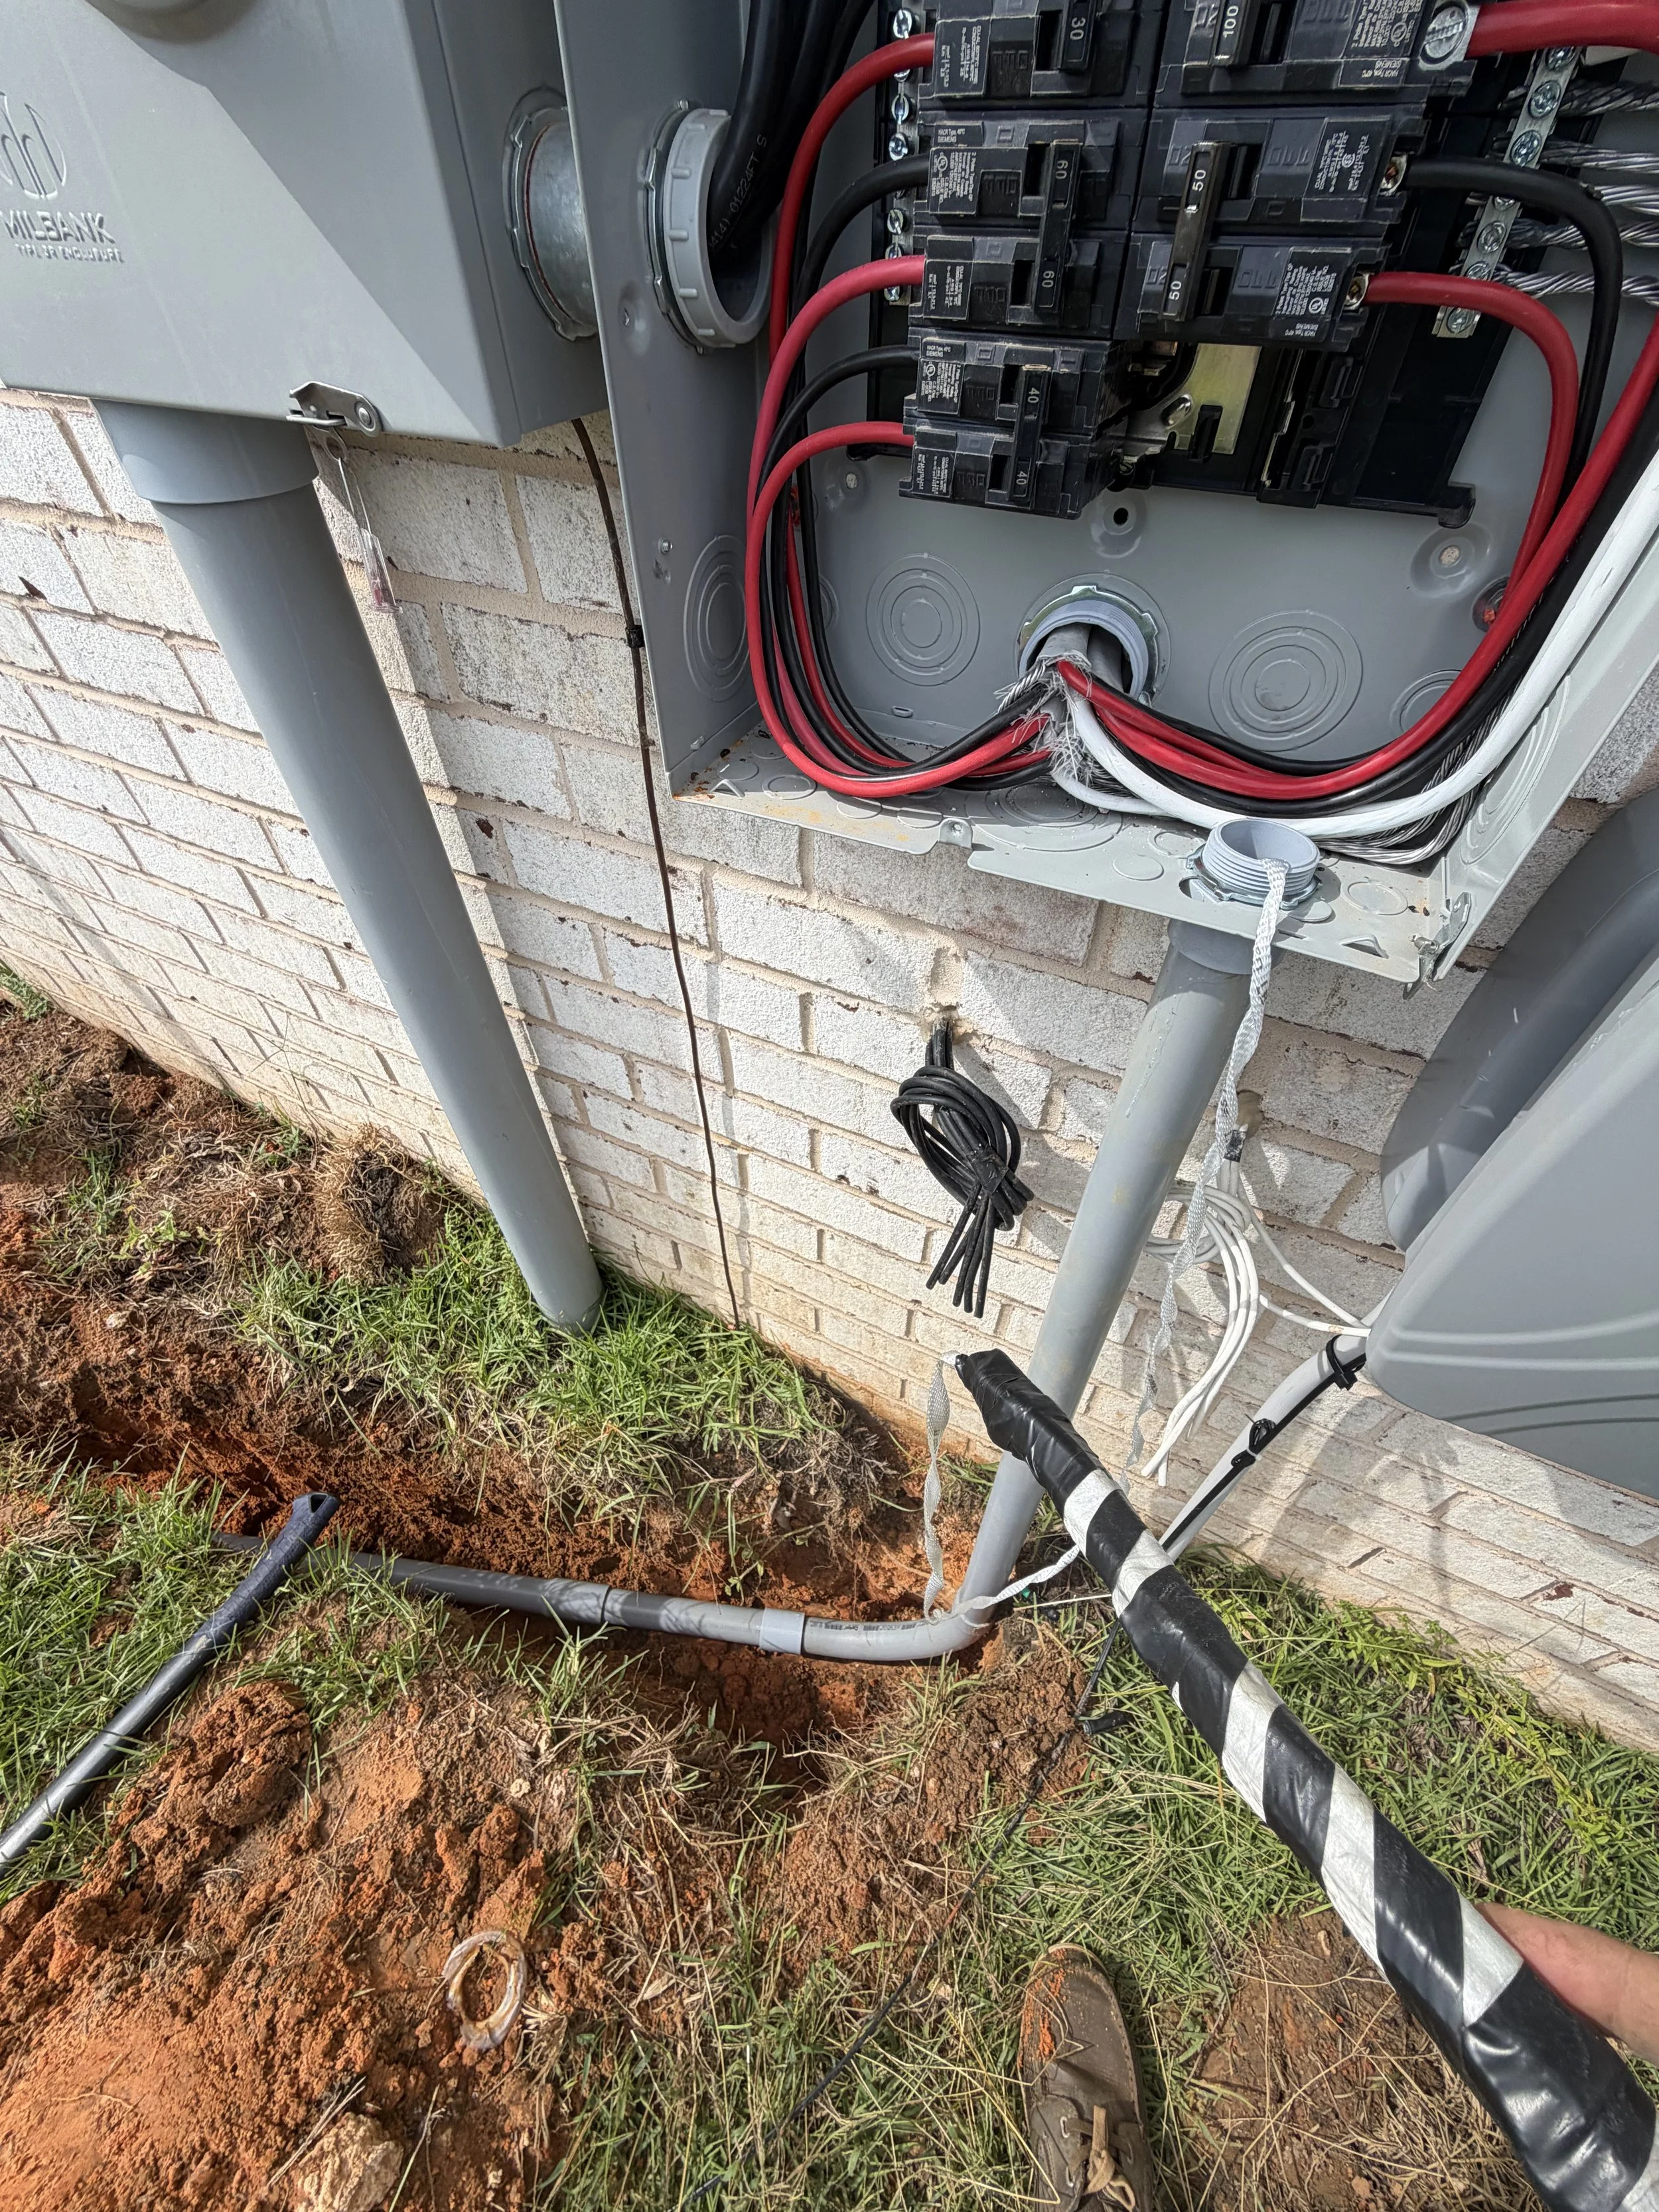
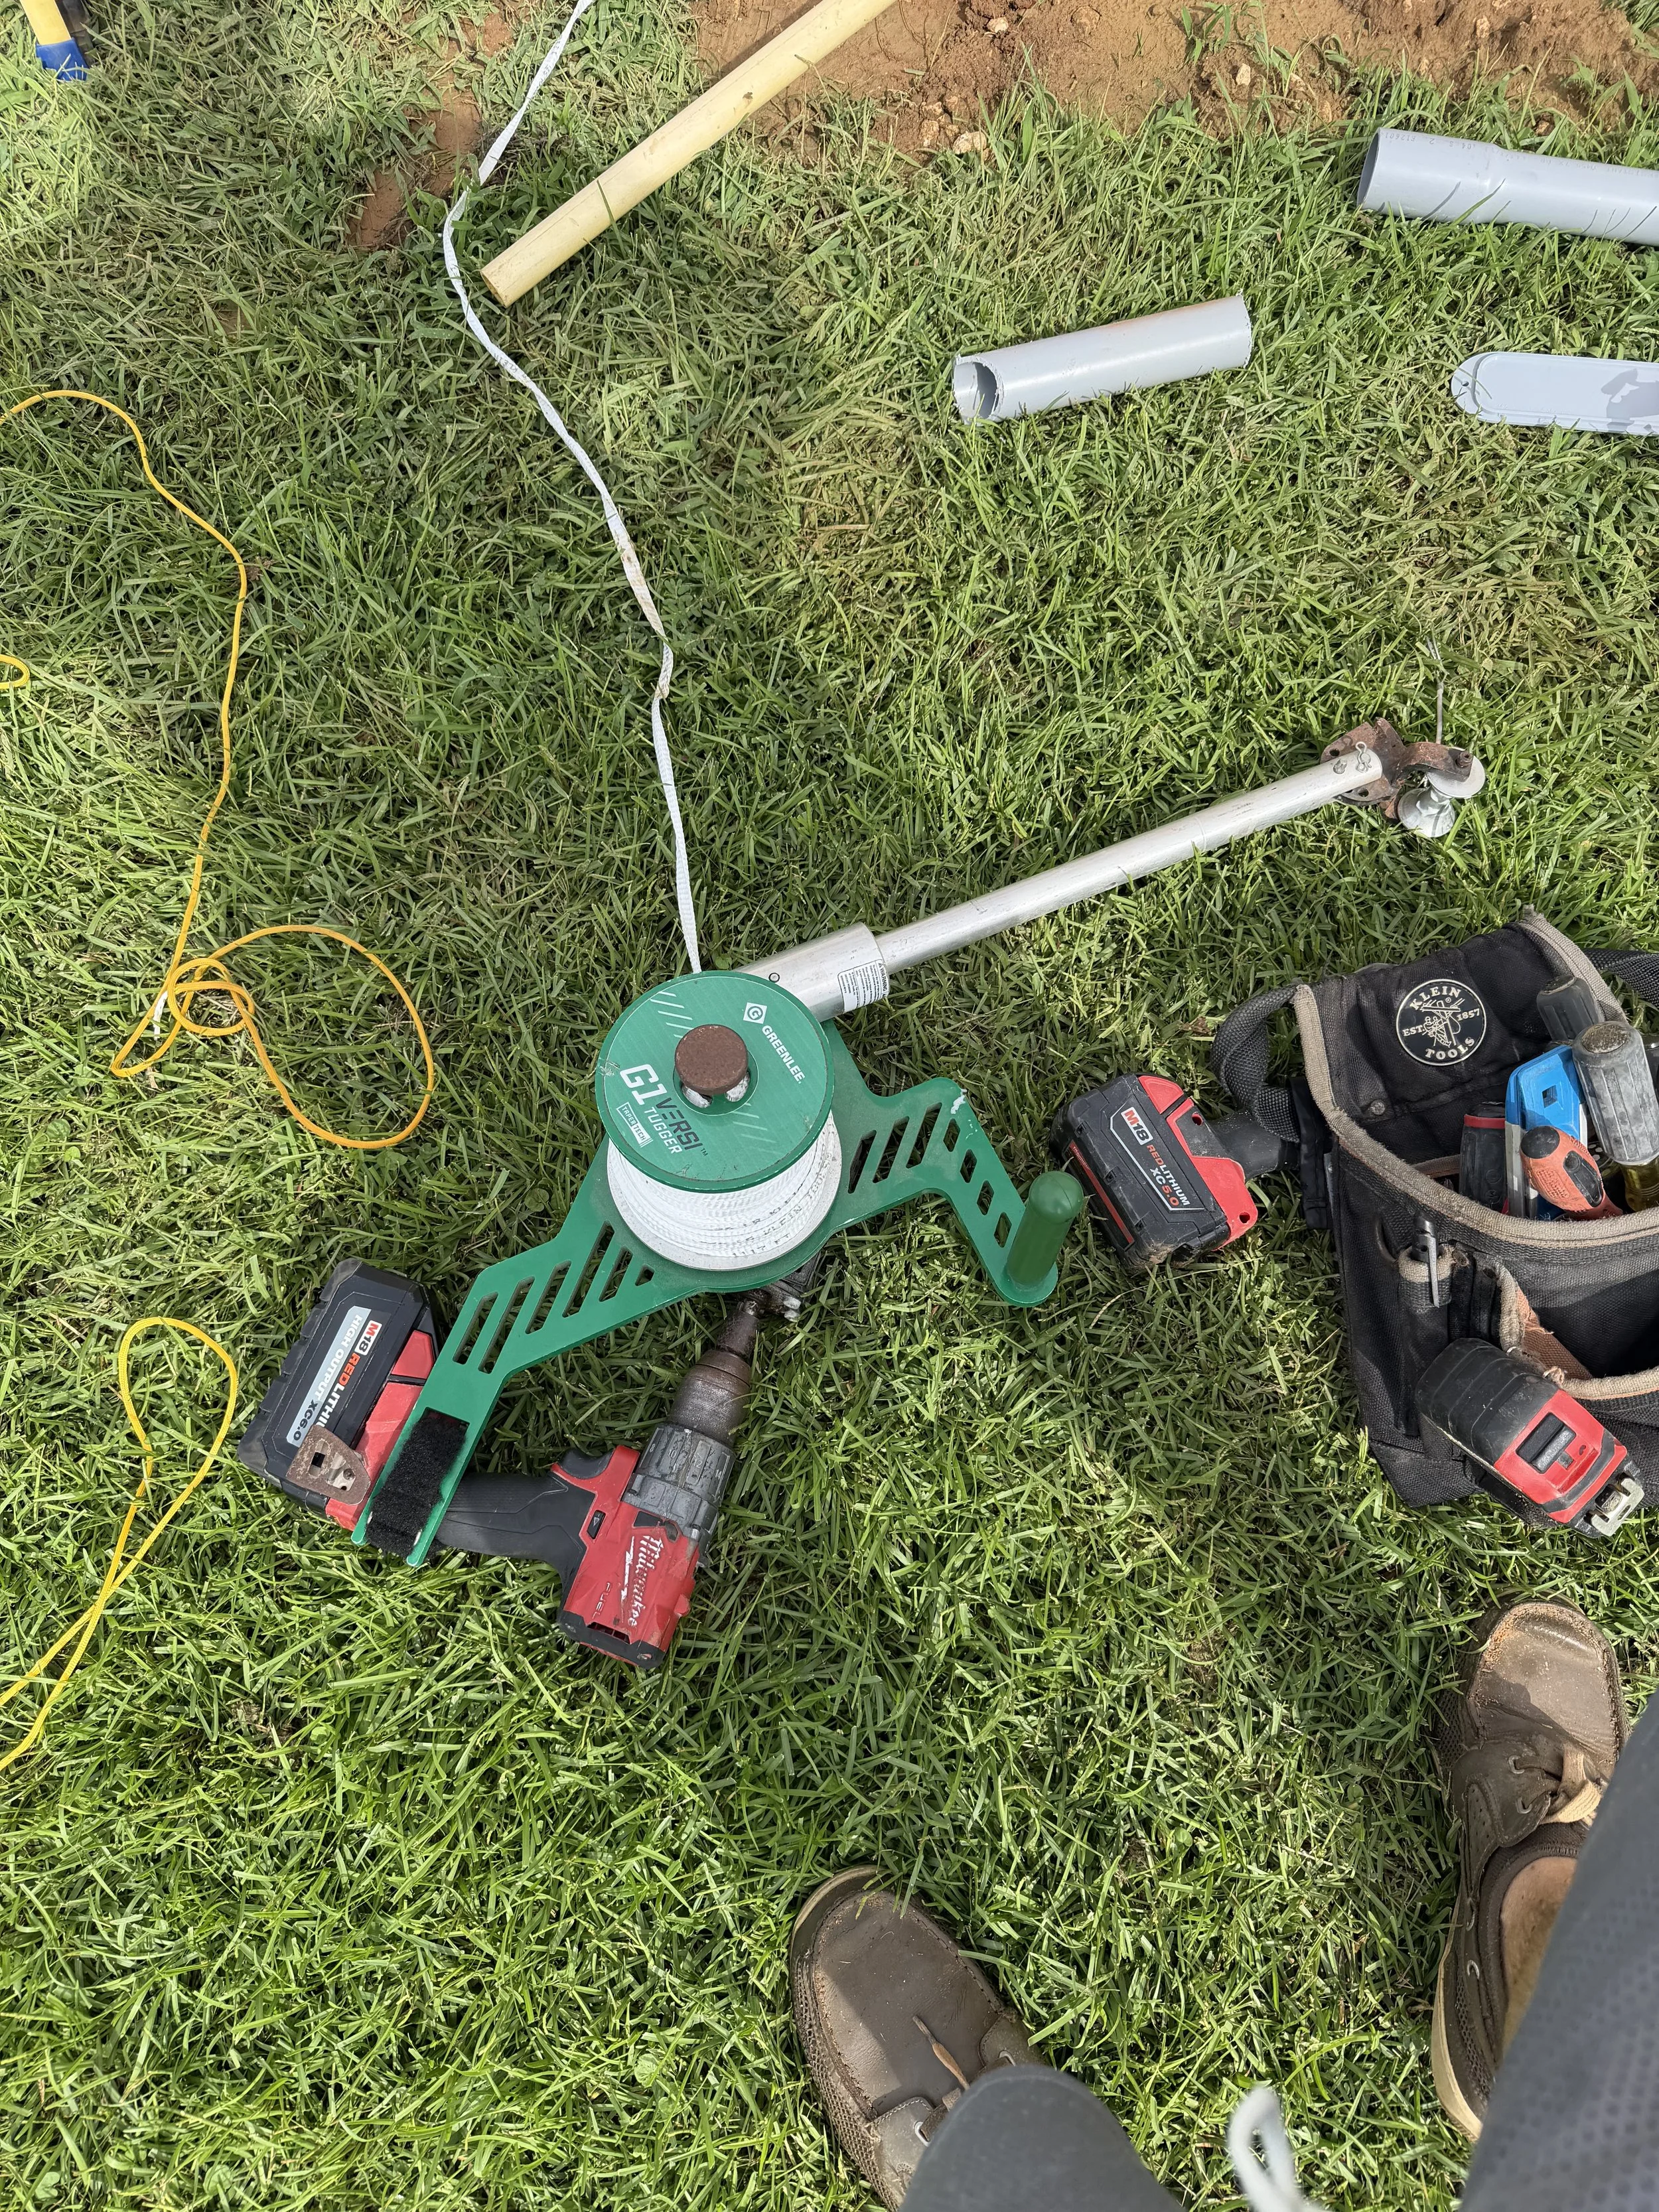
The address has 200A service. A 100A subpanel in the workshop will be fed by an 80A double pole coming from the main. The main breaker gets its load reduced by the introduction of a natural gas tankless water heater and stove. It is fed by a 2-2-2-4 feed bundle buried in conduit. Code calls for 18” depth for conduit burial.
Pro-tip, don’t rent the 18” trencher for an 18” trench. Rent the heavier 24” trencher and save yourself the headache and time pushing through the trench multiple times to get appropriate depth.
HVAC
The first AC I ever used in the gameroom was a roll-around portable unit that came from my sailboat.
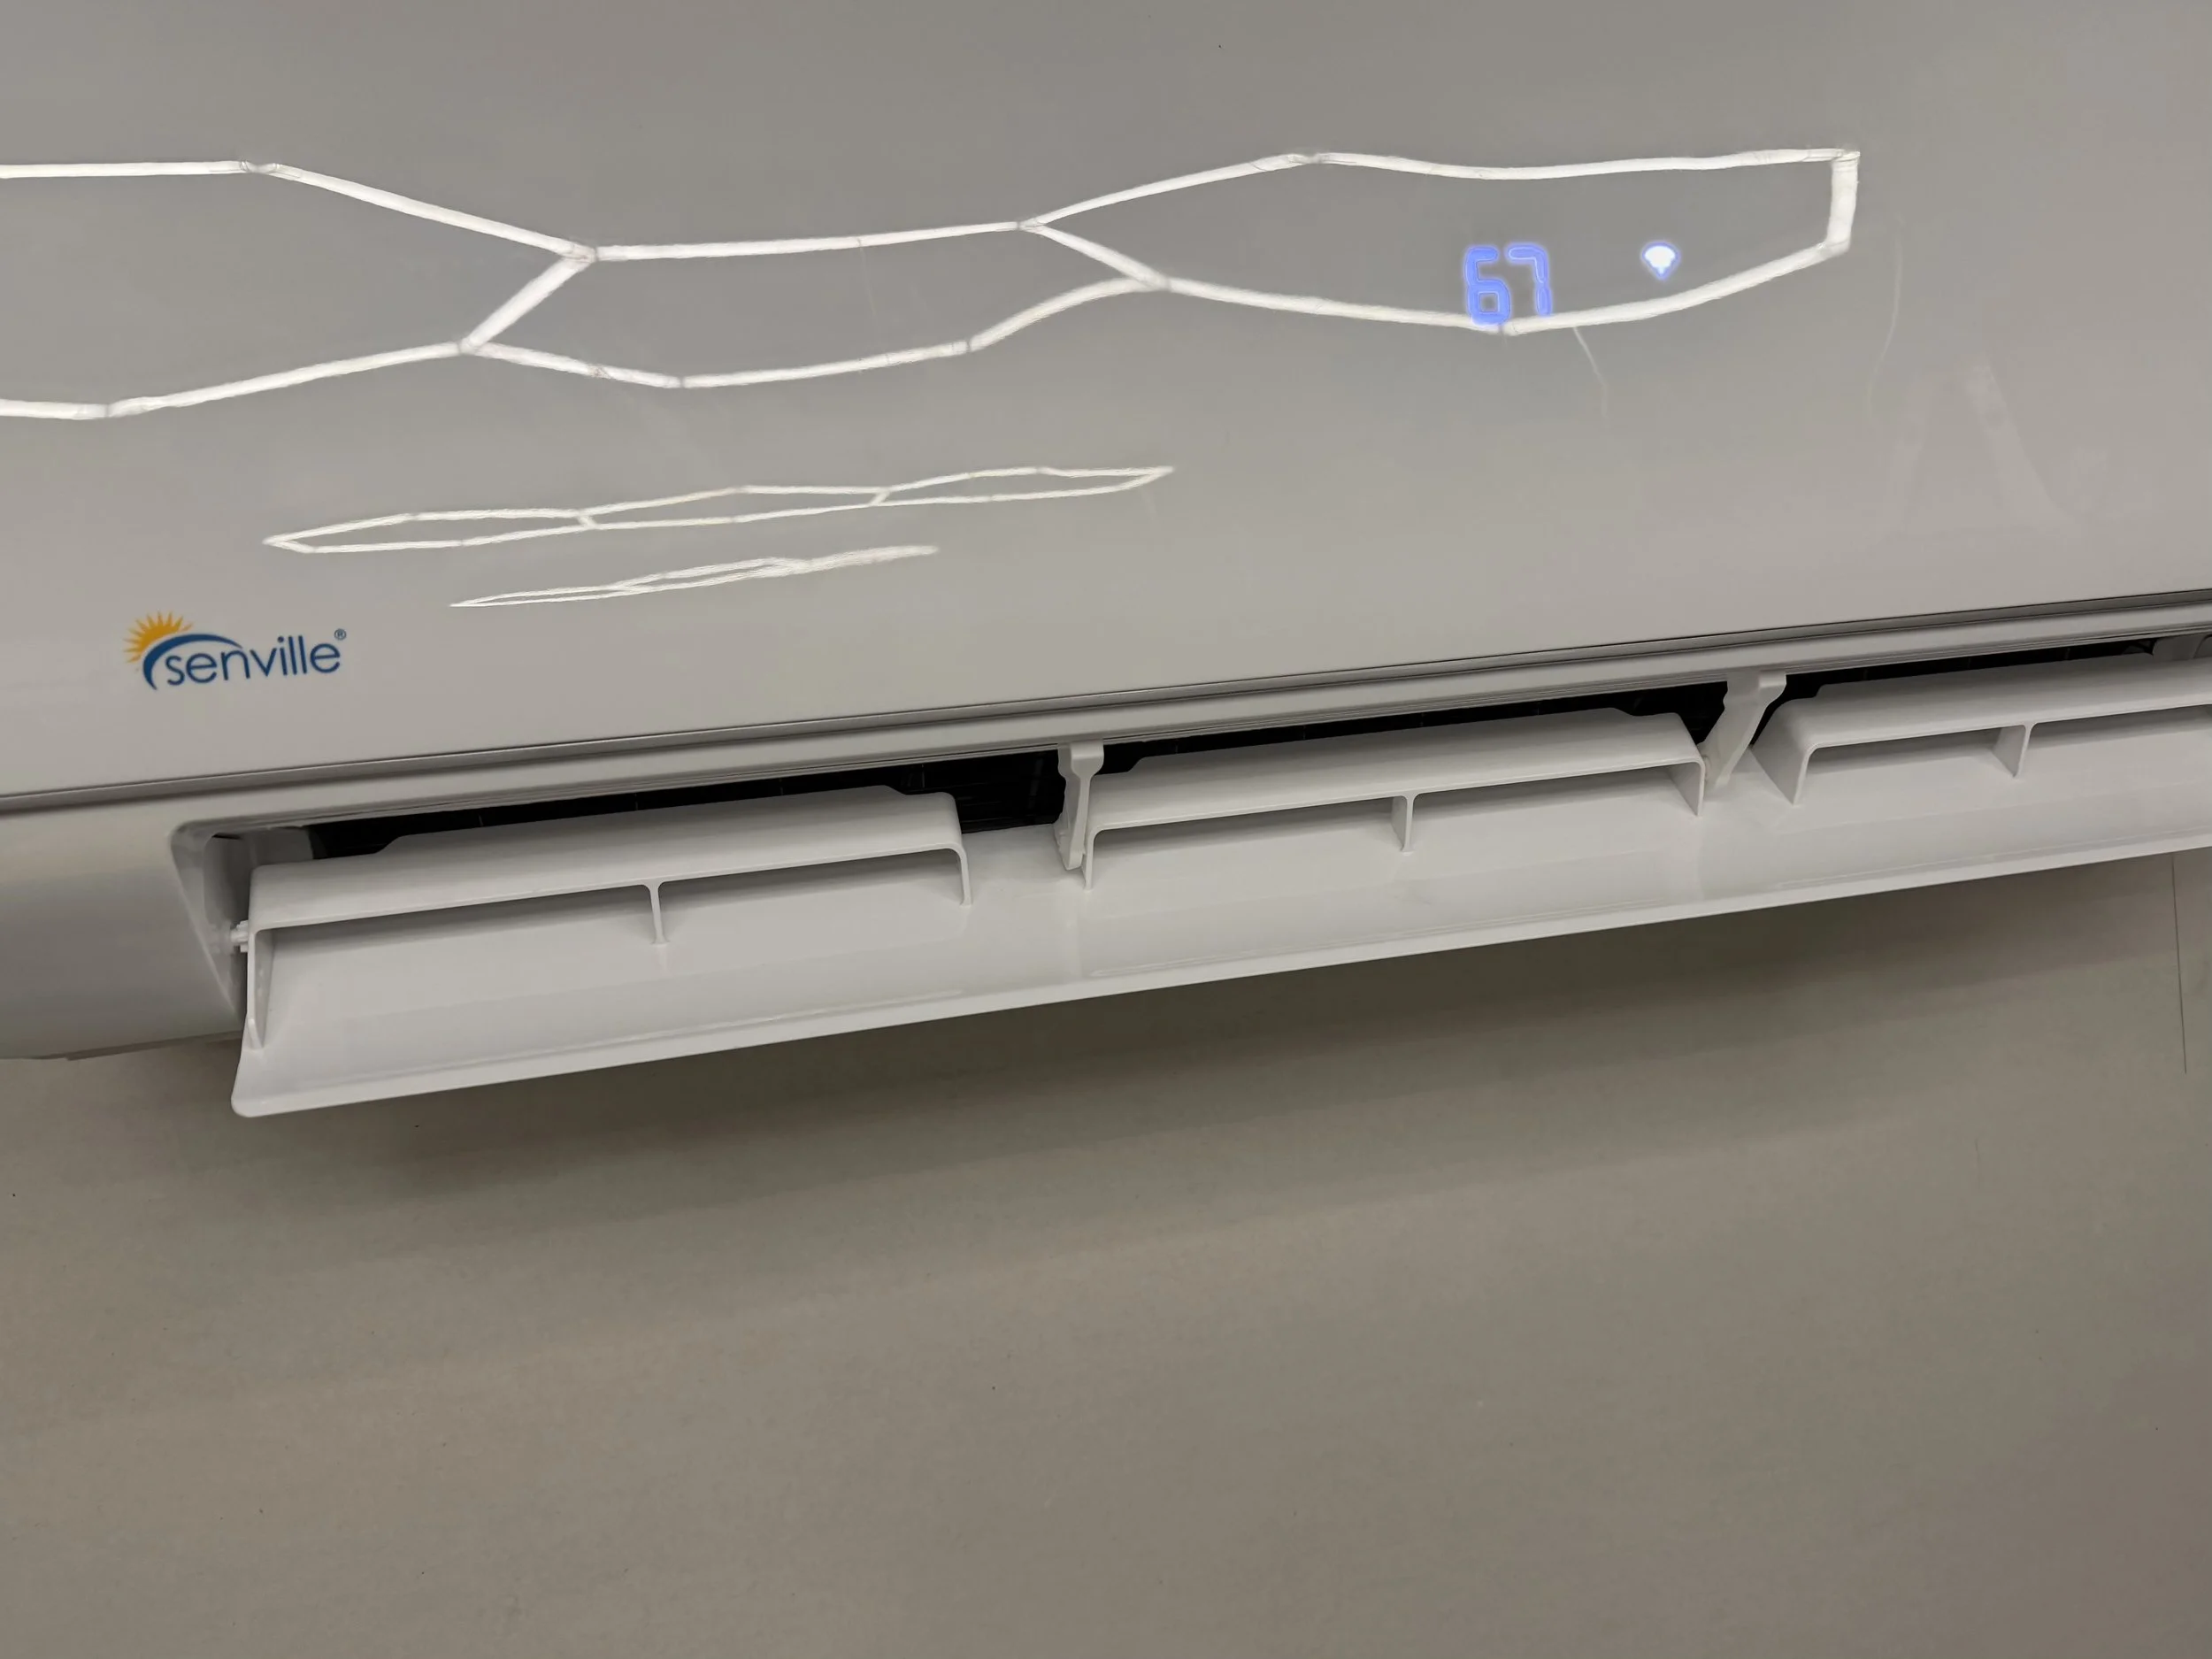
A hard-earned rule of AC units: any unit where the compressor and the air exchanger share the same space is wildly inefficient. This goes for portable AC, Window Units and Hotel-style All-in-one half-wall units. For the old gameroom’s second A/C unit I purchased a Senville Mini Split for $1200. At that time, the Mitsubishi splits were running about $6000.
Over a decade of use, the Senville unit was quite efficient and their support was quite good. Twice, critters suicided themselves in the outside unit boardset. Senville’s replacement parts were always available and always reasonably priced. It didn’t matter that I was just a homeowner without an active HVAC license. They stood behind their product.
I wanted to reward that record by going with Senville again.
Calling around for HVAC folks and saying “I want to use a specific brand, I’m happy to buy it from you” seemed to always result in some frankly bad-faith responses based more in their own pet peeves or brand-bias than any ground truth.
One guy that came through a recommendation no-showed me, then got all defensive and phone-quoted me $1800 to install the unit. $900/hr for a labor-only install is good money if you can get it, I guess.
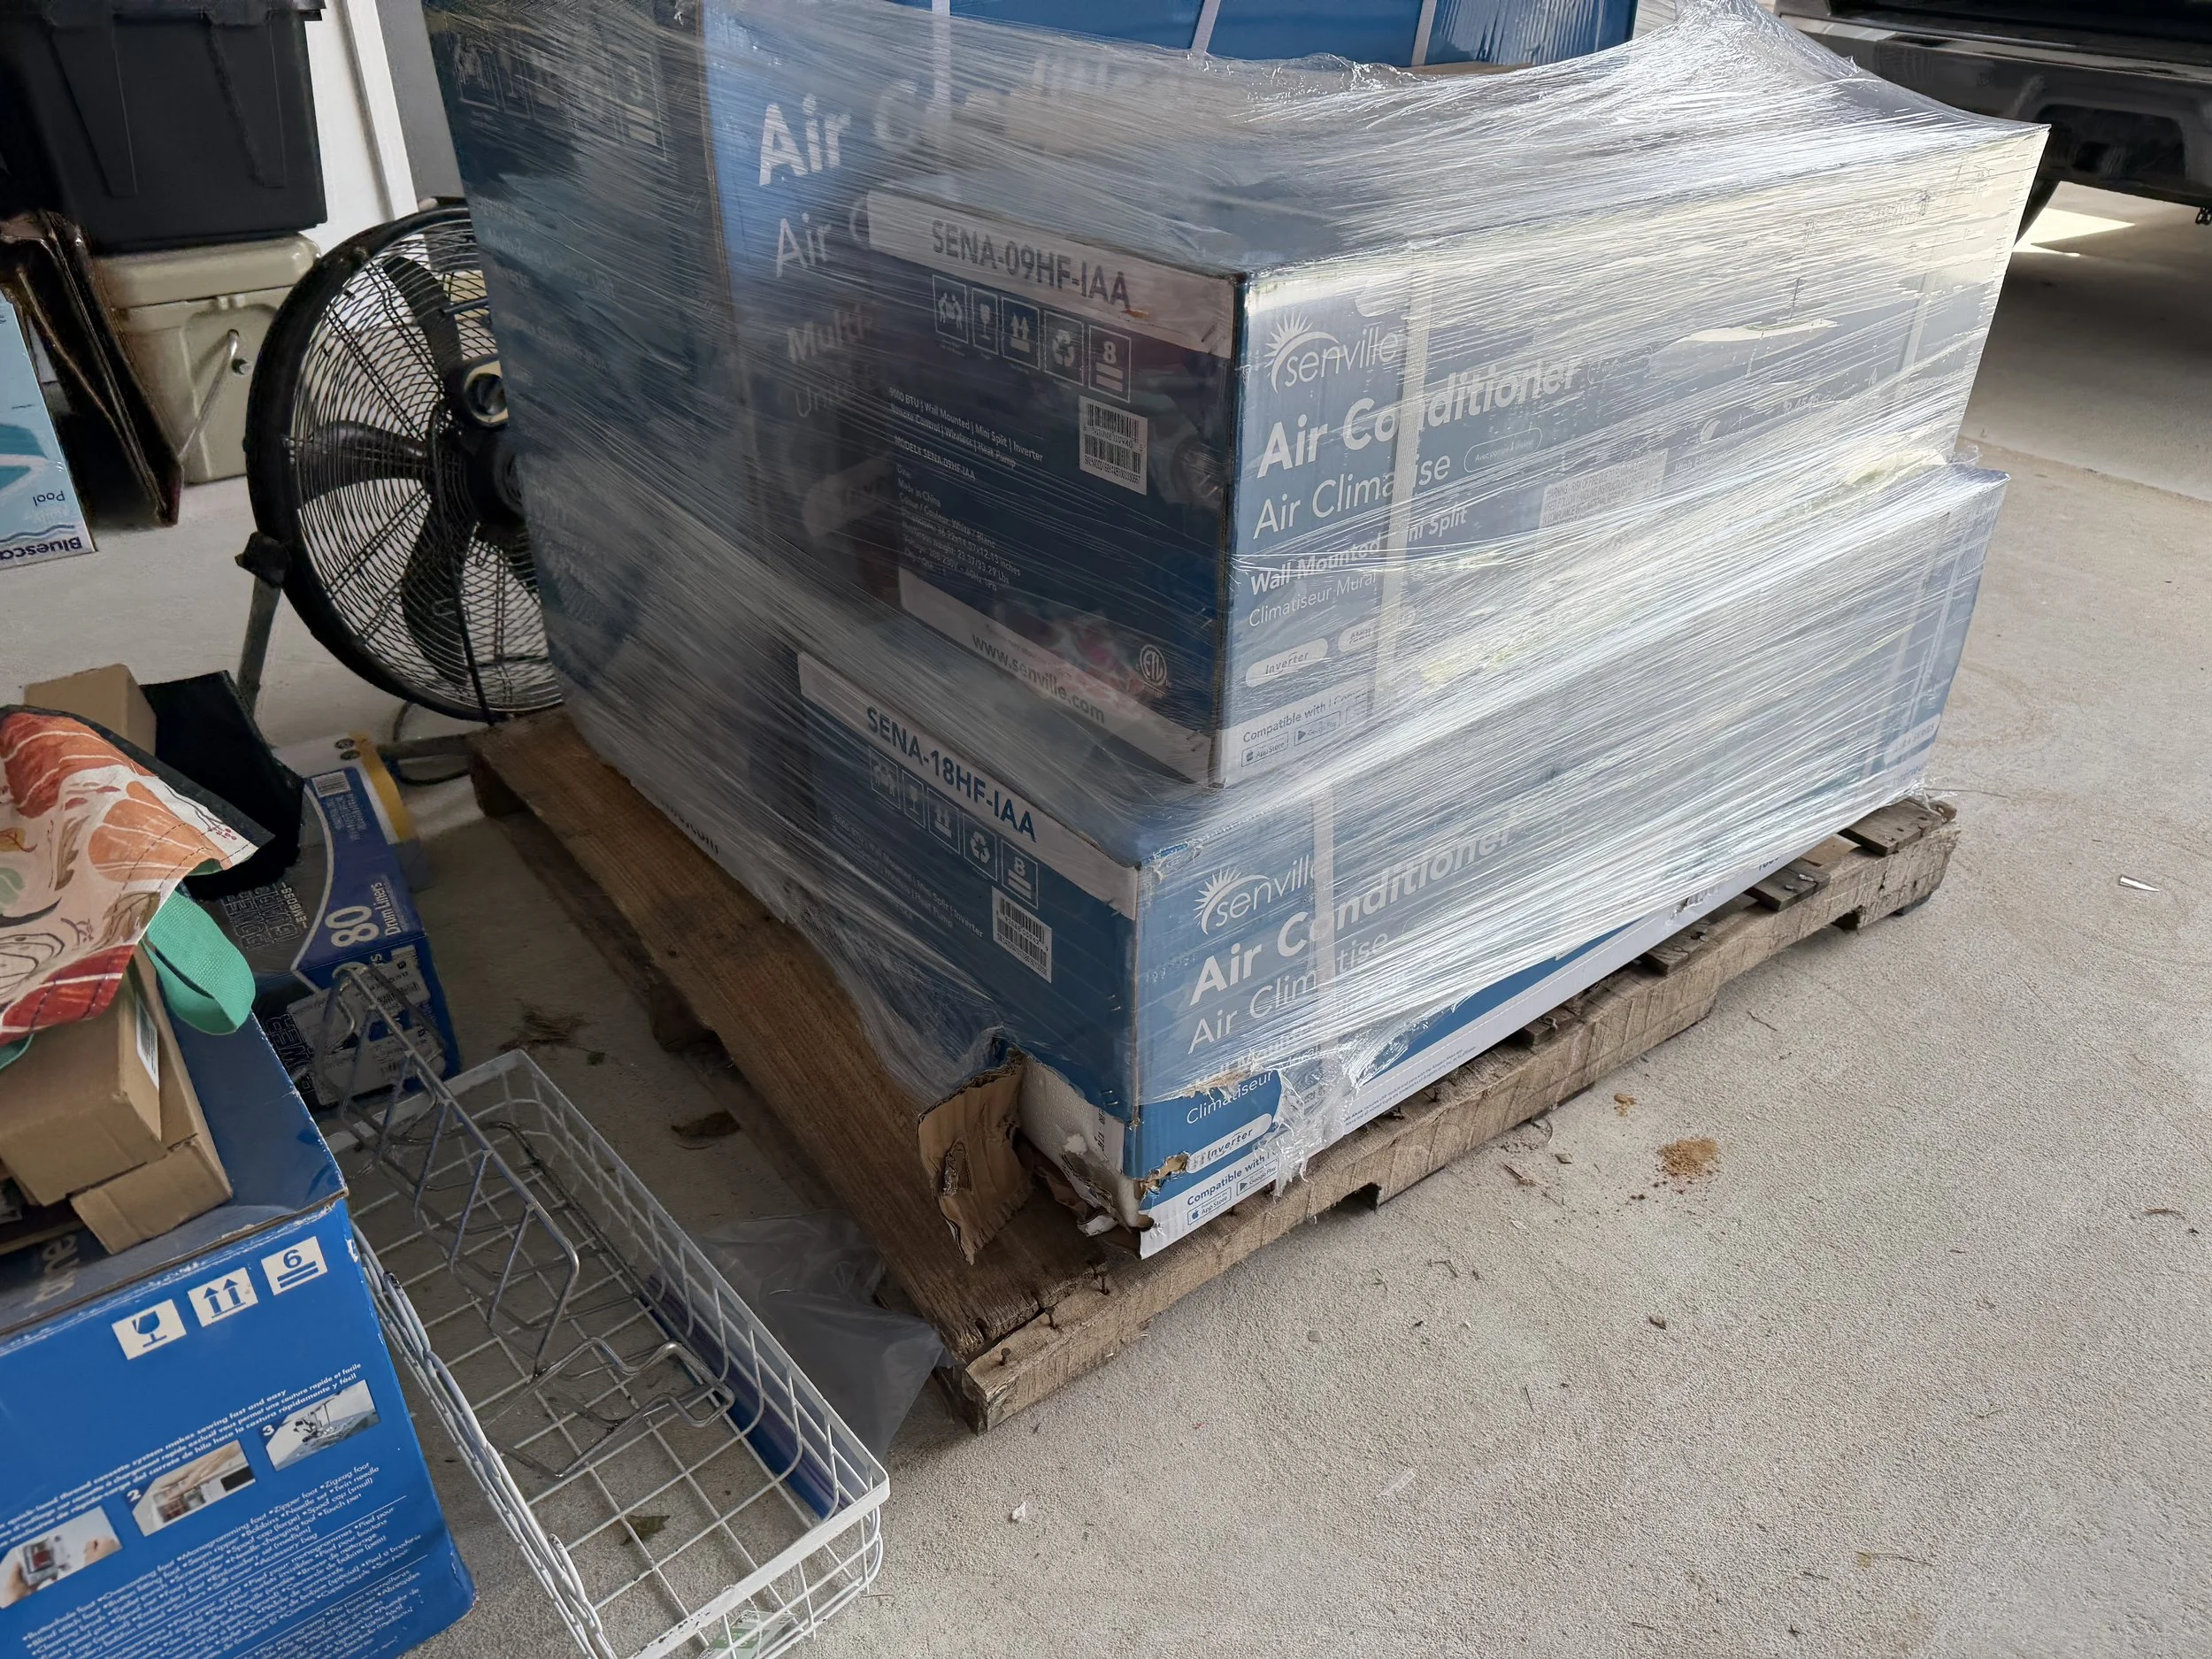
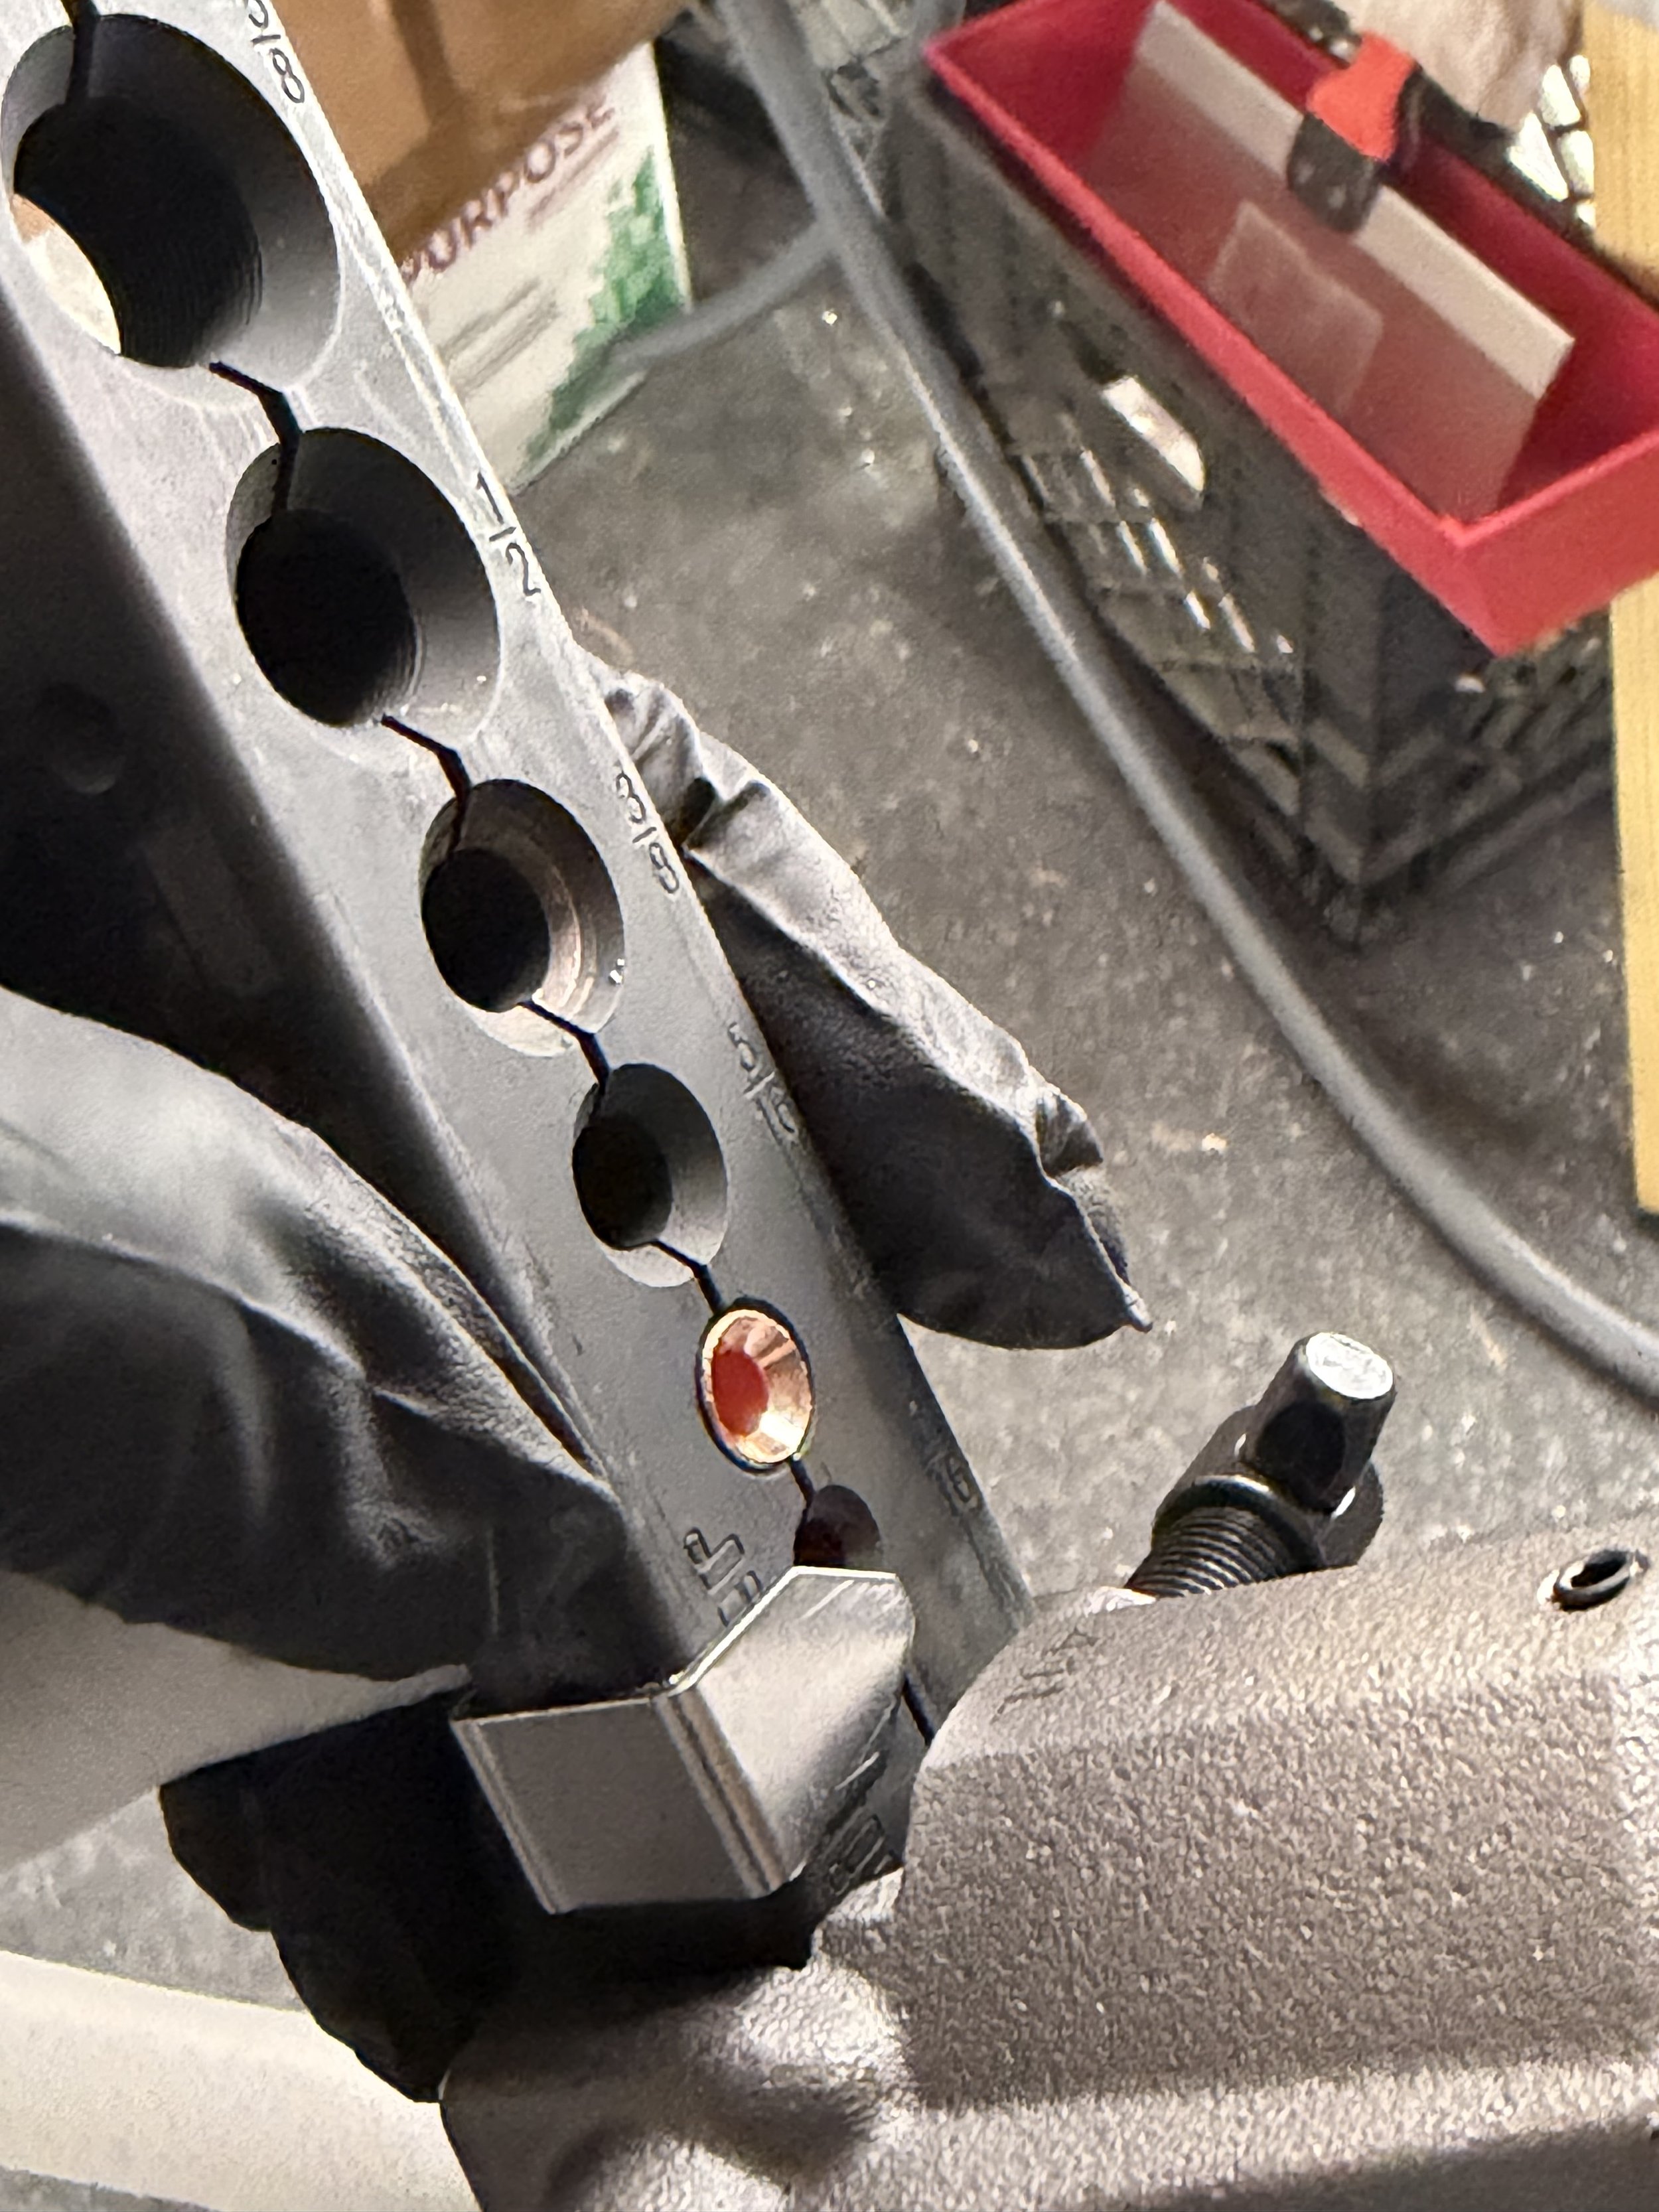
So, um.. yeah. I now have all of the tools and skills necessary to do A/C work. This includes a supply of spare refrigerant because apparently all of those pesky “rules of society” we used to have just do not apply any more. You can literally just have anything delivered, I guess.
Insulation
If I lived in a less humid climate, I’d have bought denim insulation. It isn’t really any more expensive than any other insulator, is easy to work with and has some great sound-dampening properties in addition to being a great insulator. In a humid climate, I was worried it would just wick moisture out of the air and mold. I planned to go with Rock Wool. I found competing opinions on how it would perform in the southeast climate and it was a special order item from the supply house.
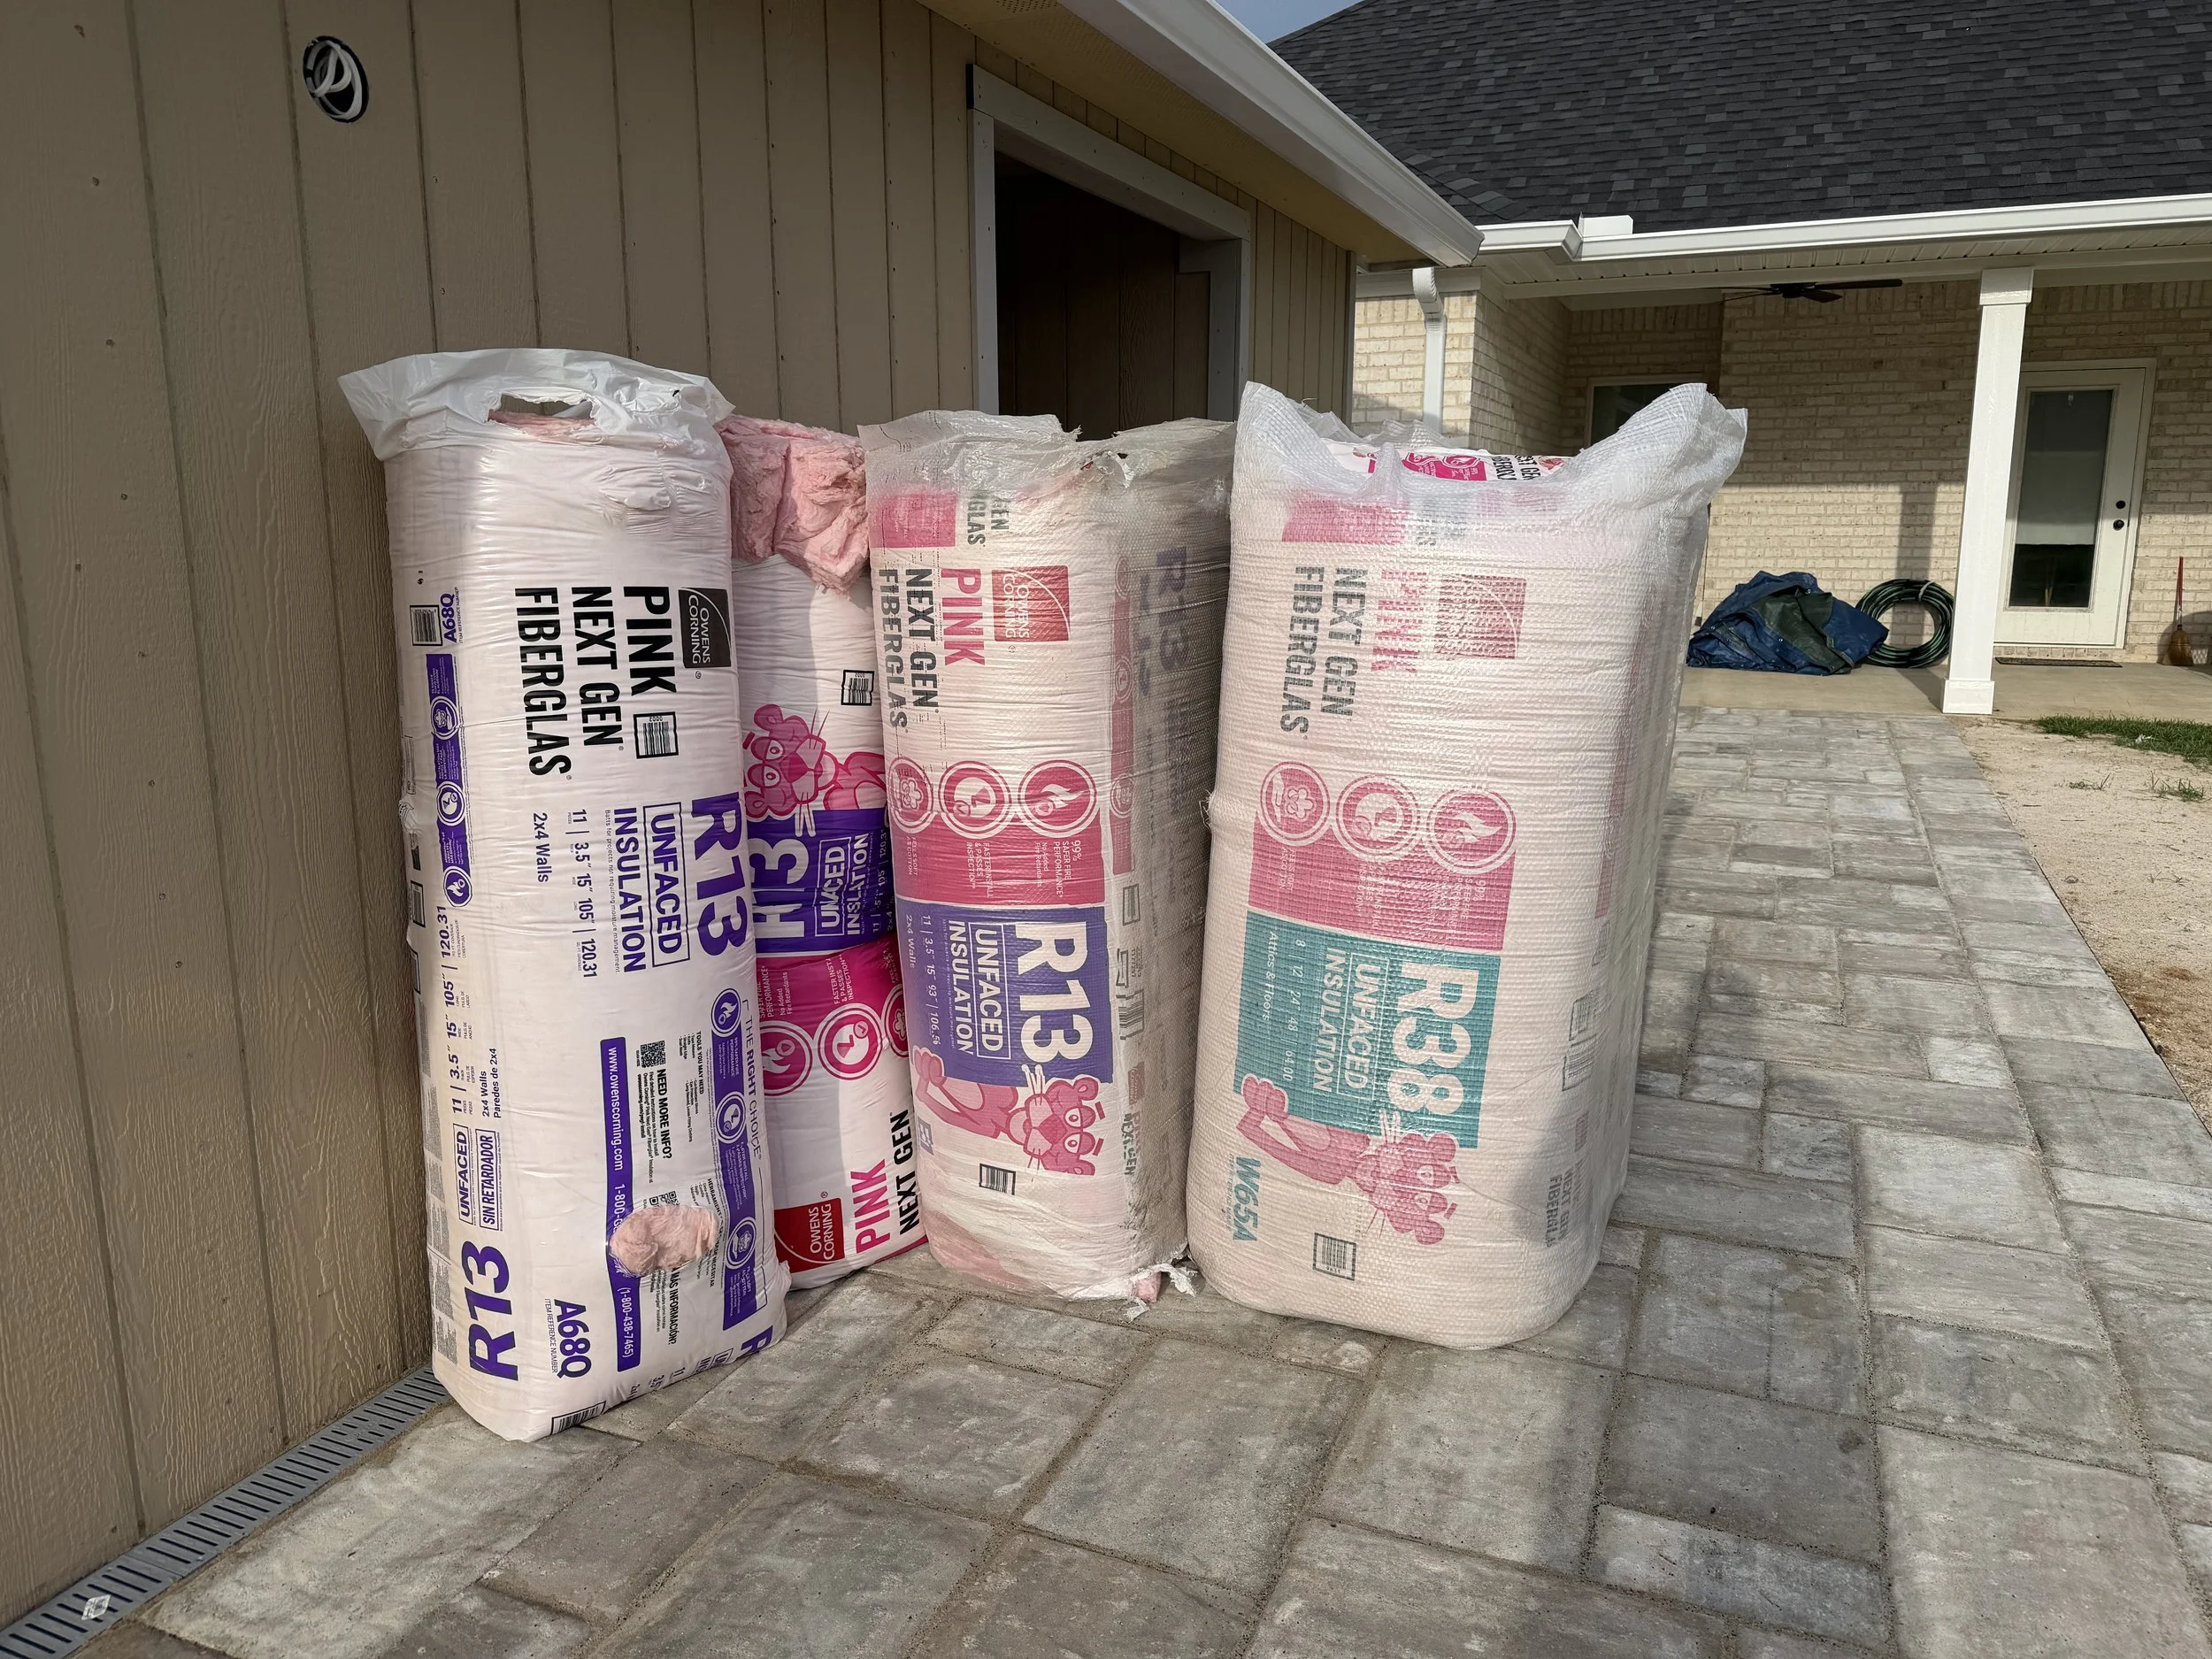
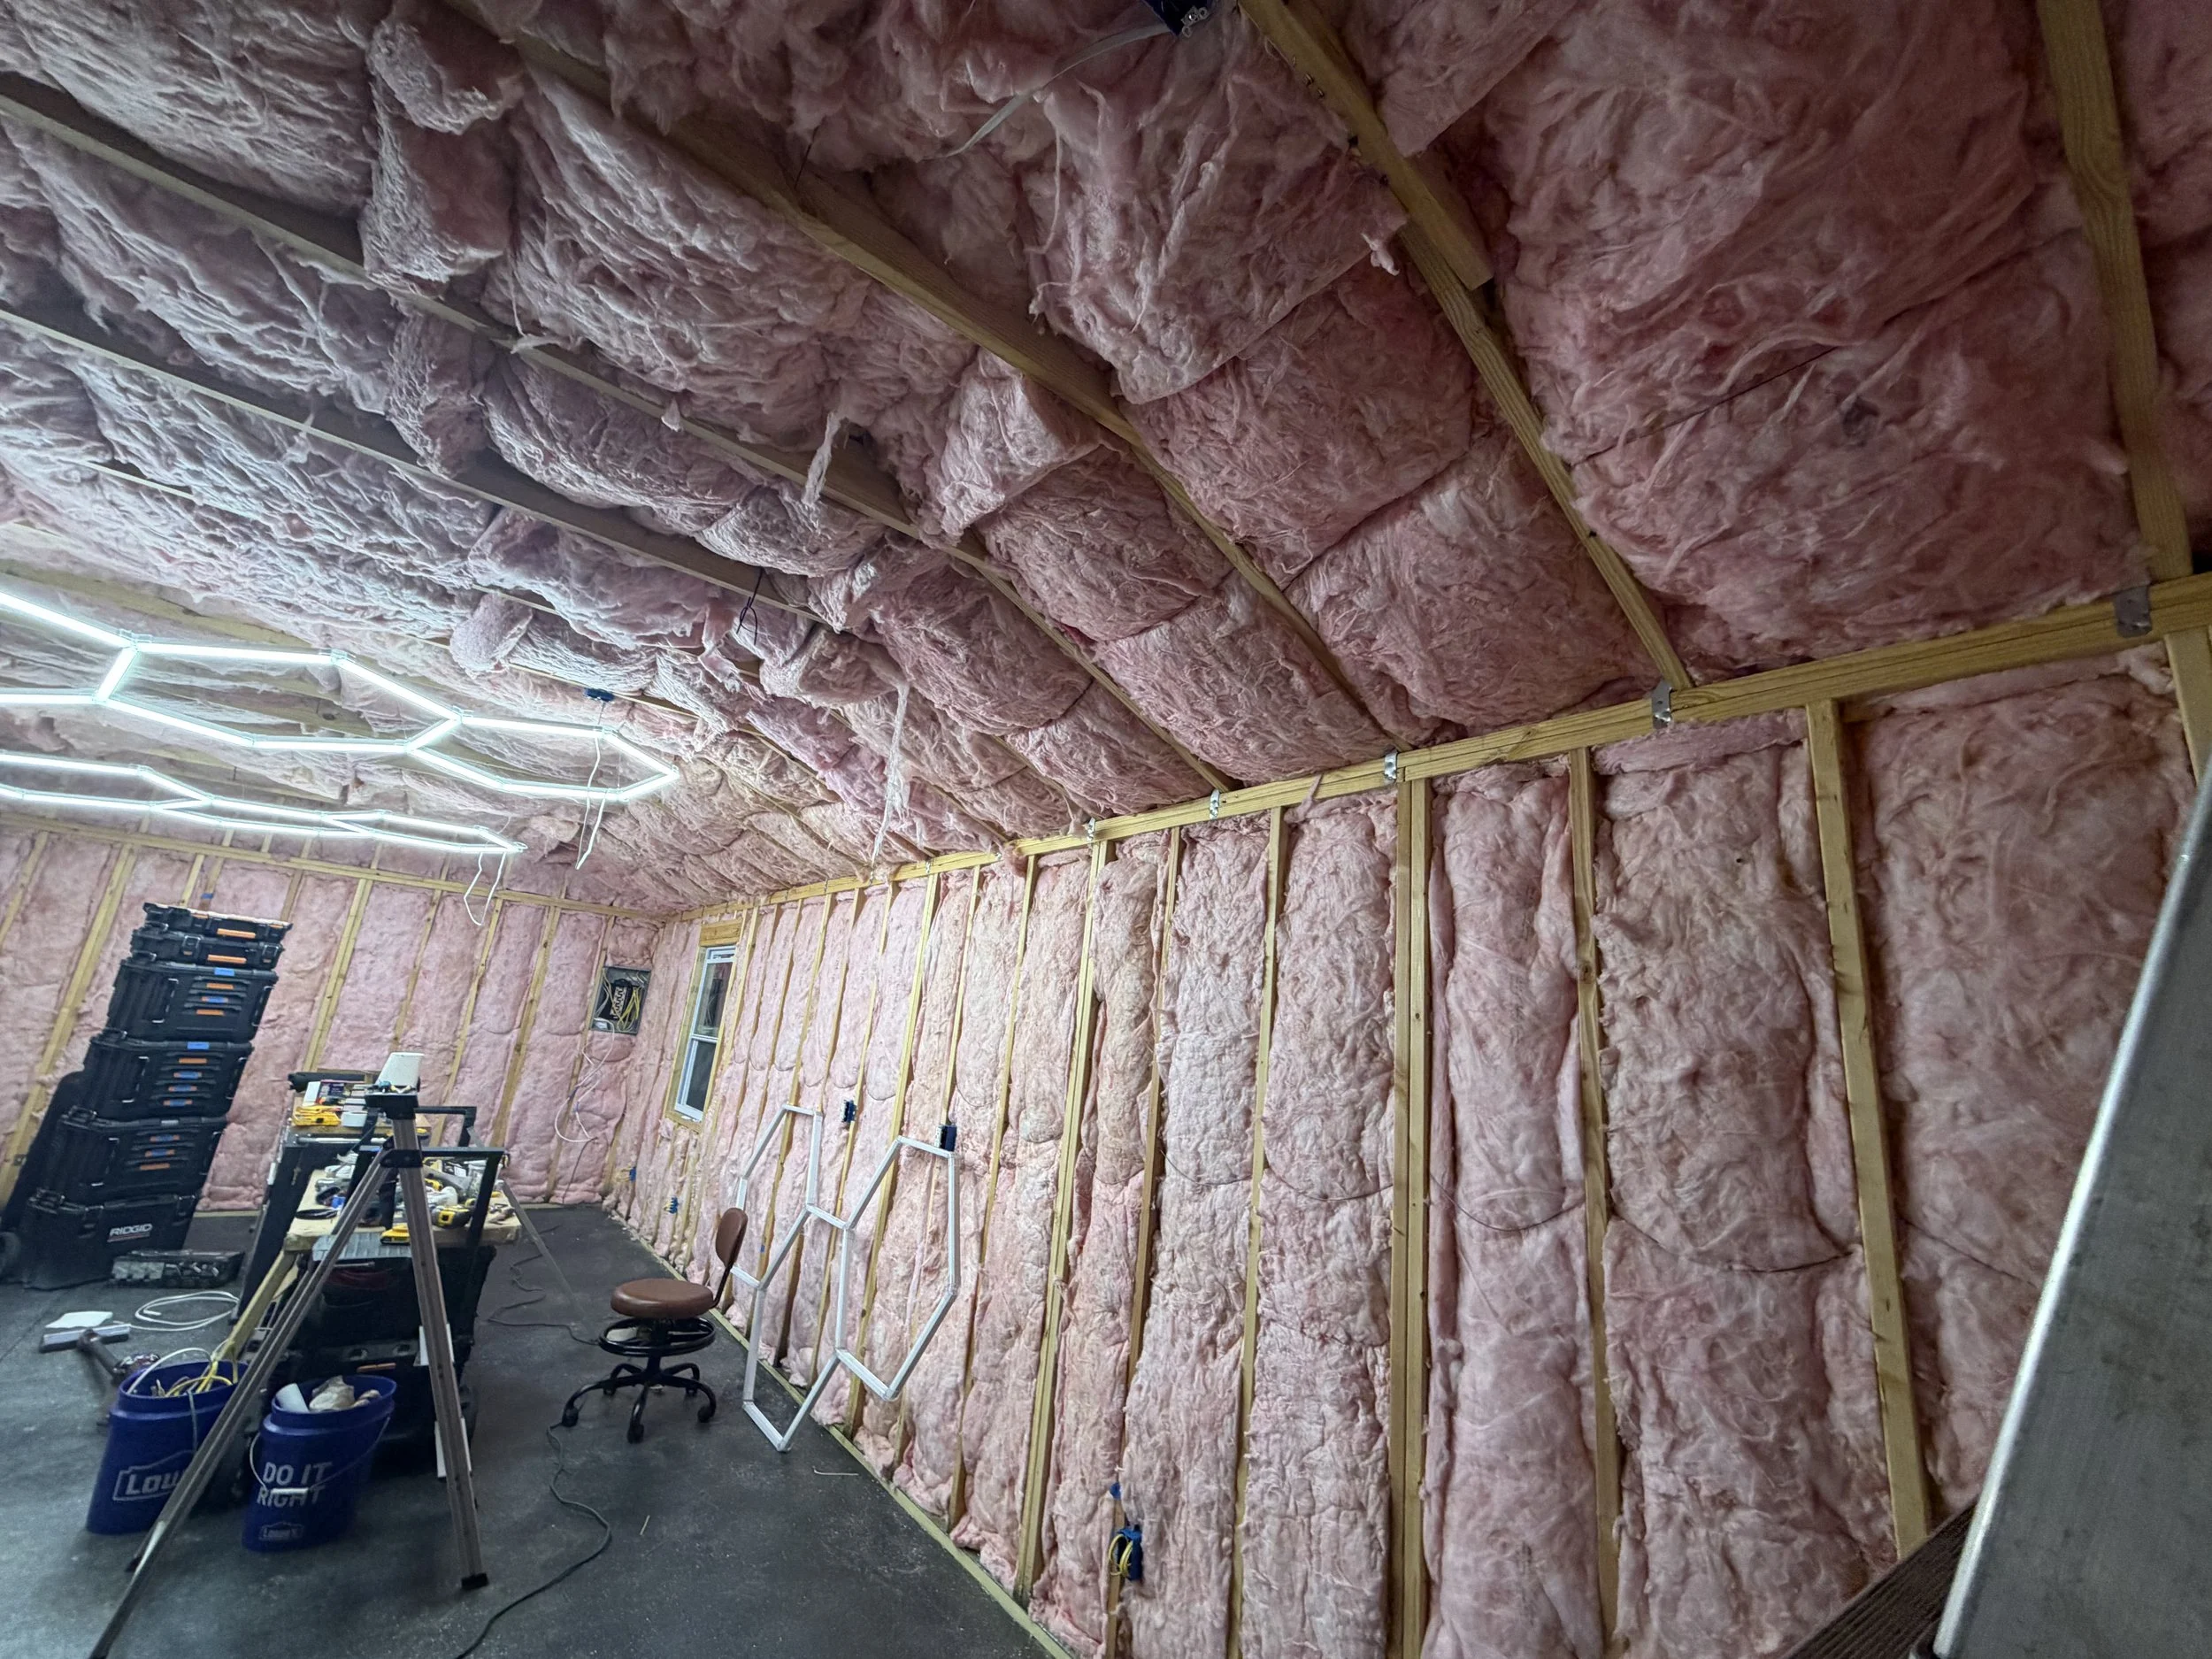
Mostly because of cost, we ended up going with standard pink insulation. I’d have chosen faced insulation but we found a pretty good deal on this unfaced pink Corning product. Deck boards have radiant barrier laminate layer. It is genuinely baffling how many professionals will throw closed cell spray foam right over a radiant barrier. Radiant.. means to radiate. C’mon folks, works have meaning.
We designed the building to have 1 ft vented eaves and a ridge vent. Eave spacing baffles installed, r13 and then r38 over top the cross braces. It creates a very small hot attic for ventilation travel through the eave vents and out the ridge vent while maintaining radiant spacing. If needed, I can cut and install gable vents and a temperature-triggered multi-stage blow through vent fan but so far it hasn’t been necessary despite a very hot summer.
Wall coverings
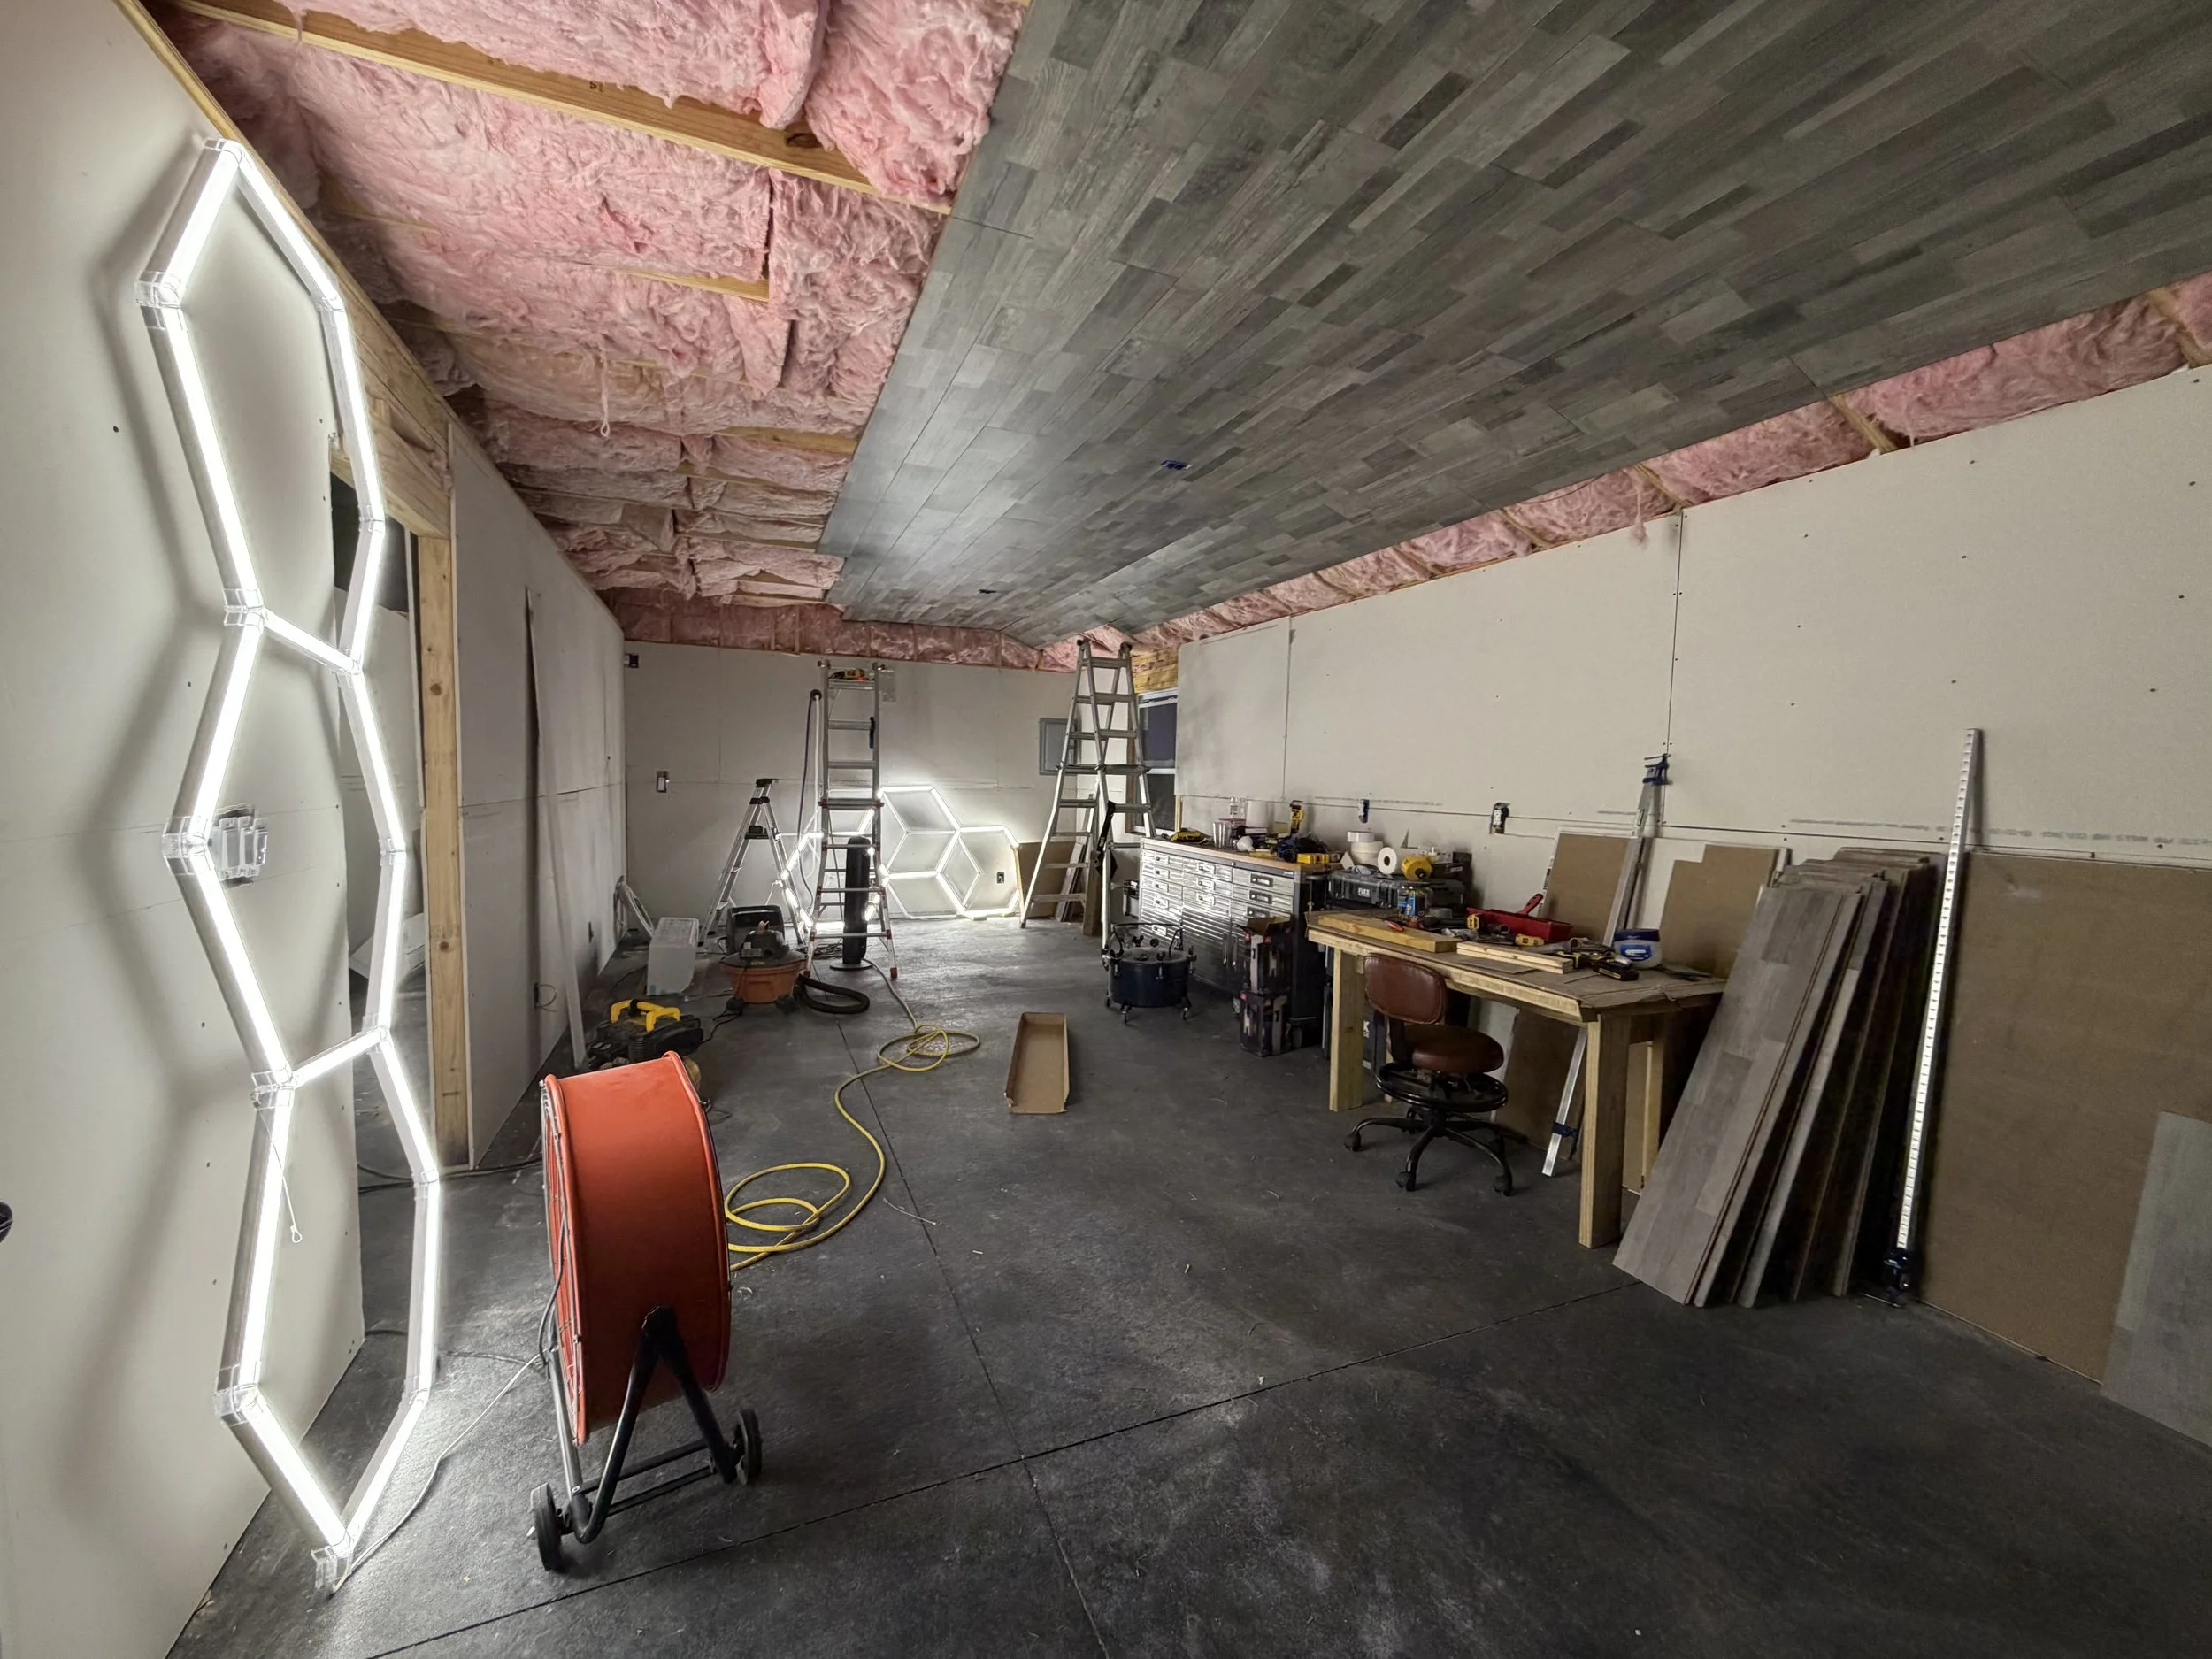
Constrained by budget, I originally intended to essentially just staple some weed-fabric to the walls and ceiling and call it “phase one complete.” Several problems with that approach, though. Unfaced fiberglass insulation will slough off fiberglass microfibers through air movement. Then, you breath that garbage in. Not great, Bob. Another problem is it is kind of a fire hazard.
For the walls, the cheapest DIY opportunity was 1/2” sheetrock. For the ceiling, I used labor-day-sale click-lock planks installed with a brad nailer. As it turns out, 7mm planks have sufficient dimensional stability at a decent enough weight ratio for the task. Installing them was an incredibly tedious process and I still need to add some trim boards. I like how it turned out but I can’t say that I’d recommend this. Seriously, overhead click-lock plank installation on a ladder by myself was extremely annoying and not worth the cost-saving.